- A linux based host machine with at least one NVIDIA GPU1.
- Check that Docker >=19.032 installed on your host machine:
docker --version
- Check that you have an NVIDIA driver installed on your host machine:
nvidia-smi
- Setup the nvidia-toolkit on your host machine3:
For Ubuntu host machines: ./setup-ubuntu.sh
For CentOS host machines: ./setup-centos.sh
- Run the quick-start script, using the full local path to your prefered local working directory (a folder with your input files/images, etc.):
./quick-start.sh /path/where/your/working/folder/is
This will put you in a directory (inside the Docker container) mounted to the local path you specified. Now you can run COLMAP binaries4 on your own inputs like this:
colmap automatic_reconstructor --image_path ./images --workspace_path .
After completing steps 1-3, you can alternatively build the docker image from scratch based on the Dockerfile (e.g., with your own modifications) using:
./build.sh /path/where/your/working/folder/is
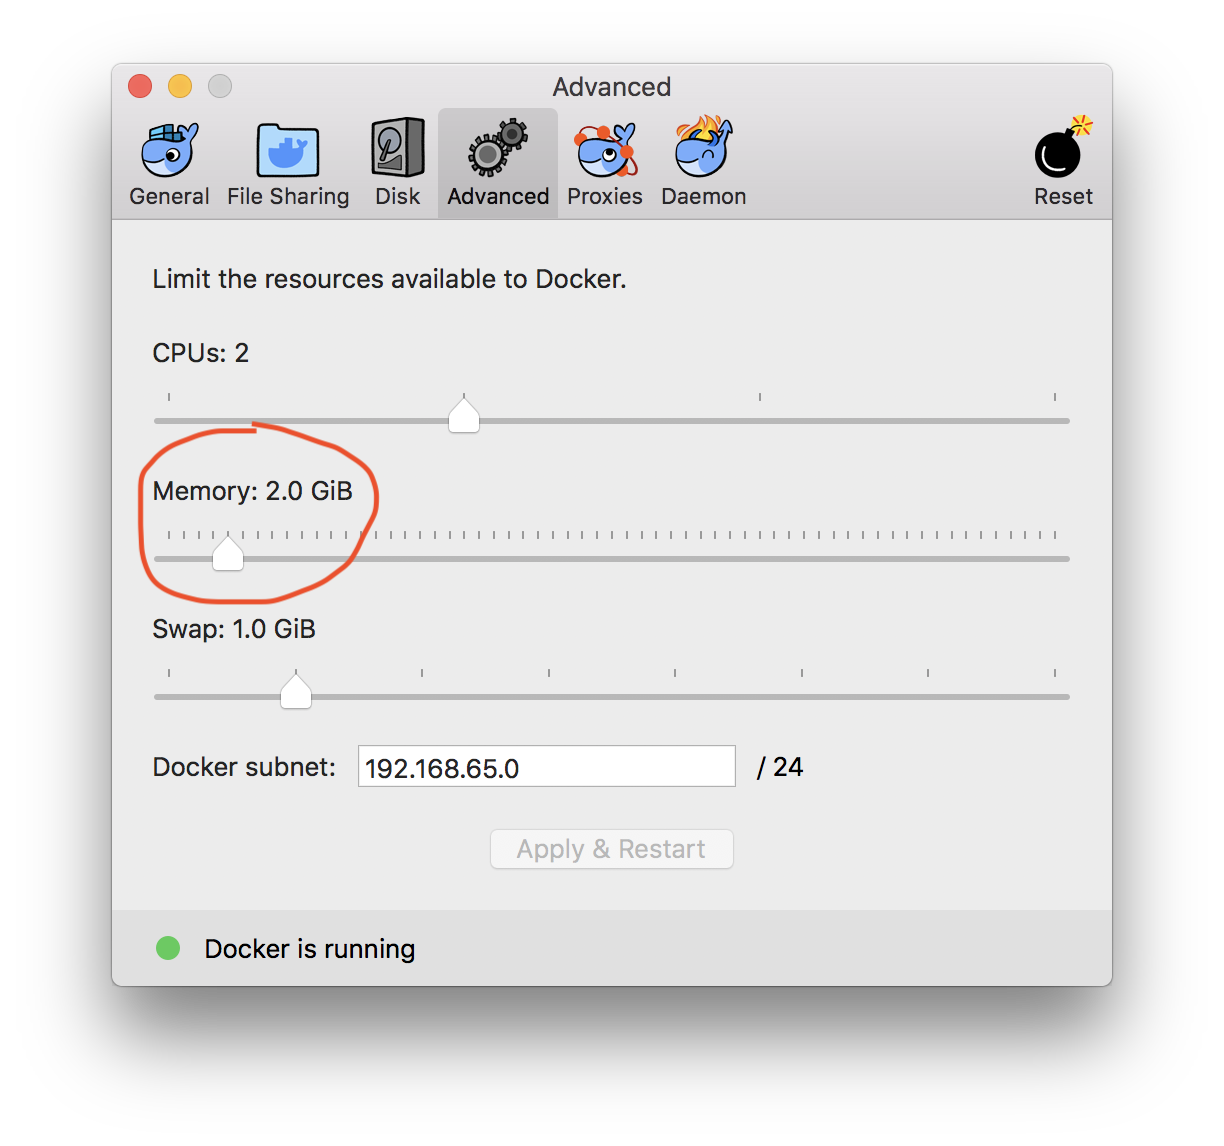
Running COLMAP binaries can use a lot of memory (depending on the size of your data set / imagery). Docker has a relatively small default memory setting (2Gb on Mac). You will probably want to increase this before you run any larger workflows. From Docker desktop on Mac for example, just open the Docker GUI, go to the Advanced tab and increase via the slider:
1: COLMAP needs NVIDA GPU compute hardware for dense reconstruction (as of 12/10/2019), and is optional for feature extraction and matching.
2: This is because Docker 19.03+ natively supports NVIDIA GPUs.
3: You should get a similar output to what you get when you ran step 2 on your host, since the docker container is detecting the same GPU(s). If you have trouble, you may want to read the nvidia-docker webpage, as the scripts ./setup-ubuntu.sh and ./setup-centos.sh are based on instructions posted there and may change over time.
4: Right now this workflow is designed to build the latest release of COLMAP. To build a specific release, open up the Dockerfile and append '--branch RELEASE_TAG' as indicated in the Dockerfile, with RELEASE_TAG being the specific release you want to build.
