This tutorial will explain how to visualize the state changes of Kubernetes resources using Kubernetes History Inspector (KHI). Using Deployments as an example, you'll create, scale, roll out, and delete Pods, and then use KHI to see how these operations change the state of Pods and ReplicaSets.
Please see User Guide as well.
- Available GKE cluster
- kubectl
- Docker or podman
- gcloud
Quick reference: Create a GKE cluster
- Go to Cloud Shell https://shell.cloud.google.com/
- Run gcloud command
gcloud container clusters create khi-tutorial
KHI is a tool for visualizing past events in a Kubernetes cluster. In other words, KHI cannot be used without historical data in the Kubernetes cluster.
First, let's create a Deployment, scale it out, roll it out, and see what it looks like. Also, note the current time as you'll use it later.
- Connect to GKE cluster
gcloud container clusters get-credentials --location <CLUSTER_LOCATION> <CLUSTER_NAME>- Creating a Deployment:
kubectl create deployment --replicas 3 --image nginx nginxThis command creates a Deployment using the nginx image. The --replicas 3 option creates three Pods. Please wait until there are 3 Pods in your Kubernetes.
kubectl get pod- Scaling the Deployment:
kubectl scale deployment nginx --replicas 8This command scales out the Deployment, increasing the number of Pods to 8. Please wait until completing the scale-out.
kubectl get pod -w- Rolling out the Deployment:
kubectl rollout restart deployment nginxThis command recreates Pods under the Deployment. The Pods are replaced with new Pods in order. Please wait until completing the rollout.
kubectl rollout status deployment nginx
- Deleting the Deployment:
kubectl delete deployment nginx
This command deletes the Deployment and the Pods.
Now, stop the timer and record the current time. Note the time difference between this time and the time you created the Deployment.
Kubernetes audit logs about these changes have been recorded in Cloud Logging. Let's use KHI to see how Kubernetes has operated in the past. KHI is available as a container image, so you can start it with Docker (or podman).
docker run -p 8080:8080 asia.gcr.io/kubernetes-history-inspector/release:latest -access-token=`gcloud auth print-access-token`This command starts KHI, and the Web UI is available on port 8080. Access http://localhost:8080 in your web browser to display the KHI Web UI.
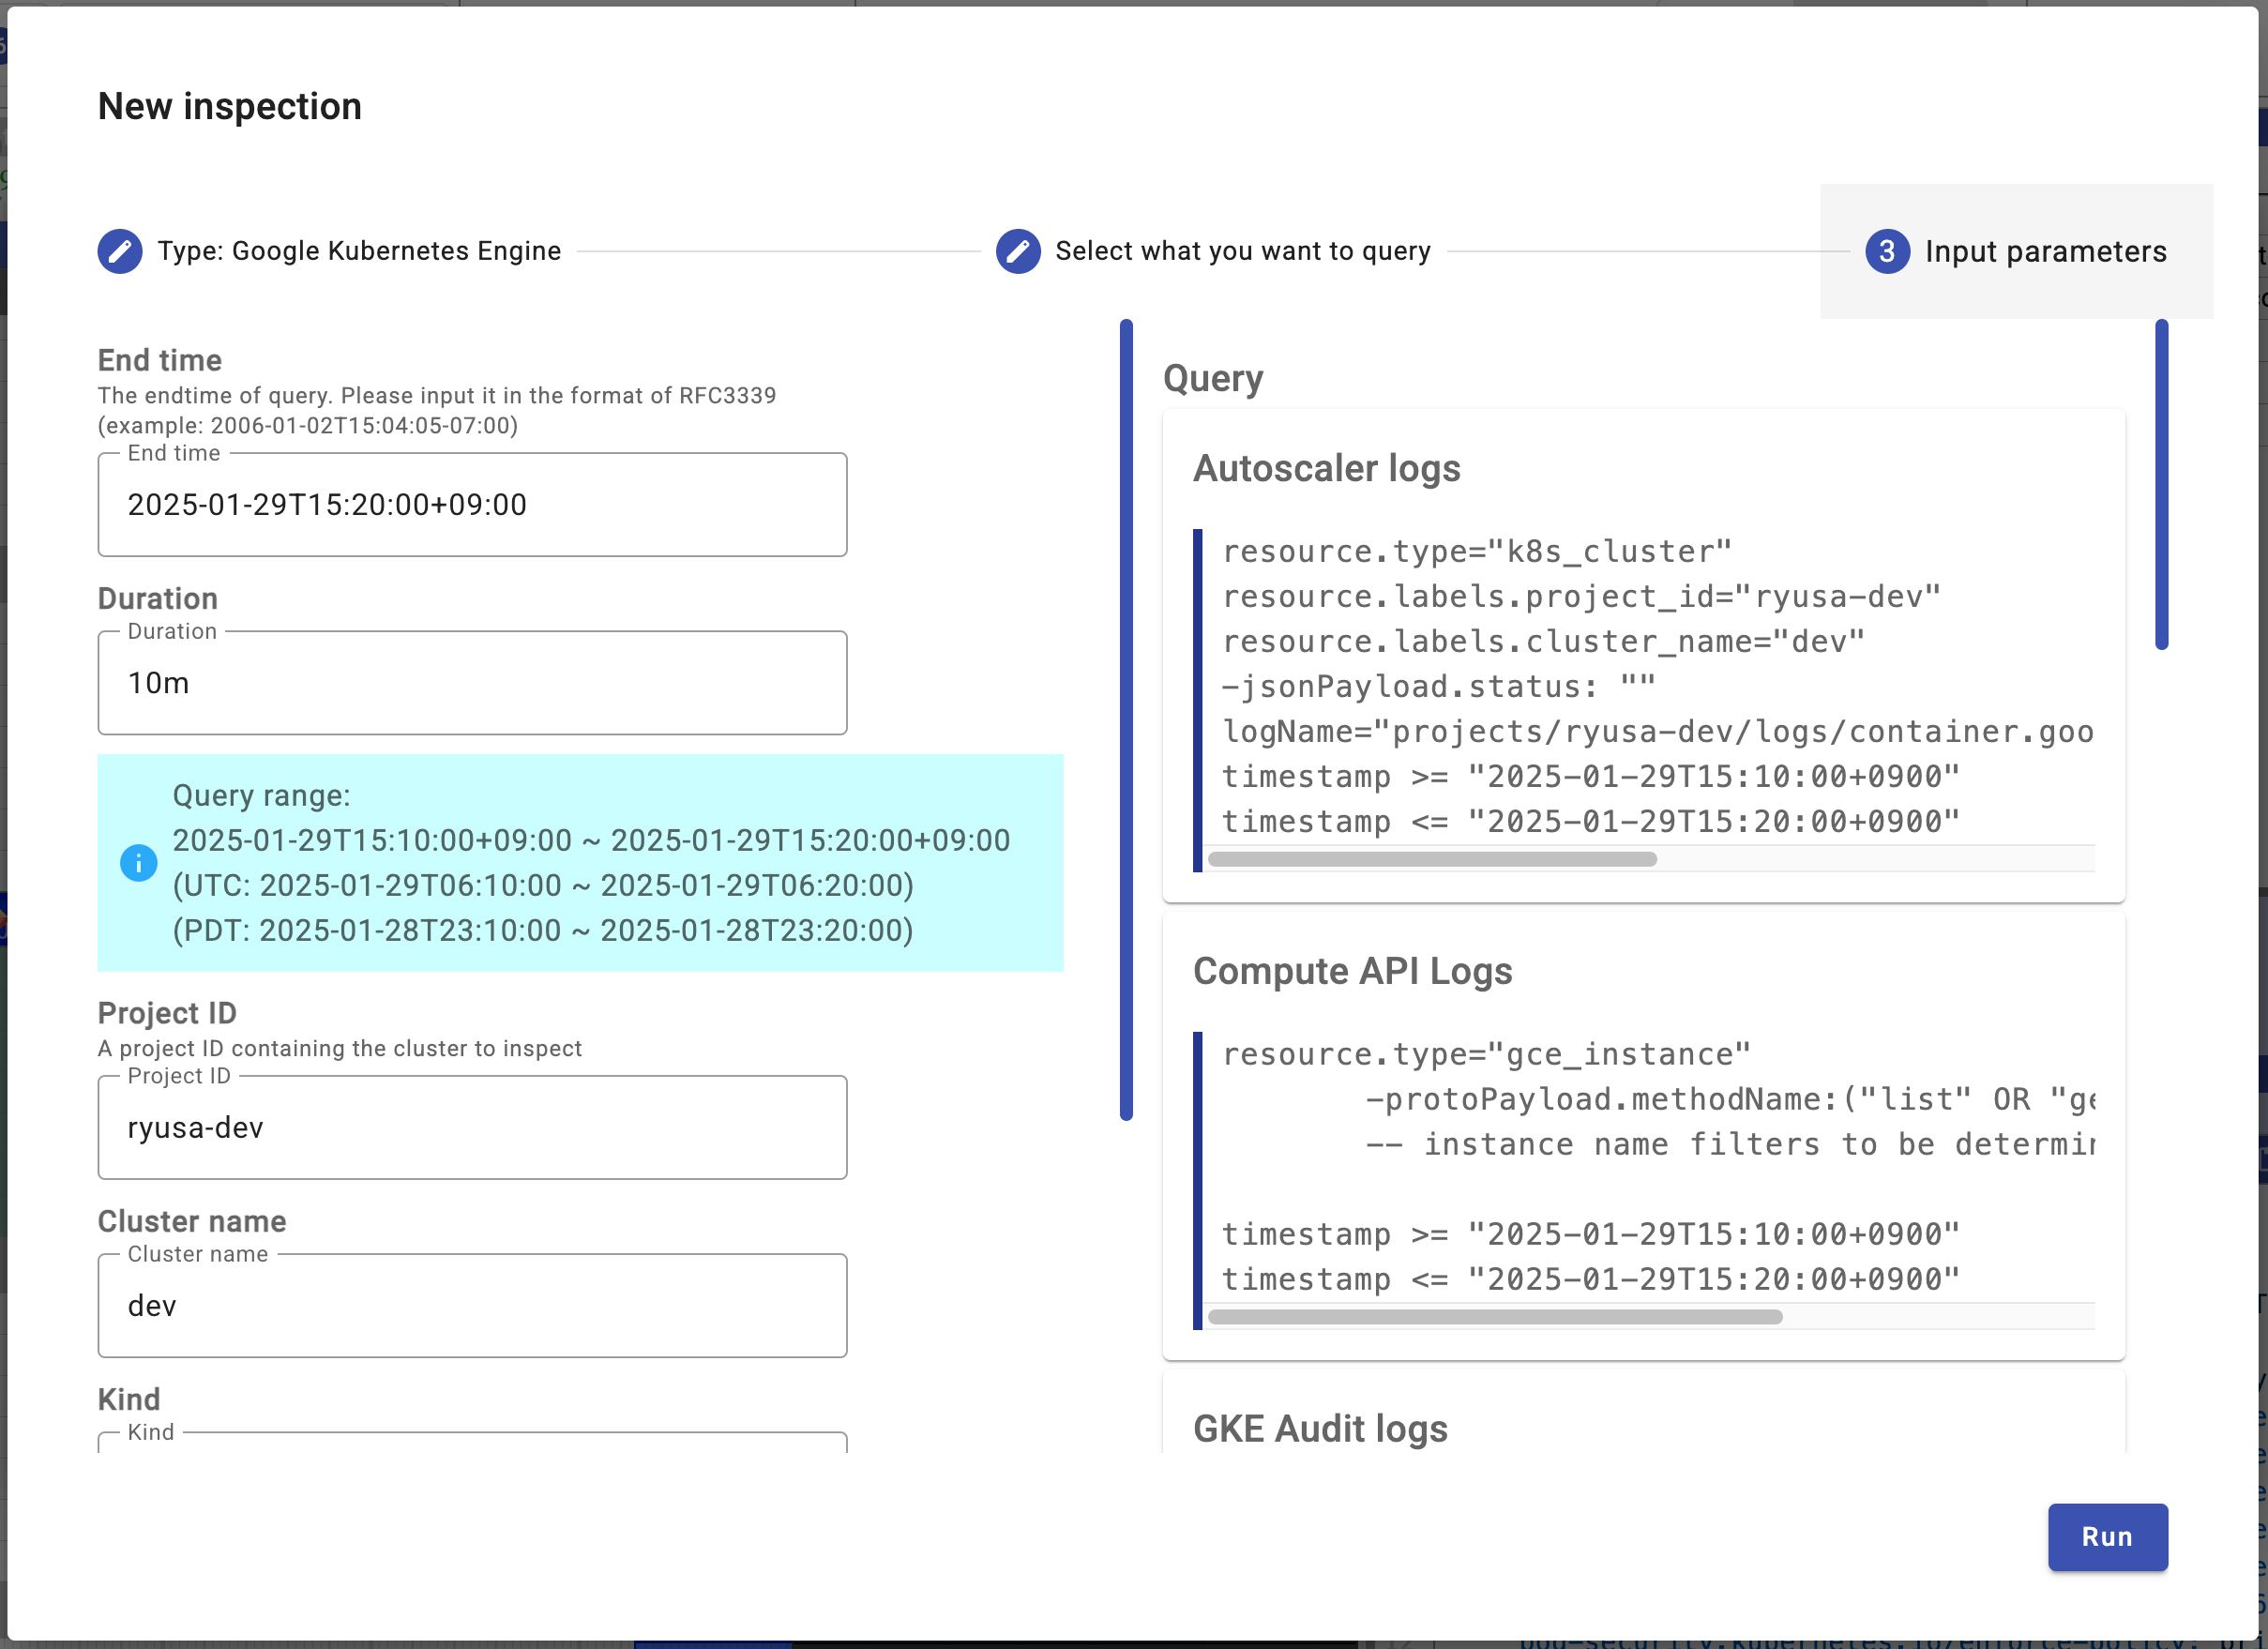
Click "New Inspection" button to explore the history of your cluster. Select "Google Kubernetes Engine", leave the log settings at their default values, and click "Next". Enter the time you deleted the Deployment in "End Time", and enter the time it took to create and delete the Deployment in Duration. The numbers can be slightly larger to allow some leeway in the time range.
Click "Run" button to start the inspection. It will take some time, so take a coffee break. ☕️
After the inspection is complete, click "Open" to display a history.
The upper header part is the filter, the lower left is the history information of the resources, and the lower right is a list of logs related to the selected resource. In this case, we created/modified/deleted a Deployment, so let's limit the resources to make it easier to see. Limit "Kinds" in the filter to "deployment, replicaset, pod" and "Namespaces" to "default".
| Kinds | Namespaces |
|---|---|
 |
 |
Let's focus on Deployment and ReplicaSet in the Web UI. When you create a Deployment, the Deployment Controller creates a ReplicaSet. The ReplicaSet then creates the required number of Pods. Looking at the history, you can see that the ReplicaSet was created when the Deployment was created. Also, when you scale the Deployment, an event occurs that patches the number of replicas in the ReplicaSet, and the number of Pods increases.
When a rollout is performed on the Deployment, the Deployment Controller creates a new ReplicaSet. This time, you can see in the history that the original ReplicaSet is scaling in little by little, and the new ReplicaSet is scaling out little by little. It may be interesting to compare the default values of maxSurge (25%) and maxUnavailable (25%) applied to the Deployment.
Finally, let's take a look at the Pod lifecycle. Click one of the first created Pods (should be 3) in the Pod resource. The view for the clicked Pod is displayed in the right tray.
In Log View, logs related to the selected resource are displayed. For example, in this case, logs are aggregated that the Node that could be assigned was not found after the Pod was created, and then it was assigned to the Node after a while and started and deleted.
History View displays the change history of the selected resource. For example, in this case, it shows that replicaset-controller first created this Pod and then deleted it, and then the Node actually deleted it.
By using KHI, you can automate the task of visualizing when, where, who, and what operations were performed on Kubernetes resources in chronological order.
- By using KHI, you can understand how operations such as scaling out/in, and rolling out a Deployment affect the state of Pods and ReplicaSets.
- Increase the number of Kinds / Namespaces.
- You may be able to see the relationships by looking at the autoscaler trigger events and node pool sizing in the same timeline as the Deployment/ReplicaSet events.
- Add Node Log to the logs you collect and inspect again.
- You will be able to see the relationship with the kubelet on the Node to which the Pod is assigned more clearly.
- If you want to re-inspect, you can create a new inspection from the Menu button.
Troubleshoot a failure using PDB (Coming Soon)


