- 📍 Table of Contents
- 🤖 Overview
- 🔮 Features
- 🚀 Getting Started
- 🛠 Future Development
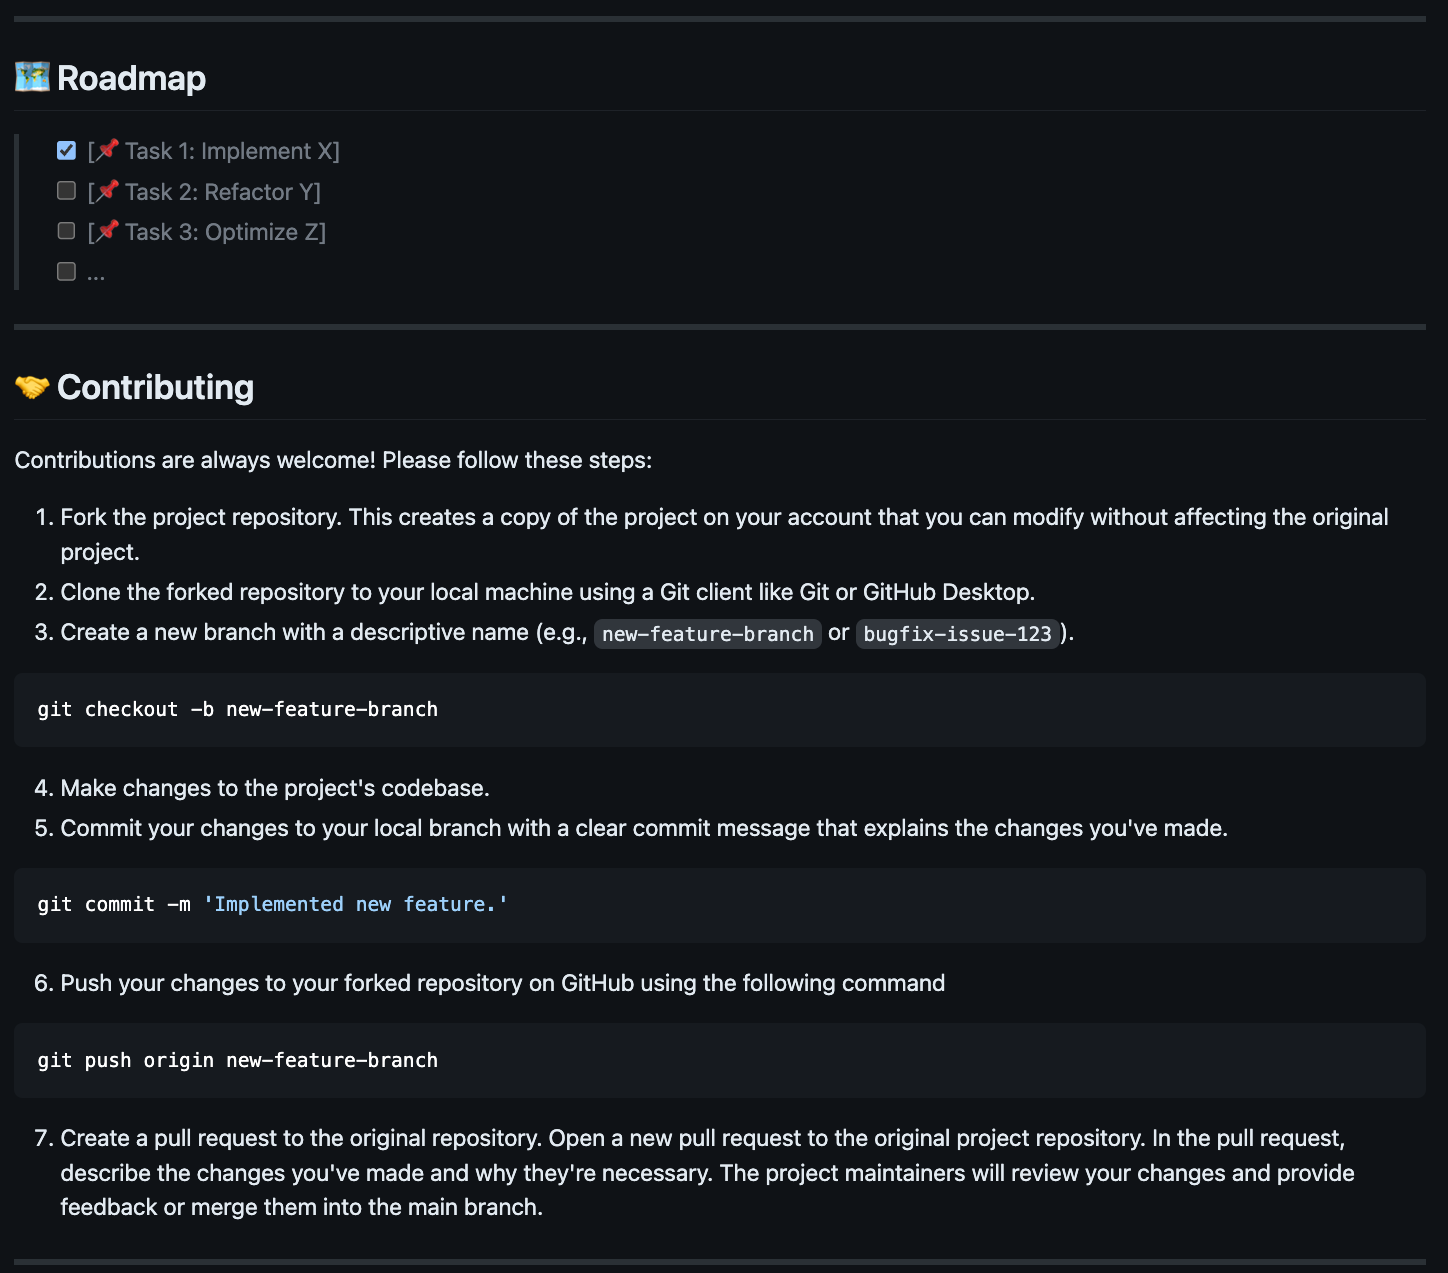
- 🤝 Contributing
- 📄 License
- 👏 Acknowledgments
README-AI is a powerful, user-friendly tool that automatically generates high-quality README files for your Git repositories using OpenAI's language model APIs. By simply providing the path or url to your project's codebase, this tool will craft a well-structured and comprehensive README that highlights your project's features, installation steps, usage instructions, and more.
⚠️ Note:This project is currently under development and has an opinionated configuration and setup. While README-AI provides an excellent starting point for any project that requires documentation, it is important to review all text that is generated by the OpenAI API to ensure that it accurately represents your codebase.
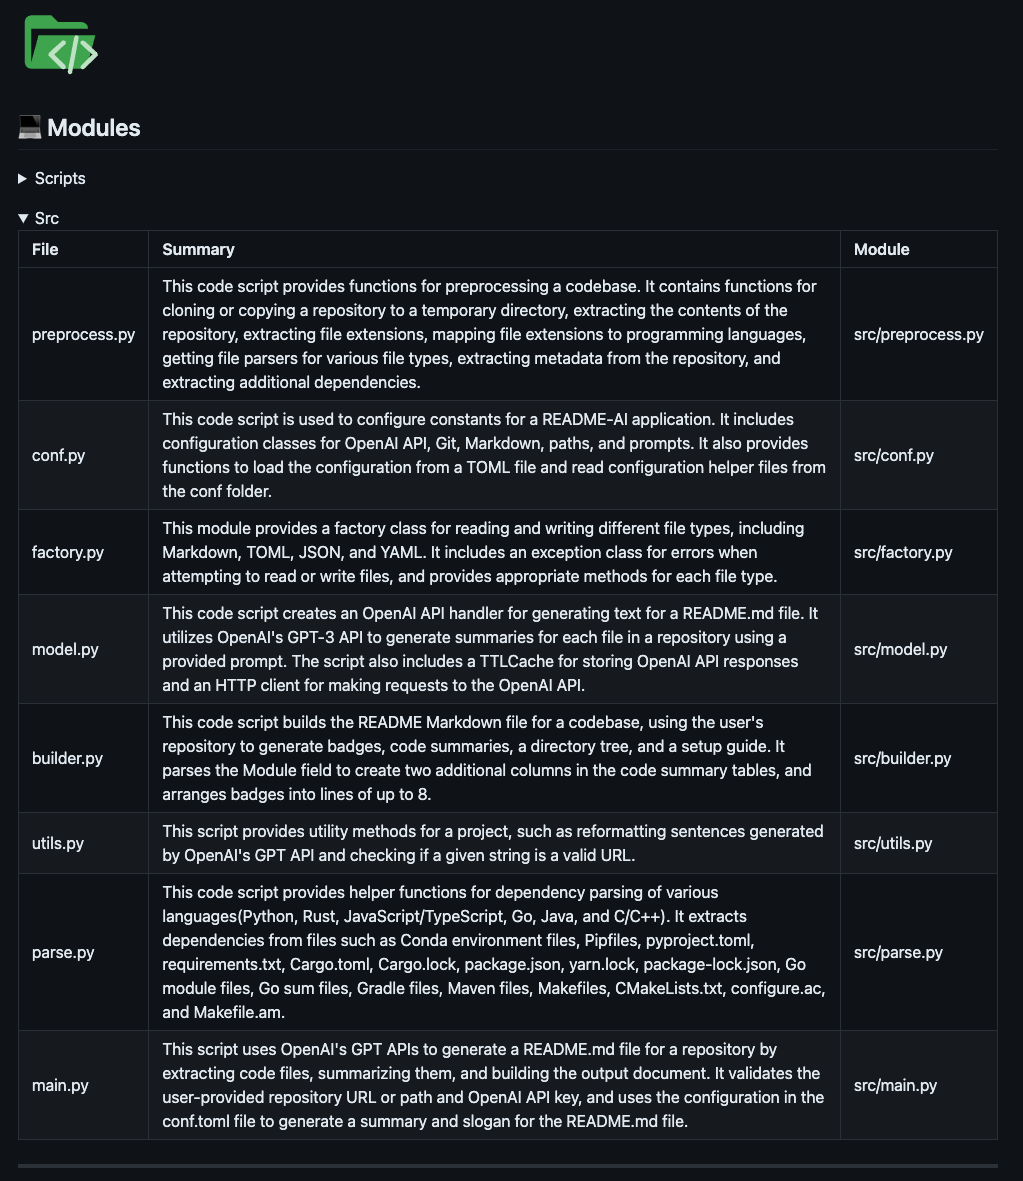
Why not a directory tree as well? Visualize your codebase structure in your README.
 |
Dynamically generates installation, usage, and testing sections to help others use your project!
|

|
Adds additional standard sections to build out a robust README file!
 |
 |
Markdown example files generated by the README-AI app!
| Example File | Repository | Language | Bytes | |
|---|---|---|---|---|
| 1️⃣ | README-Python.md | readme-ai | Python | 19,839 |
| 2️⃣ | README-TypeScript.md | chatgpt-app-react-typescript | TypeScript, React | 988 |
| 3️⃣ | README-JavaScript.md | assistant-chat-gpt-javascript | JavaScript, React | 212 |
| 4️⃣ | README-Kotlin.md | file.io-android-client | Kotlin, Java, Android | 113,649 |
| 5️⃣ | README-Rust-C.md | rust-c-app | C, Rust | 72 |
| 6️⃣ | README-Go.md | go-docker-app | Go | 41 |
| 7️⃣ | README-Java.md | java-minimal-todo | Java | 17,725 |
| 8️⃣ | README-FastAPI-Redis.md | async-ml-inference | Python, FastAPI, Redis | 355 |
| 9️⃣ | README-Python-MLOps.md | mlops-course | Python, Jupyter | 8,524 |
| 🔟 | README-Apache-Flink.md | local directory | PyFlink | 32 |
Developing a feature that allows the user to select from a variety of README formats and styles.
Example template options include data and ML focused, research, hackathons, minimal, and more!
Before you begin, ensure that you have the following prerequisites installed:
- Python 3.8 or higher
- Conda package manager (recommended)
- Access to the OpenAI API (see OpenAI setup guide below)
Most user's will run README-AI using the command-line interface, specifying their repository on run-time. However, if you would like to use the default configuration, you will need to update the configuration file with your repository's remote URL (GitHub, GitLab) or local directory pat on your machine.
# Repository Configuration
[git]
repository = "INSERT YOUR REPOSITORY URL / LOCAL DIRECTORY"To use the README-AI application, you will need to create an OpenAI account and generate an API key. The steps below outline how to create an account and generate an API key:
OpenAI API User Guide
- Go to the OpenAI website.
- Click the "Sign up for free" button.
- Fill out the registration form with your information and agree to the terms of service.
- Once logged in, click on the "API" tab.
- Follow the instructions to create a new API key.
- Copy the API key and keep it in a secure place.
For the best README-AI experience, consider setting up a payment method on OpenAI's website. This allows you to use more performant language models such as gpt-3.5-turbo. With no payment method, you will be limited to the base gpt-3 models, which may result in less accurate README files or errors during the generation process.
⚠️ Note:If using a payment method, ensure that you have enough credits to run the README-AI application and be sure to continously monitor your API usage and costs with this link - OpenAI API Usage Dashboard. This API is not free to use, and YOU WILL BE CHARGED FOR EACH REQUEST MADE TO THE API, WHICH CAN ADD UP VERY QUICKLY. The README.md file generation should take less than 1 minute to execute, so please kill the process if it is taking longer than a few minutes.
- Clone the README-AI repository:
git clone https://github.com/eli64s/README-AI.git && cd README-AI- Create a Conda environment and install the required dependencies:
# With Bash
bash setup/setup.sh

# With Conda
conda env create -f setup/environment.yaml
conda activate readme_ai
pip install -r requirements.txt- Set up the OpenAI API key by creating an environment variable:
export OPENAI_API_KEY=<your-api-key>Use the command-line to provide the OpenAI API key (if not already set) and specify an output path for your README file, along with the path to your local repository or remote code repository.
Command-Line Arguments:
--api_key: Provide your OpenAI API key.--output: Provide a path where to write the output file.--repository: Provide a remote Git URL or a local directory.
python src/main.py --api_key skabc123 --output README_AI.md --repository https://github.com/eli64s/README-AIAlternatively, run the bash script to run README-AI with the default configuration.
bash scripts/run.shTo run the unit-tests for README-AI, use the following command.
bash scripts/test.sh
- Add additional language support for populating the installation, usage, and test README sections.
- Design and implement a variety of README template formats and styles.
- Add feature to select the output language for the README file (e.g. CN, DE, ES, FR, JA, KO, PT, RU).
- Create UI with Textual or another framework to improve user experience.
Contributions are welcomed and encouraged! Please follow these steps in the Contributing Guidelines, thank you!
This project is licensed under the MIT License - see the LICENSE file for details.
SVG Icons


