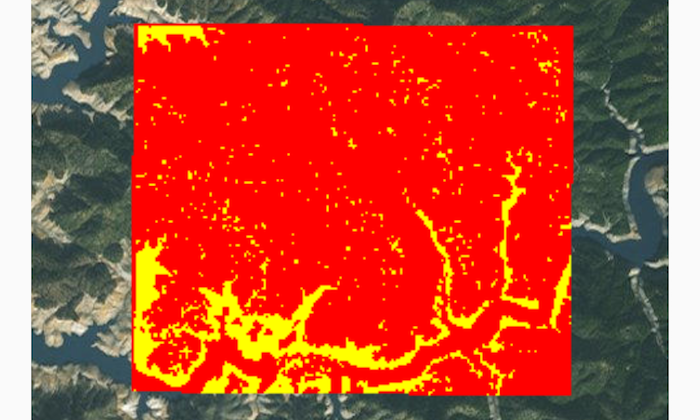
Demonstrates how to use a ColormapRenderer on RasterLayer. ColormapRenderer can be used to replace values on a RasterLayer with a color based on the original value brightness.
To apply a ColormapRenderer to a RasterLayer:
- Create a
Rasterfrom a raster file. - Create a
RasterLayerfrom theRaster. - Create a
List<Integer>representing colors. Colors at the beginning of the list replace the darkest values in the raster and colors at the end of the list replaced the brightest values of the raster. - Create a
ColormapRendererwith the color list and apply it to theRasterLayerwithrasterLayer.setRasterRenderer(colormapRenderer).
- ArcGISMap
- Basemap
- ColormapRenderer
- MapView
- Raster
- RasterLayer
- Download the shasta-bw.zip data from ArcGIS Online.
- Extract the contents of the downloaded zip file to disk.
- Create an ArcGIS/samples/raster folder on your device. You can use the Android Debug Bridge (adb) tool found in /platform-tools.
- Open up a command prompt and execute the
adb shellcommand to start a remote shell on your target device. - Navigate to your sdcard directory, e.g.
cd /sdcard/. - Create the ArcGIS/samples directory,
mkdir ArcGIS/samples/raster. - You should now have the following directory on your target device,
/sdcard/ArcGIS/samples/raster. We will copy the contents of the downloaded data into this directory. Note: Directory may be slightly different on your device. - Exit the shell with the,
exitcommand. - While still in your command prompt, navigate to the root folder where you extracted the contents of the data from step 1 and execute the following command:
adb push ShastaBW/. /sdcard/ArcGIS/samples/raster
| Link | Local Location |
|---|---|
| shasta-bw.zip | <sdcard>/ArcGIS/samples/raster/ShastaBW.tif |
