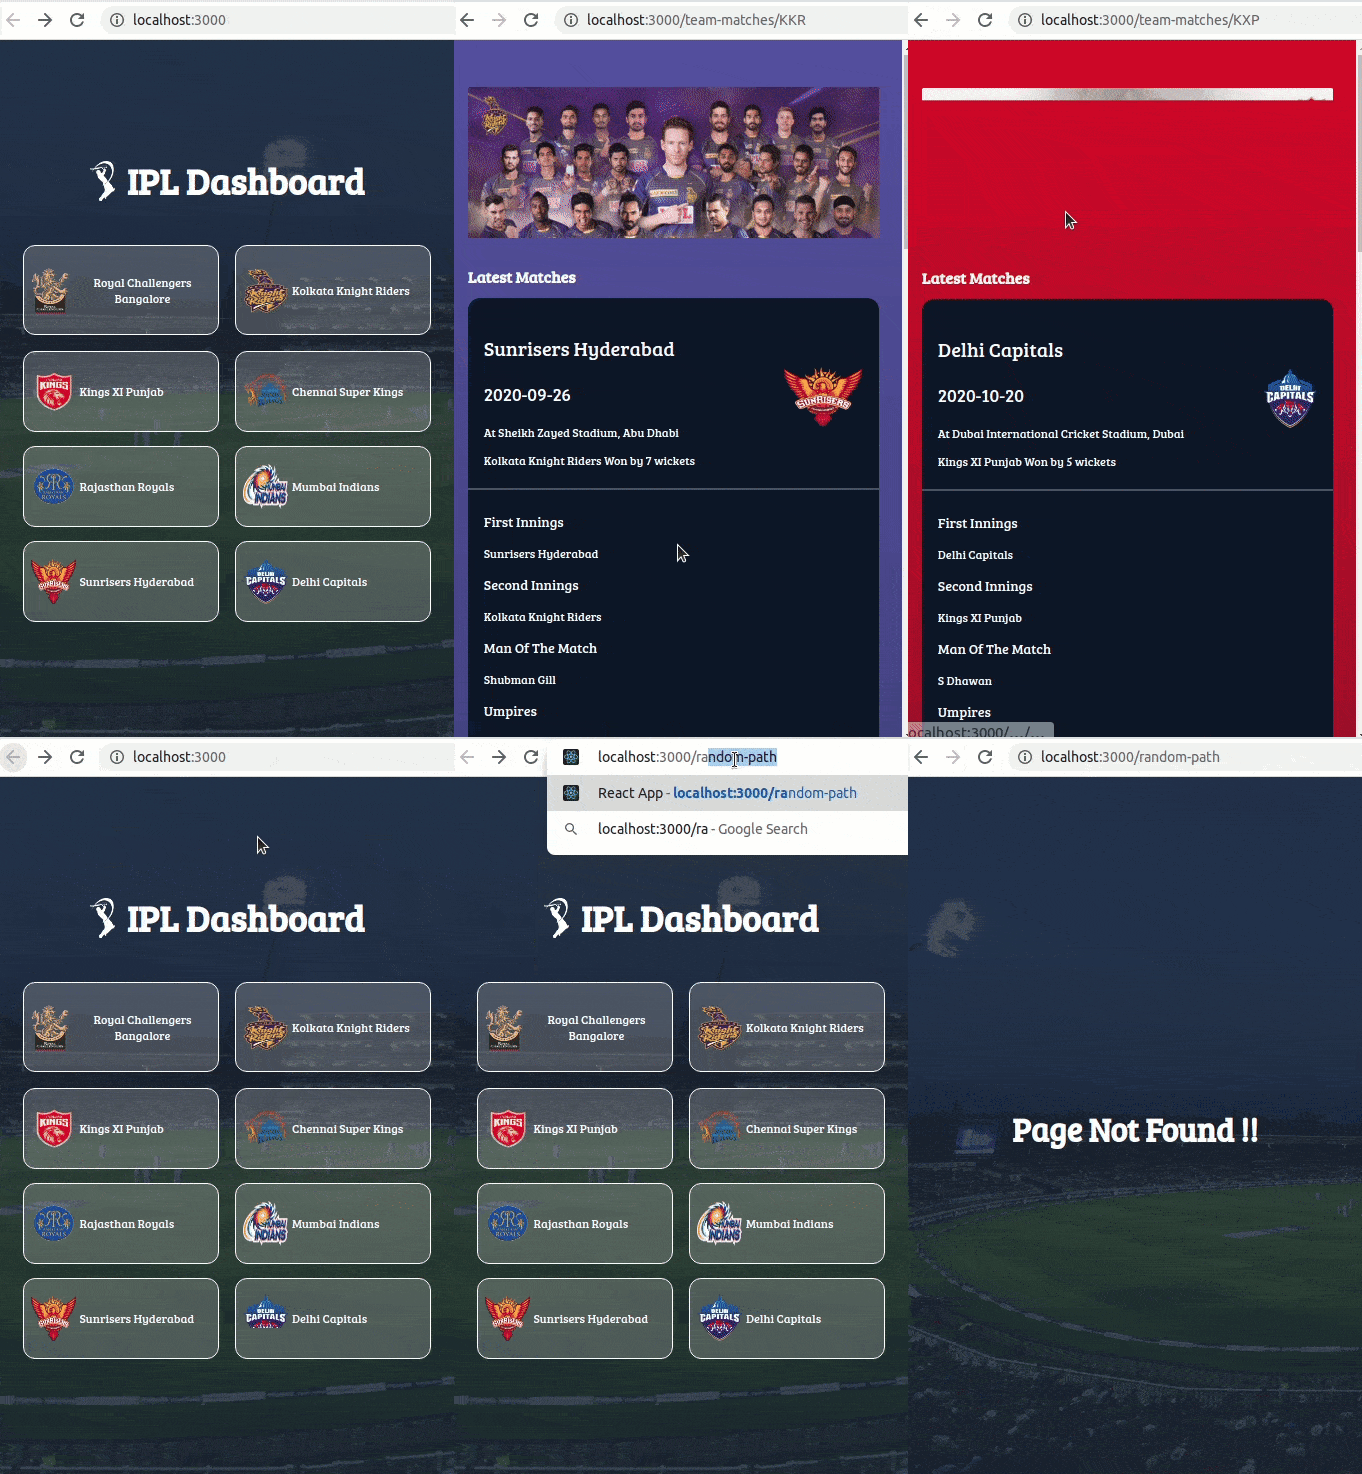
In this practice let's fix the IPL Dashboard by applying the concepts we have learned till now.
Click to view the Set Up Instructions
- Download dependencies by running
npm install - Start up the app using
npm start
Click to view the Functionality to be added
Fix the given code to have the following functionality
-
When the app is opened Home Route should be displayed.
-
When the Home Route is opened,
- Make HTTP GET request to the following URL
https://apis.ccbp.in/ipl - After fetching the data, the list of teams should be displayed
- loader should be displayed while the HTTP request is fetching the data
- Make HTTP GET request to the following URL
-
When a team card in Home Route is clicked,
- Page should be navigated to the Team Matches route with the path
/team-matches/:id
- Page should be navigated to the Team Matches route with the path
-
When the Team Matches Route is opened,
-
Make HTTP GET request to the following URL
https://apis.ccbp.in/ipl/<team_id>with the team id to get the previous matches data of the team -
loader should be displayed while the HTTP request is fetching the data
Example:
https://apis.ccbp.in/ipl/KKR -
After fetching the data, the team banner, latest match, and list of recent matches should be displayed
-
Click to view Important Note Points
The following HTML attributes are required for the HTML for the tests to pass
- Wrap the Loader component with an HTML container element and add the
testidattribute value asloaderto it as shown below<div testid="loader"> <Loader type="Oval" color="#ffffff" height={80} width={80} /> </div>
Click to view Quick Tips
- There are
13bugs to be fixed to achieve the functionality and the UI that is expected.
- All components you implement should go in the
src/componentsdirectory.- Don't change the component folder names as those are the files being imported into the tests.
- Do not remove the pre-filled code
- Want to quickly review some of the concepts you’ve been learning? Take a look at the Cheat Sheets.
