Create and change into a directory where you would like to work.
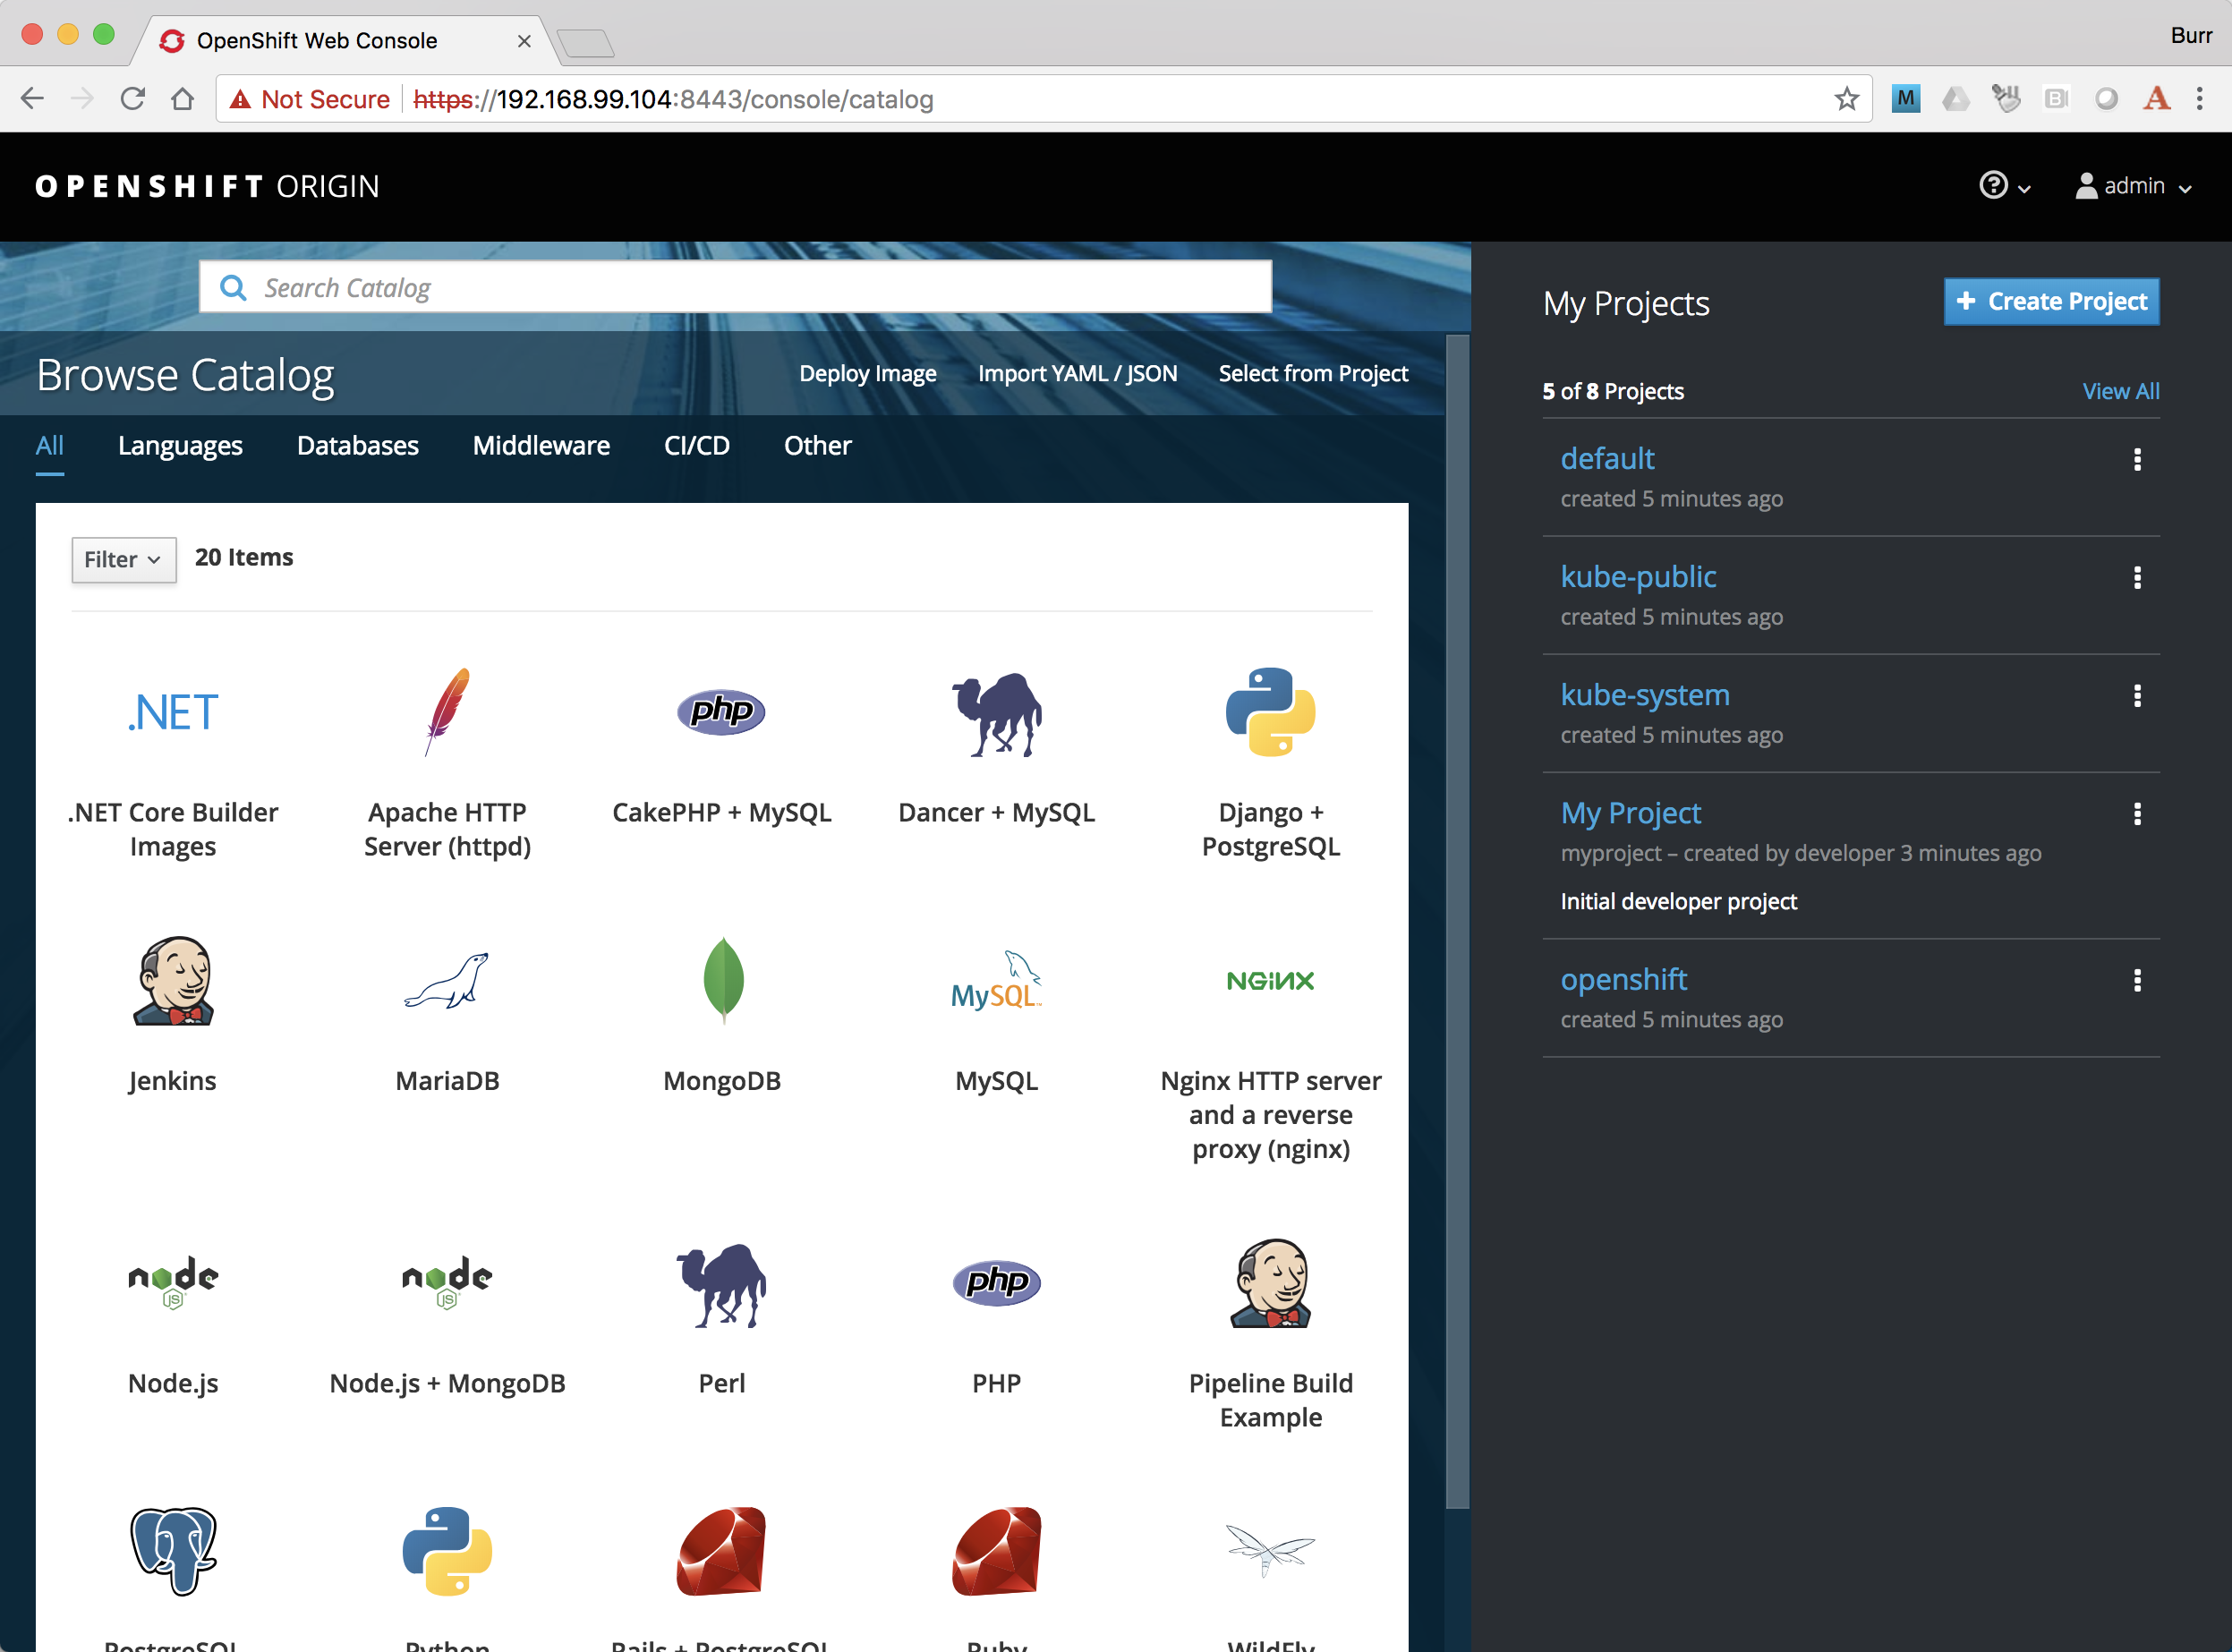
OpenShift is Red Hat’s distribution of Kubernetes
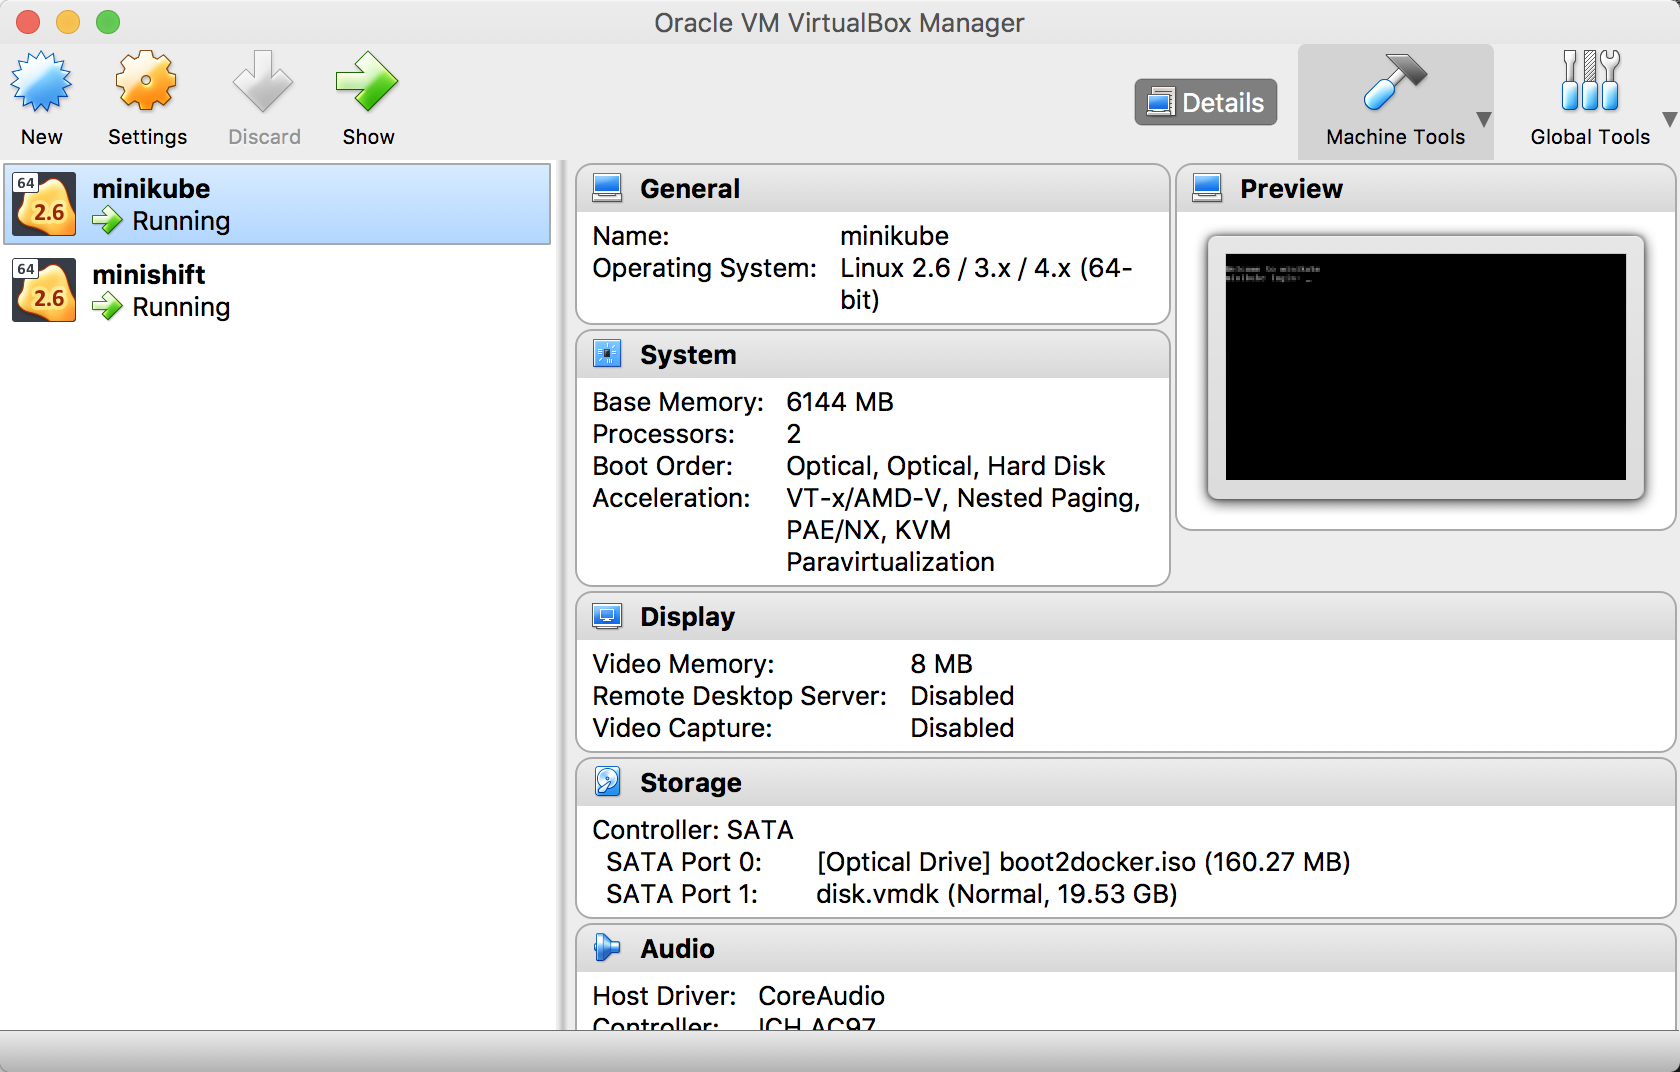
minikube and minishift are essentially equivalent and will be used for the demonstrations/examples below.
These instructions are primarily for Linux & MacOS. At some point, I do hope to find the time translate them to Windows PowerShell. These instructions have NOT been tested well on Windows Bash.
-
Docker for Mac/Windows
-
bash shell
-
git
-
JDK
-
Apache Maven (compilation of Java projects)
-
curl, tar
-
Homebrew for Mac - "brew install stern"
-
minikube and/or minishift will be downloaded below
-
kubectl and/or oc will be downloaded below
Download & Install Kubernetes CLI
# MacOS
$ curl -LO https://storage.googleapis.com/kubernetes-release/release/v1.12.0/bin/darwin/amd64/kubectl
#
$ chmod +x kubectl
# or
brew install kubectl
Linux & Windows instructions for finding and downloading the a kubectl https://kubernetes.io/docs/tasks/tools/install-kubectl/#install-kubectl
Download & Install Minikube Cluster
$ curl -Lo minikube https://storage.googleapis.com/minikube/releases/v0.29.0/minikube-darwin-amd64
$ chmod +x minikube
# or
brew cask install minikube
# if you don't have VirtualBox installed
brew cask install virtualbox
More Minikube releases https://github.com/kubernetes/minikube/releases
OR
Download & Install Minishift Cluster
$ curl -LO https://github.com/minishift/minishift/releases/download/v1.24.0/minishift-1.24.0-darwin-amd64.tgz
$ tar -xvf minishift-1.24.0-darwin-amd64.tgz
More Minishift releases https://github.com/minishift/minishift/releases
Note: "minikube" should be interchangeable with "minishift" in the instructions below, if there is a unique aspect then that will be called out.
#!/bin/bash

export MINIKUBE_HOME=/Users/burrsutter/minikube_0.29.0/bin;
export PATH=$MINIKUBE_HOME:$PATH
$ minikube version
minikube version: v0.29.0
# or
$ minishift version
minishift v1.24.0+8a904d0#!/bin/bash
minikube config set memory 6144
minikube config set cpus 2 (1)
minikube config set vm-driver virtualbox #hyperkit (2)
# minishift addon enable admin-user (3)
# minishift addon enable anyuid (4)
minikube start-
I use 2 cpus here because I have 6 core laptop. Keep this number at or below 50% of overall laptop resources. There is nothing in this series of exercises that is CPU intensive but minishift has a 10 pod per core limit.
-
I use virtualbox because it is available on all platforms. There a number of hypervisor options https://kubernetes.io/docs/tasks/tools/install-minikube/#install-a-hypervisor
-
Minishift is secured by default, this creates an cluster "admin" user
Note: with 1.24, I have seen this command fail, the workaround is to wait until minishift start completes then use "minishift addons apply admin-user"
-
A mechanism on OpenShift that allows the execution of an image with any user id, including root. burrsutter#3
Note: with 1.24, I have seen this command fail, the workaround is to wait until minishift start completes then use "minishift addons apply anyuid"
$ minikube config view
- cpus: 2
- memory: 6144
- vm-driver: virtualbox
$ minikube status
minikube: Running
cluster: Running
kubectl: Correctly Configured: pointing to minikube-vm at 192.168.99.103
$ minikube ip
192.168.99.103
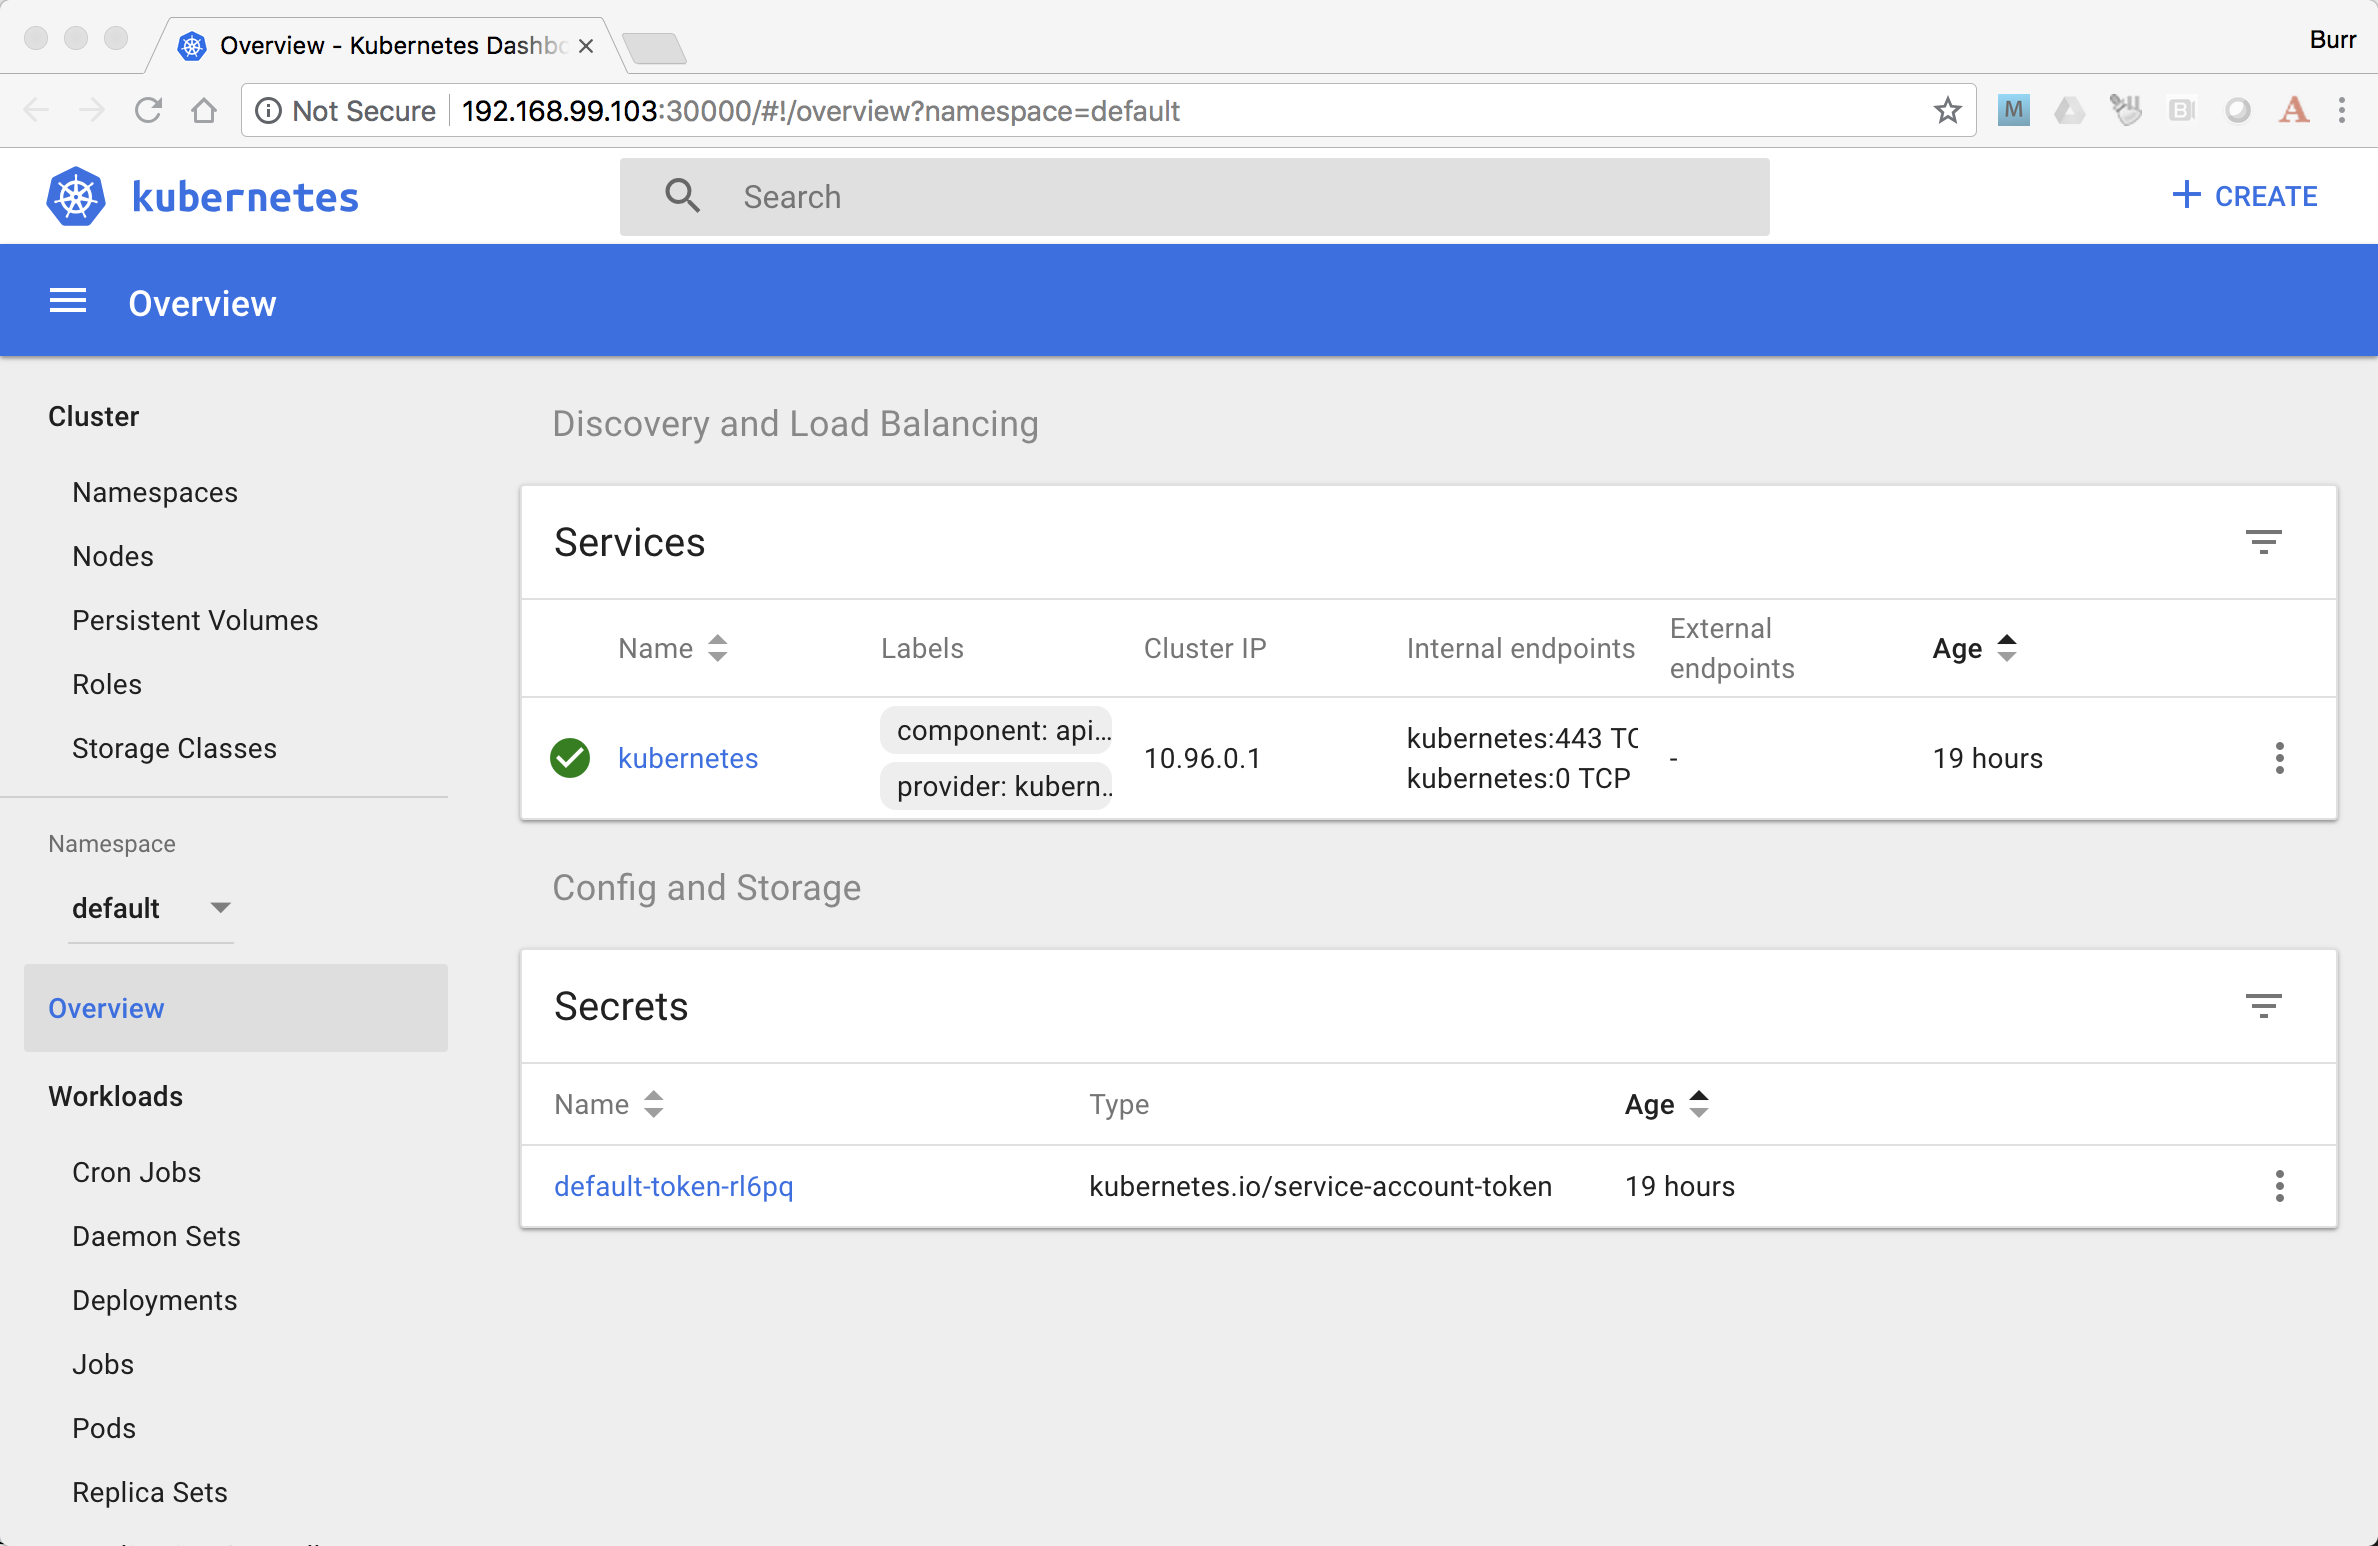
$ minikube dashboard --url
http://192.168.99.103:30000
$ minikube dashboard
$ kubectl config current-context
minikube
# or in the case of minishift
# /192-168-99-102:8443/admin

$ kubectl version
Client Version: version.Info{Major:"1", Minor:"12", GitVersion:"v1.12.0", GitCommit:"0ed33881dc4355495f623c6f22e7dd0b7632b7c0", GitTreeState:"clean", BuildDate:"2018-09-27T17:05:32Z", GoVersion:"go1.10.4", Compiler:"gc", Platform:"darwin/amd64"}
Server Version: version.Info{Major:"1", Minor:"10", GitVersion:"v1.10.0", GitCommit:"fc32d2f3698e36b93322a3465f63a14e9f0eaead", GitTreeState:"clean", BuildDate:"2018-03-26T16:44:10Z", GoVersion:"go1.9.3", Compiler:"gc", Platform:"linux/amd64"}
and if needed, point kubectl back at minikube with "kubectl config use-context minikube"
Also, there is a cool tool that makes switching between Kubernetes clusters and the context a lot easier https://github.com/ahmetb/kubectx
brew install kubectx
$ minikube docker-env
export DOCKER_TLS_VERIFY="1"
export DOCKER_HOST="tcp://192.168.99.103:2376"
export DOCKER_CERT_PATH="/Users/burrsutter/minikube_0.28.1/bin/.minikube/certs"
export DOCKER_API_VERSION="1.35"
# or
$ eval $(minikube docker-env)
# and
# eval $(minishift oc-env) (1)
-
This command puts the "oc" CLI tool in your PATH
$ docker ps
$ docker images
These commands should now be pulling from your minikube/minishift hosted docker daemon. You can turn off the Docker for Mac/Windows daemon to save memory.
Minishift is secured by default and requires you to login
$ oc login $(minishift ip):8443 -u admin -p admin
The "default" namespace should already be the current context, but setting it here to make it obvious
$ kubectl config set-context $(kubectl config current-context) --namespace=default
# or
$ kubens default #kubens comes with the kubectx tool
The command "kubectl run" is the fastest way to deploy a pod (think linux container). It is useful during development but NOT recommended for production
$ kubectl run hello-minikube --image=k8s.gcr.io/echoserver:1.10 --port=8080
It produces a Deployment
$ kubectl get deployments
NAME             DESIRED   CURRENT   UP-TO-DATE   AVAILABLE   AGE
hello-minikube   1         1         1            1           7s
which produces a Pod
$ kubectl get pods
NAME                              READY     STATUS    RESTARTS   AGE
hello-minikube-7c77b68cff-2xcpp   1/1       Running   0          27s

# Tip, if you can not find your pod, perhaps it is in another namespace
$ kubectl get pods --all-namespaces

# and it can be fun to see what labels were applied to your pod
$ kubectl get pods --show-labels
You create a Service
$ kubectl expose deployment hello-minikube --type=NodePort
service "hello-minikube" exposed
and see that newly minted Service object
$ kubectl get service
NAME             TYPE        CLUSTER-IP      EXTERNAL-IP   PORT(S)          AGE
hello-minikube   NodePort    10.97.139.177   <none>        8080:32403/TCP   20s
kubernetes       ClusterIP   10.96.0.1       <none>        443/TCP           1h
You can find the Service’s URL
$ minikube service hello-minikube --url
http://192.168.99.103:32403
# and curl it
$ curl $(minikube service hello-minikube --url)
or just load up the URL in your favorite browser https://screencast.com/t/k5GVJlfg
Note: minishift has a slightly different variant on the "service" command
$ minishift openshift service hello-minikube --url
# and curl it
$ curl $(minishift openshift service hello-minikube --url)
The Deployment that was generated via your "kubectl run" commamnd actually has a bunch of interesting defaults
$ kubectl describe deployment hello-minikube
Name:                   hello-minikube
Namespace:              default
CreationTimestamp:      Sun, 29 Jul 2018 15:21:38 -0400
Labels:                 run=hello-minikube
Annotations:            deployment.kubernetes.io/revision=1
Selector:               run=hello-minikube
Replicas:               1 desired | 1 updated | 1 total | 1 available | 0 unavailable
StrategyType:           RollingUpdate
MinReadySeconds:        0
RollingUpdateStrategy:  1 max unavailable, 1 max surge
Pod Template:
  Labels:  run=hello-minikube
  Containers:
   hello-minikube:
    Image:        k8s.gcr.io/echoserver:1.10
    Port:         8080/TCP
    Host Port:    0/TCP
    Environment:  <none>
    Mounts:       <none>
  Volumes:        <none>
Conditions:
  Type           Status  Reason
  ----           ------  ------
  Available      True    MinimumReplicasAvailable
  Progressing    True    NewReplicaSetAvailable
OldReplicaSets:  <none>
NewReplicaSet:   hello-minikube-7c77b68cff (1/1 replicas created)
Events:
  Type    Reason             Age   From                   Message
  ----    ------             ----  ----                   -------
  Normal  ScalingReplicaSet  5m    deployment-controller  Scaled up replica set hello-minikube-7c77b68cff to 1
but that is beyond the scope of simply getting started, just remember the "kubectl describe <object>" trick for future reference.
Another key tip to remember, is "get all" which is useful for seeing what other objects might be floating around
$ kubectl get all
# or with -n mynamespace
$ kubectl get all -n default
$ kubectl delete service hello-minikube

$ kubectl delete deployment hello-minikube
And you will notice that the pod also terminates. In another terminal window, use the -w to watch as the pod changes state
$ kubectl get pods -w
NAME                              READY     STATUS    RESTARTS   AGE
hello-minikube-7c77b68cff-2xcpp   1/1       Running   0          8m
hello-minikube-7c77b68cff-2xcpp   1/1       Terminating   0         9m
hello-minikube-7c77b68cff-2xcpp   0/1       Terminating   0         9m
Use Ctrl-c to stop watching pods
You can shutdown the VM to save resources when not in use
$ minikube stop
# go about your business, come back later and
$ minikube start
and if you need to wipe out the VM entirely
$ minikube delete
Your minikube configuration goes in a hidden directory at
$MINIKUBE_HOME/.minikube/machines/minikube/config.json
and your kubectl configuration goes in a different hidden directory at
$HOME/.kube/config
and if things go really badly, you might need to wipe out those directories
$ rm -rf ~/.kube
$ rm -rf $MINIKUBE_HOME/.minikube
https://kubernetes.io/docs/setup/minikube/#quickstart including proxy challenges
Hyperkit for Mac
Node.js tutorial
Dealing with multiple clusters


