Google Assistant for Alexa
THIS IS AN UNSTABLE DEVELOPMENT BRANCH - PLEASE DO NOT INSTALL THIS VERSION UNLESS You HAVE BEEN ASKED TO AS IT IS WORK IN PROGRESS!
This BETA 2 version contains the following changes:-
- Automatic set-up of S3 bucket and upload of chime mp3
- changed response and chime mp3 file names to use random string from bucket name
- Applied a 50% increase in gain on responses
THIS SKILL IS FOR PERSONAL USE ONLY AND IS NOT ENDORSED BY GOOGLE OR AMAZON - DO NOT SUBMIT THIS TO AMAZON FOR CERTIFICATION AS IT WON'T PASS!
This skill is an implementation of the official Google Assistant API wrapped as an Alexa skill. It supports all the functions that the API offers (which is slightly different from the Google Home). It is limited to 500 requests a day and only supports US English (although it is usable in the UK)
The following features are NOT supported: -
- Alarms and timers.
- Device location. If you have a Home address set in your google account then it will use that as a default
- Playing music, news, or podcasts is not yet supported.
Known issues:-
-
If you unlink the skill to your account and then re-enable it then the skill might keep asking for you to re-link every hour. You can resolve this by going to this page and removing the Alexa Skill https://myaccount.google.com/permissions?pli=1. You should then be able to relink the skill permanently.
-
You will need to give Google Assistant access to the following features on your Google account. If you do not give access to these then the skill will not work (This is a Google policy not mine). If you are concerned then you could use a new google account just for this skill and not login using this account elsewhere
- Web & App Activity
- Location History
- Device Information
- Voice & Audio Activity
-
Unless you already have a Google Home, you will not be able to use the Google Home app which is required for some apps and functions.
-
Shopping lists are supported - you will need to use the Google Express app to see them, or if you are not in the US or don't want to use the app then you can access the shopping list here:- https://www.google.com/express/shoppinglist/
-
Recognition accuracy and response time. The Google Assistant API only supports voice input and Alexa only makes the text of a spoken enquiry available to a skill. Therefore the skill has to take the text recognised by Alexa, convert it to speech and then send this to Google. This takes time and can potentially reduce accuracy - there isn't much that can be done about this unless Google opens up a text interface or Amazon allow access to the raw audio from the Alexa request.
-
The Google API only supports the US version of the Google Assistant and is US English only, however it will still work in other countries. Local services should work if you set a home/work addresses in your google account as per the instructions here:- https://support.google.com/maps/answer/3093979?co=GENIE.Platform%3DDesktop&hl=en
PRIVACY WARNING. IN ORDER FOR THIS SKILL TO WORK THE LAST RESPONSE FROM GOOGLE MUST BE MADE AVAILABLE AS A PUBLICLY ACCESSIBLE MP3 FILE. THIS IS STORED IN AN AWS S3 BUCKET UNDER YOUR CONTROL AND IT IS RECOMMENDED THAT THIS BUCKET IS GIVEN A RANDOMISED NAME TO MINIMISE THE CHANCES OF SOMEONE STUMBLING ON IT. IF THIS IS NOT ACCEPTABLE TO YOU THEN PLEASE DO NOT INSTALL THIS SKILL!!!
Richard Vowles for his TypeScript Google Assistant client which gave me some pointers on getting the API running in pure node.js https://github.com/rvowles/node-assistant
John JDuo and Pete Bready for proof reading these installation instructions
To run the skill you need to do a number of things: -
- download the file from github
- setup a role in AWS with the correct permissions
- setup an AWS S3 bucket to store the responses from Google
- deploy the example code in lambda
- configure the Alexa skill to use Lambda.
- get an API key from Google
- link skill to your Google Account
- Click on the green "Clone or download" button just under the yellow bar
- Click download ZIP
- Unzip the file to a known place on your hard-drive (suggest root of C: drive in Windows to avoid problems with long filenames)
- Go to http://aws.amazon.com/. You will need to set-up an AWS account (the basic one will do fine) if you don't have one already ** Make sure you use the same Amazon account that your Echo device is registered to** Note - you will need a credit or debit card to set up an AWS account - there is no way around this. If you are just using this skill then you are highly unlikely to be charged unless you are making at least a million requests a month!
- Go to the drop down "Location" menu at the top right and ensure you select US-East (N. Virginia) if you are based in the US or EU(Ireland) if you are based in the UK or Germany. This is important as only these two regions support Alexa. NOTE: the choice of either US or EU is important as it will affect the results that you get. The EU node will provide answers in metric and will be much more UK focused, whilst the US node will be imperial and more US focused.

- Select Lambda from the AWS Services menu at the top left
- Click on the Create a Lambda Function or Get Started Now button.
- Select "Blank Function" - this will automatically take you to the "Configure triggers" page.

- Click the dotted box and select "Alexa Skills Kit" (NOTE - if you do not see Alexa Skill Kit as an option then you are in the wrong AWS region).

- Click Next

-
Name the Lambda Function :-
google-assistant -
Set the decription as :-
Google Assistant -
Select the default runtime which is currently "node.js 6.10".
-
Select Code entry type as "Upload a .ZIP file".

Go to the folder where you unzipped the files you downloaded from Github, select index.zip and click open. Do not upload the zip file you downloaded from github - only the index.zip contained within it
- Enter the following into the Environment Variables Section: -
| Key | Value |
|---|---|
| S3_BUCKET | (put the name of the S3 bucket you created in here) |
| CLIENT_SECRET | (leave blank for the momment) |
| CLIENT_ID | (leave blank for the momment) |
| API_ENDPOINT | embeddedassistant.googleapis.com |
| REDIRECT_URL | (leave blank for the momment) |
- Keep the Handler as index.handler (this refers to the main js file in the zip).
- Role should be "Choose an existing role"
- Under Existing Role - pick "google_assistant"
- Under Advanced settings set Memory (MB) to 1536 and change the Timeout to 10 seconds
- Click "Next" and review the settings then click "Create Function". This will upload the Archive.zip file to Lambda. This may take a number of minutes depending on your connection speed
- Copy the ARN from the top right to be used later in the Alexa Skill Setup (it's the text after ARN - it won't be in bold and will look a bit like this arn:aws:lambda:eu-west-1:XXXXXXX:function:google). Hint - Paste it into notepad or similar.
- Leave this window open as we will need to return to it to set some further environment variable values.
NOTE - if you have already installed my previous Google Skill and have used the "google" invocation name for this then you will either have to use a different name for this skill or rename/delete the older Google skill.
-
In a new browser window go to the Alexa Console (https://developer.amazon.com/edw/home.html and select Alexa on the top menu)
-
Click "Get Started" under Alexa Skills Kit
-
Click the "Add a New Skill" yellow box.
-
You will now be on the "Skill Information" page.
-
Set "Custom Interaction Model" as the Skill type
-
Select the language as English (US), English (UK), or German depending on your location
-
You can set the skill name and invocation name to whatever you want although some names work better than others, I have found that "Google" or "my assistant" seem to work well. The name you choose will be the activation name e.g. "Alexa, ask my assistant how long will it take to drive to London?". For these instructions we will set "Google" as the skill name and "google" as the invocation name, so in this case you would say: "Alexa, Ask google who is the queen of england.". For best results the invocation name should be lowercase.
-
Leave the "Audio Player" setting to "No"
-
Click Next.
-
You will now be on the "Inovation Model" page.
-
Copy the text below into the "Intent Schema" box.
{ "intents": [ { "intent": "AMAZON.StopIntent" }, { "intent": "AMAZON.CancelIntent" }, { "slots": [ { "name": "search", "type": "SEARCH" } ], "intent": "SearchIntent" } ] } -
Under Custom Slot Types:-
-
Type "SEARCH" into the "Enter Type" field
-
Copy the text below and paste into the "Enter Values" box and then click "Add"
who is the queen why is the sky blue -
Copy the text below and paste them into the Sample Uterances box.
SearchIntent {search} -
Click Next.
-
You will now be on the "Configuration" page.
-
Select "AWS Lambda ARN (Amazon Resource Name)" for the skill Endpoint Type.
-
Then pick the most appropriate geographical region (either US or EU as appropriate) and paste the ARN you copied in step 13 from the AWS Lambda setup.
-
Select Yes for Account Linking
At this point we will pause the setup of the skill and setup the google API. Copy the two Redirect URLs lower down the page you are currently on (one will start with https://layla.amazon.com/api/skill/link the other https://pitangui.amazon.com/api/skill/link). We will need these during the setup of the Google API.
Leave this page open as we will come back to it after we have setup the Google Assistant API
To enable access to the Google Assistant API, do the following:
-
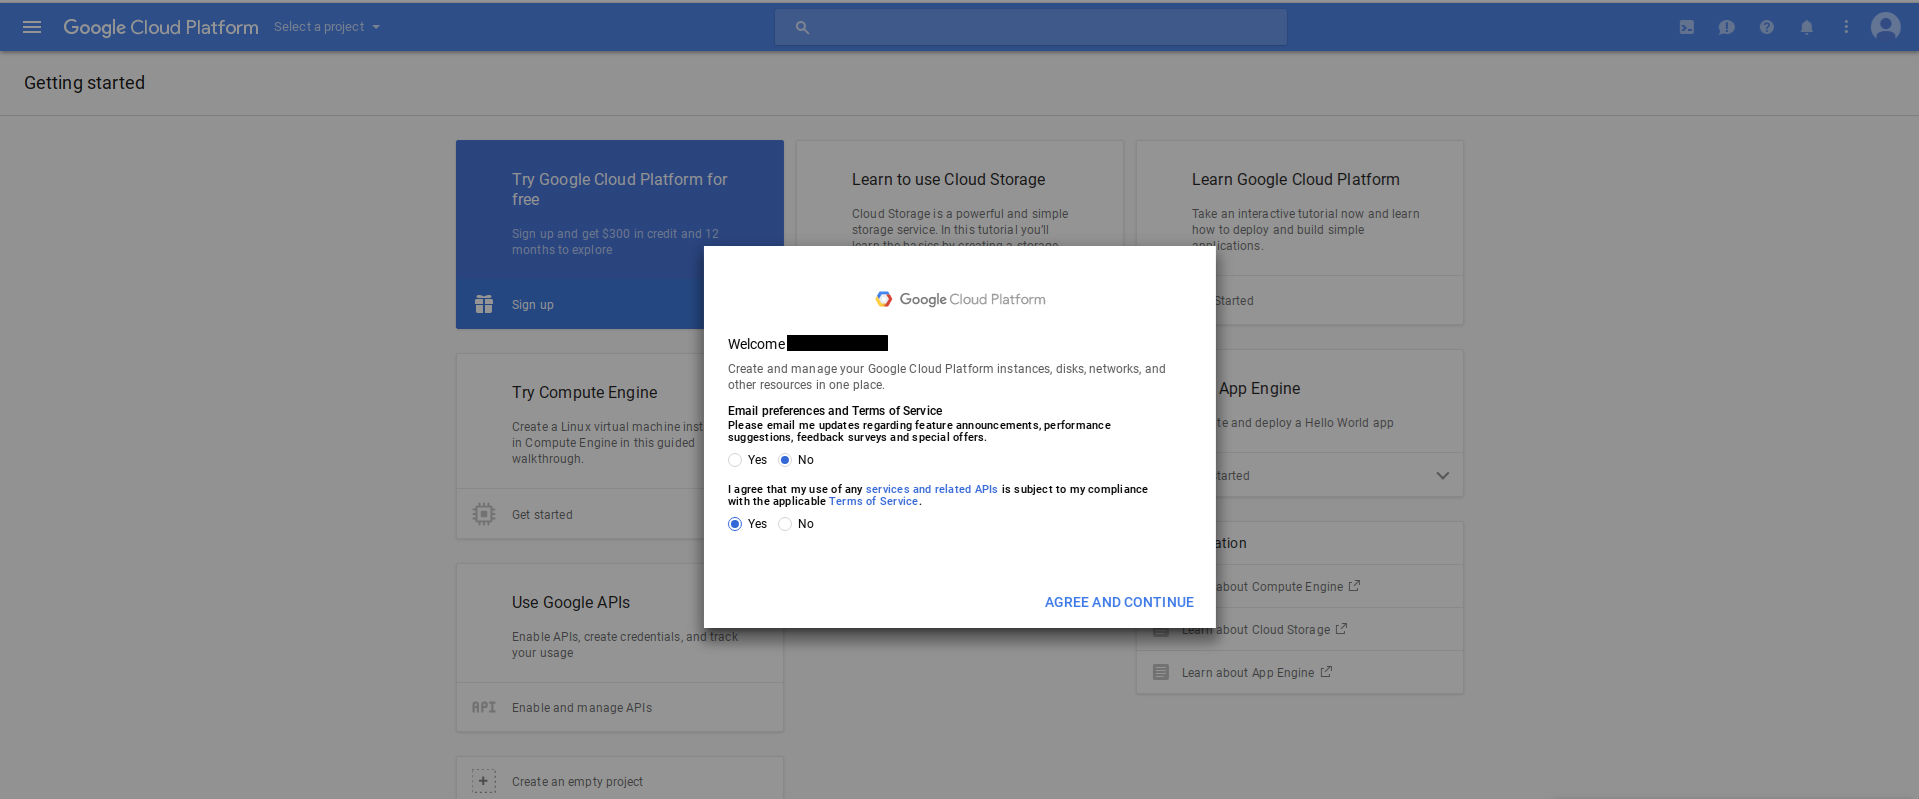
In a new browser tab or window, go to the Cloud Platform Console here https://console.cloud.google.com/project (If this is the first time you have use the google developer console then you will need to agree to the the Terms on service on the pop-up box.)
-
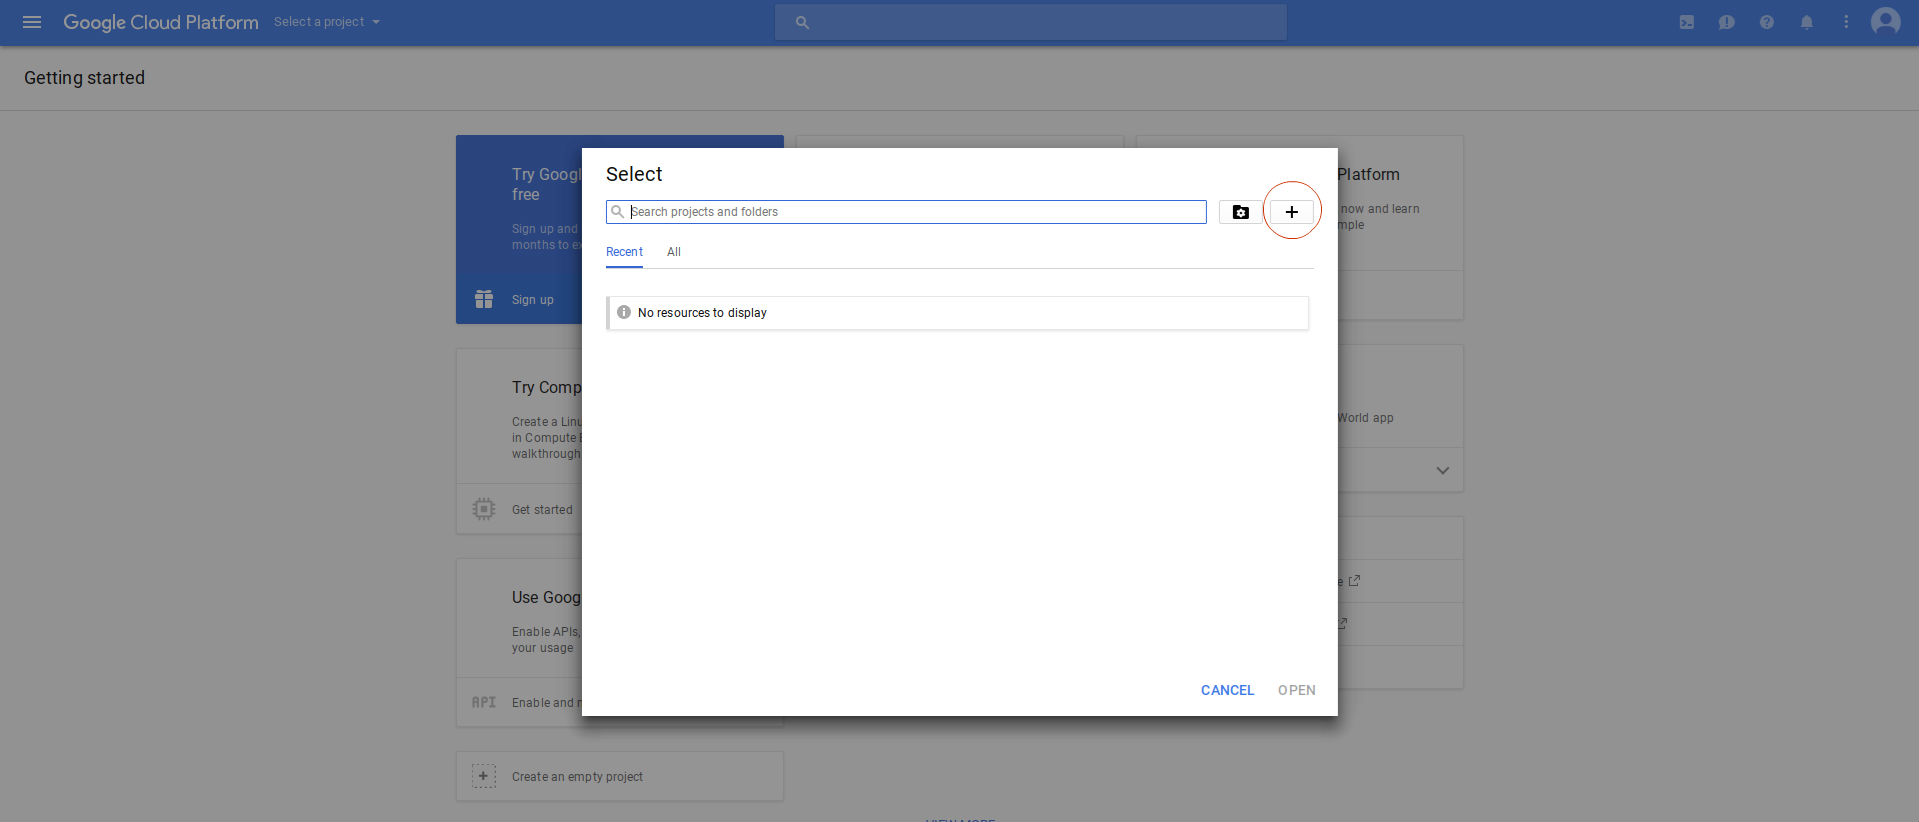
Click on "Select a project" and then the "+" button to create a new project
-
Give the project a name, it doesn't really matter what it is but it needs to be unique so Google will add a series of numbers to the end of the name if somebody has already used it. Press create.
-
You will be taken to a new page. It will take about 15 seconds for the project to be created. Look for a notification within the blue bar at the top of the page. Once the project is created click on the the notification and then select the "Create Project: XXX" where XXX is the name that you gave the project.
-
Click on this link: - https://console.developers.google.com/apis/api/embeddedassistant.googleapis.com/overview This will take you to a page entitled "API manager".
-
Click on the blue text near the top that says "ENABLE".
-
Once the next page had loaded - do nothing with this page.
-
Click on this link:- https://console.developers.google.com/apis/credentials/oauthclient This will take you to a page entitled "Create Client ID".
-
You may need to set a product name for the product consent screen. On the OAuth consent screen tab, give the product a name (pick anything you want) and click Save.
-
Click Web application and set the name to "google_assistant". Under Authorised redirect URIs, paste the first of the "Redirect URLS" from the skill setup page and hit "Enter"
-
A second box will appear - into this paste the second "Redirect URL" and then hit "Enter" again
-
Click Create. A dialog box appears that shows you a client ID and secret. Make a note of these (Copy these into a notepad document or similar - there is a little copy button to the right of each of these values to help you) as we'll need to enter these into our skill and Lambda function later. (Note - if you forget to copy these then you can acess them from the "Credentials" tab with-in the Google API manager)
-
Hit OK. You can now close this page.


-
Return to the Alexa skill page that we paused at earlier
-
In the Authorization URL paste the following: -
https://accounts.google.com/o/oauth2/auth?access_type=offline -
Into the Client ID box, paste the Client ID that we got from google in the previous step.
-
Under Domain List : Press "Add domain" and enter:-
google.com -
Press "add domain" again for a second box into which enter:-
googleapis.com -
Under Scope: Press "Add Scope" and enter:-
https://www.googleapis.com/auth/assistant-sdk-prototype -
Press "add scope" again for a second box into which enter:-
https://www.googleapis.com/auth/script.external_request -
Under Authorisation Grant Type make sure "Auth Code Grant" is selected.
-
The Access Token URI should be set to: -
https://accounts.google.com/o/oauth2/token -
Paste in the Client Secret that you were given by Google previously
-
Leave Client Authentication Scheme as "HTTP Basic"
-
Leave eveything under Permission unselected.
-
Paste into the Privacy Policy URL box: -
https://www.google.com/policies/privacy/ -
Click Next.
-
There is no need to go any further through the process i.e. submitting for certification. There is no point in testing the skill on the next page as the simulator cannot authenticate against the Google API.
- Return to the Lambda Function page we left open earlier.
- Click on the lambda function "Code" tab (it will probably be already open on the Triggers tab)
- Paste the google Client Secret into the value field for the CLIENT_SECRET variable.
- Paste the google Client ID into the value field for the CLIENT_ID variable.
- Paste the first of the "Redirect URLS" from the skill setup page into the REDIRECT_URL variable.
- Hit "Save" at the top (Not "Save and Test")
-
In order to use the Google Assistant, you must share certain activity data with Google. The Google Assistant needs this data to function properly; this is not specific to the SDK.
-
Open the Activity Controls page https://myaccount.google.com/activitycontrols for the Google account that you want to use with the Assistant. Ensure the following toggle switches are enabled (blue):
- Web & App Activity
- Location History
- Device Information
- Voice & Audio Activity
-
Launch the Google skill by asking "Alexa, open google" (or whatever invocation name you gave e.g "Jarvis" or "Hal"
-
You will then be prompted to link your account through the Alexa app.