This tutorial leverages OCI to streamline provisioning of the compute infrastructure required to bootstrap a Kubernetes cluster from the ground up. Sign up for $300 in free credits.
Estimated cost to run this tutorial: $0.38 per hour ($9.23 per day).
The compute resources required for this tutorial exceed the OCI free tier.
Follow the OCI CLI documentation to install and configure the oci command line utility.
Verify the OCI CLI version is 2.17.0 or higher:
oci --version
Follow the documentation here to fetch your tenancy and user OCIDs and generate an RSA key pair, which are necessary to use the OCI CLI.
Follow the documentation here to create an OCI config file ~/.oci/config. Here's an example of what it will look like:
[DEFAULT]
user=ocid1.user.oc1..<unique_ID>
fingerprint=<your_fingerprint>
key_file=~/.oci/oci_api_key.pem
tenancy=ocid1.tenancy.oc1..<unique_ID>
region=us-ashburn-1
The above example uses "us-ashburn-1" as the region, but you can replace this with any available region. For best performance running the commands from this tutorial, pick a region close to your physical location. To list the available regions:
oci iam region list
Create yourself an OCI compartment, within which we'll create all the resources in this tutorial. In the following command, you will need to fill in your tenancy OCID and your OCI Home Region. Your Home Region will be indicated to you when you first create your tenancy. You can also determine it like this.
oci iam compartment create --name kubernetes-the-hard-way --description "Kubernetes the Hard Way" \
  --compartment-id <tenancy_ocid> --region <home_region>
Note that by specifying your tenancy OCID as the --compartment-id in the above command, you will be
creating your compartment under the root compartment of your tenancy.
Note the compartment id from the output of the above command, and create a file ~/.oci/oci_cli_rc with
the following content:
[DEFAULT]
compartment-id=<compartment_id>
From this point on, all oci commands we run will target the above compartment.
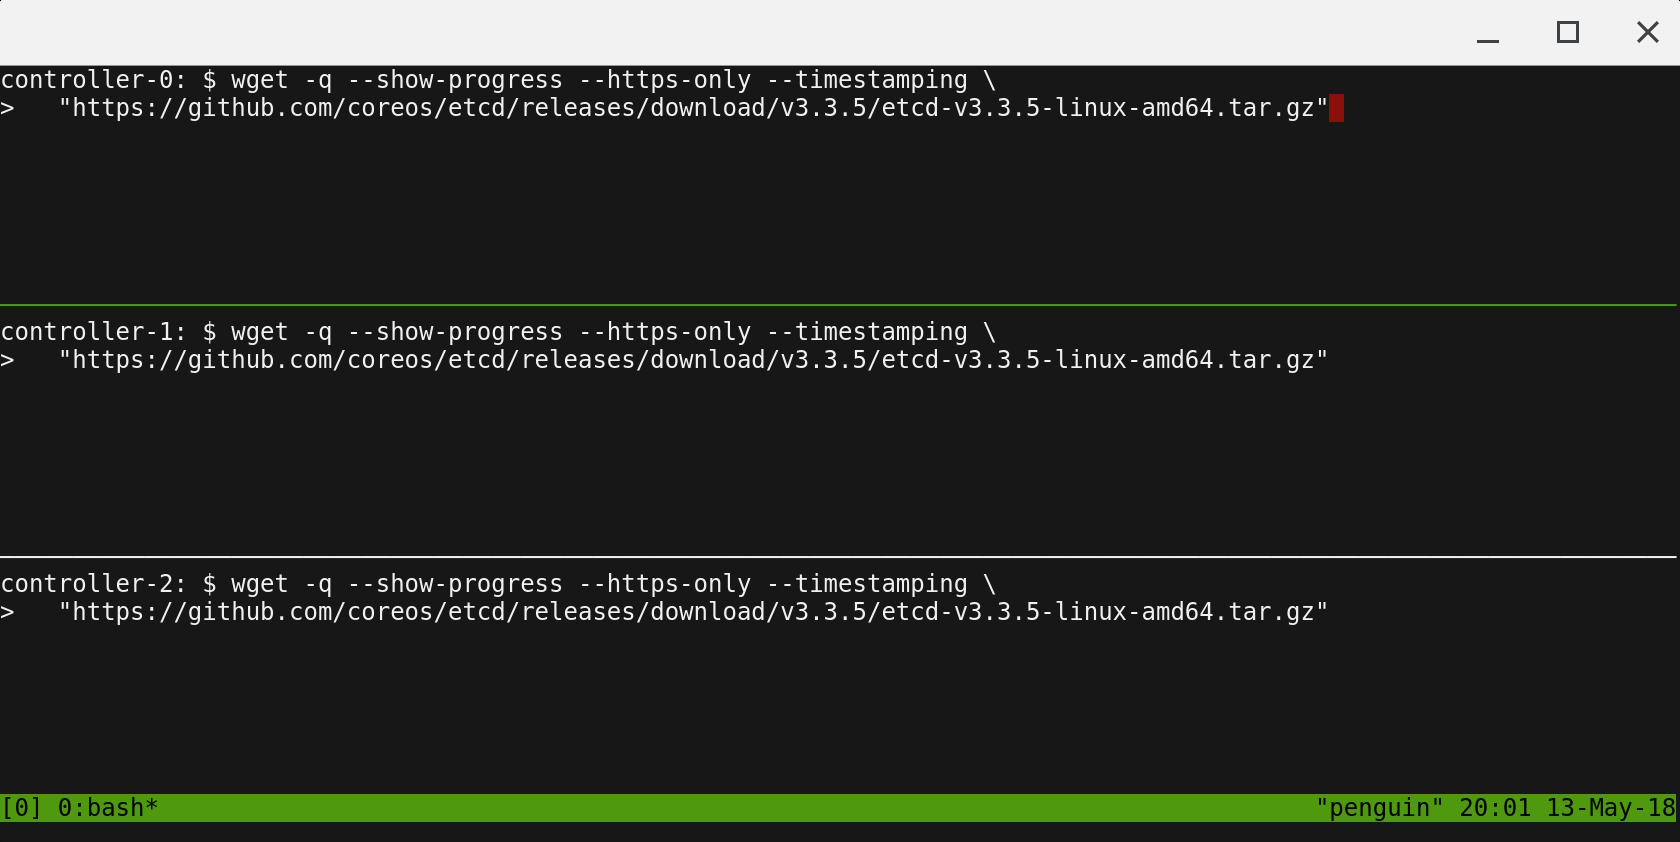
tmux can be used to run commands on multiple compute instances at the same time. Labs in this tutorial may require running the same commands across multiple compute instances, in those cases consider using tmux and splitting a window into multiple panes with synchronize-panes enabled to speed up the provisioning process.
The use of tmux is optional and not required to complete this tutorial.
Enable synchronize-panes by pressing
ctrl+bfollowed byshift+:. Next typeset synchronize-panes onat the prompt. To disable synchronization:set synchronize-panes off.
