[Note to Accountants: Your client may send their tax information to you in the form of a zip file. In order for the web links to work, it is necessary to unzip this file onto your system. (That is, it is not enough to just click into the zip file in a file explorer.)]
To view the generated reports and their supporting documents, you will need to open the file
rockbooks_reports/html/index.html. Using a file explorer (e.g. Explorer on Windows or Finder on Mac)
you can double-click rockbook-reports, then double-click html, then double-click index.html.
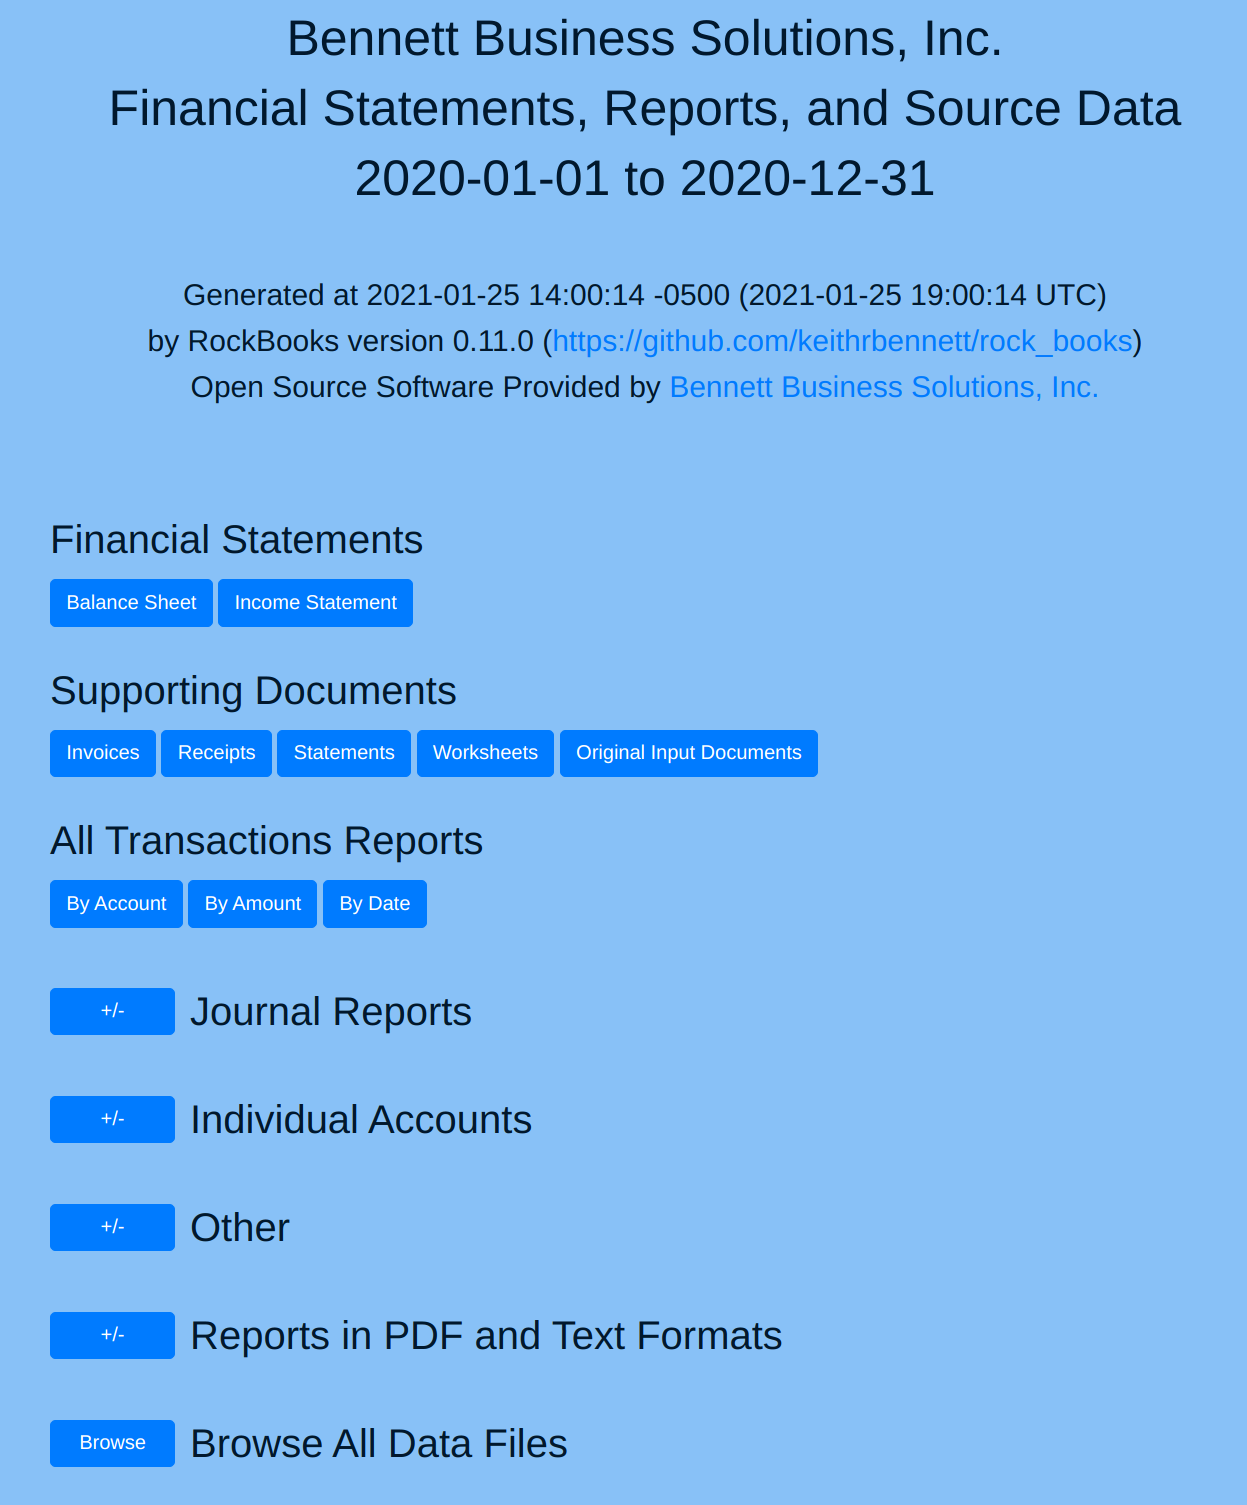
This should bring up a page looking something like this:
The generated HTML files are intended for local and individual use only. For your convenience, they contain links that enable you to navigate your data directories, but also your entire file system. Making your files accessible via a web server or screen sharing would enable the remote user to view all the files on your system and is not recommended! You can give others access to your files safely by instead sending them only the data files, most conveniently in the form of a zip file.
In order to make the transactions easier to differentiate from each other, an extra new line is added to separate them. If you prefer not to have this extra new line (for example, to print the reports to paper more compactly), you can disable it using the "-e-" command line switch.
When you initially submit your data to your accountant, he or she may offer corrections and suggestions. Be prepared to regenerate the reports after making any changes. It's easy to do; in a terminal, run rock_books w in the project data directory.
Assuming the accountant wants a zip file, in a terminal, run zip -r my-data.zip . (although this would work, it's probably better to specify the zip file in a different directory, e.g. zip -r ~/temp/my-data.zip ., so that you don't include other backups in your backup). Alternatively you could use a GUI application to do the same. (In order to keep track of multiple versions of the data, I suggest including the date/time in the filename, e.g. 2021-01-25_17-32-02_2020-bbs-data.zip.)
The "Supporting Documents" buttons merely link you to the corresponding directories extracted from the zip file. The "Original Input Documents" are the text files in which the client has recorded the transactions.
There are buttons with which you can navigate the invoices and receipts directory trees (i.e. folders and subfolders). This can be useful, but the reports should contain appropriate links to invoices and receipts per transaction, and this might be how you prefer to view them.
Currently the software does not differentiate between an account's initial balance and a transaction on the first day of a period. That is, there is no implementation of beginning balances; one simulates this by recording a transaction in the general journal on January 1st.
The simplest and most productive way to view the data is opening its index.html page in a web browser, but each report is also provided in text and PDF formats, in case that might be useful to you.
If you want to view files in addition to those already available with other buttons, you can click the Browse button next to Browse All Data Files at the bottom of the home page. This will display a listing of the data directory from its top. Here is a sample RockBooks data directory tree:
├── govt
├── invoices
├── misc
├── receipts
│   ├── 01
│   ├── 02
│   ├── 03
│   ├── 04
│   ├── 05
│   ├── 06
│   ├── 07
│   ├── 08
│   ├── 09
│   ├── 10
│   ├── 11
│   └── 12
├── rockbooks-inputs
├── rockbooks-reports
│   ├── html
│   │   └── single-account
│   ├── pdf
│   │   └── single-account
│   └── txt
│       └── single-account
├── statements
│   ├── pnc-checking
│   ├── pnc-visa
│   └── southwest-visa
└── worksheets
As an example of a useful directory that is not accessible via the other buttons, you can see a govt directory. This might be where the client has stored documents relating to business registration, licenses, etc.
