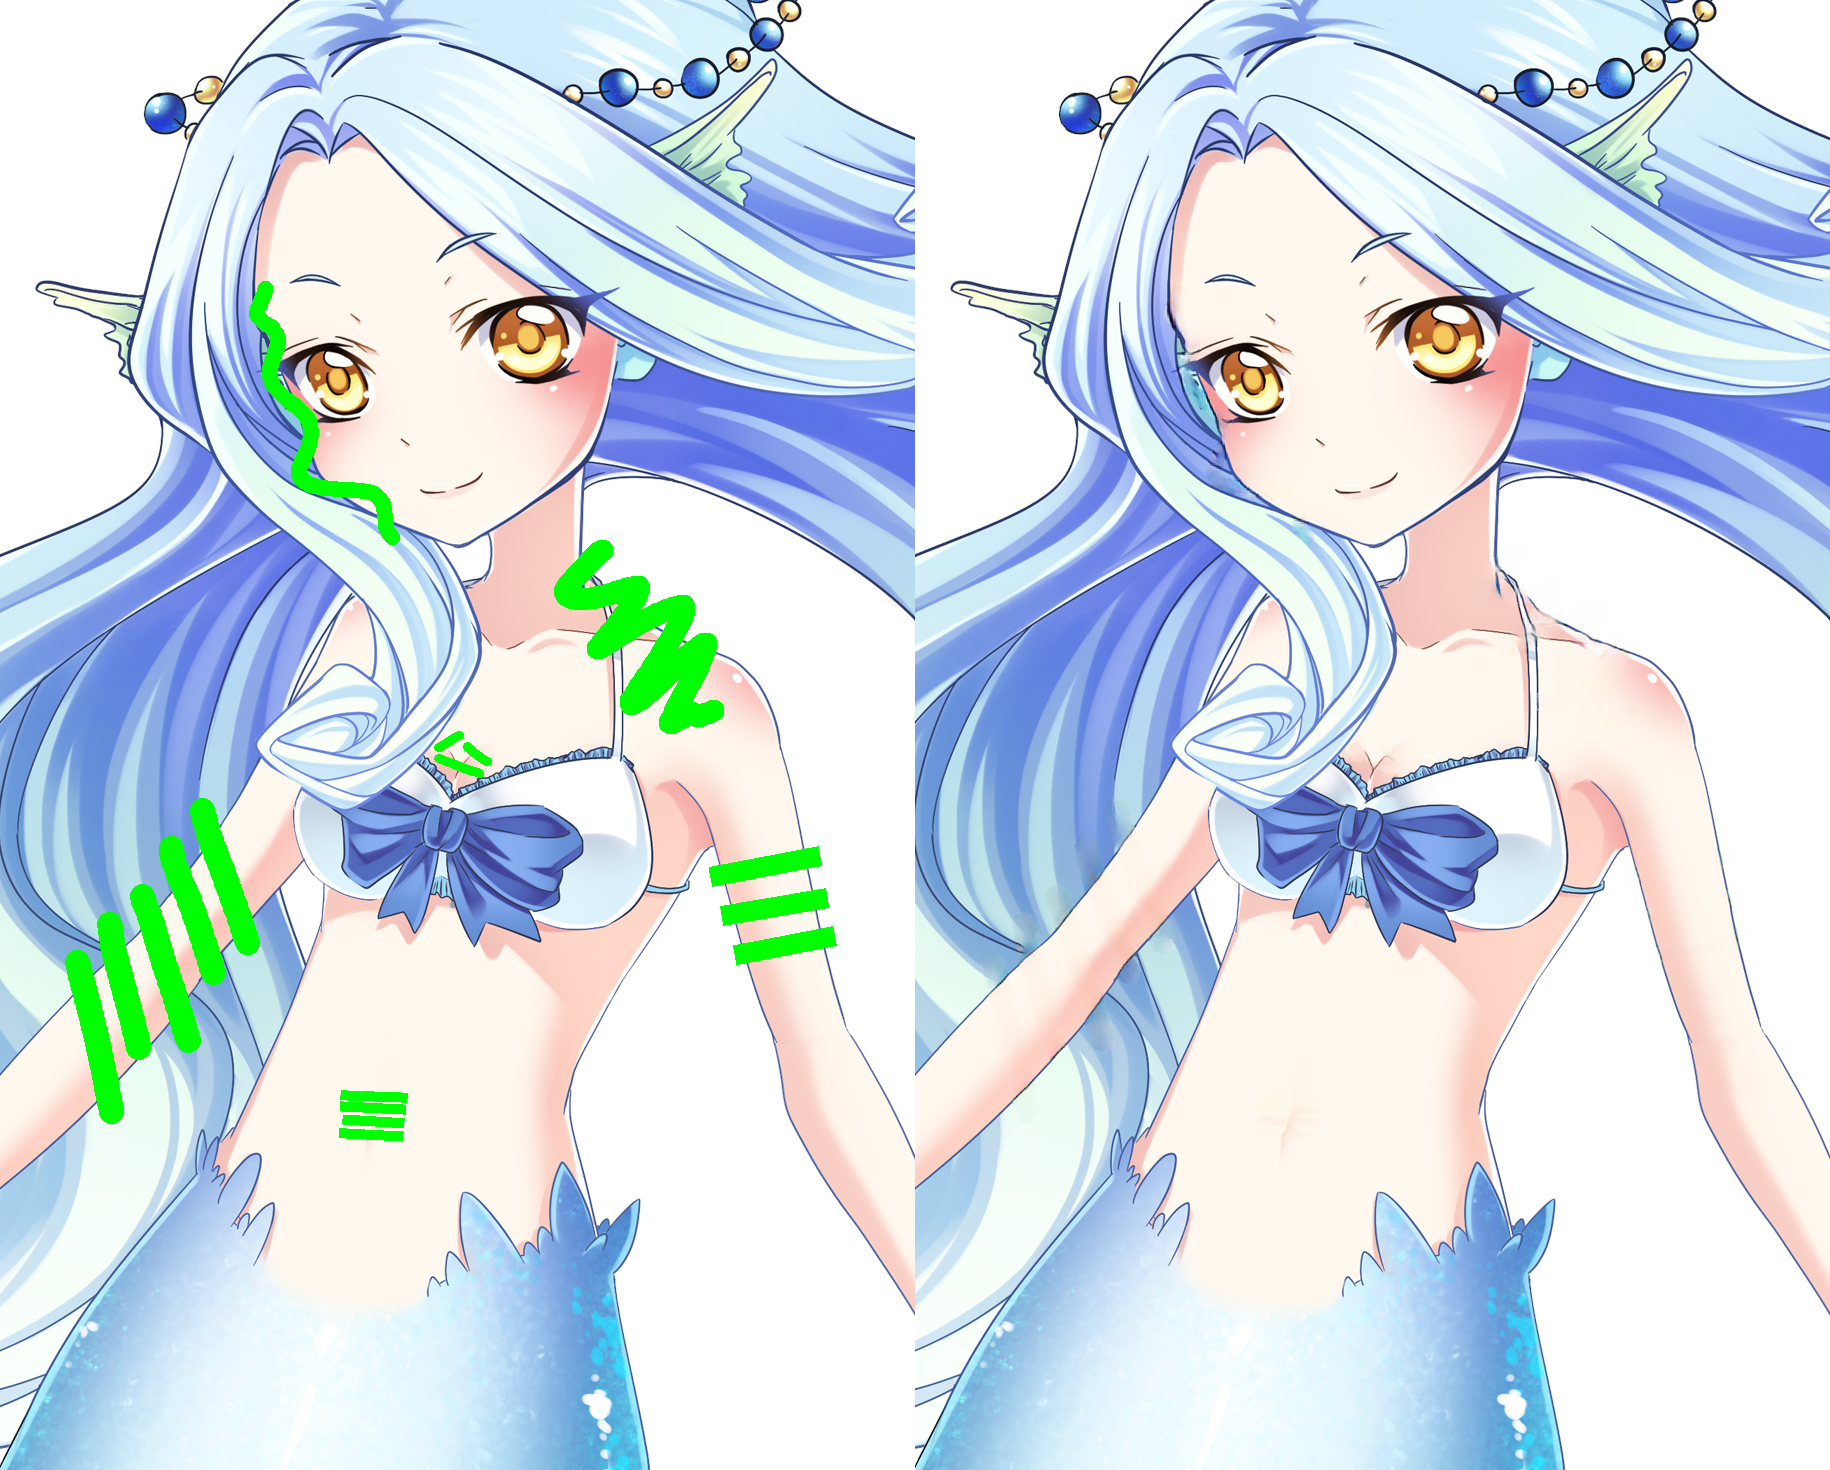
Decensoring Hentai with Deep Neural Networks. Formerly named DeepMindBreak.
A deep learning-based tool to automatically replace censored artwork in hentai with plausible reconstructions.
The user specifies the censored regions in each image by coloring those regions green in a separate image editing program like GIMP or Photoshop. A neural network handles the hard part of filling in the censored regions.
DeepCreamPy has a pre-built binary for Windows 64-bit. DeepCreamPy works on Windows, Mac, and Linux.
- Decensoring images of ANY size
- Decensoring censors of ANY shape (e.g. bunch of black lines, pink hearts, etc.)
- Higher quality decensors
- Support for mosaic decensors (still a WIP and not very usable)
- User interface (not usable)
You can download the latest release here or find all previous releases here. Binary only available for Windows 64-bit.
If you want to run the code yourself, you can clone this repo and download the model from https://drive.google.com/open?id=1byrmn6wp0r27lSXcT9MC4j-RQ2R04P1Z. Unzip the file into the /models/ folder.
- Python 3.6.7
- TensorFlow 1.10
- Keras 2.2.4
- Pillow
- h5py
No GPU required! Tested on Ubuntu 16.04 and Windows. Tensorflow on Windows is compatible with Python 3 and not Python 2. Tensorflow is not compatible with Python 3.7.
Tensorflow, Keras, Pillow, and h5py can all be installed by running in the command line
$ pip install -r requirements.txt
The decensorship is intended to work on color hentai images that have minor to moderate censorship of the penis or vagina. If a vagina or penis is completely censored out, decensoring will be ineffective.
It does NOT work with:
- Black and white/Monochrome image
- Hentai containing screentones (e.g. printed hentai)
- Real life porn
- Censorship of nipples
- Censorship of anus
- Animated gifs/videos
For each image you want to decensor, using image editing software like Photoshop or GIMP to color the areas you want to decensor the green color (0,255,0), which is a very bright green color.
I strongly recommend you use the pencil tool and NOT the brush tool.
If you aren't using the pencil tool, BE SURE TO TURN OFF ANTI-ALIASING on the tool you are using.
I personally use the wand selection tool with anti-aliasing turned off to select the censored regions. I then expand the selections slightly, pick the color (0,255,0), and use the paint bucket tool on the selected regions.
To expand selections in Photoshop, do Selection > Modify > Expand or Contract. To expand selections in GIMP, do Select > Grow.
Save these images in the PNG format to the "decensor_input" folder.
Decensor the images by double-clicking on the decensor file.
Decensor the images by running
$ python decensor.py
Decensored images will be saved to the "decensor_output" folder. Decensoring takes a few minutes per image.
As with decensoring bar censors, perform the same steps of coloring the censored regions green and putting the colored image into the "decensor_input" folder.
In addition, move the original, uncolored images into the "decensor_input_original" folder. Ensure each original image has the same names as their corresponding colored version in the "decensor_input" folder.
For example, if the original image is called "mermaid.jpg," then you want to put this image in the "decensor_input_original" folder and, after you colored the censored regions, name the colored image "mermaid.png" and move it to the "decensor_input" folder.
Decensor the images by double-clicking on the decensor_mosaic file.
Decensor the images by running
$ python decensor.py --is_mosaic=True
Decensored images will be saved to the "decensor_output" folder. Decensoring takes a few minutes per image.
To be implemented.
ModuleNotFoundError: No module named '_pywrap_tensorflow_internal'
See https://github.com/deeppomf/DeepCreamPy/issues/26#issuecomment-434043166
If your decensor output looks like this, then the censored regions were not colored correctly.
Make sure you have antialiasing off.
Here are some examples of bad and good colorings:
- Q: Why aren't black and white images supported? Aren't black and white images easier to decensor than color images?
- A: Black and white images are harder to decensor than color images because neural networks struggle to replicate screentone patterns.
- Finish the user interface (sometime in November)
- Update model with better quality data (sometime in November)
- Add support for black and white images
- Add error log
Contributions are welcome! Special thanks to StartleStars for contributing code for mosaic decensorship and SoftArmpit for greatly simplifying decensoring!
# Copyright (c) 2018, deeppomf. All rights reserved.
#
# This work is licensed under the Creative Commons Attribution-NonCommercial-ShareAlike
# 4.0 International License. To view a copy of this license, visit
# https://creativecommons.org/licenses/by-nc-sa/4.0/ or send a letter to
# Creative Commons, PO Box 1866, Mountain View, CA 94042, USA.
See LICENSE.txt for information about the license.
Example mermaid image by Shurajo & AVALANCHE Game Studio under CC BY 3.0 License. The example image is modified from the original, which can be found here.
Neural network code is modified from MathiasGruber's project Partial Convolutions for Image Inpainting using Keras, which is an unofficial implementation of the paper Image Inpainting for Irregular Holes Using Partial Convolutions. Partial Convolutions for Image Inpainting using Keras is licensed under the MIT license.
User interface code is modified from Packt's project Tkinter GUI Application Development Blueprints - Second Edition. Tkinter GUI Application Development Blueprints - Second Edition is licensed under the MIT license.
Data is modified from gwern's project Danbooru2017: A Large-Scale Crowdsourced and Tagged Anime Illustration Dataset.
See ACKNOWLEDGEMENTS.md for full license text of these projects.
