In this section you'll learn how to deploy the application to an ASP.NET Core Razor Pages application
If you were not able to complete the last section, use this version of the code as the starting point and use this as the model file.
One of the advantages of ML.NET is you have different deployment targets. Perhaps you're used to building desktop, mobile and web applications in .NET. All of these are potential deployment targets for your model.
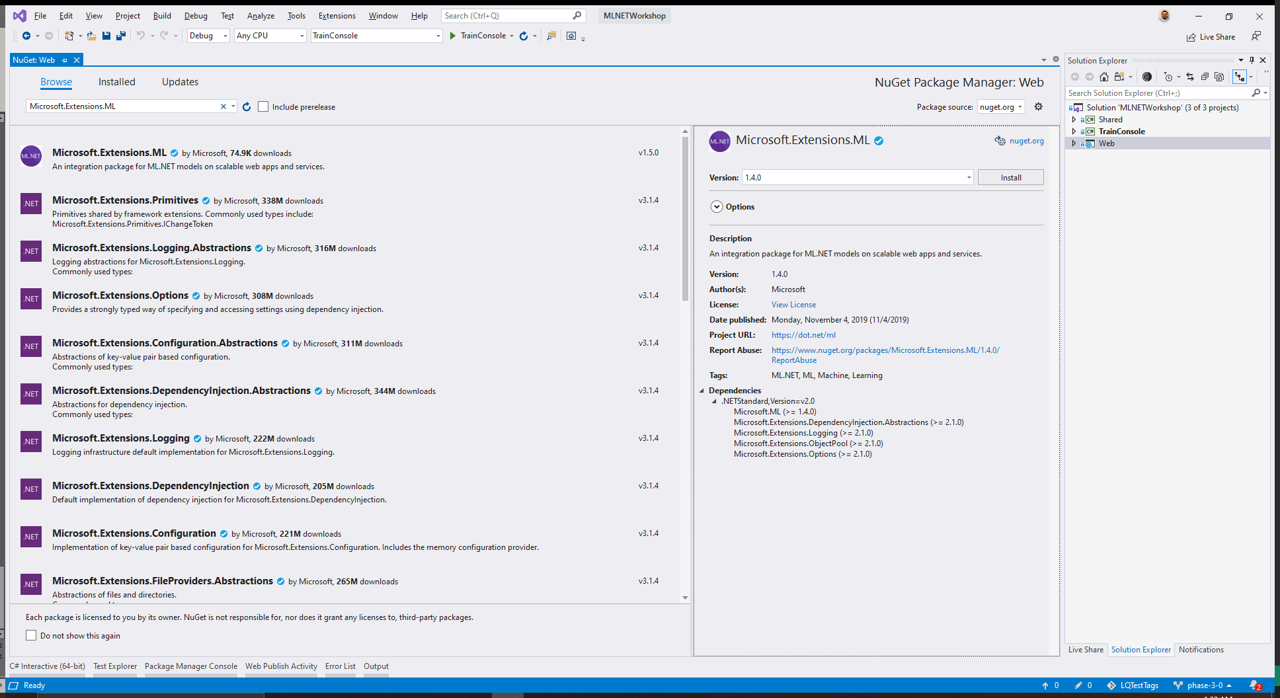
Install the Microsoft.Extensions.ML NuGet package to the Web project. Make sure to select version 1.5.0.
Alternatively, you can use the dotnet cli
dotnet add package Microsoft.Extensions.ML -v 1.5.0
During evaluation, we used the Transform method to make multiple predictions on the training and test dataset. The Transform method is a great way to make predictions on an entire IDataView. However, when you want to make a single prediction, you can use the PredictionEngine convenience API which takes in a single instance of an object used as your model's input. In this case, you can pass in a single ModelInput instance instead of having to create an IDataView for a single data point. A challenge with PredictionEngine though is that it's not thread-safe. As a result, when you want to scale PredictionEngine in multi-threaded environments, it's recommended that you use the PredictionEnginePool service that's part of the Microsoft.Extensions.ML NuGet package.
To access the prediction, define the schema of the output created by the model. In the Shared project, create a new class called ModelOutput with the Score property of type float. This property contains the output or predicted price generated by the model.
public class ModelOutput
{
    public float Score { get; set; }
}The PredictionEnginePool is designed for use with dependency injection which is built into ASP.NET Core. As such, you configure it just like you would any other service you want to use throughout your application.
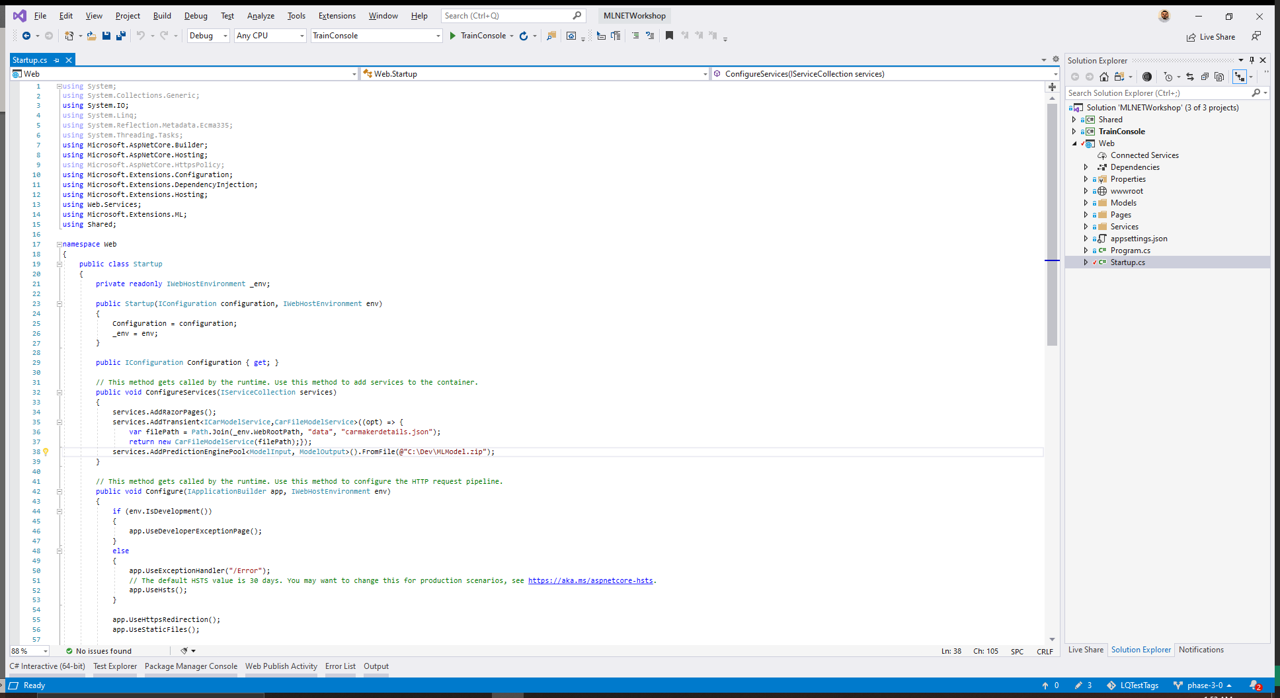
In the Web project, open the Startup.cs file and add the following using statements to the top to reference the Shared and Microsoft.ML.Extensions NuGet package.
using Microsoft.Extensions.ML;
using Shared;
Then, in the ConfigureServices method, register the PredictionEnginePool service and use the path of where you saved your model.
services.AddPredictionEnginePool<ModelInput, ModelOutput>().FromFile(@"C:\Dev\MLModel.zip");In this case, the model was loaded from a file, but you can also load models stored remotely via publicly accessible endpoints using the FromUri method.
Open the Pages/Index.cshtml.cs file and add the following using statements at the top to reference the Shared project and Microsoft.Extensions.ML NuGet package:
using Microsoft.Extensions.ML;
using Shared;
Inside the class, define a private readonly variable for the PredictionEnginePool service.
private readonly PredictionEnginePool<ModelInput, ModelOutput> _predictionEnginePool;Then, inject the PredictionEnginePool service into the Index constructor.
public IndexModel(ILogger<IndexModel> logger, ICarModelService carFileModelService, PredictionEnginePool<ModelInput,ModelOutput> predictionEnginePool)
{
    _logger = logger;
    _carModelService = carFileModelService.GetDetails();
    CarMakeSL = new SelectList(_carModelService, "Id", "Model", default, "Make");
    _predictionEnginePool = predictionEnginePool;
}
Finally, replace the implementation of the OnPost method with the following.
public void OnPost()
{
    var selectedMakeModel = _carModelService.Where(x => CarModelDetailId == x.Id).FirstOrDefault();

    CarInfo.Make = selectedMakeModel.Make;
    CarInfo.Model = selectedMakeModel.Model;

    ModelInput input = new ModelInput
    {
        Year = (float)CarInfo.Year,
        Mileage = (float)CarInfo.Mileage,
        Make = CarInfo.Make,
        Model = CarInfo.Model
    };

    ModelOutput prediction = _predictionEnginePool.Predict(input);
    CarInfo.Price = prediction.Score;
    ShowPrice = true;
}
In the snippet above, the information from the CarInfo model is taken and a new instance of ModelInput is created. Then, the Predict function is used to predict the price of a vehicle, given the inputs from the input variable. Once a prediction is made, the Price property of the CarInfo is set to the predicted value and the price is displayed on screen.
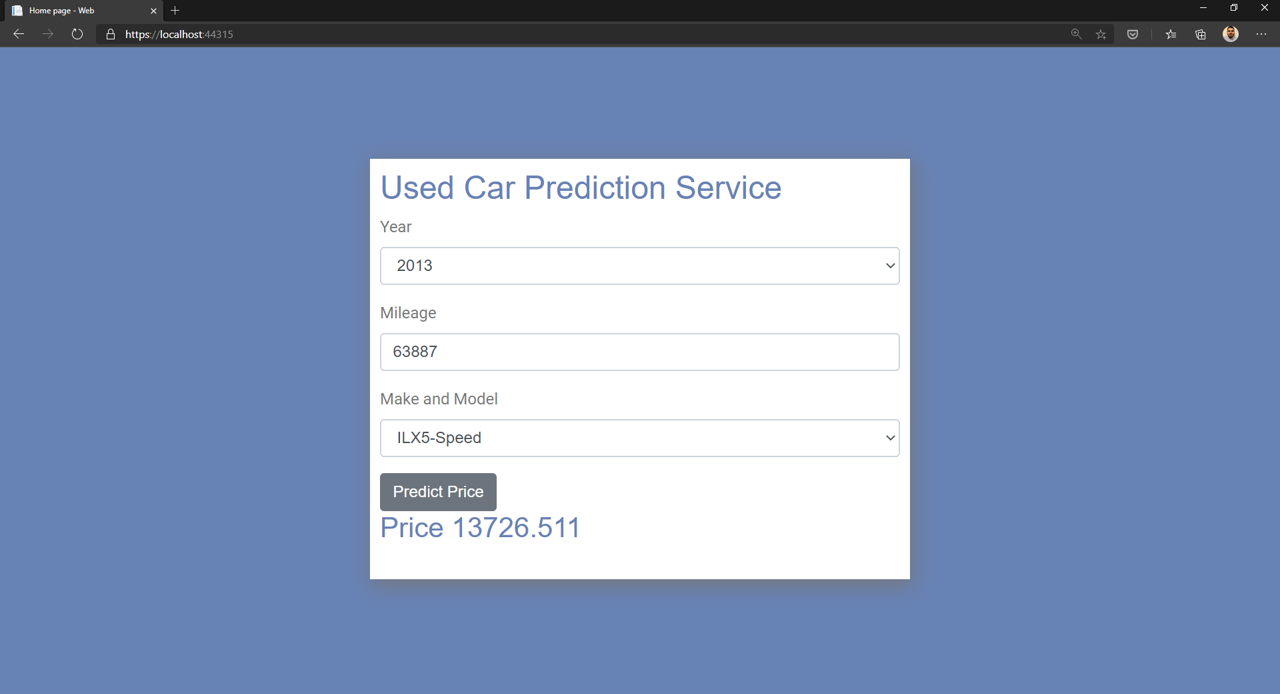
Set the startup project to Web and run the application. Fill in the form fields and select Predict Price.
Congratulations! You have now used the model inside your web application.


