In this activity you will configure Build and Release pipelines so that you can manage assignments of both built-in policies and custom policies and initiatives to Resource Groups, Subscriptions or Management Groups using Infrastructure as Code.
There are several strategies to follow when defining you Repository structure and your build pipelines. In this laboratory, we are defining policies and initiatives for each Azure Resource Type, so we are creating a directory in our Repository for each Resource type (for the moment, storage account), and we are leaving all the artifacts related to this Resource type in that directory (e.g. Templates/StorageAccount).
This will allow us to group and version resources related to a specific Resource Type altogether (for the moment, deployment ARM Templates, Policy Definitions and Initiatives, but we could also have for instance custom roles related to that Resource Type)
Task 1 - Enable continuous integration and continuous deployment for your Storage Account Policies and Initiatives
In this Task, you will enable continuous integration and continuous deployment for the custom policies and initiatives that you created in Activity 2.
Step 1 - Create the build pipeline for Storage Account artifacts
In this step, you will create a build pipeline that will publish the ARM templates related to Storage Account (deployment template, policies and initiatives) as an Azure DevOps artifact.
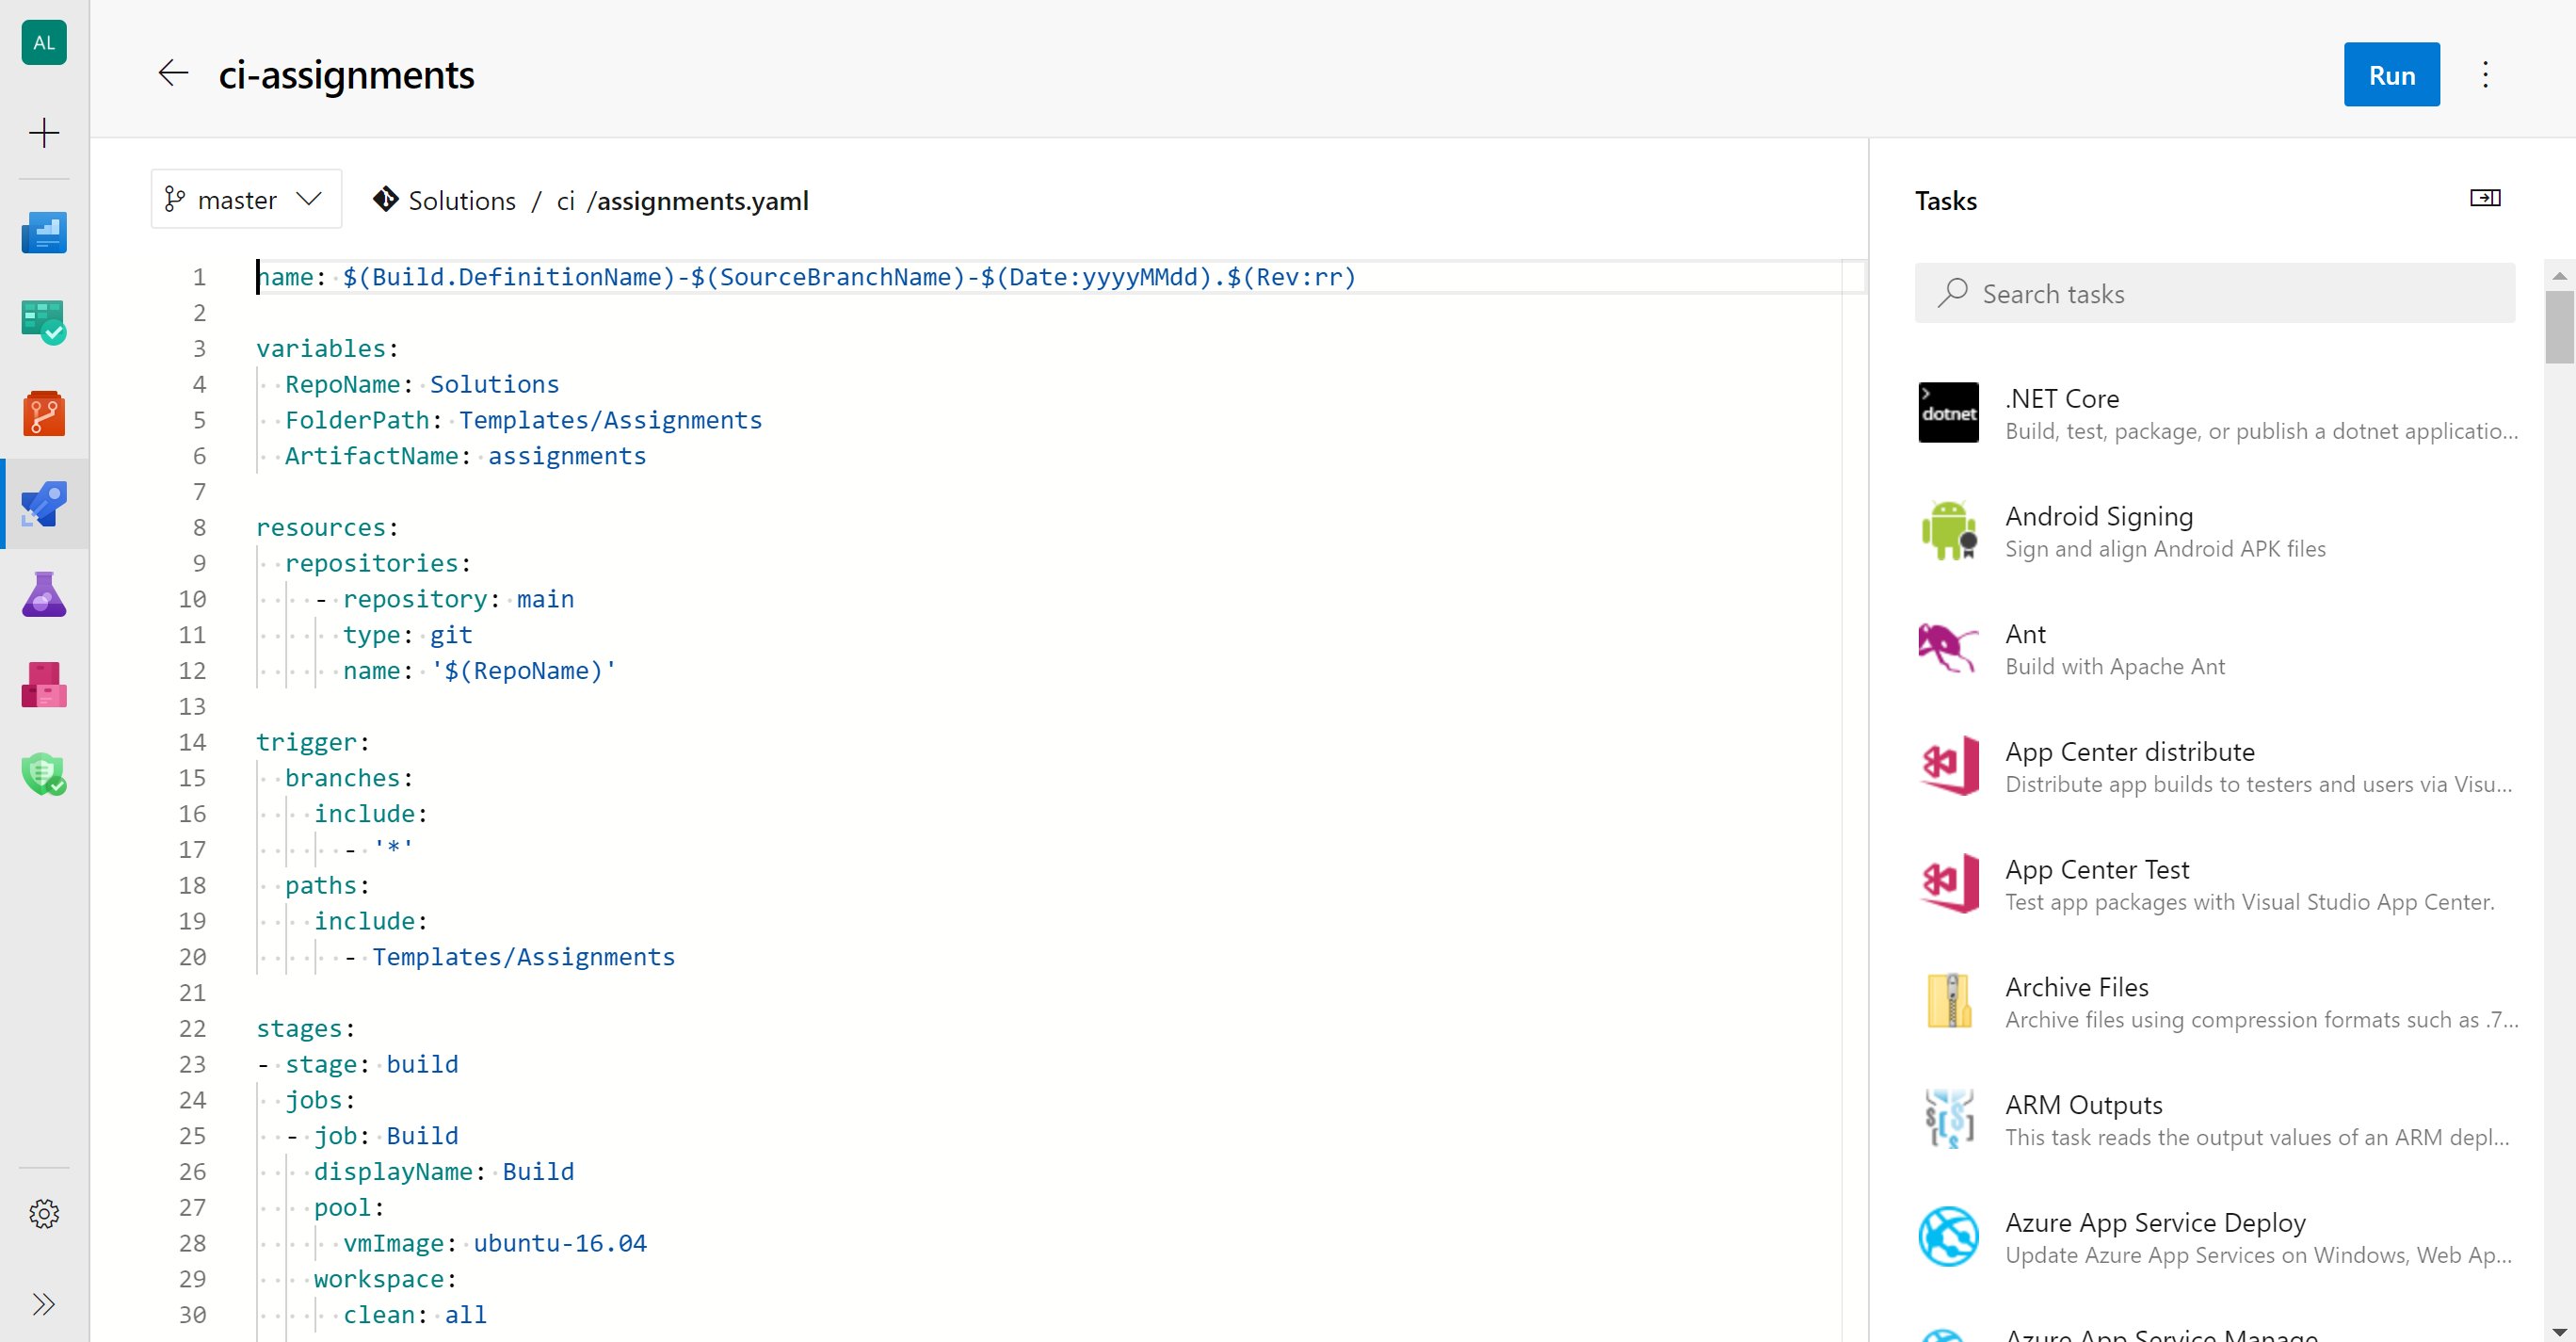
You can use the following .yaml file:
Suggested File Path: ci\storageAccount.yaml
name: $(Build.DefinitionName)-$(SourceBranchName)-$(Date:yyyyMMdd).$(Rev:rr)

variables:
  RepoName: {your-repo-name}
  FolderPath: Templates/StorageAccount #change it you didn't follow our suggested path
  ArtifactName: storageAccount

resources:
  repositories:
    - repository: main
      type: {git | github}
      name: '$(RepoName)'
      endpoint: {the name of the endpont to be used for login to Github} # only needed if repo is GitHub

trigger: #continuous integration will be enabled for all branches and the path containing the ARM templates related to Storage Account
  branches:
    include:
      - '*'
  paths:
    include:
      - Templates/StorageAccount #change it you didn't follow our suggested path

stages:
- stage: build
  jobs:
  - job: Build
    displayName: Build
    pool:
      vmImage: ubuntu-16.04
    workspace:
      clean: all

    steps:
    - task: PublishBuildArtifacts@1
      displayName: 'Publish Template Files as Azure DevOps artifact'
      inputs:
        PathtoPublish: $(FolderPath)
        ArtifactName: $(ArtifactName)
Now, configure the YAML file above as a Build Pipeline and run it
Pipeline > Builds > New > New build pipeline > Azure Repos Git (YAML) / Github (YAML) > {Your Repo} > Existing Azure Pipelines YAML file > Branch : {your branch}, Path : {ci\storageAccount.yaml}
We suggest that you rename the build pipeline as ci-storageAccount
Step 2 - Configure the release pipeline for your Policies and Initiatives
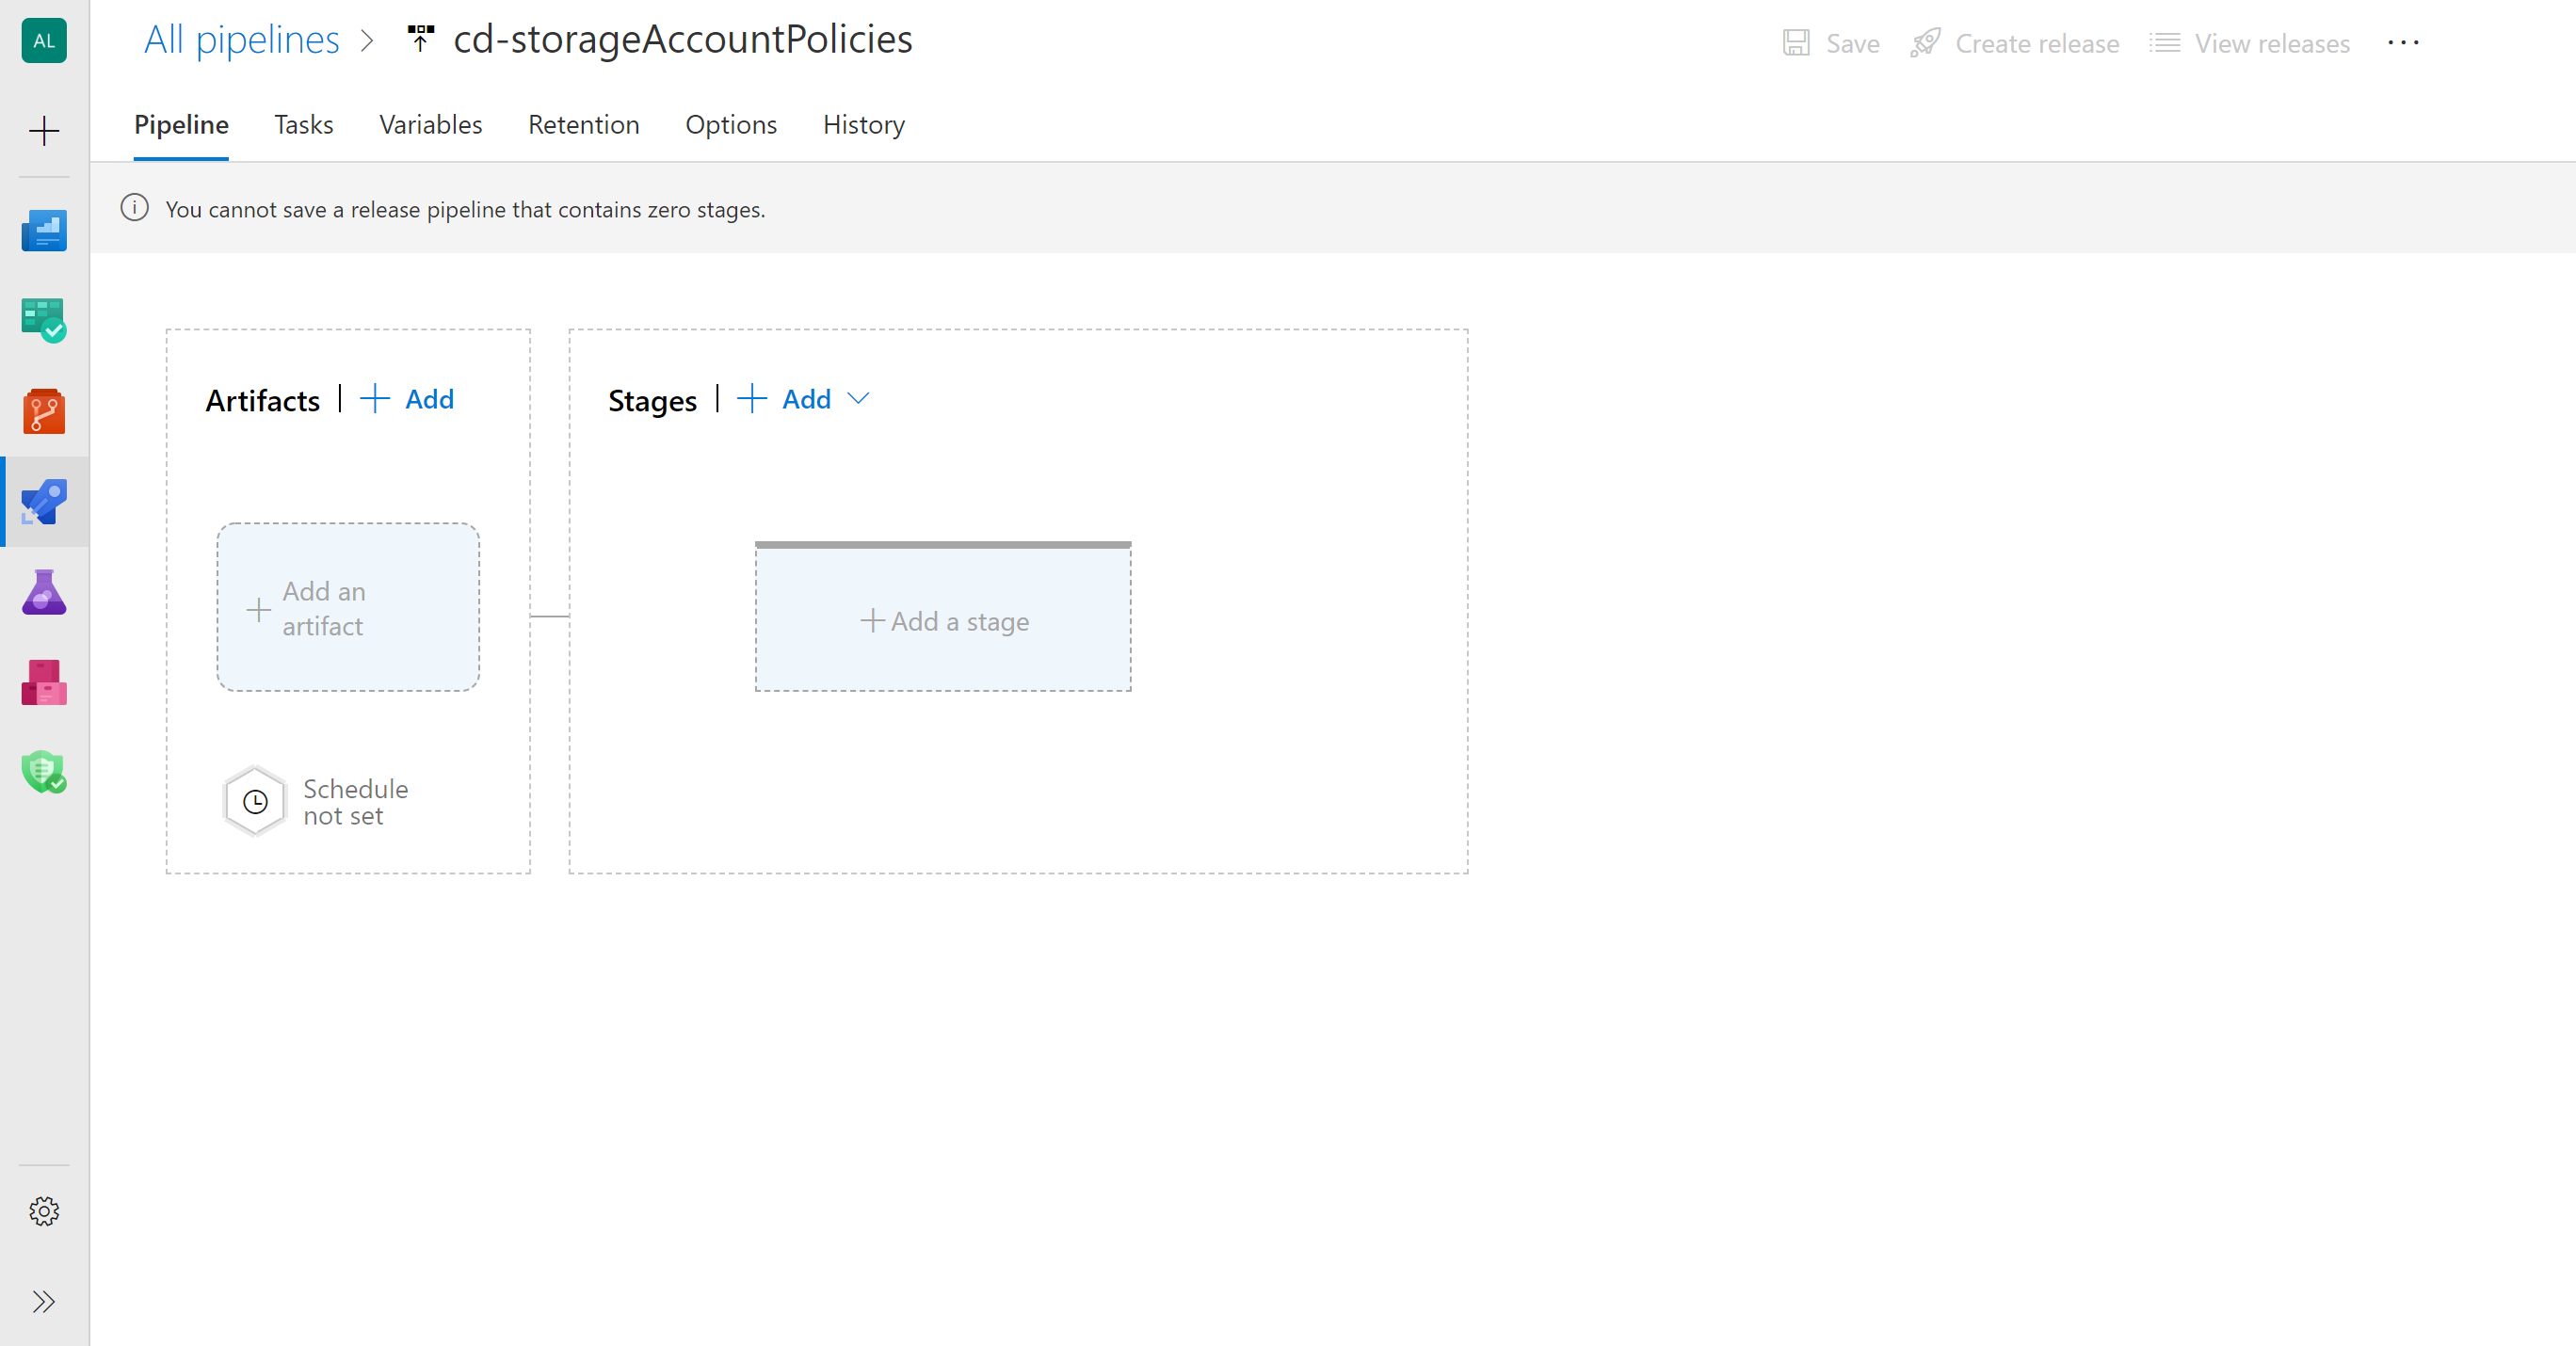
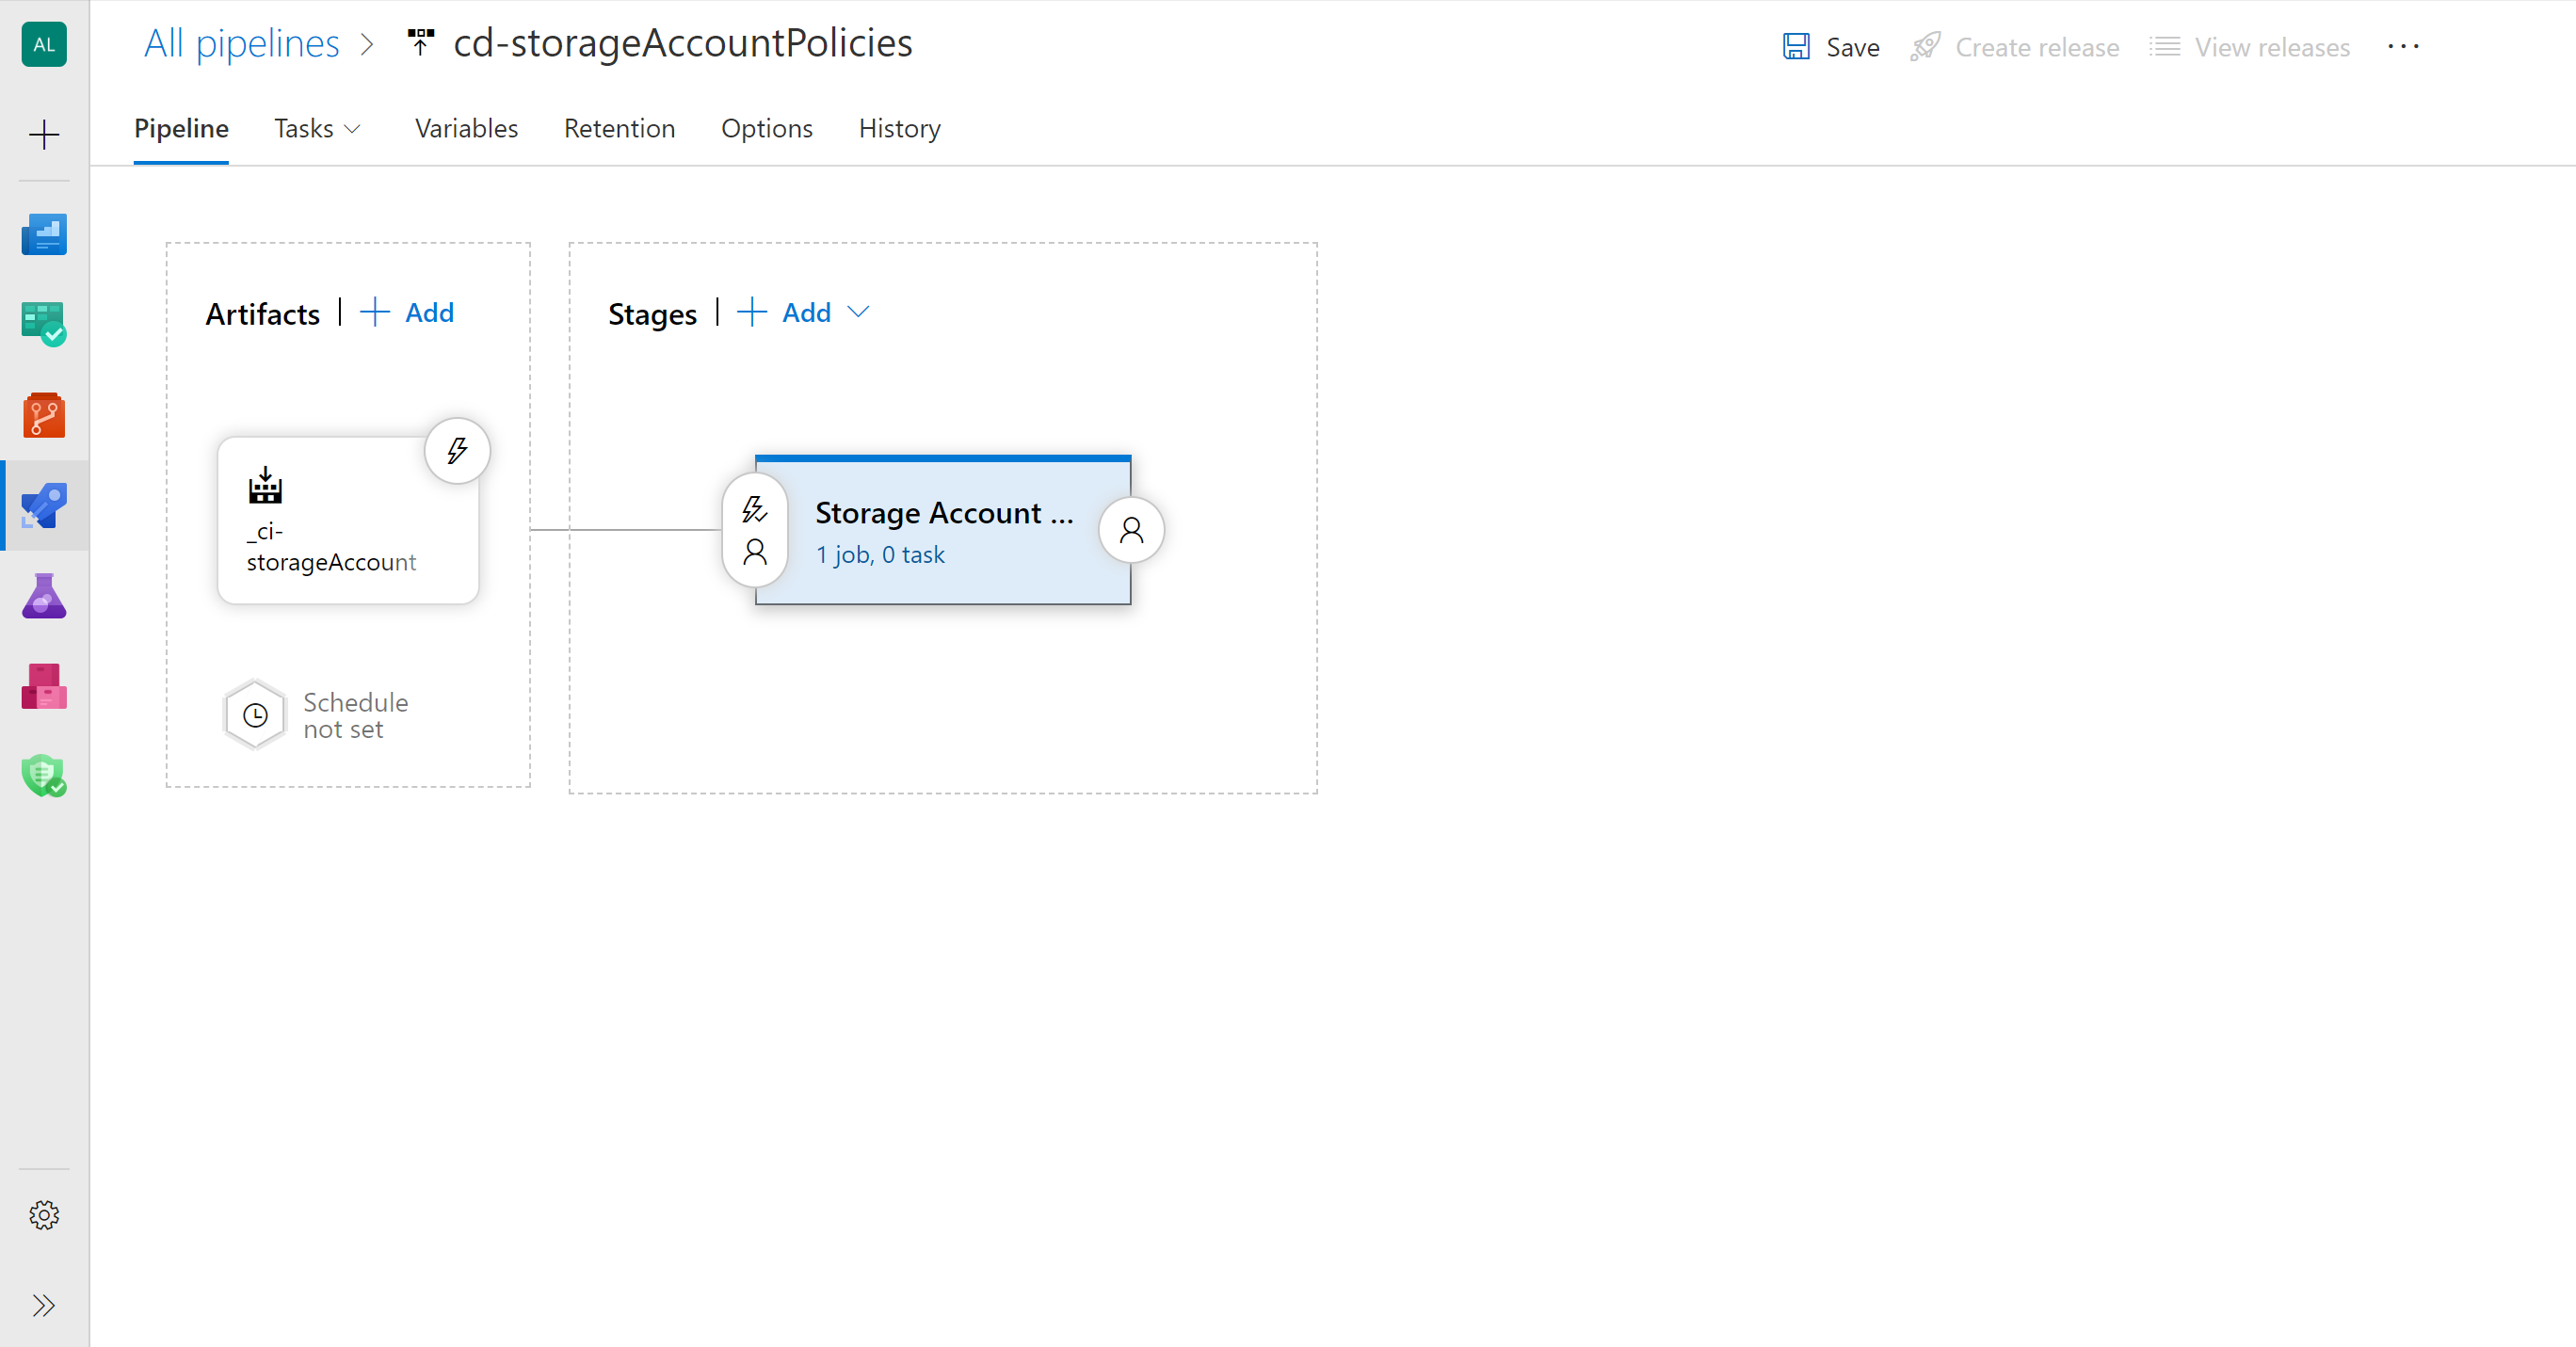
Create a new Azure DevOps release pipeline with the name cd-storageAccountPolicies
Pipelines > Releases > New > New release pipeline
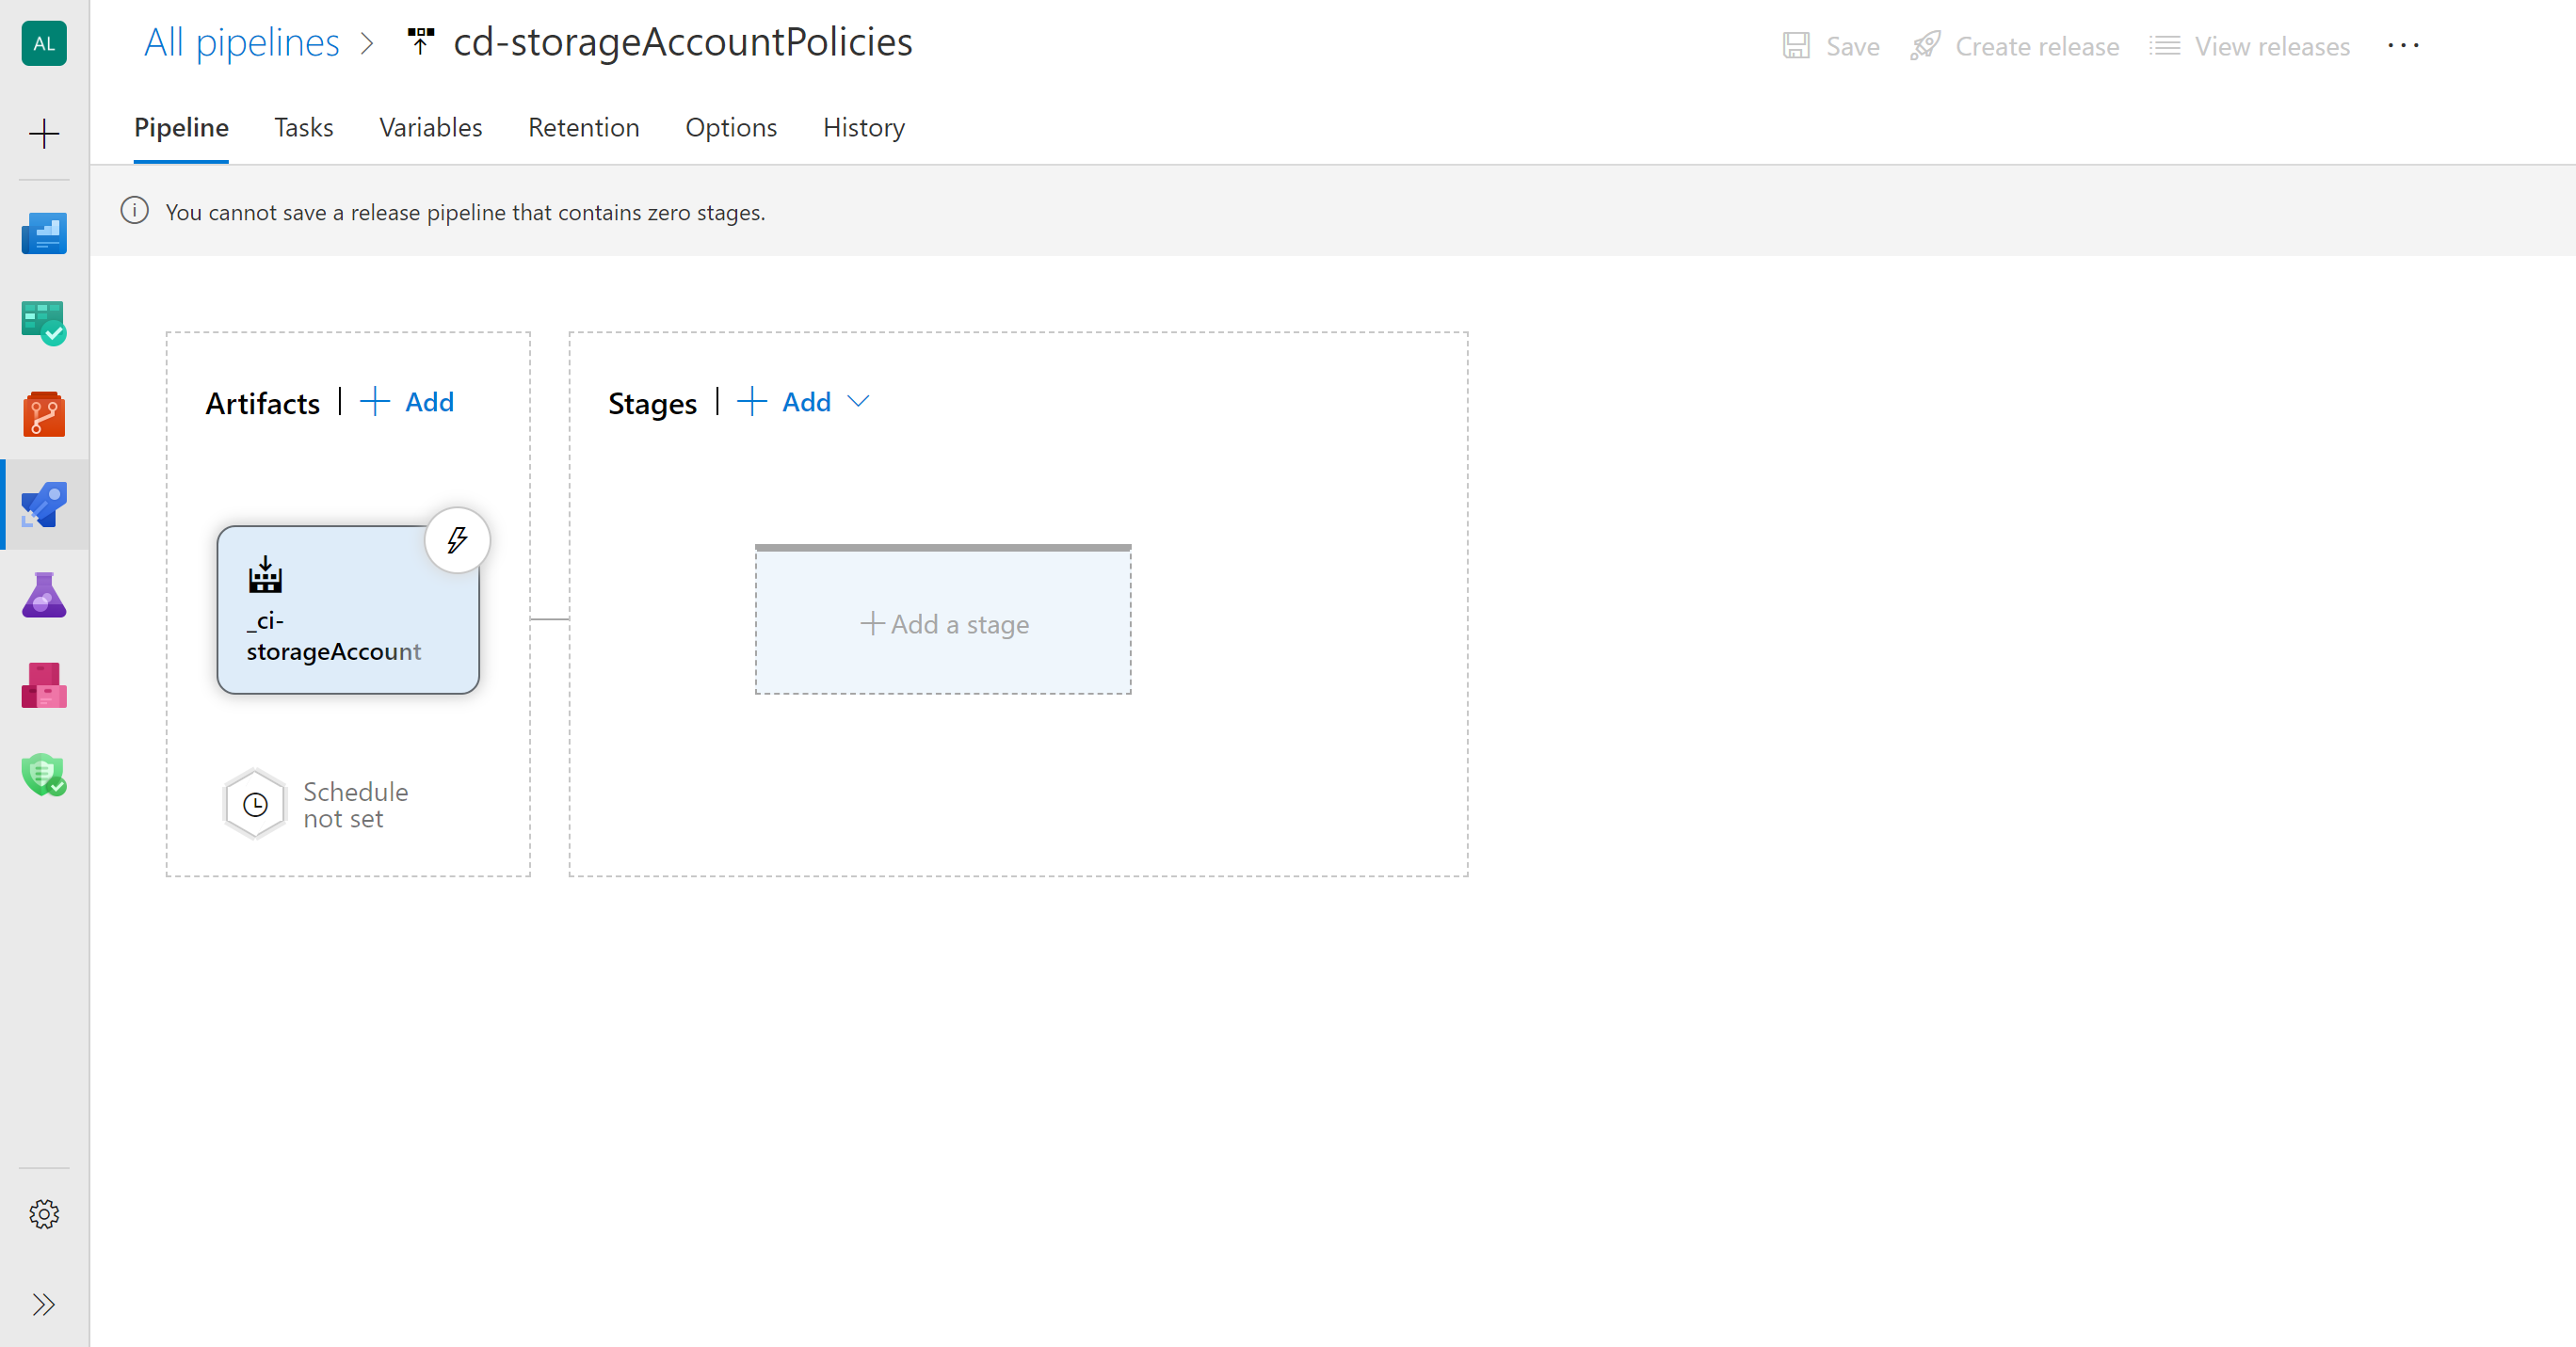
Add the artifacts from the Build Pipelines
Artifacts | + Add > Source type: Build, Project: {your project name}, Source (build pipeline): ci-storageAccount > Add
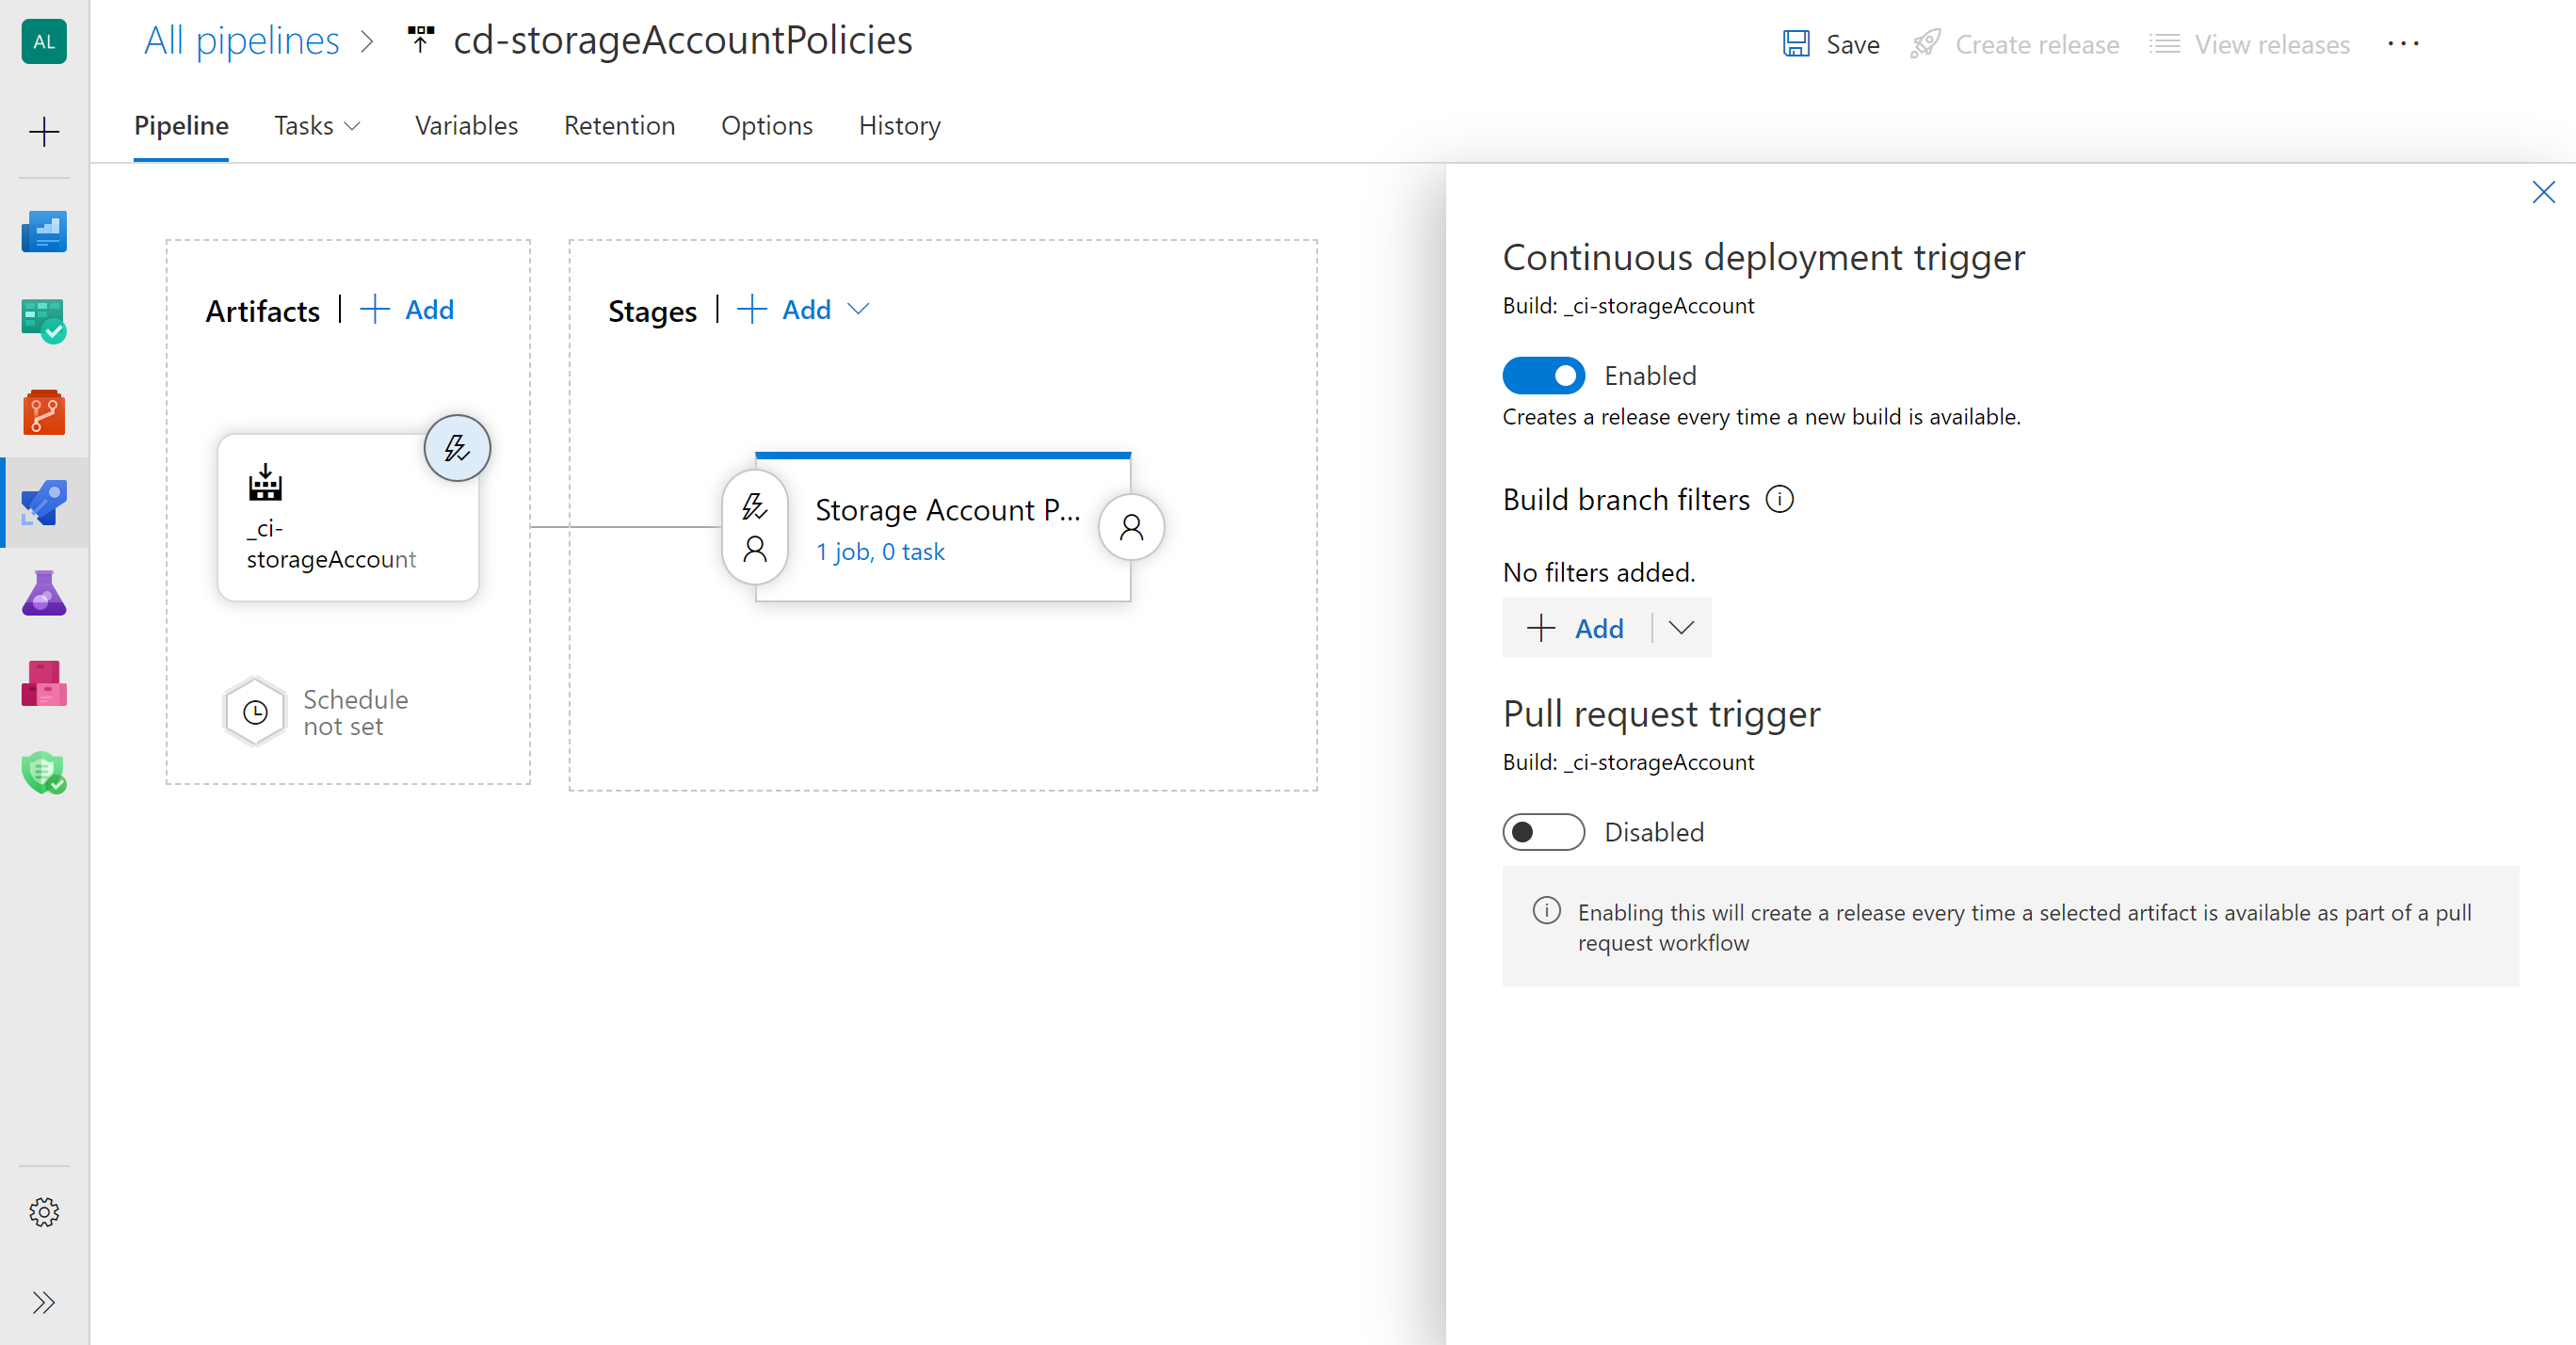
Enable continuos integration in your _ci-storageAccount artifact
Artifact
_ci-storageAccount: Continuous deployment trigger > Enabled
Create a stage with the name Storage Account Policies Deployment
Stages | + Add > Empty job > Stage name: Storage Account Policies Deployment
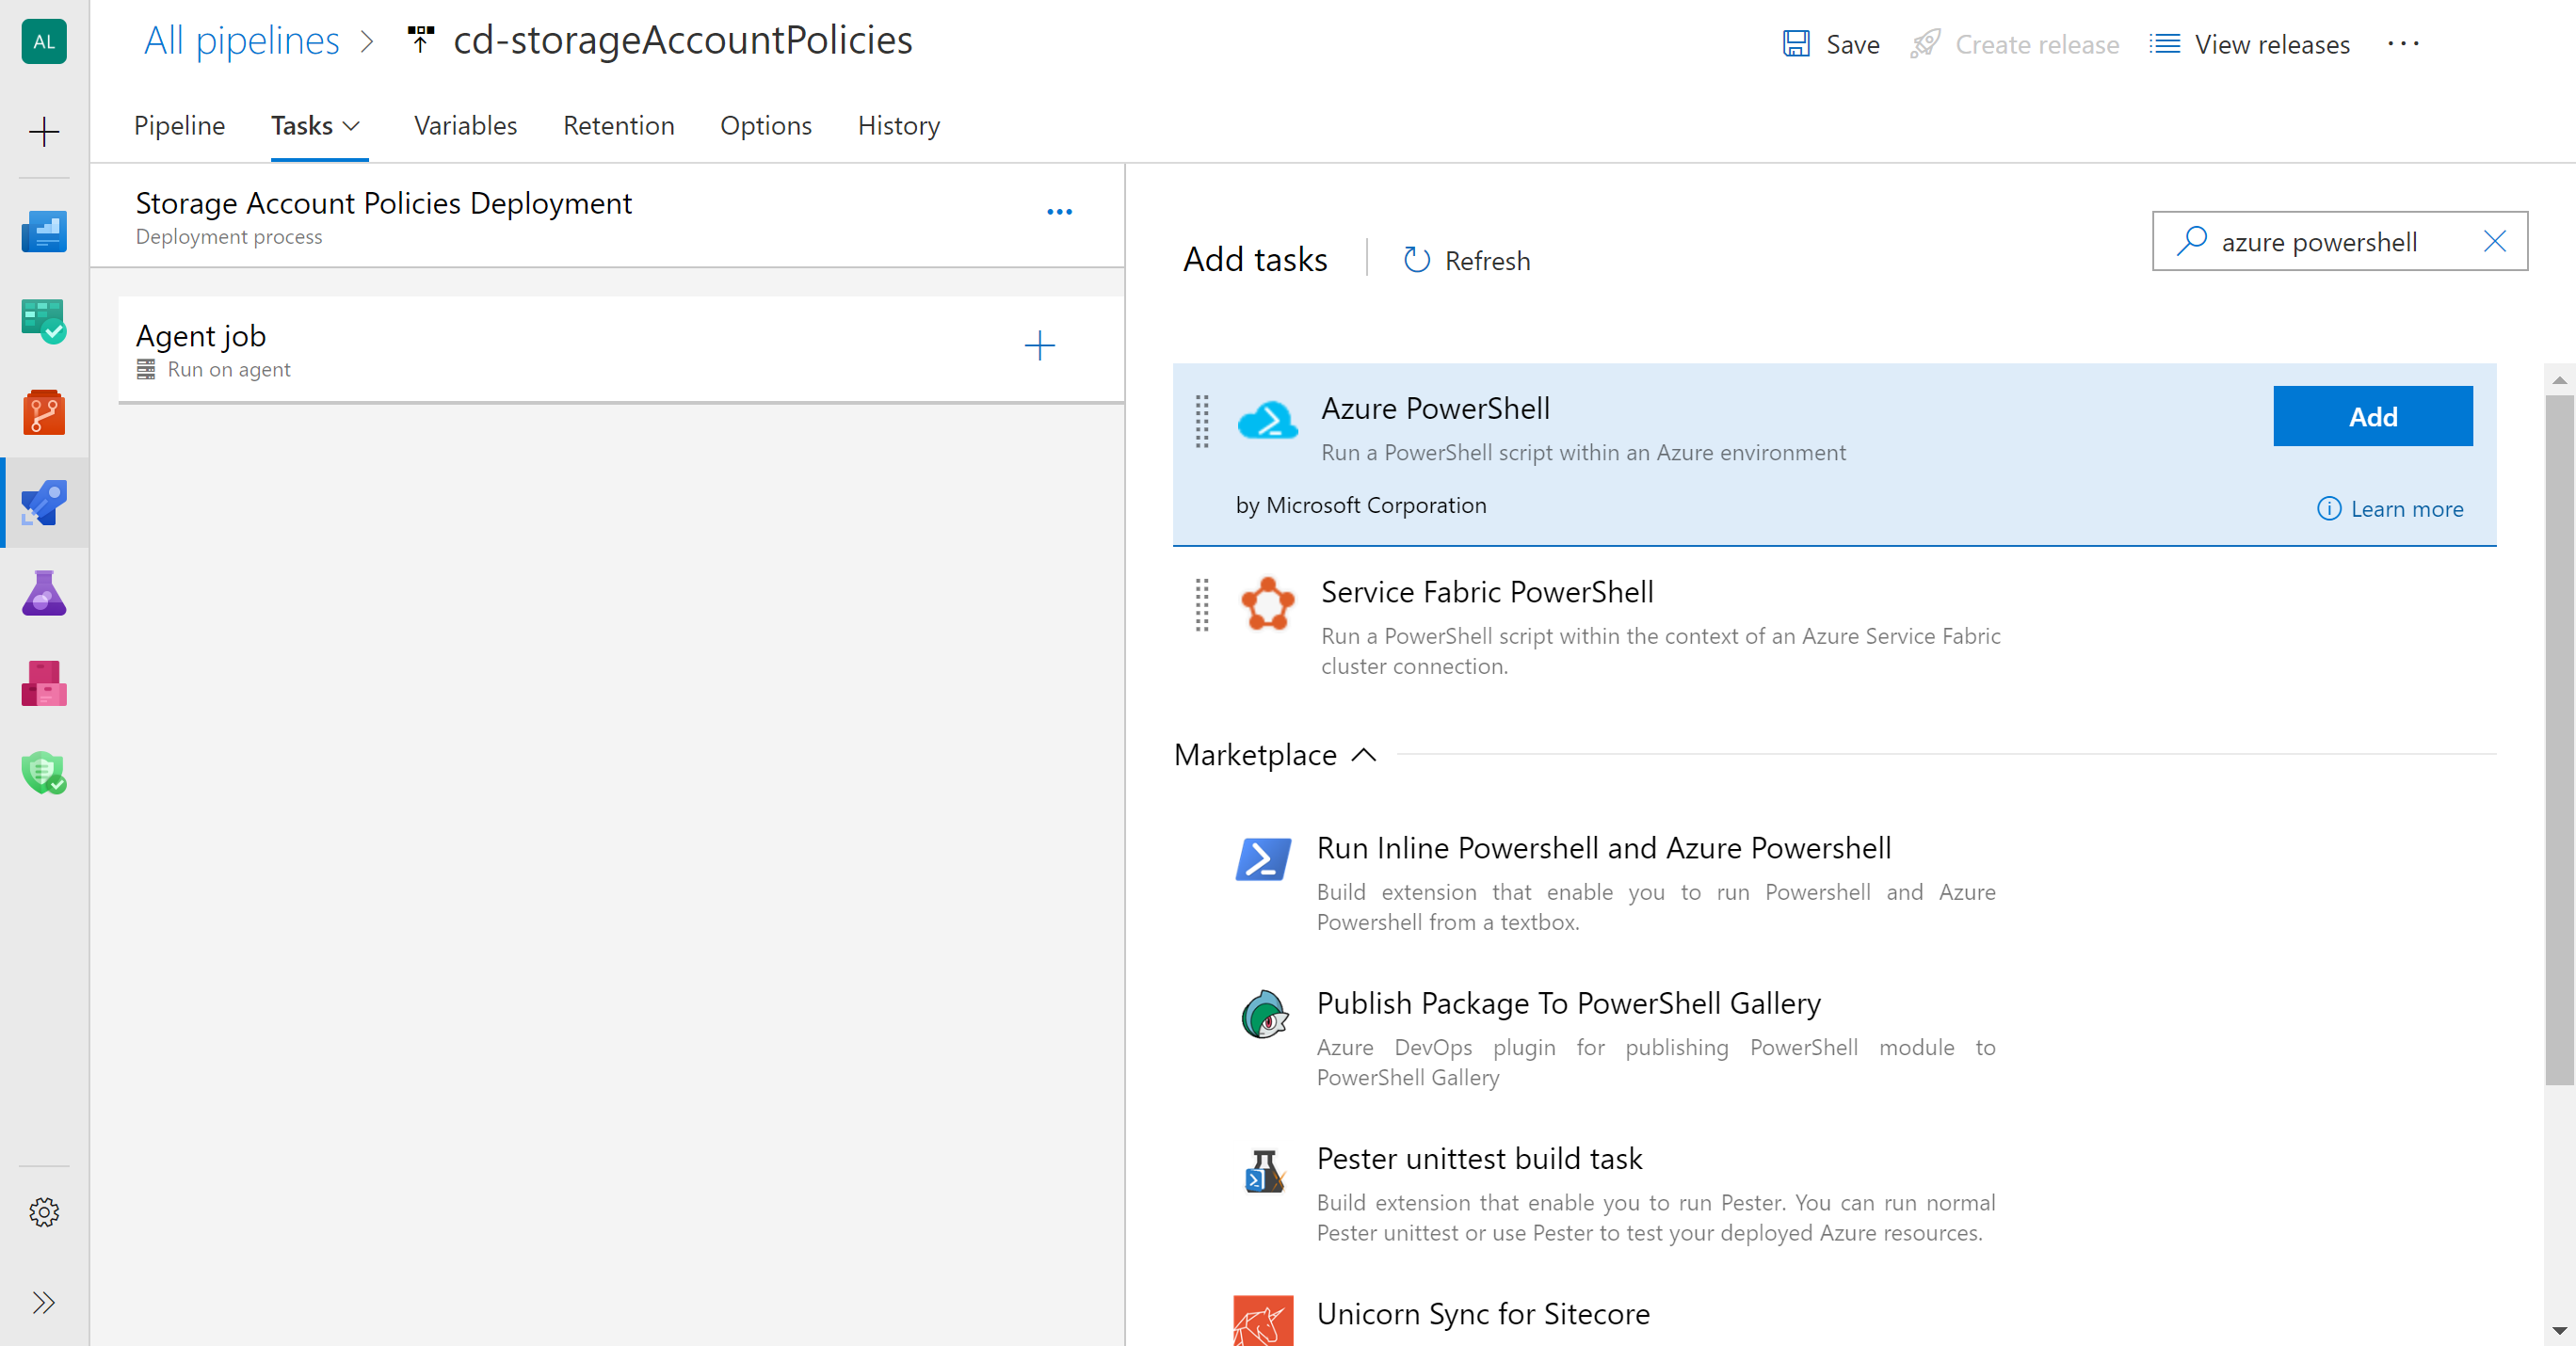
Add an Azure PowerShell task to your Storage Account Policies Deployment stage to deploy the ARM template with the Custom Policy Definition. This policy should be available in the linked artifact _ci-storageAccount (at _ci-storageAccount\storageAccount\policy-denyHttp.json)
Tasks > Agent job + > Search : Azure PowerShell > Add
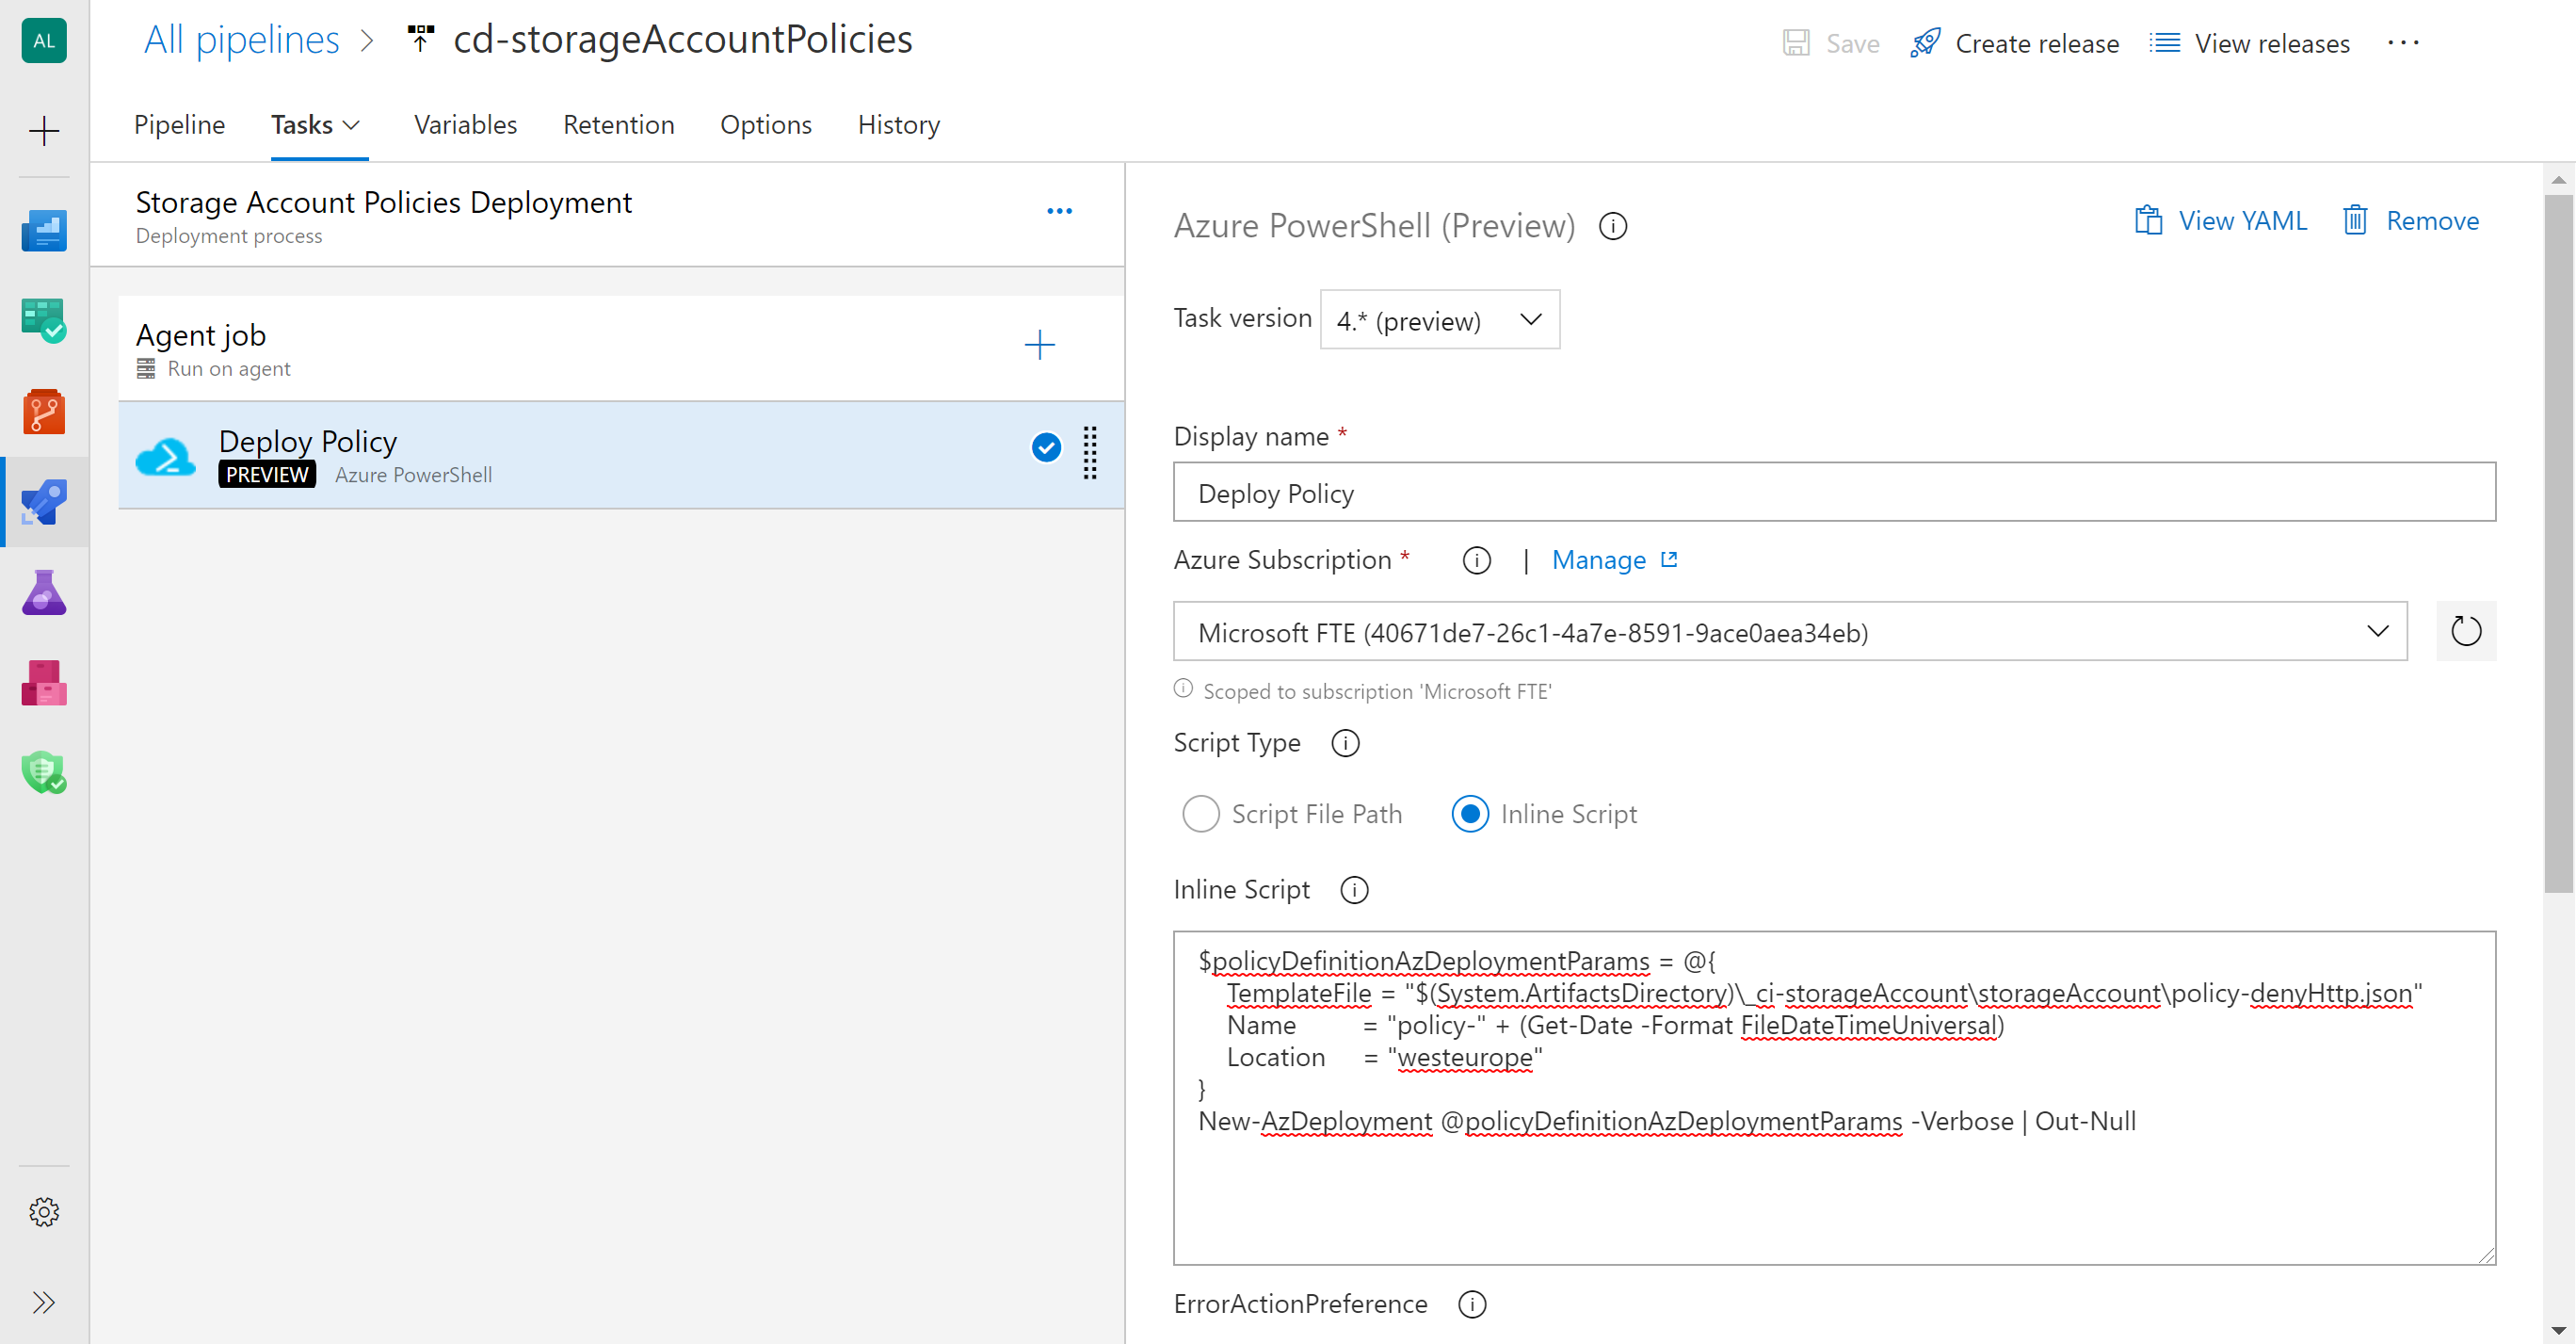
Configure the following properties in the task:
| property name | property value | notes |
|---|---|---|
| Task version | 4.* (preview) | This version will allow you tu use Az cmdlets |
| Display name | Deploy Policy | |
| Azure Subscription | {your connection endpoint with permissions on your azure subscription} | See https://dev.azure.com/alguadamorg/Azure%20Policies%20Lab/_wiki/wikis/Azure-Policies-Activity.wiki?pagePath=%2FAzure%20Policies%20Lab%2FLab%203%20(15%20min)%3A%20Deploy%20and%20Manage%20custom%20policies%20and%20Azure%20Policies%20via%20IaC%2C%20CI%20and%20CD&pageId=313&wikiVersion=GBwikiMaster#permissions-on-the-subscription-for-your-deployment-service-principal |
| Script Type | Inline Script | |
| Inline Script | {see below} | |
| Azure PowerShell Version | Latest Installed version |
The inline Script will be configured as follows:
$policyDefinitionAzDeploymentParams = @{
    TemplateFile = "$(System.ArtifactsDirectory)\_ci-storageAccount\storageAccount\policy-denyHttp.json"
    Name         = "policy-" + (Get-Date -Format FileDateTimeUniversal)
    Location     = "westeurope"
}
New-AzDeployment @policyDefinitionAzDeploymentParams -Verbose | Out-Null
Clone the task and edit the TeplateFile value as many times as policies you defined in Activity 2 for the Storage Account.
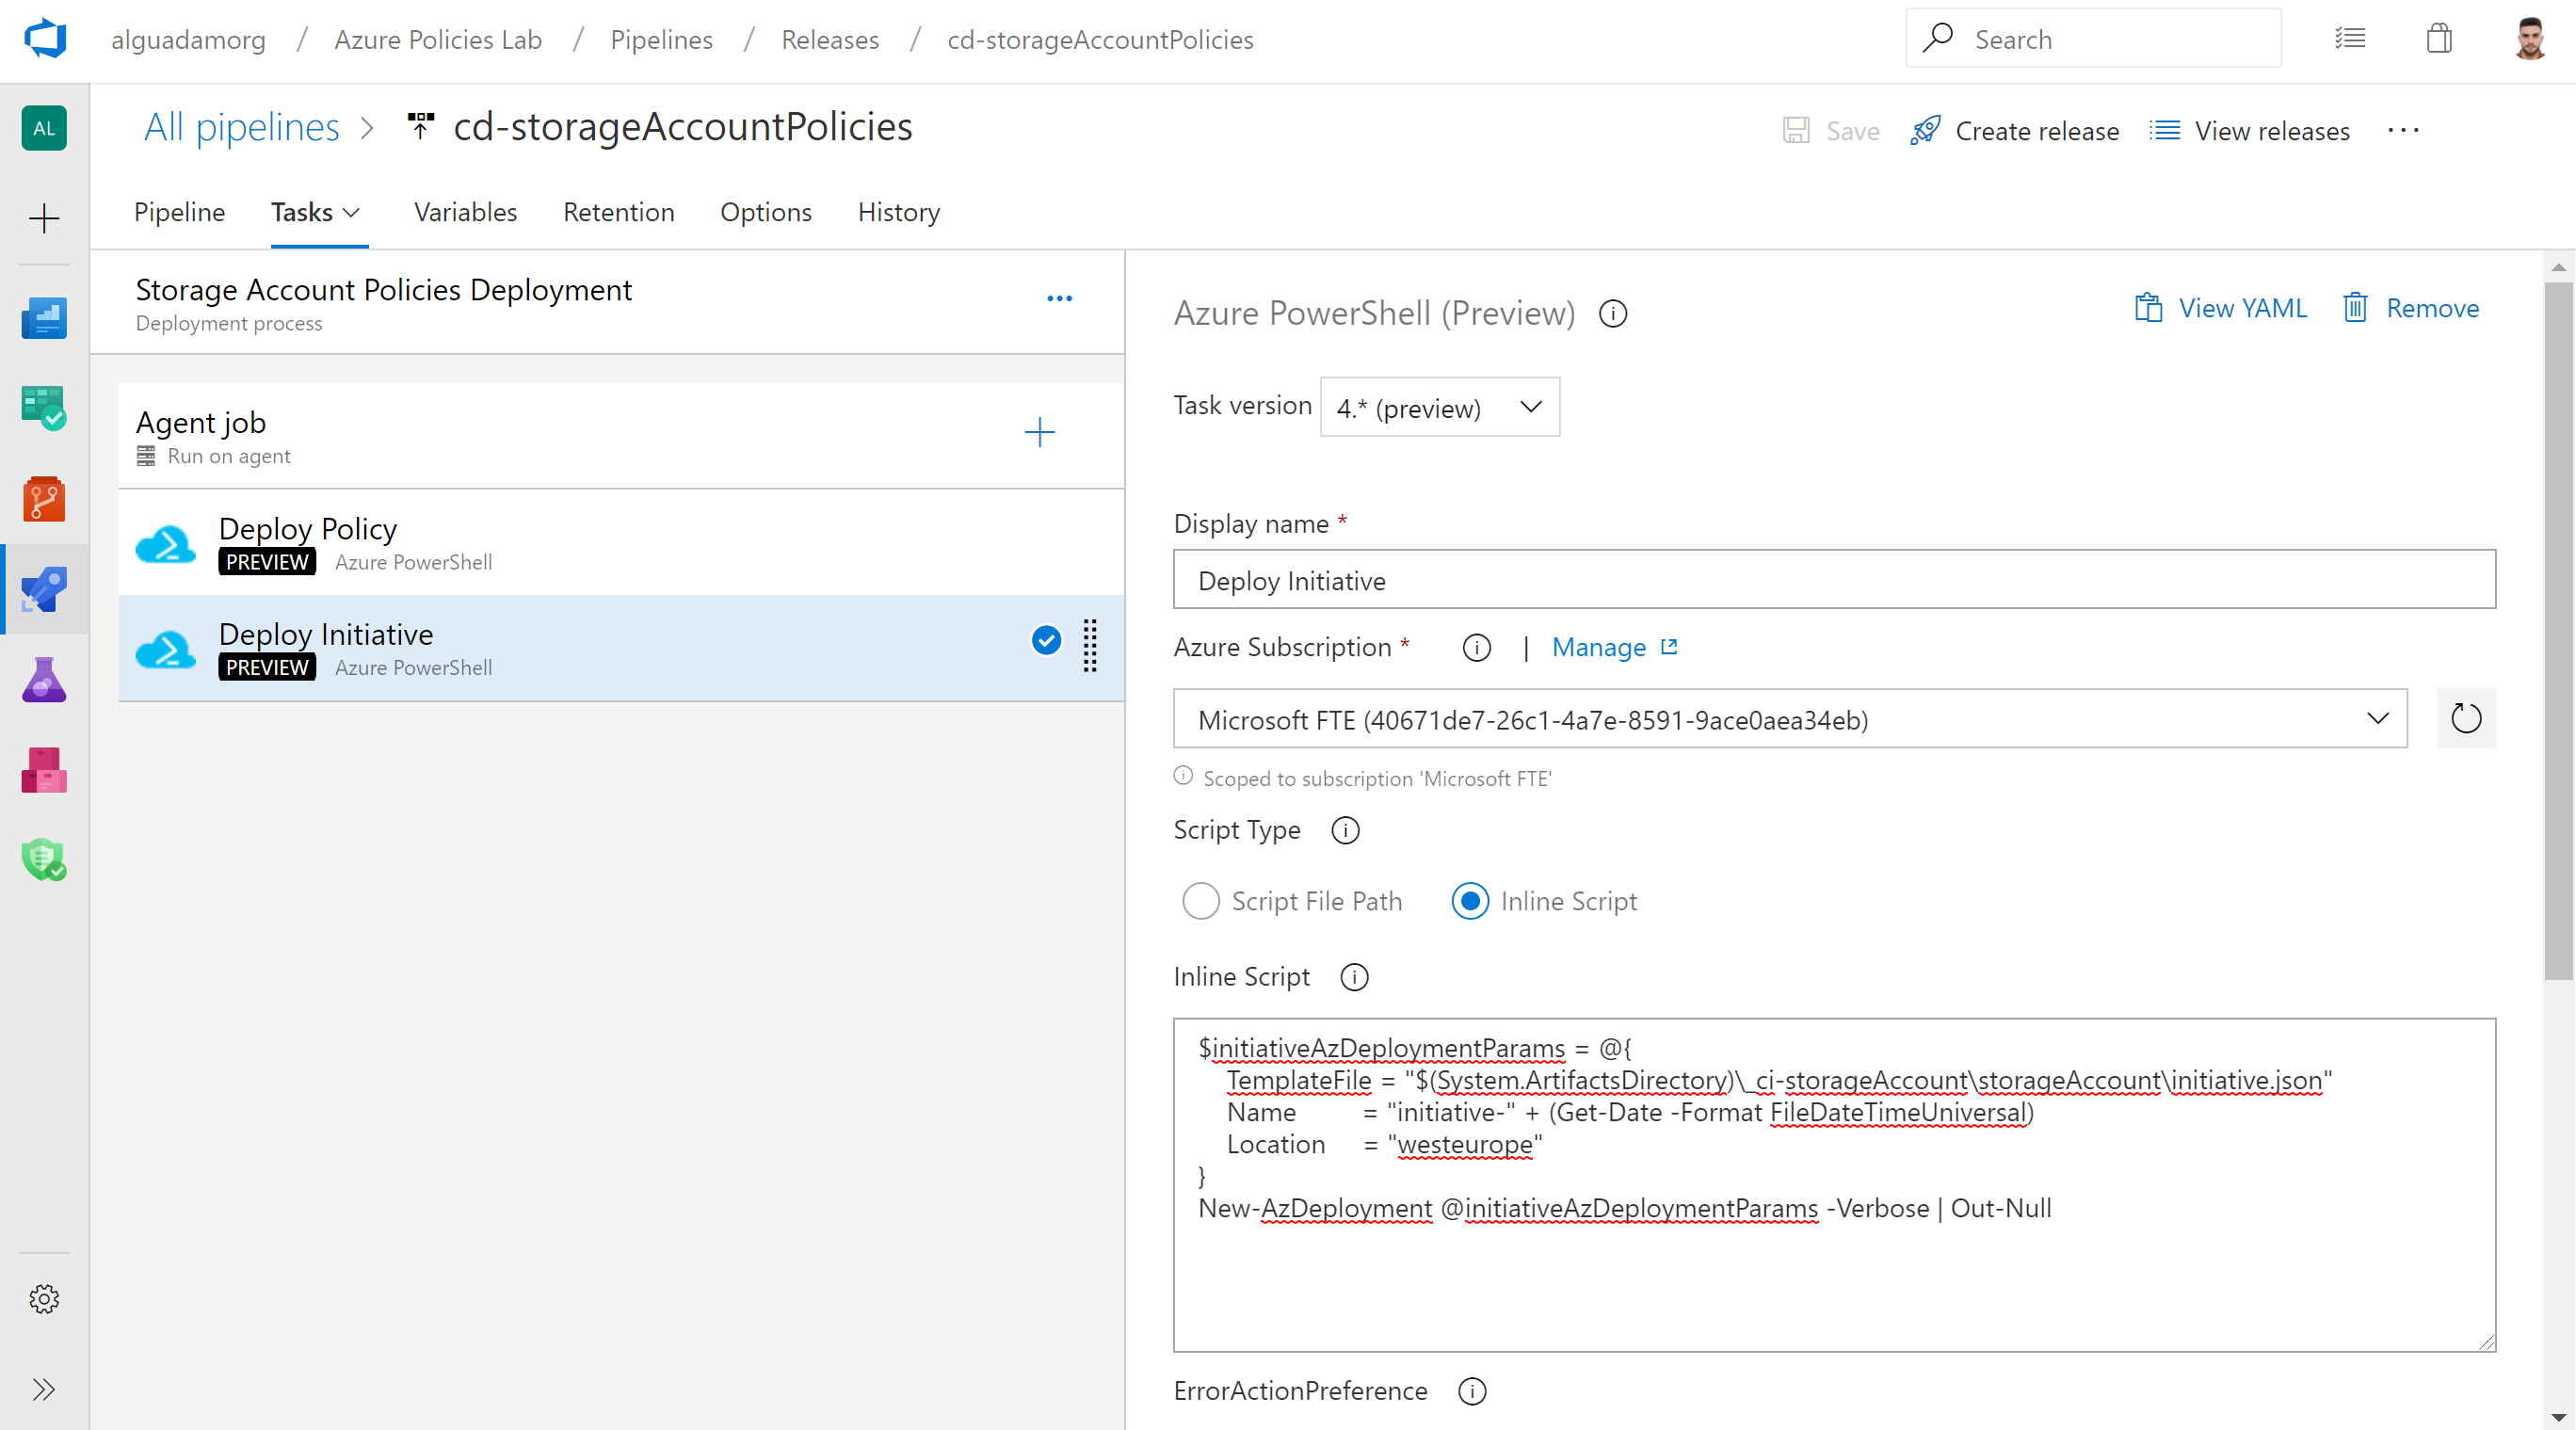
Finally, clone the task and modify the script to deploy the ARM template with the Custom Initiative. This policy should be available in the linked artifact _ci-storageAccount (at _ci-storageAccount\storageAccount\policy-denyHttp.json)
$initiativeAzDeploymentParams = @{
    TemplateFile = "$(System.ArtifactsDirectory)\_ci-storageAccount\storageAccount\initiative.json"
    Name         = "initiative-" + (Get-Date -Format FileDateTimeUniversal)
    Location     = "westeurope"
}
New-AzDeployment @initiativeAzDeploymentParams -Verbose | Out-Null
NOTE: Instead of having multiple Azure PowerShell task deploying multiple ARM Templates, you could merge all the ARM Templates in one single Templates containing all the Custom Policies and the Initiative defined for Storage Accounts. That approach would need only one deployment task
Save and run your Release Pipeline
Create release > Create
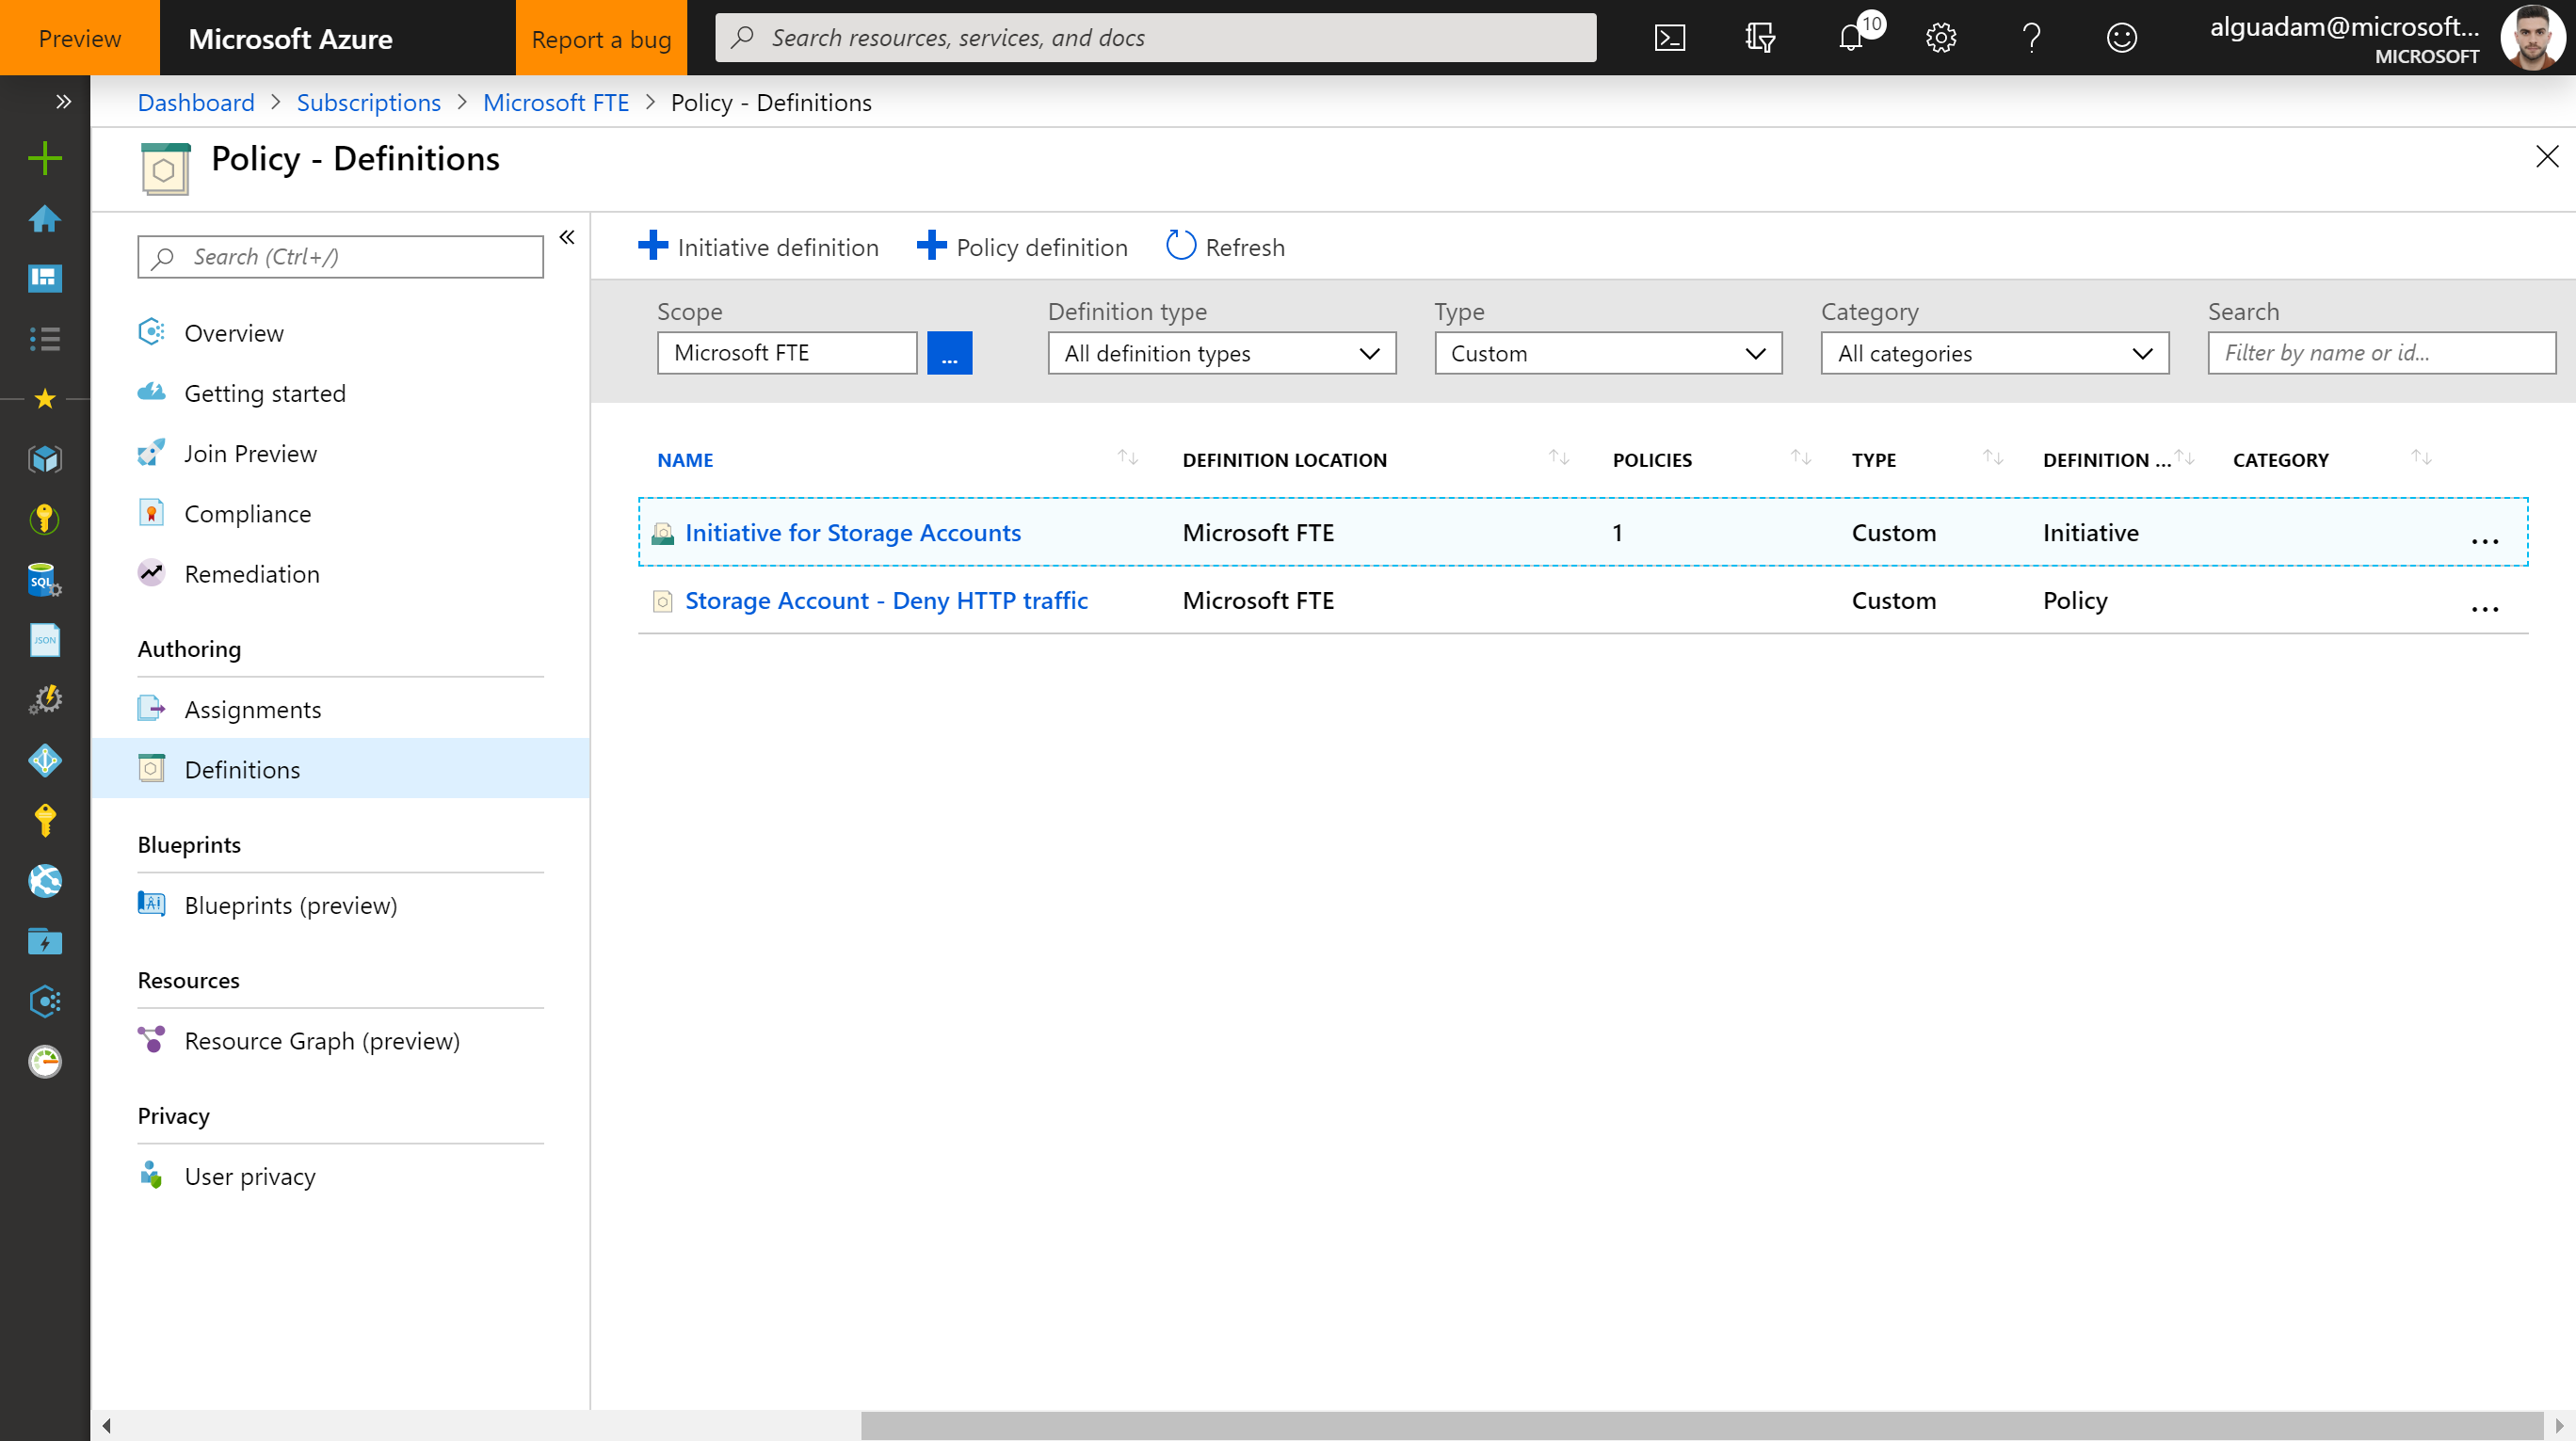
Troubleshoot if the deployment didn't succeed. If succeeded, you should be able to see your Policy Definition and Initiatives in your subscription
Azure Portal > Subscriptions > {your subscription} > Policy > Definitions > Type: Custom
In this Task, you will add the custom custom policies and initiatives that you created for the Storage Accounts in Activity 2 to the assignments parameter file that you created in Activity 1
Step 1 - Edit the release pipeline to use a new parameters file
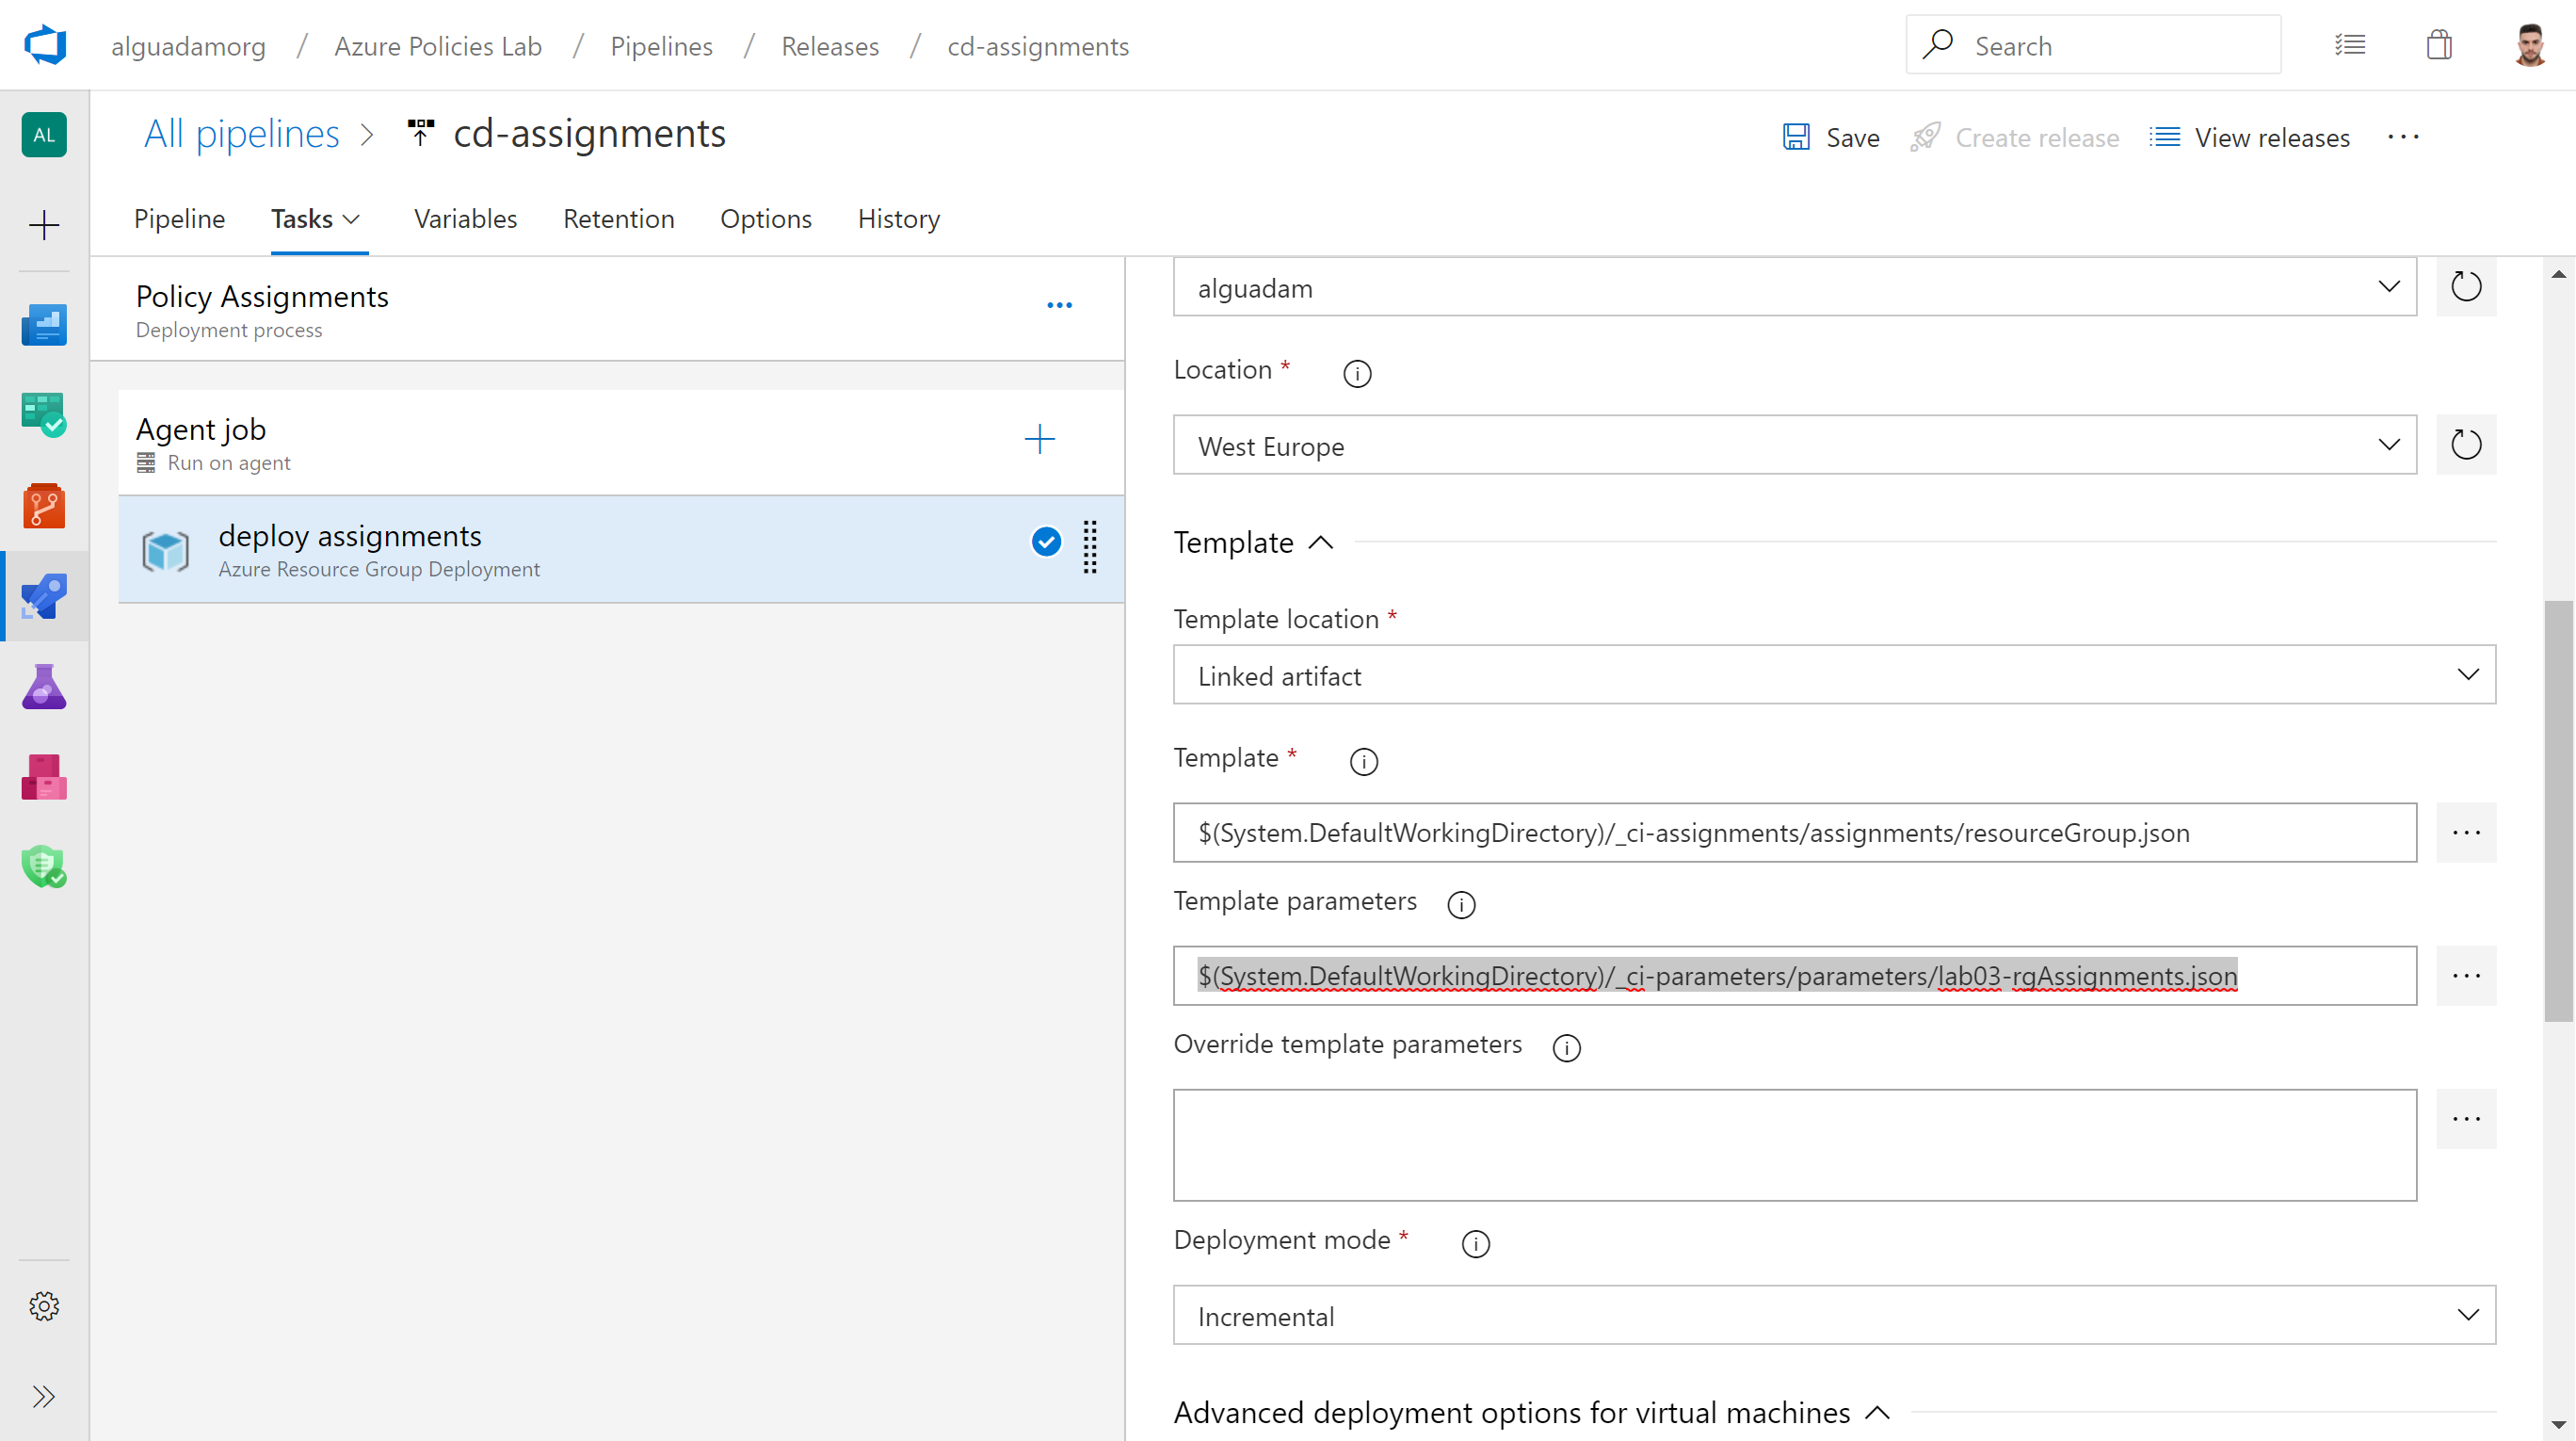
This step is very simple. You will edit the release pipeline that you created in Activity 1 (cd-assignments) to use a new parameters file:
Tasks > Policy Assignments > Task: deploy assignments > Template parameters : $(System.DefaultWorkingDirectory)/_ci-parameters/parameters/lab03-rgAssignments.json
As this pipeline is configured with Continuous Integration, once we push the changes with a new parameters file with the configuration of the assignments, the ci and cd will be triggerd
Step 1 - Create the assignments with all the desired policies and/or initiatives
Now, we will create the parameters file with the desired policies/initiatives:
Suggested File Path: Parameters\lab03-rgAssignments.json
{
    "$schema": "https://schema.management.azure.com/schemas/2015-01-01/deploymentParameters.json#",
    "contentVersion": "1.0.0.0",
    "parameters": {
        "customInitiatives": {
            "value": [
                {
                    "initiativeName": "StorageAccountInitiative",
                    "parameters": {},
                    "assignmentDisplayName": "Storage Account Initiative",
                    "managedIdentity": false
                }
            ]
        },
        "builtInInitiatives": {
            "value": [
                {
                    "initiativeName": "c96b2a9c-6fab-4ac2-ae21-502143491cd4",
                    "parameters": {},
                    "assignmentDisplayName": "Audit Windows VMs with a pending reboot",
                    "managedIdentity": true
                }
            ]
        }
    }
}
Commit and push the changes. The build pipeline ci-assignments and the release pipeline cd-assignments should trigger automatically
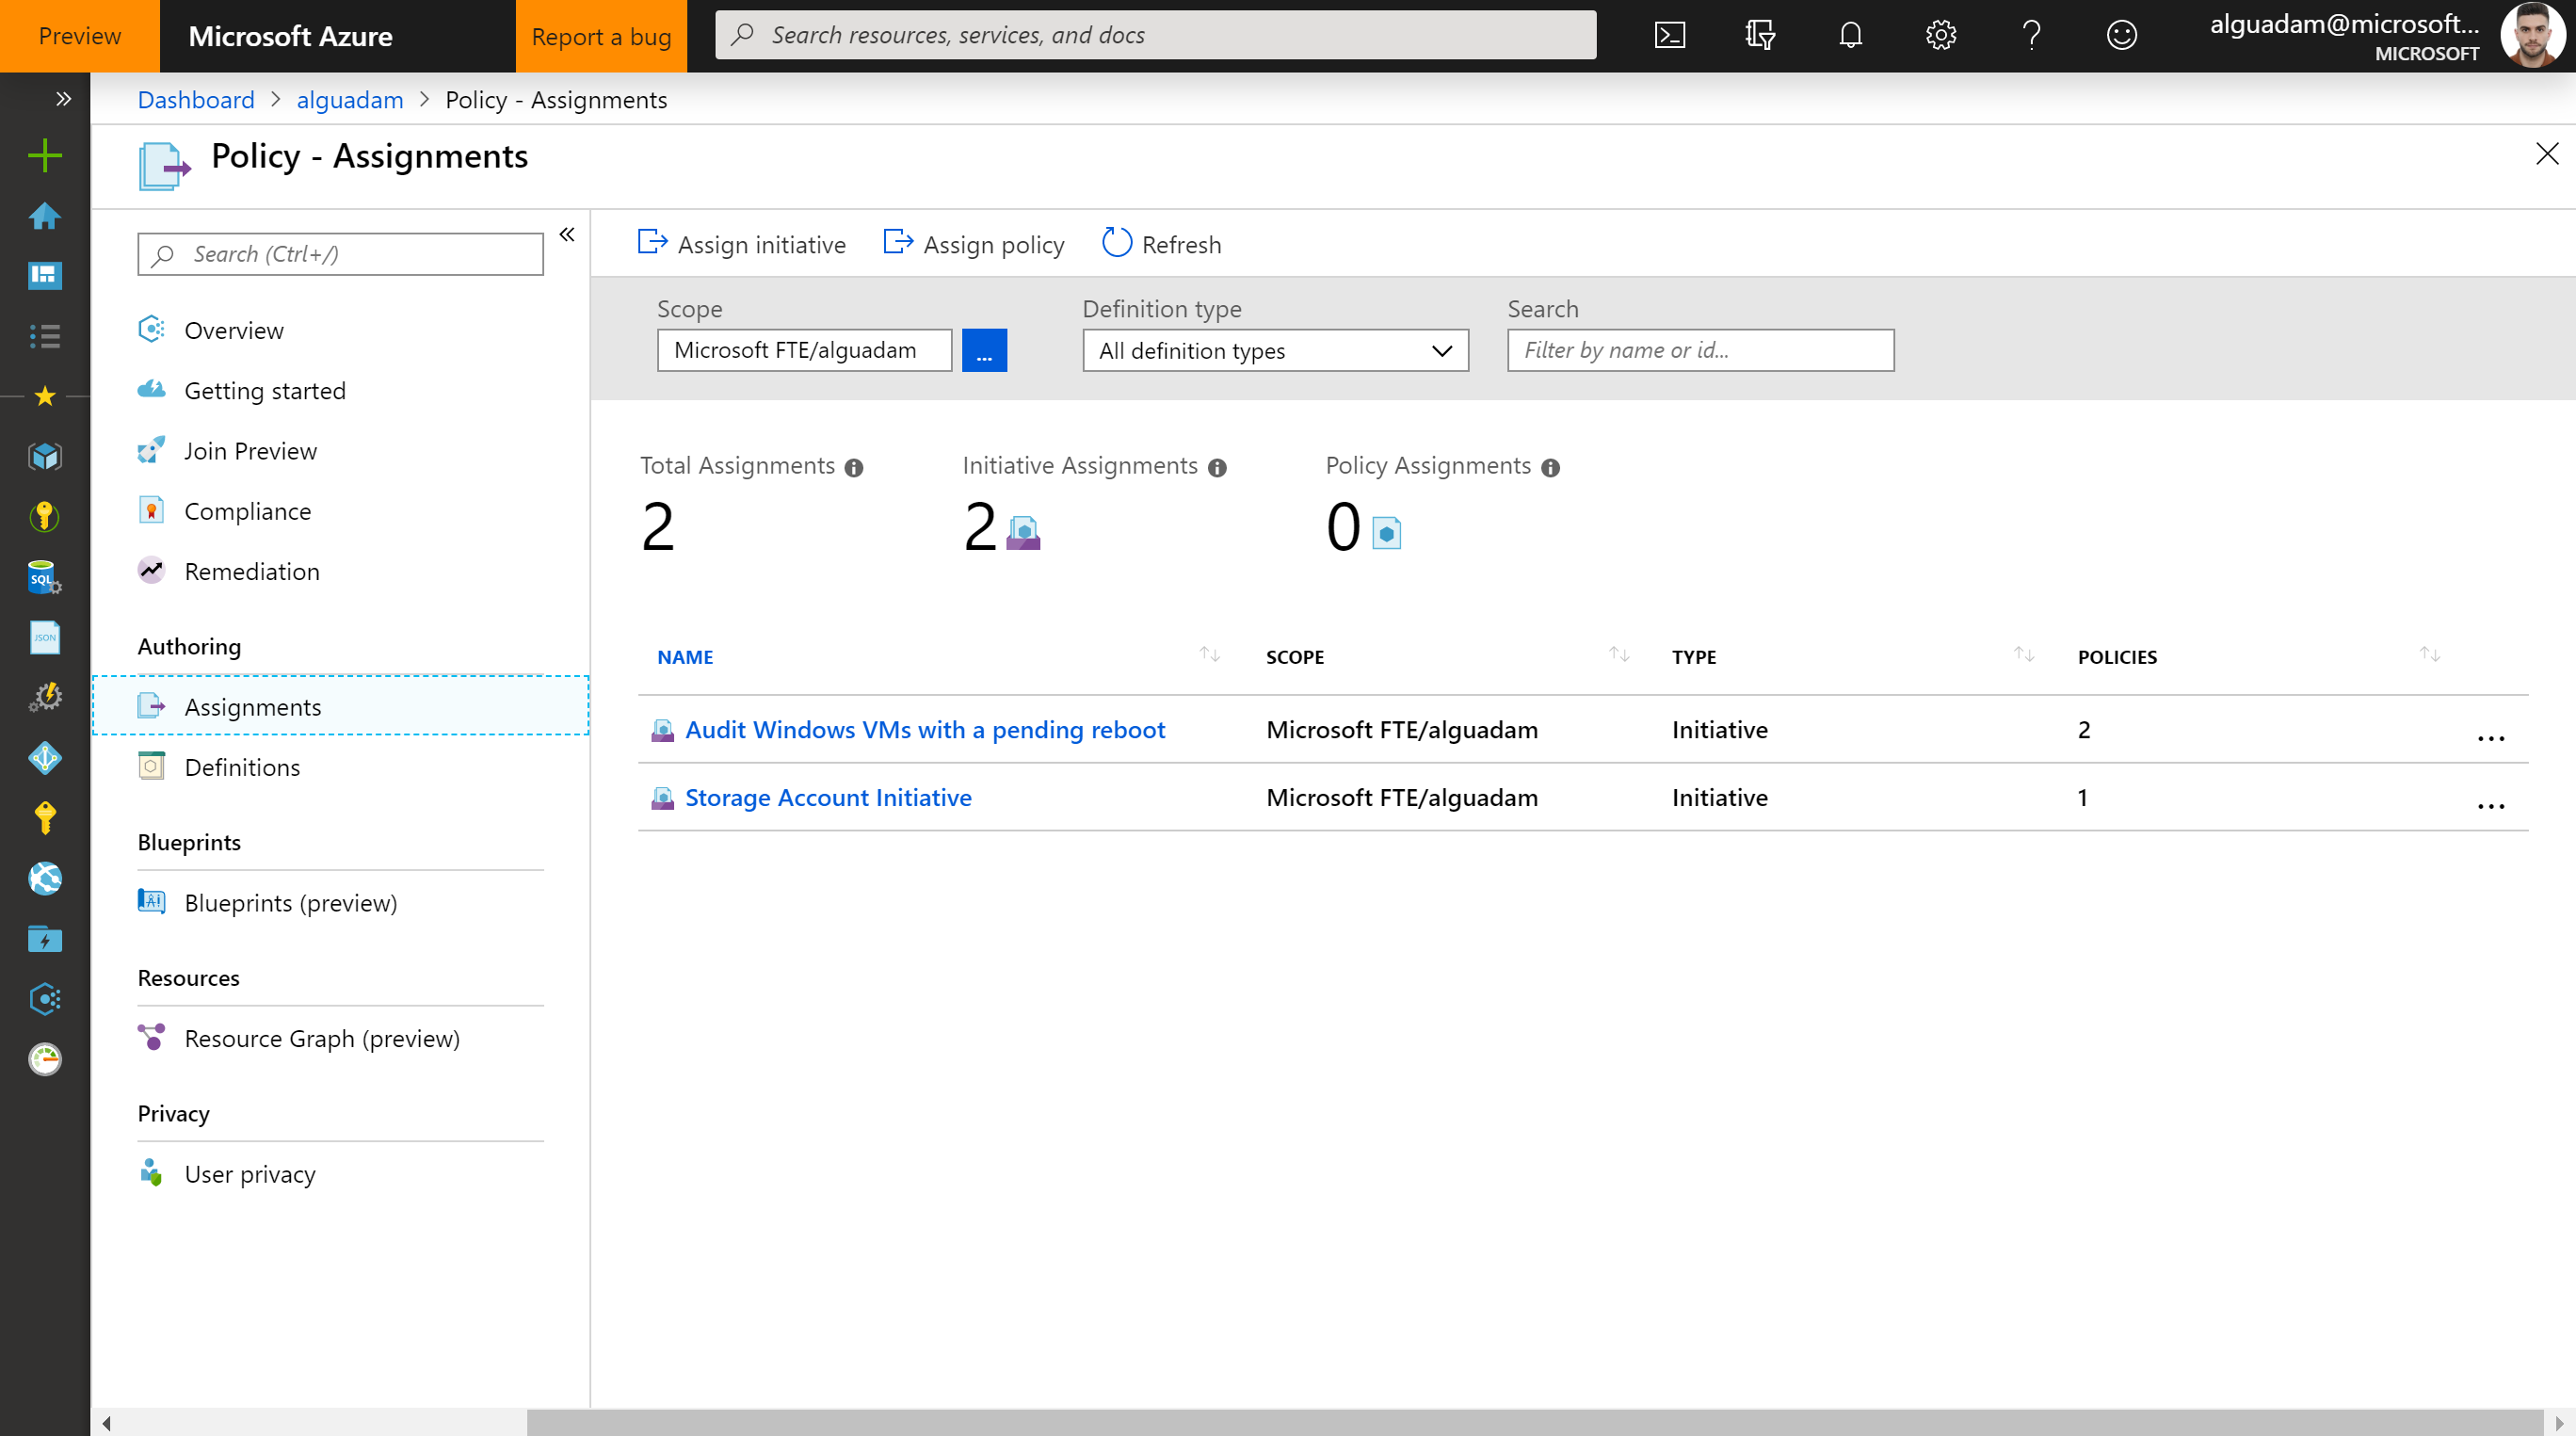
Troubleshoot if the deployment didn't succeed. If succeeded, you should be able to see your assignments in your Resource Group
Azure Portal > Resource Groups > {your resource group} > Policy > Assignments
