
The Traveling Salesperson Planner Shiny app demo lets you upload a file of destinations and download an efficiently ordered itinerary.
- View the app on Posit Connect
- Play with the code on Posit Cloud
To use the app:
-
Visit the app here. The app is hosted on Posit Connect, a hosting platform for data driven content. You can use Posit Connect to publish models, reports, etc. securely within your enterprise; or to deploy data products to your customers and manage access.
-
Select a starting location. Type in a city name followed by a state, or choose one from the drop down menu. This will be the location you will begin and end your journey at. The app recognizes 312 major North American cities.
 “Select location”
-
Upload a .csv file of destinations to visit. If you do not have a file, you can download one of the three suggested files and then upload it to the app.
 “Upload a file of
destinations”
“Upload a file of
destinations”
The file should contain a table that has a column named
latitudeand a column namedlongitude. Latitude, Lat, lat, Longitude, Long, and long are all acceptable spellings. Other columns are OK, but there should at least be a latitude and longitude column. If your table does not have these columns, the app will return this alert. “What the alert looks like”
-
Select an algorithm. There are multiple ways to solve the “Traveling Salesperson Problem.” The app will use R’s TSP package1 and whatever algorithm you select to order the destinations into a sensible itinerary.
After you select an algorithm, the app will build an itinerary and display a Download Itinerary button.
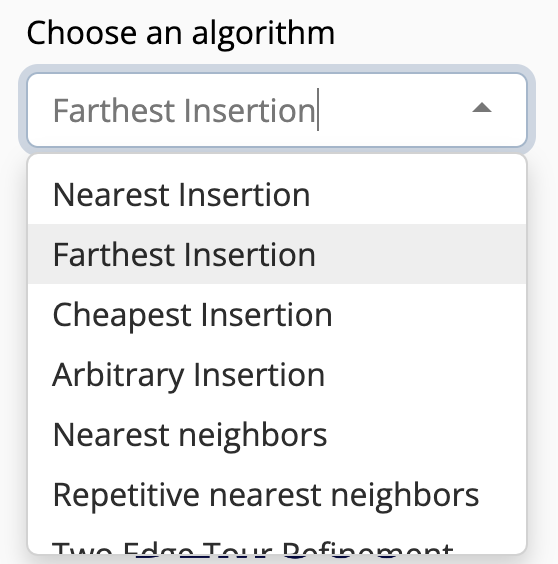 “Select an algorithm”
-
Click Download Itinerary. The app will download a new version of your file. This versions reorders the rows in your original file to reflect the order in which you should visit the destinations. It also appends a column named “visit order”.
 “The Download Button”


The Traveling Salesperson Planner app is written in R with the Shiny package. Shiny makes it easy to create an interactive web app with only R code: you do not need to know HTML, CSS, JavaScript, or any web development skills. (Click here to learn about Shiny for Python).
This tutorial explains how to write a basic web app with Shiny. Like all Shiny apps, the Traveling Salesperson Planner app is composed of:
-
A user interface that collects input values and displays outputs:
# Define the Shiny UI layout
ui <- page_sidebar(
  # Everything that appears in the UI
)
-
A server function that tells R how to build outputs from input values:
# Define the Shiny server function
server <- function(input, output) {
  # A list of definitions for outputs and intermediate objects,
  # as well as code to run to create those objects
}
-
And a call to
shinyApp(), which brings the user interface and server function together.# Create the Shiny app shinyApp(ui = ui, server = server)
There are five unique things about the Traveling Salesperson Planner app:
-
It uses a theme from the bslib package to make the app look more visually appealing.
theme = bs_theme(bootswatch = "spacelab",
                 success ="#86C7ED",
                 base_font = "Open Sans",
                 heading_font = "Open Sans")
-
It allows the user to upload a file to use as input with a fileInput widget.
fileInput("file", "Upload a CSV file of destinations:")
-
It checks the user’s file and provides a pop alert with the shinyalert package if anything looks amiss.
# helpers.R
if (!valid) {
  shinyalert("Cannot create itinerary", "Your csv file should contain a column named latitude and a column named longitude.")
}
-
It uses an interactive leaflet map to display locations on a map. You can learn more about using leaflet maps in Shiny apps here.
leafletOutput("map") -
It allows the user to download the results with a download button. This is a button that triggers a download handler.
# Render the download button in the UI if uploaded_data() exists
output$downloadButtonUI <- renderUI({
  req(uploaded_data())
  downloadButton("downloadData", "Download Itinerary")
})

# Create a download handler for the uploaded data
output$downloadData <- downloadHandler(
  filename = function() {
    stub <- str_remove(input$file$name, "\\.csv$")
    paste0(stub, "_itinerary.csv")
  },
  content = function(file) {
    data <- clean_for_download(itinerary())
    write_csv(data, file)
  }
)
Footnotes
-
Hahsler M, Hornik K (2007). “TSP - Infrastructure for the traveling salesperson problem.” Journal of Statistical Software, 23(2), 1-21. ISSN 1548-7660, doi:10.18637/jss.v023.i02 https://doi.org/10.18637/jss.v023.i02. ↩