EN | 中文
This is a walkthrough that goes through the process of deleting an object (Mona's hat) from the character mesh from start to finish.
Prior to 3Dmigoto, there was no way to cleanly remove her hat - it does not have a unique shader, so it cannot be removed in Special K; it is not a unique object in the unity object hierarchy so it cannot be removed using Melon; and the bones that are attached to it are also connected to Mona's hair meaning any attempt to change the bone structure would result in damaging Mona's hair as well.
These instructions can be generally applied to remove any part of the mesh, though in some cases there will be a hole in the model underneath (especially for larger objects) - a walkthrough on how to patch mesh holes will come later.
- Ensure 3DMigoto and the 3DMigoto Blender plugin are installed (see README on main github page)
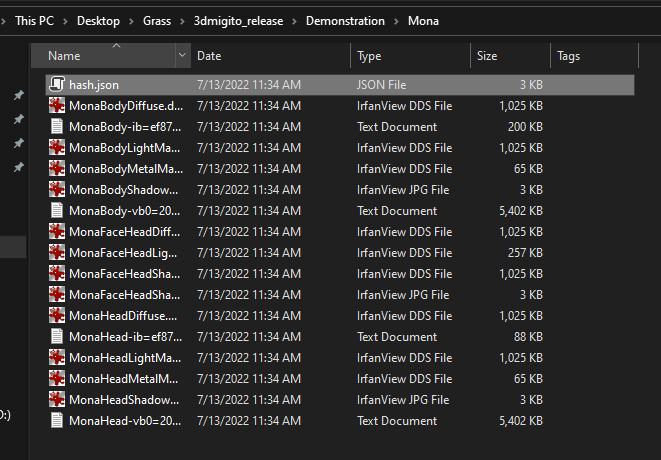
- Download the Mona character files from the CharacterData folder of https://github.com/SilentNightSound/GI-Model-Importer-Assets. Your folder should look like this:
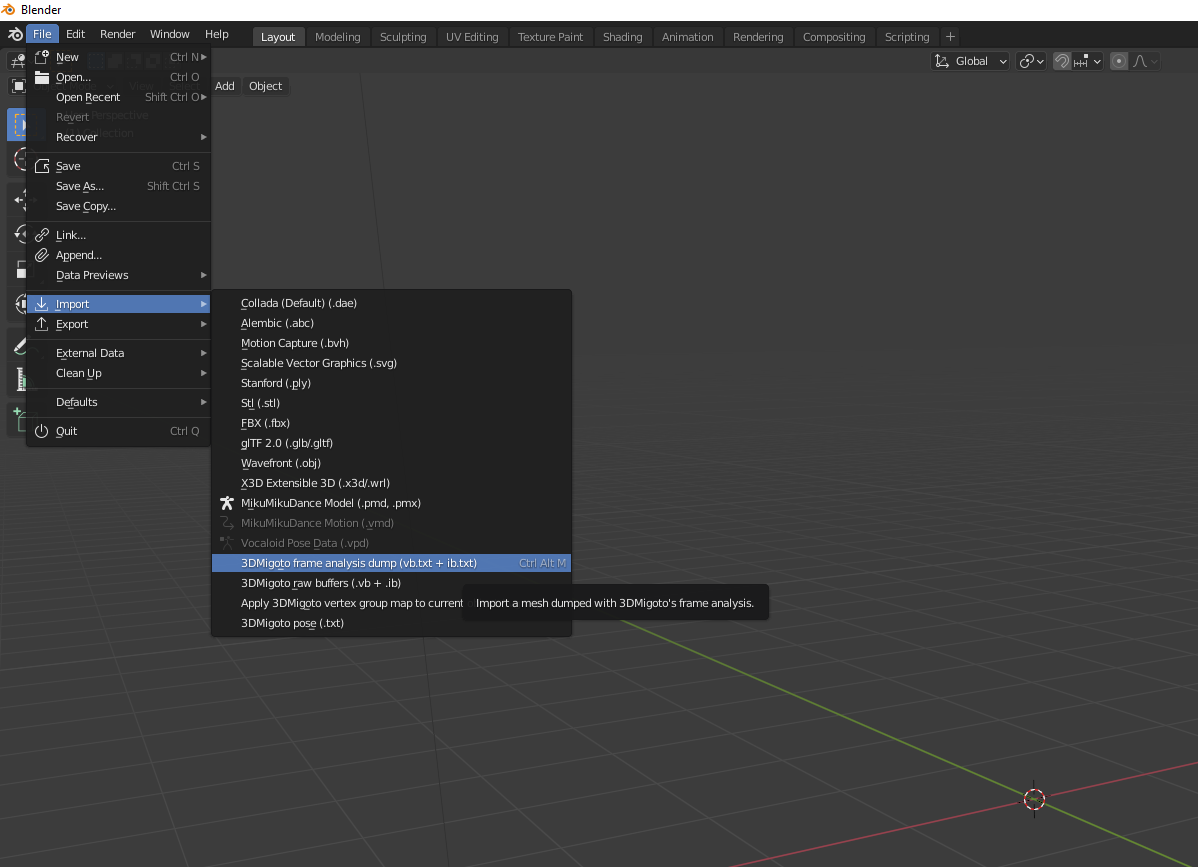
- We are now going to load the model into Blender. Under File->Import there is an option to import 3DMigoto Frame Analysis Dumps. If you do not see this option, ensure the 3DMigoto plugin is installed and activated
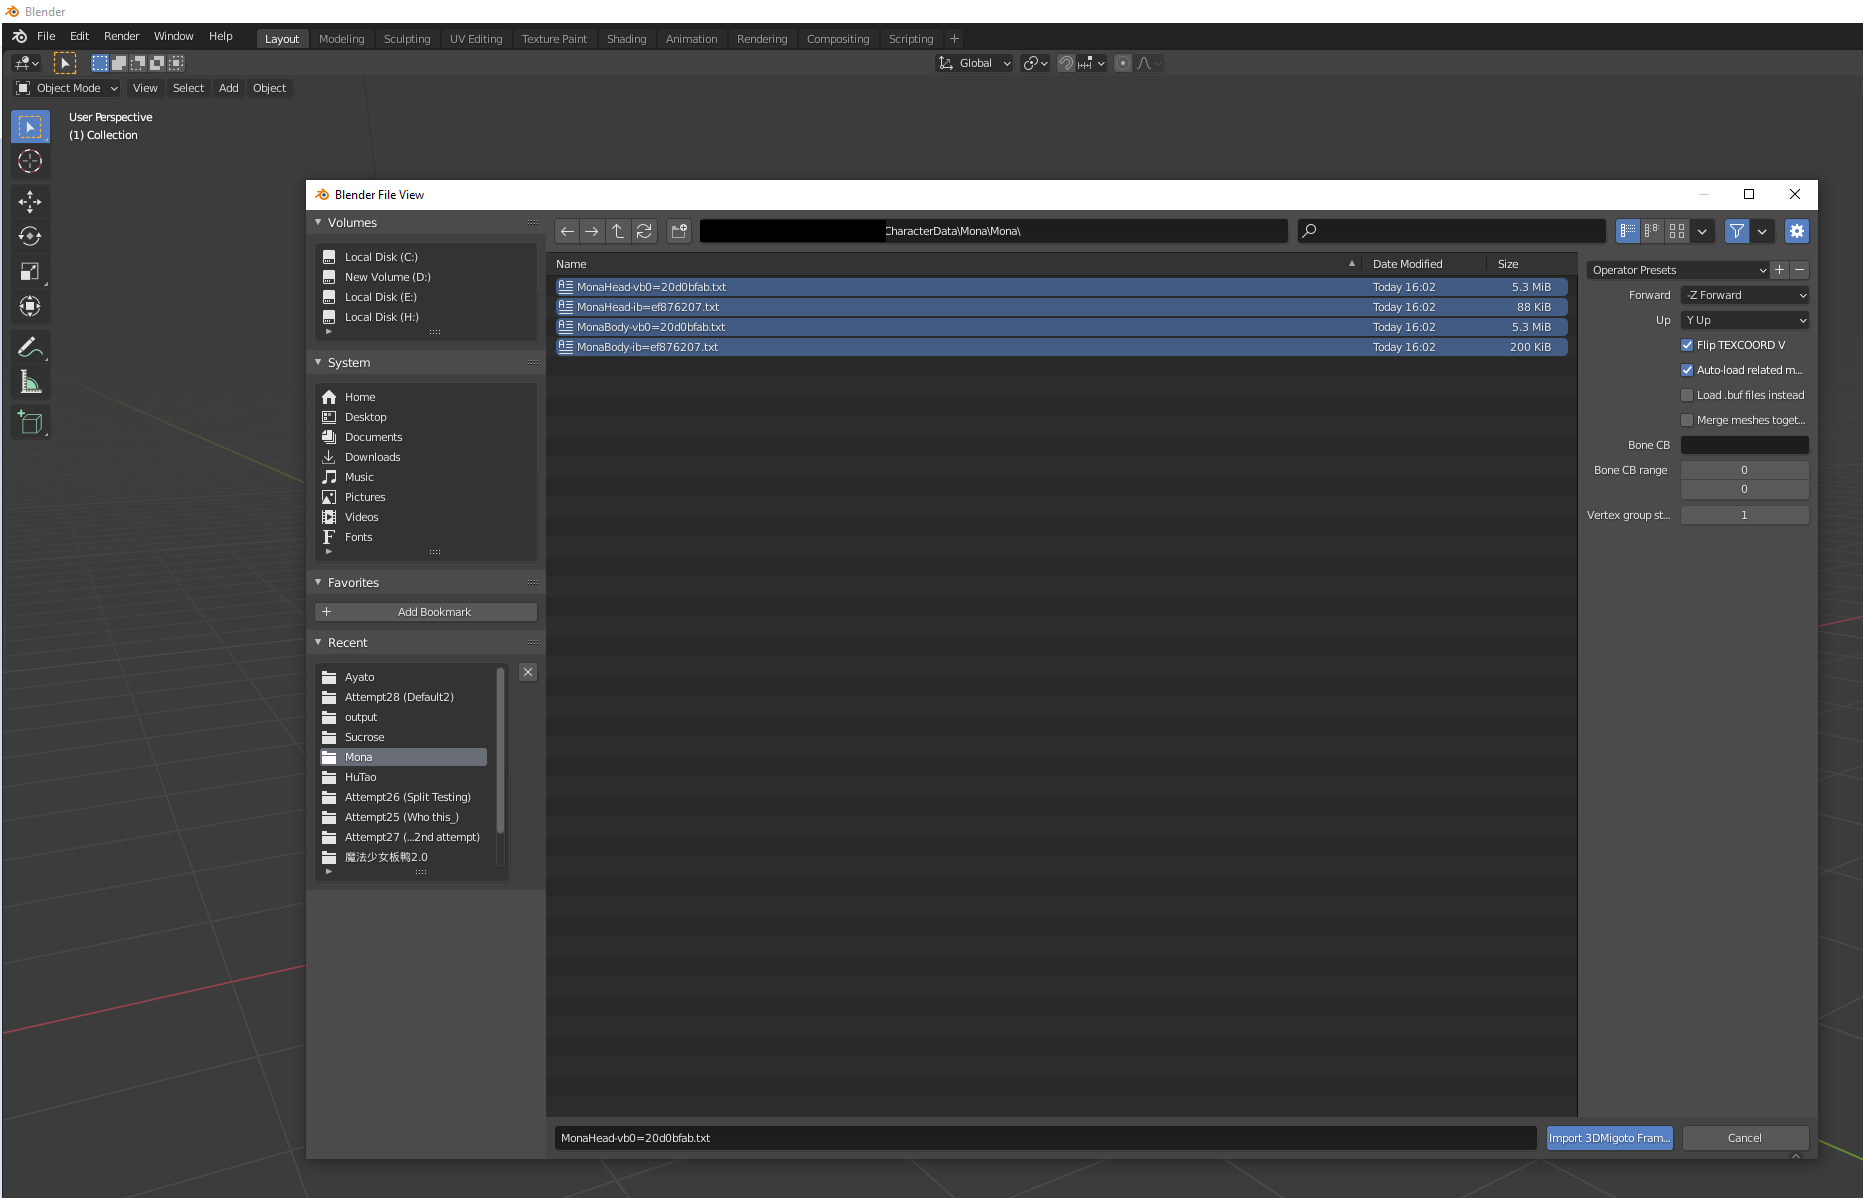
- Navigate to the character folder and select all the .txt files. Leave all settings as default and press import.
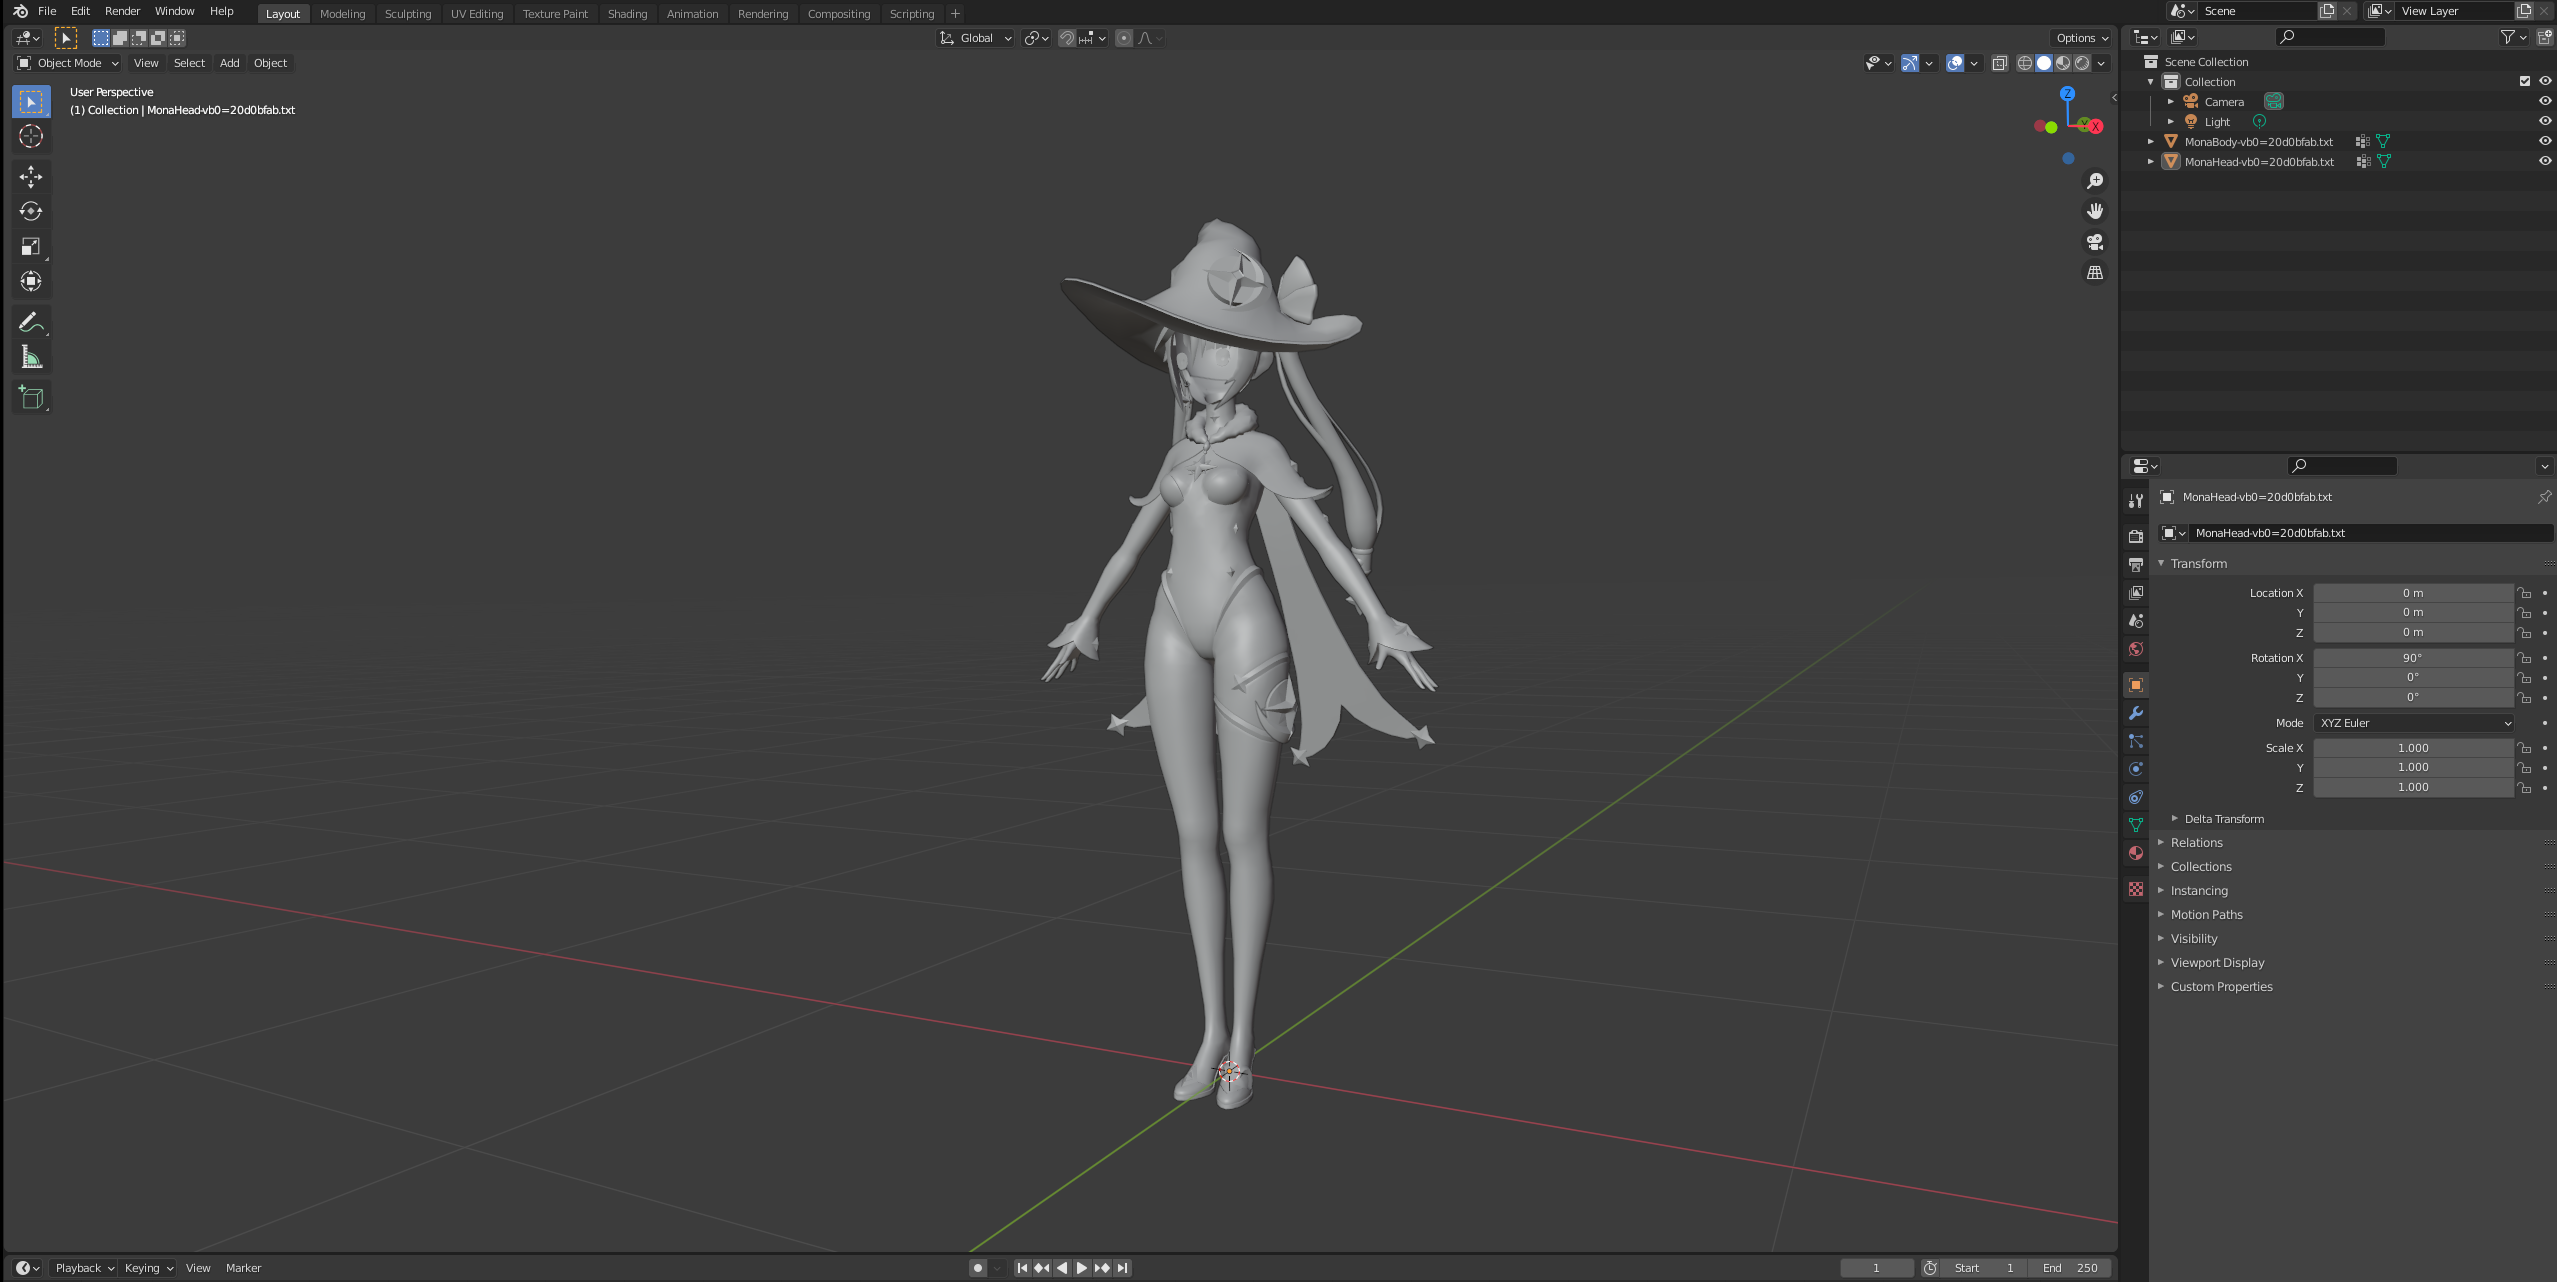
- If everything has been setup correctly, you should see Mona's model imported into the viewport. It consists of two objects, the head and body
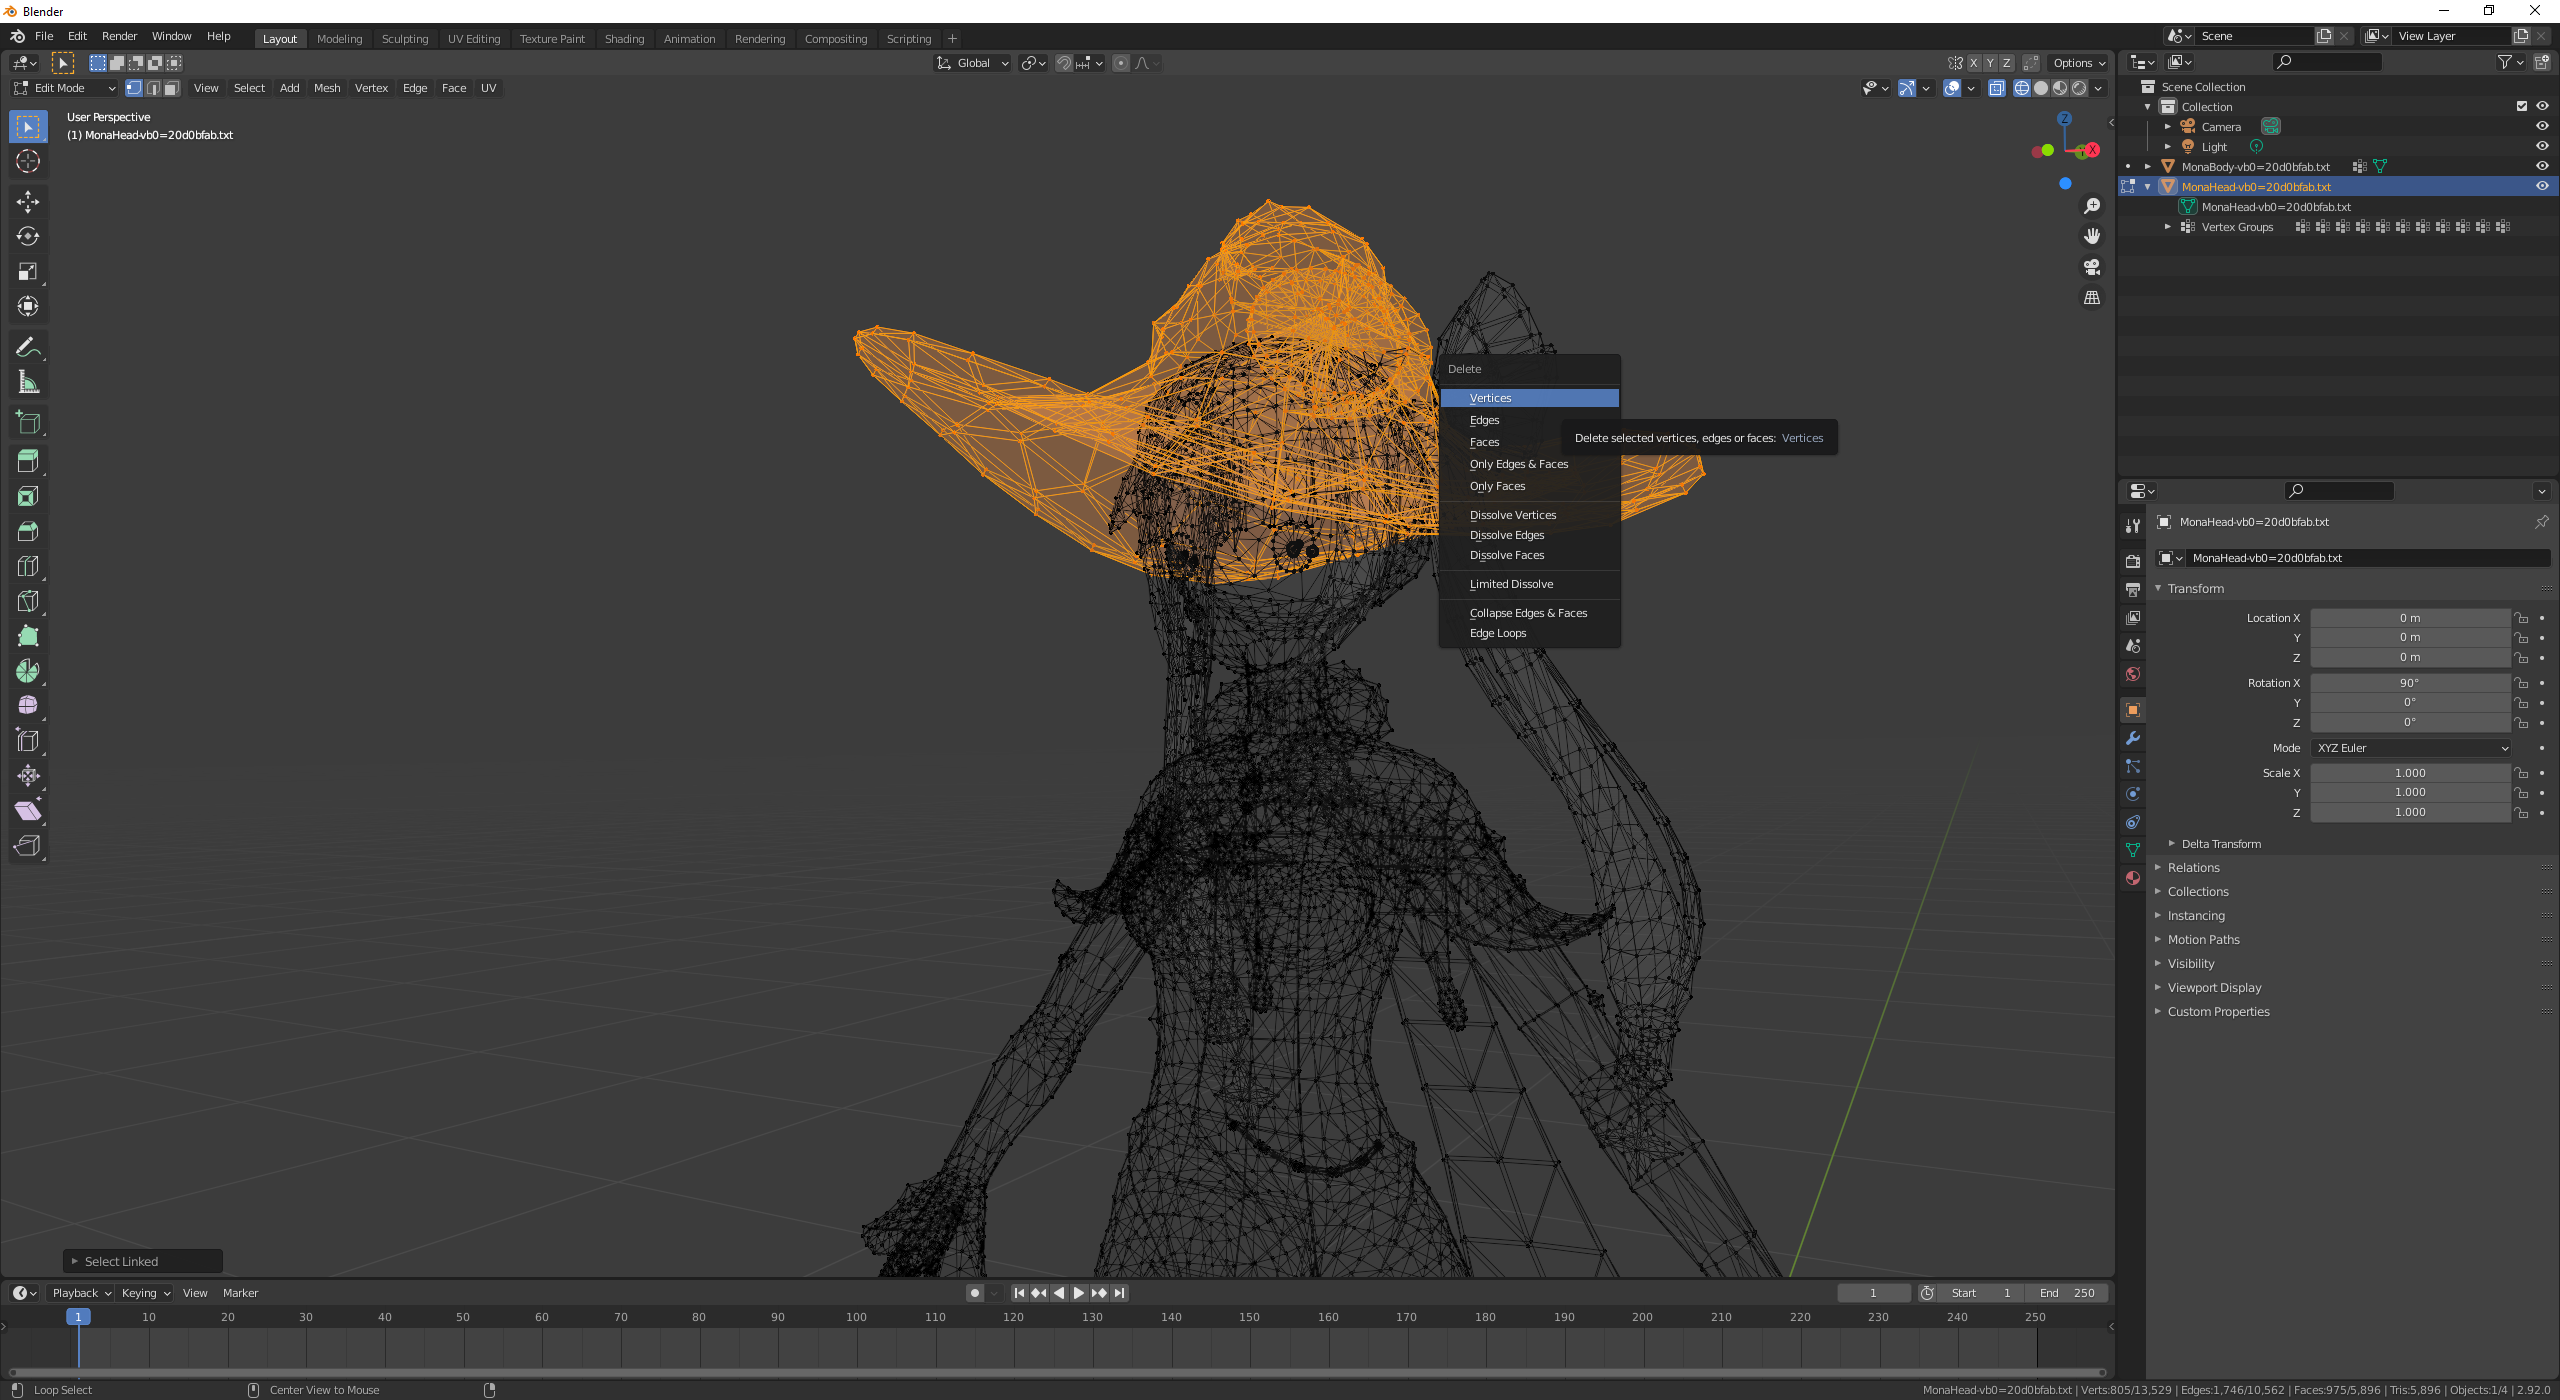
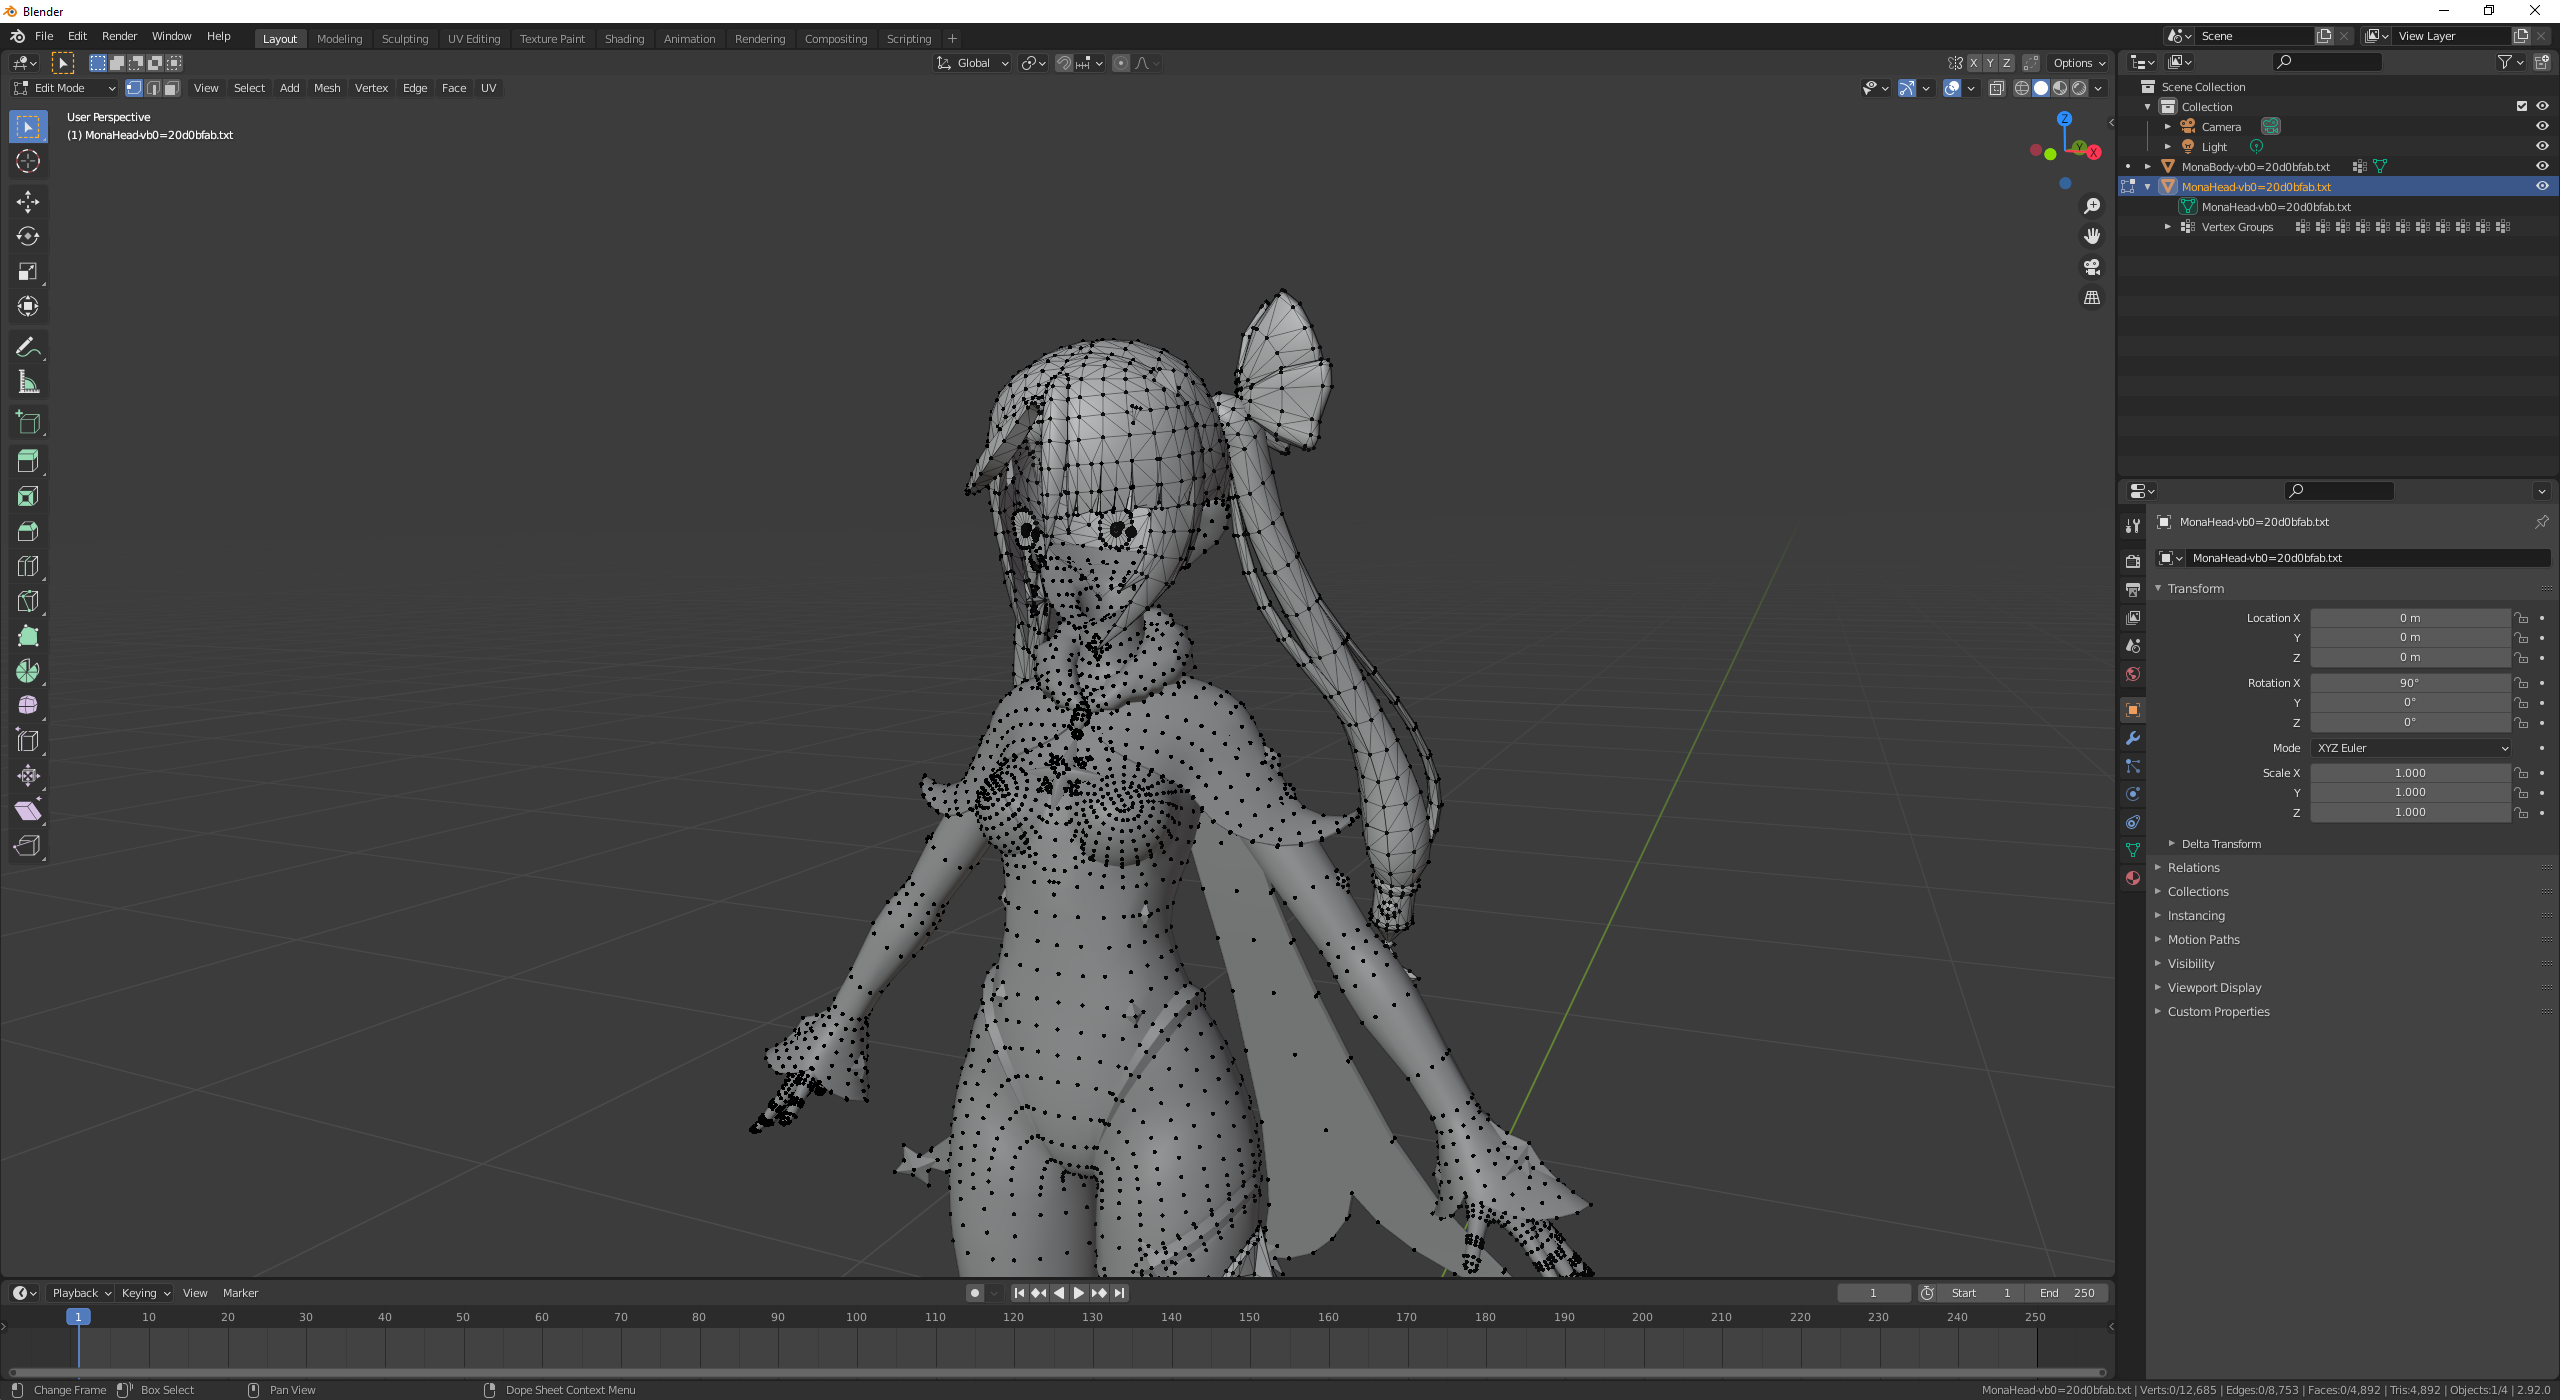
- We want to remove the hat, so select the head mesh and enter edit mode. Highlight all the vertices of the hat, then delete them
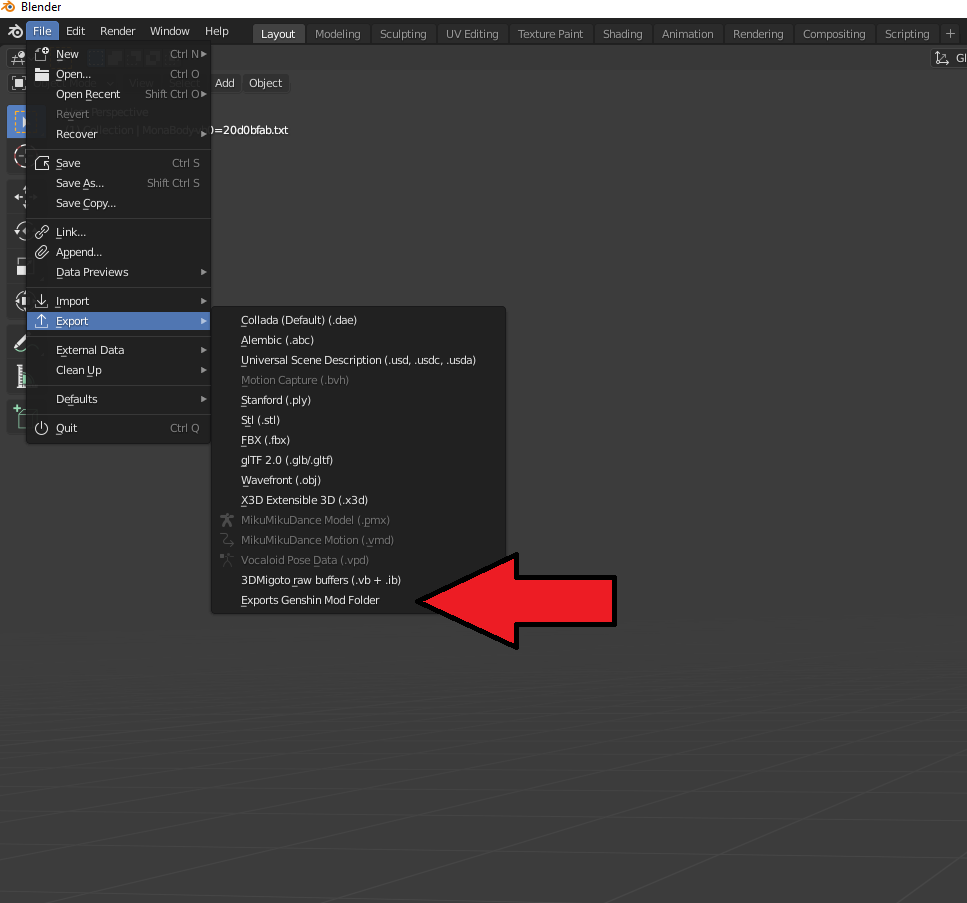
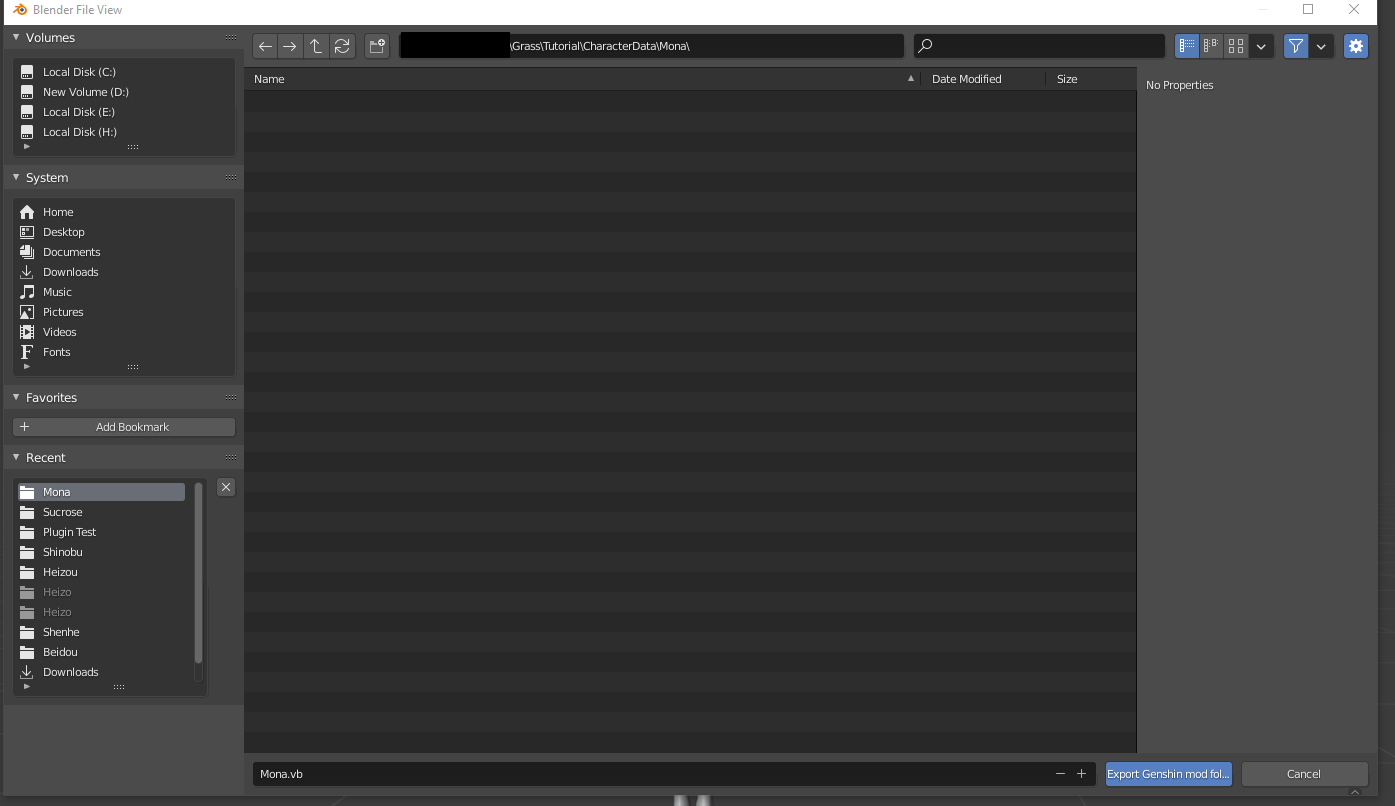
- Now that Mona is hatless, we want to export the models. Ensure that there is a single object named "MonaHead" and one named "MonaBody" (and optionally one named "CharDress"/"CharExtra" for characters that have a third/fourth part - Mona only has two). The option to export is under File->Export->Exports Genshin Mod folder. Navigate to the character folder you loaded the original data from, and export the model as "Mona.vb"
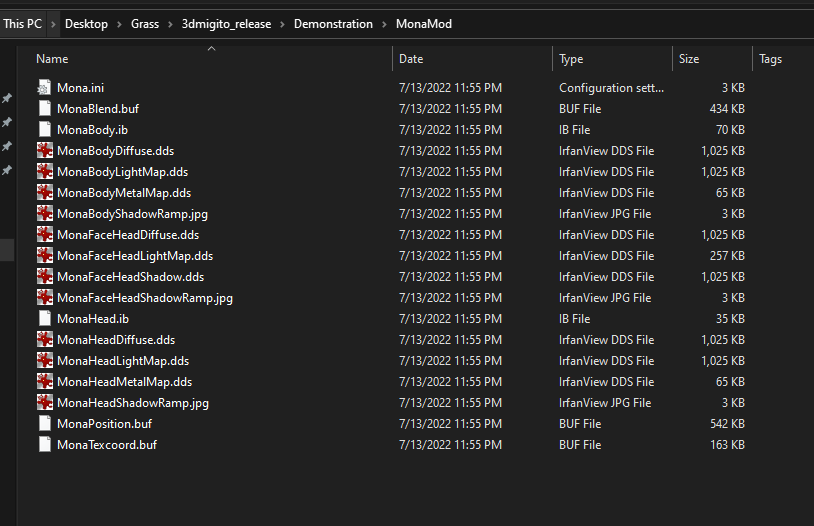
- A MonaMod folder should now be generated right next to the original character folder that looks like this (if the mod folder does not generate, double check the folder you are exporting to has hash.json):
- (Note: another way to generate the Mod folder is to export each component separately as MonaHead and MonaBody with the 3DMigoto raw buffers option, then use the genshin_3dmigoto_generate.py script with
python .\genshin_3dmigoto_generate.py -n "Mona")
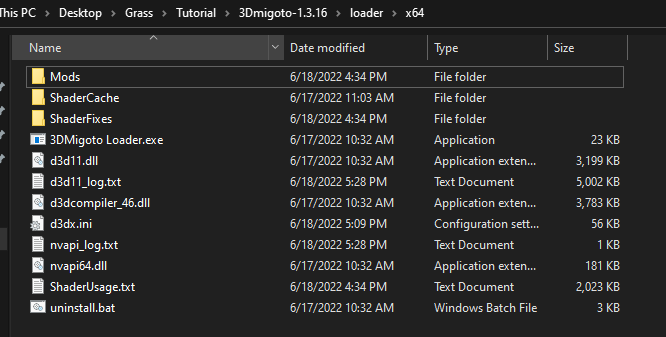
- Copy the MonaMod folder into the 3DMigoto Mods folder created during setup:
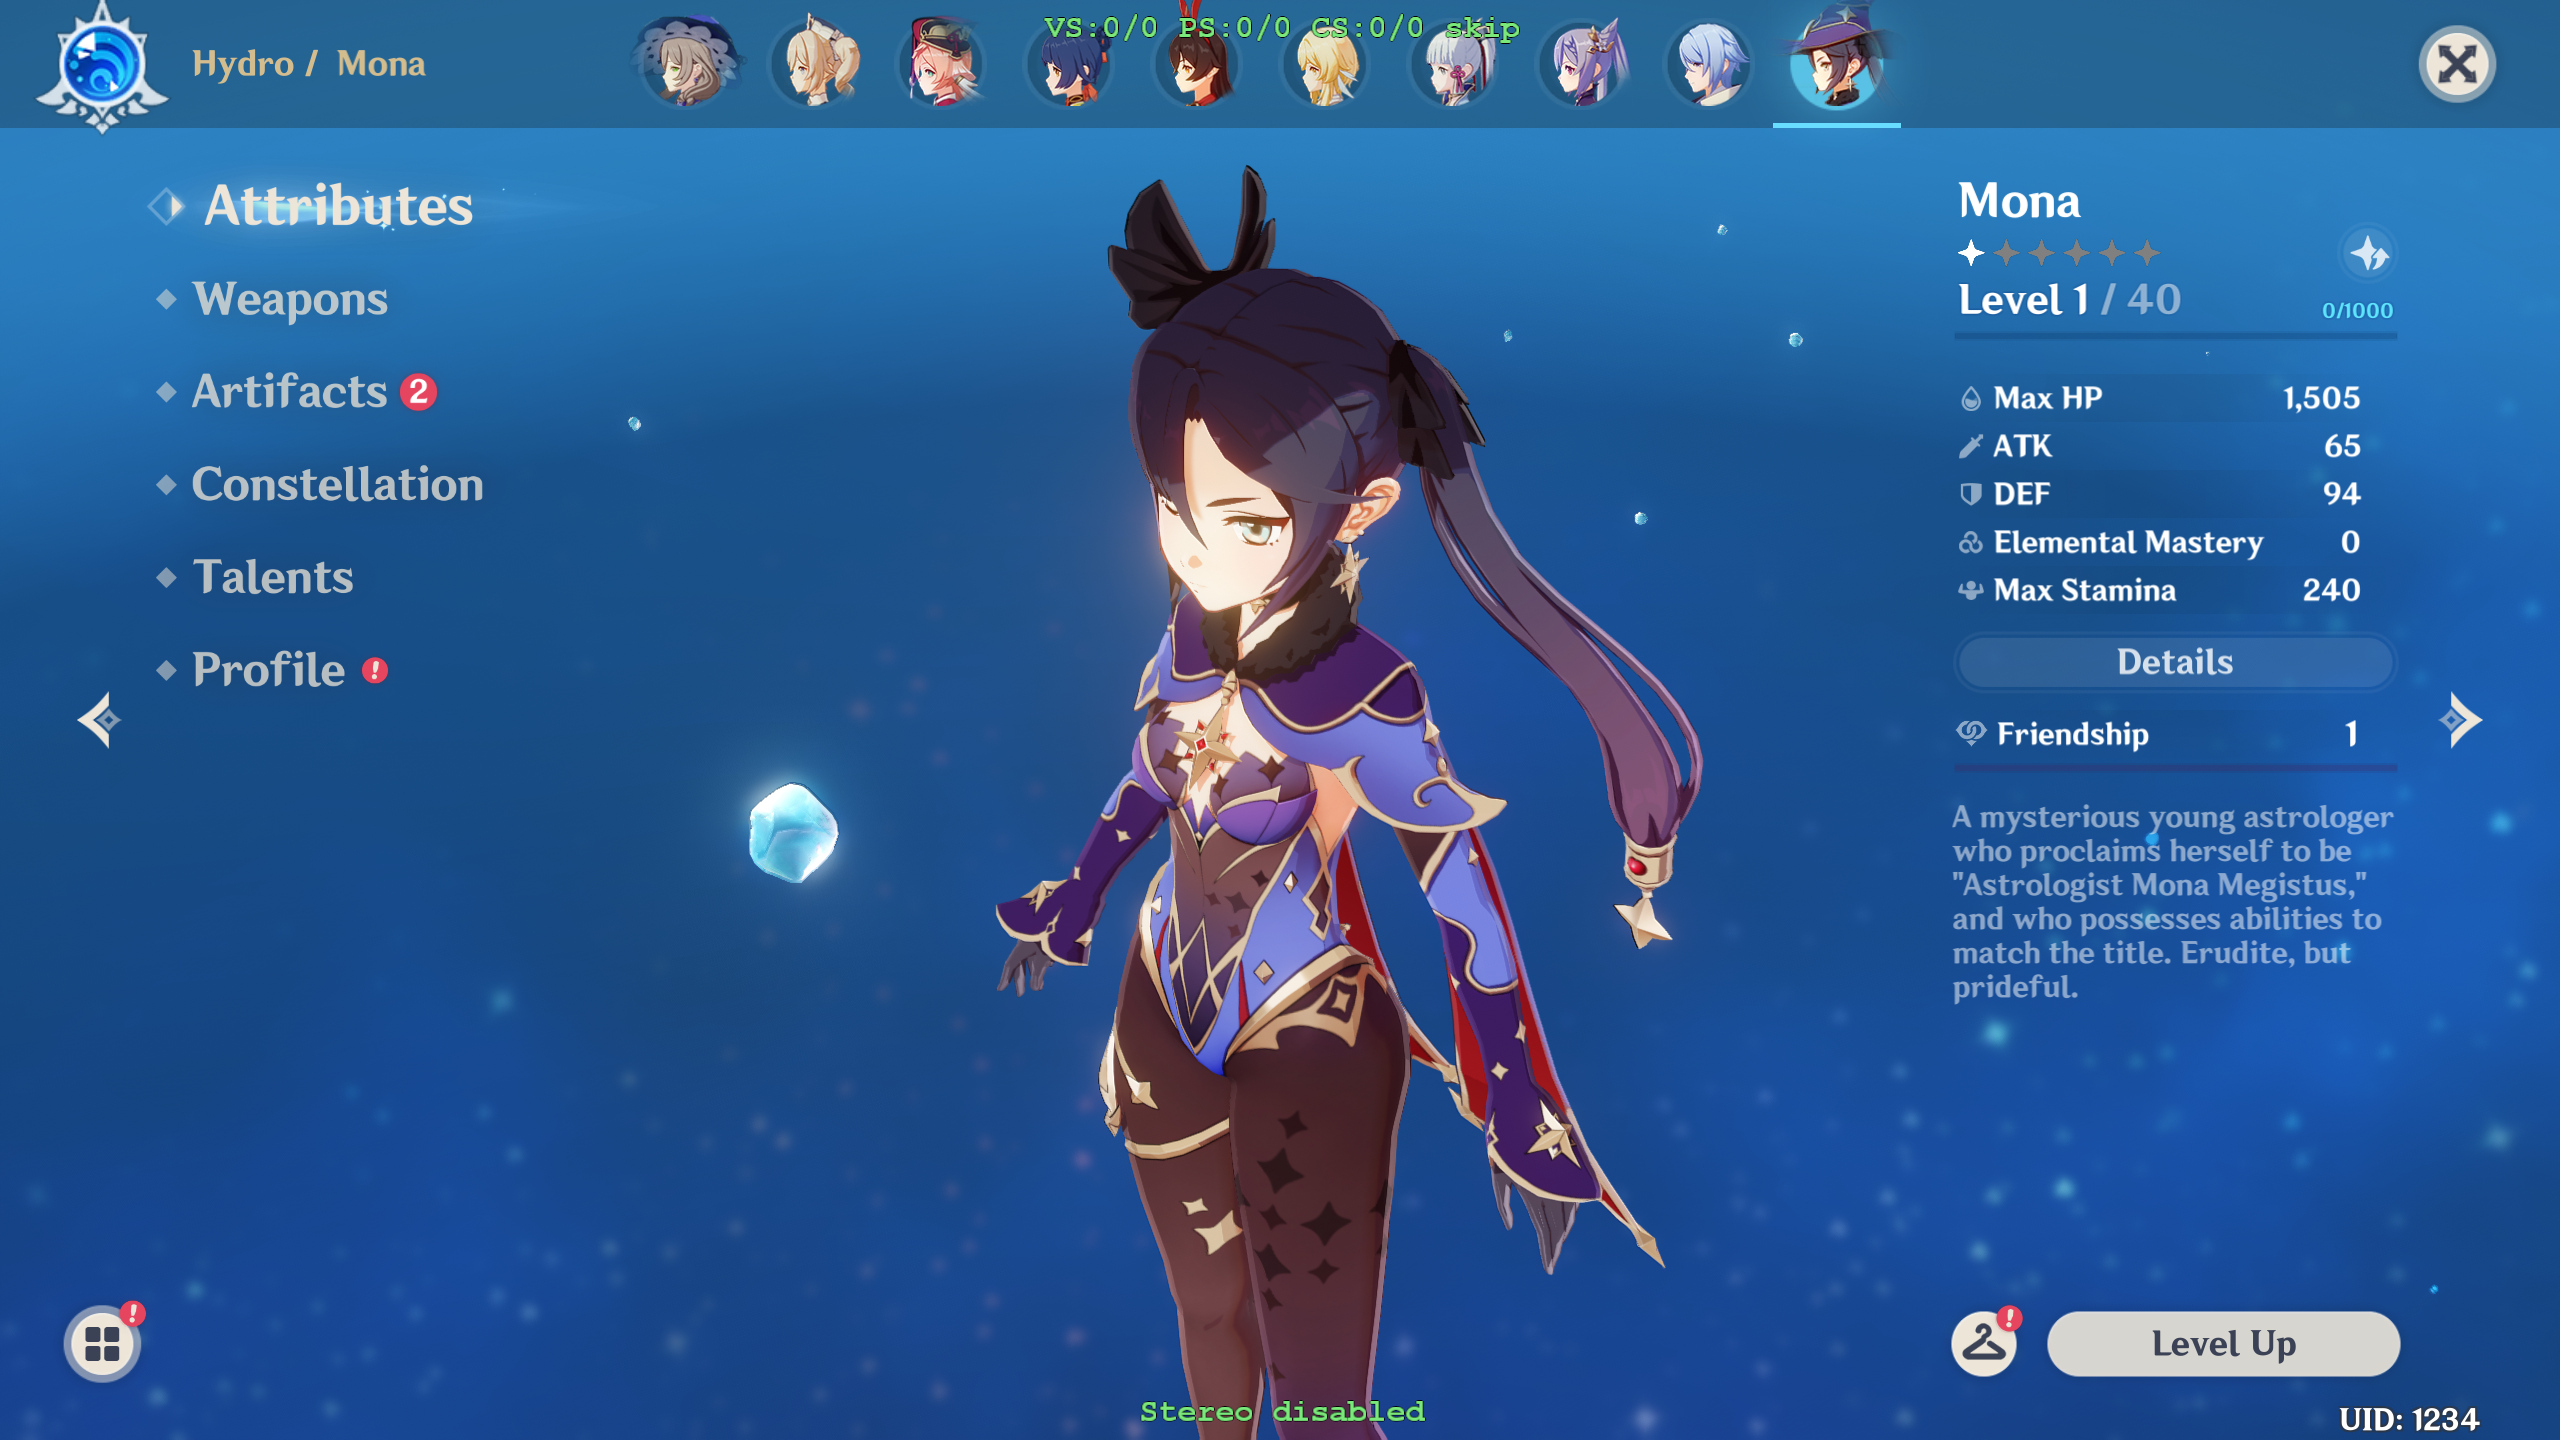
- Press "F10" in Genshin to reload all .ini files and apply the mod. If everything has gone according to plan, your Mona will now be hatless!
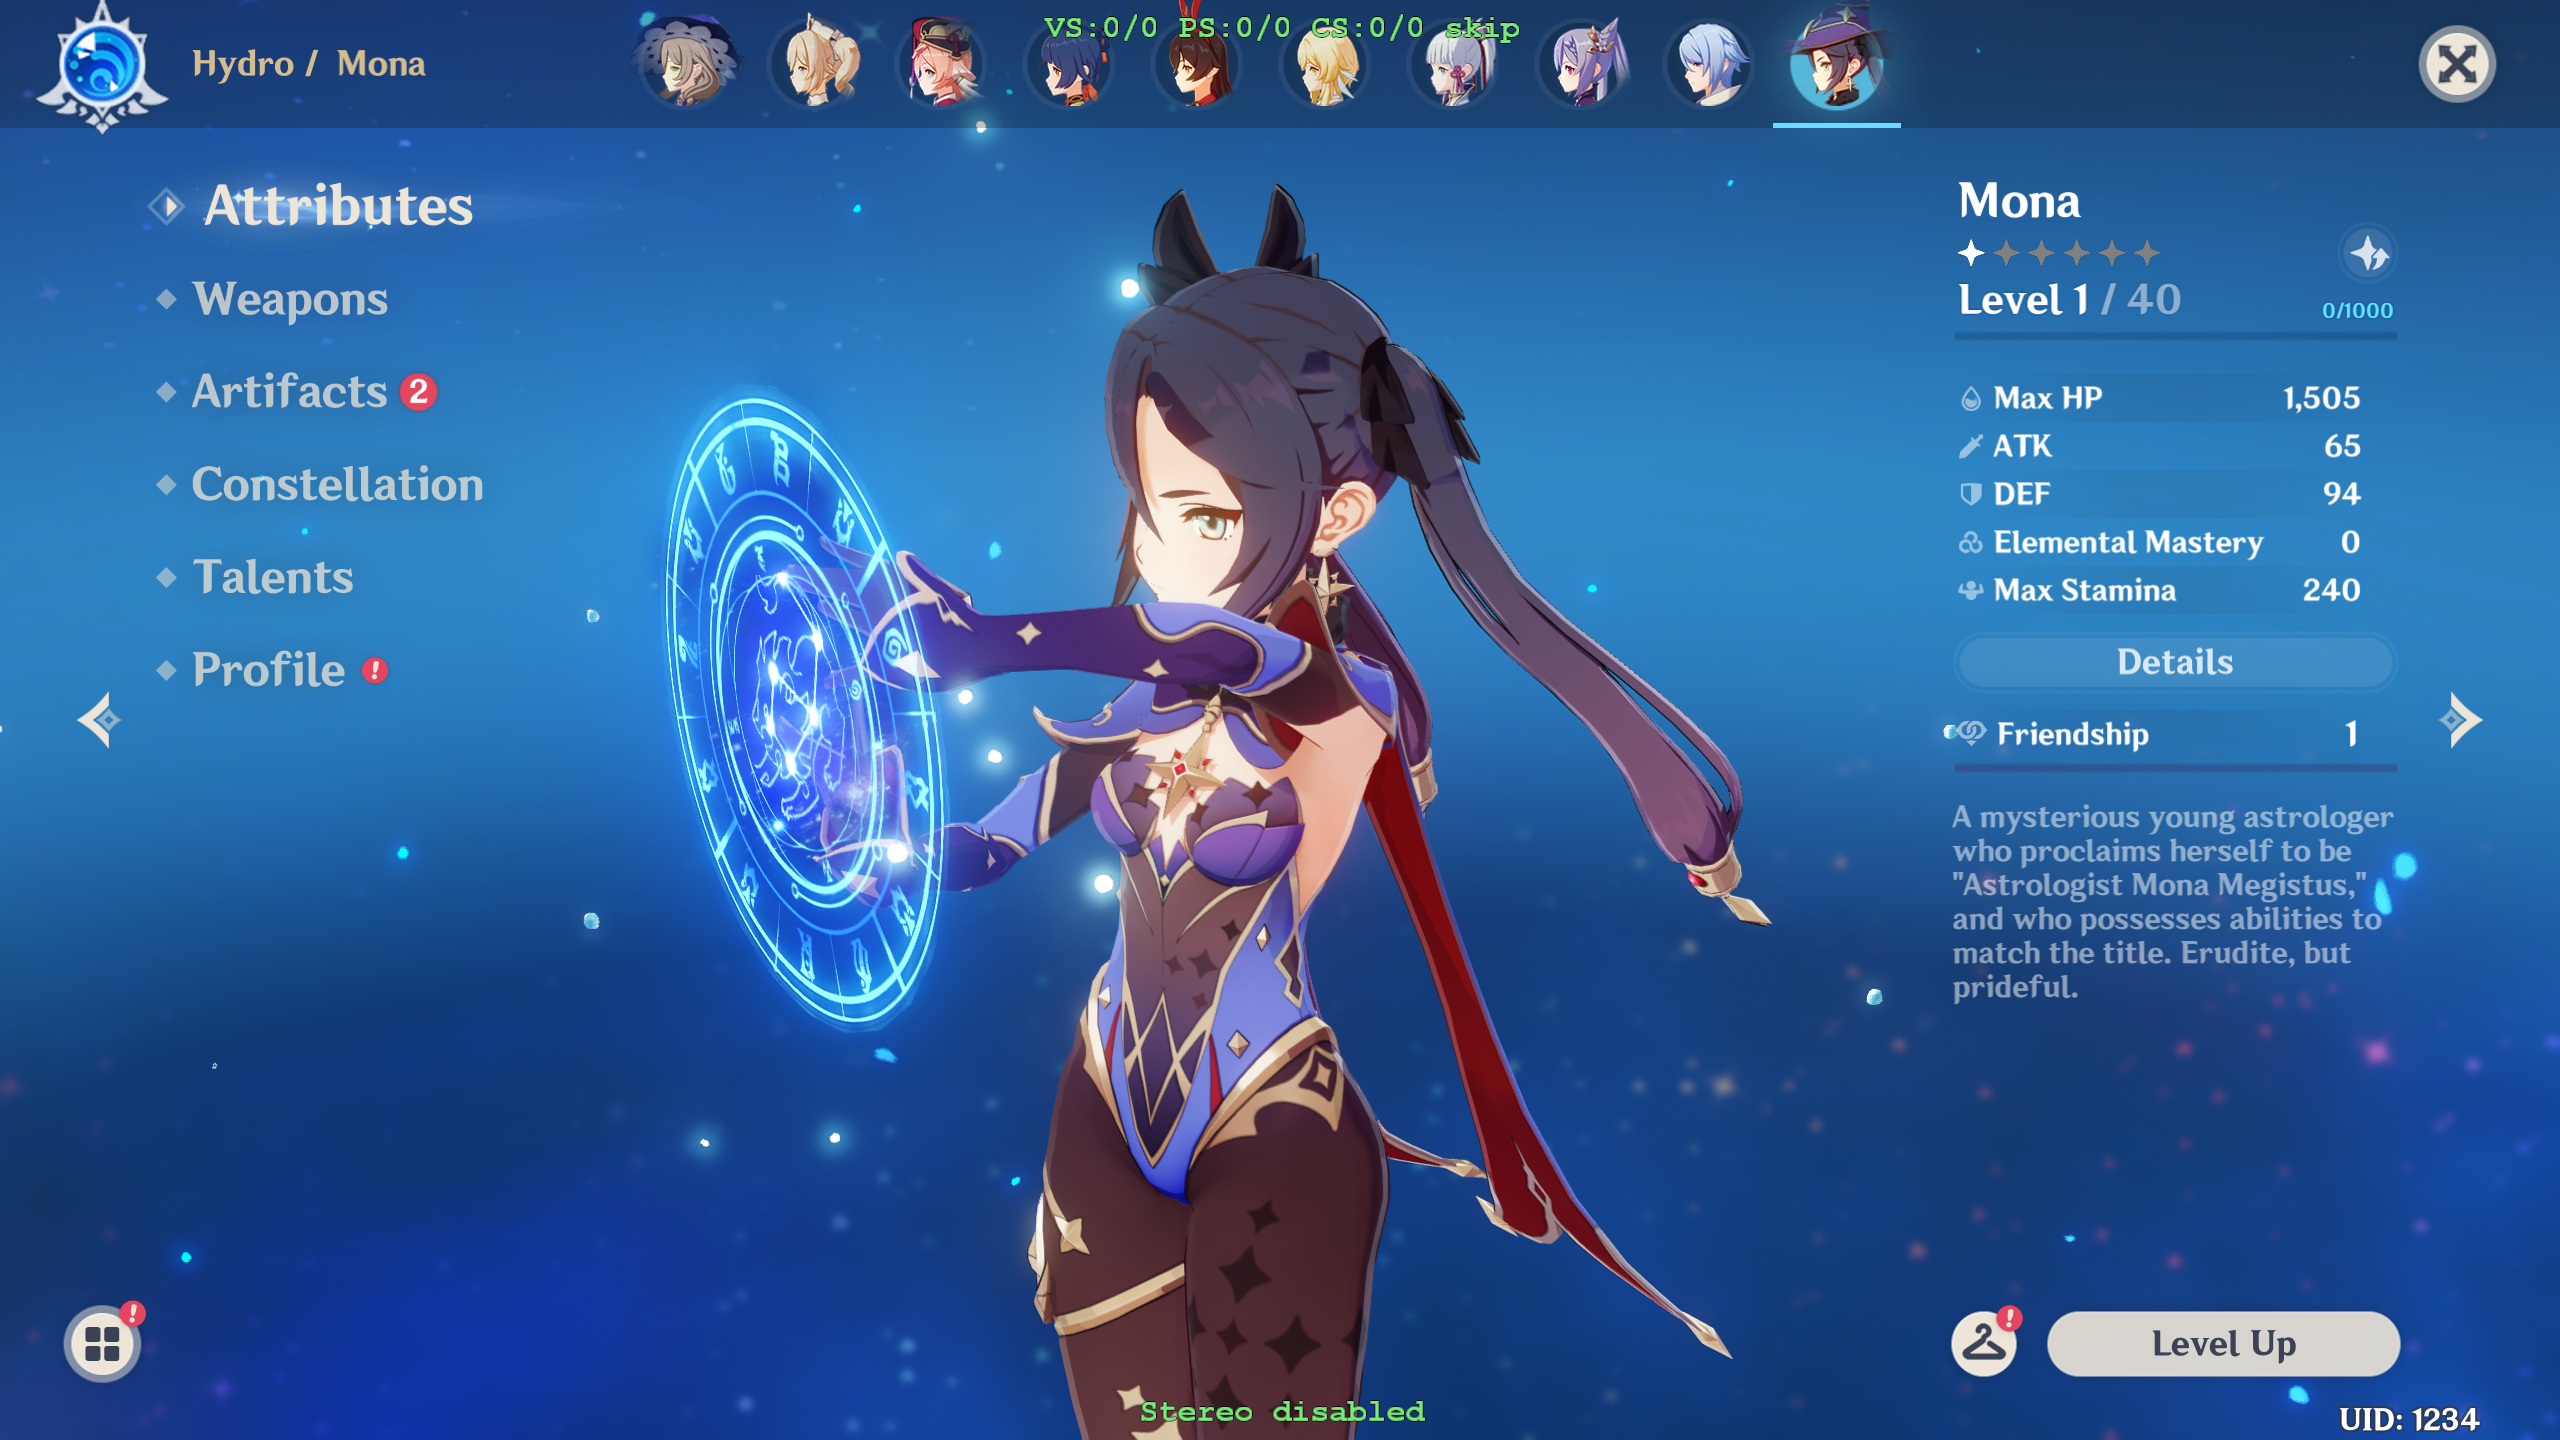
We can do a bit more to improve this. Notices that Mona's hair is discolored where the hat used to be - this is controlled by her head's lightmap texture. The character folder includes this file as MonaHeadLightMap.dds, and we can modify it to improve the result further.
-
In order to edit the dds textures, we use Paint.net with the DDS extension and any extension that allows us to edit the alpha layer Alpha Mask Import or Modify Channels - I will use the former in this walkthrough, and for an example with the latter see GI_Assets
-
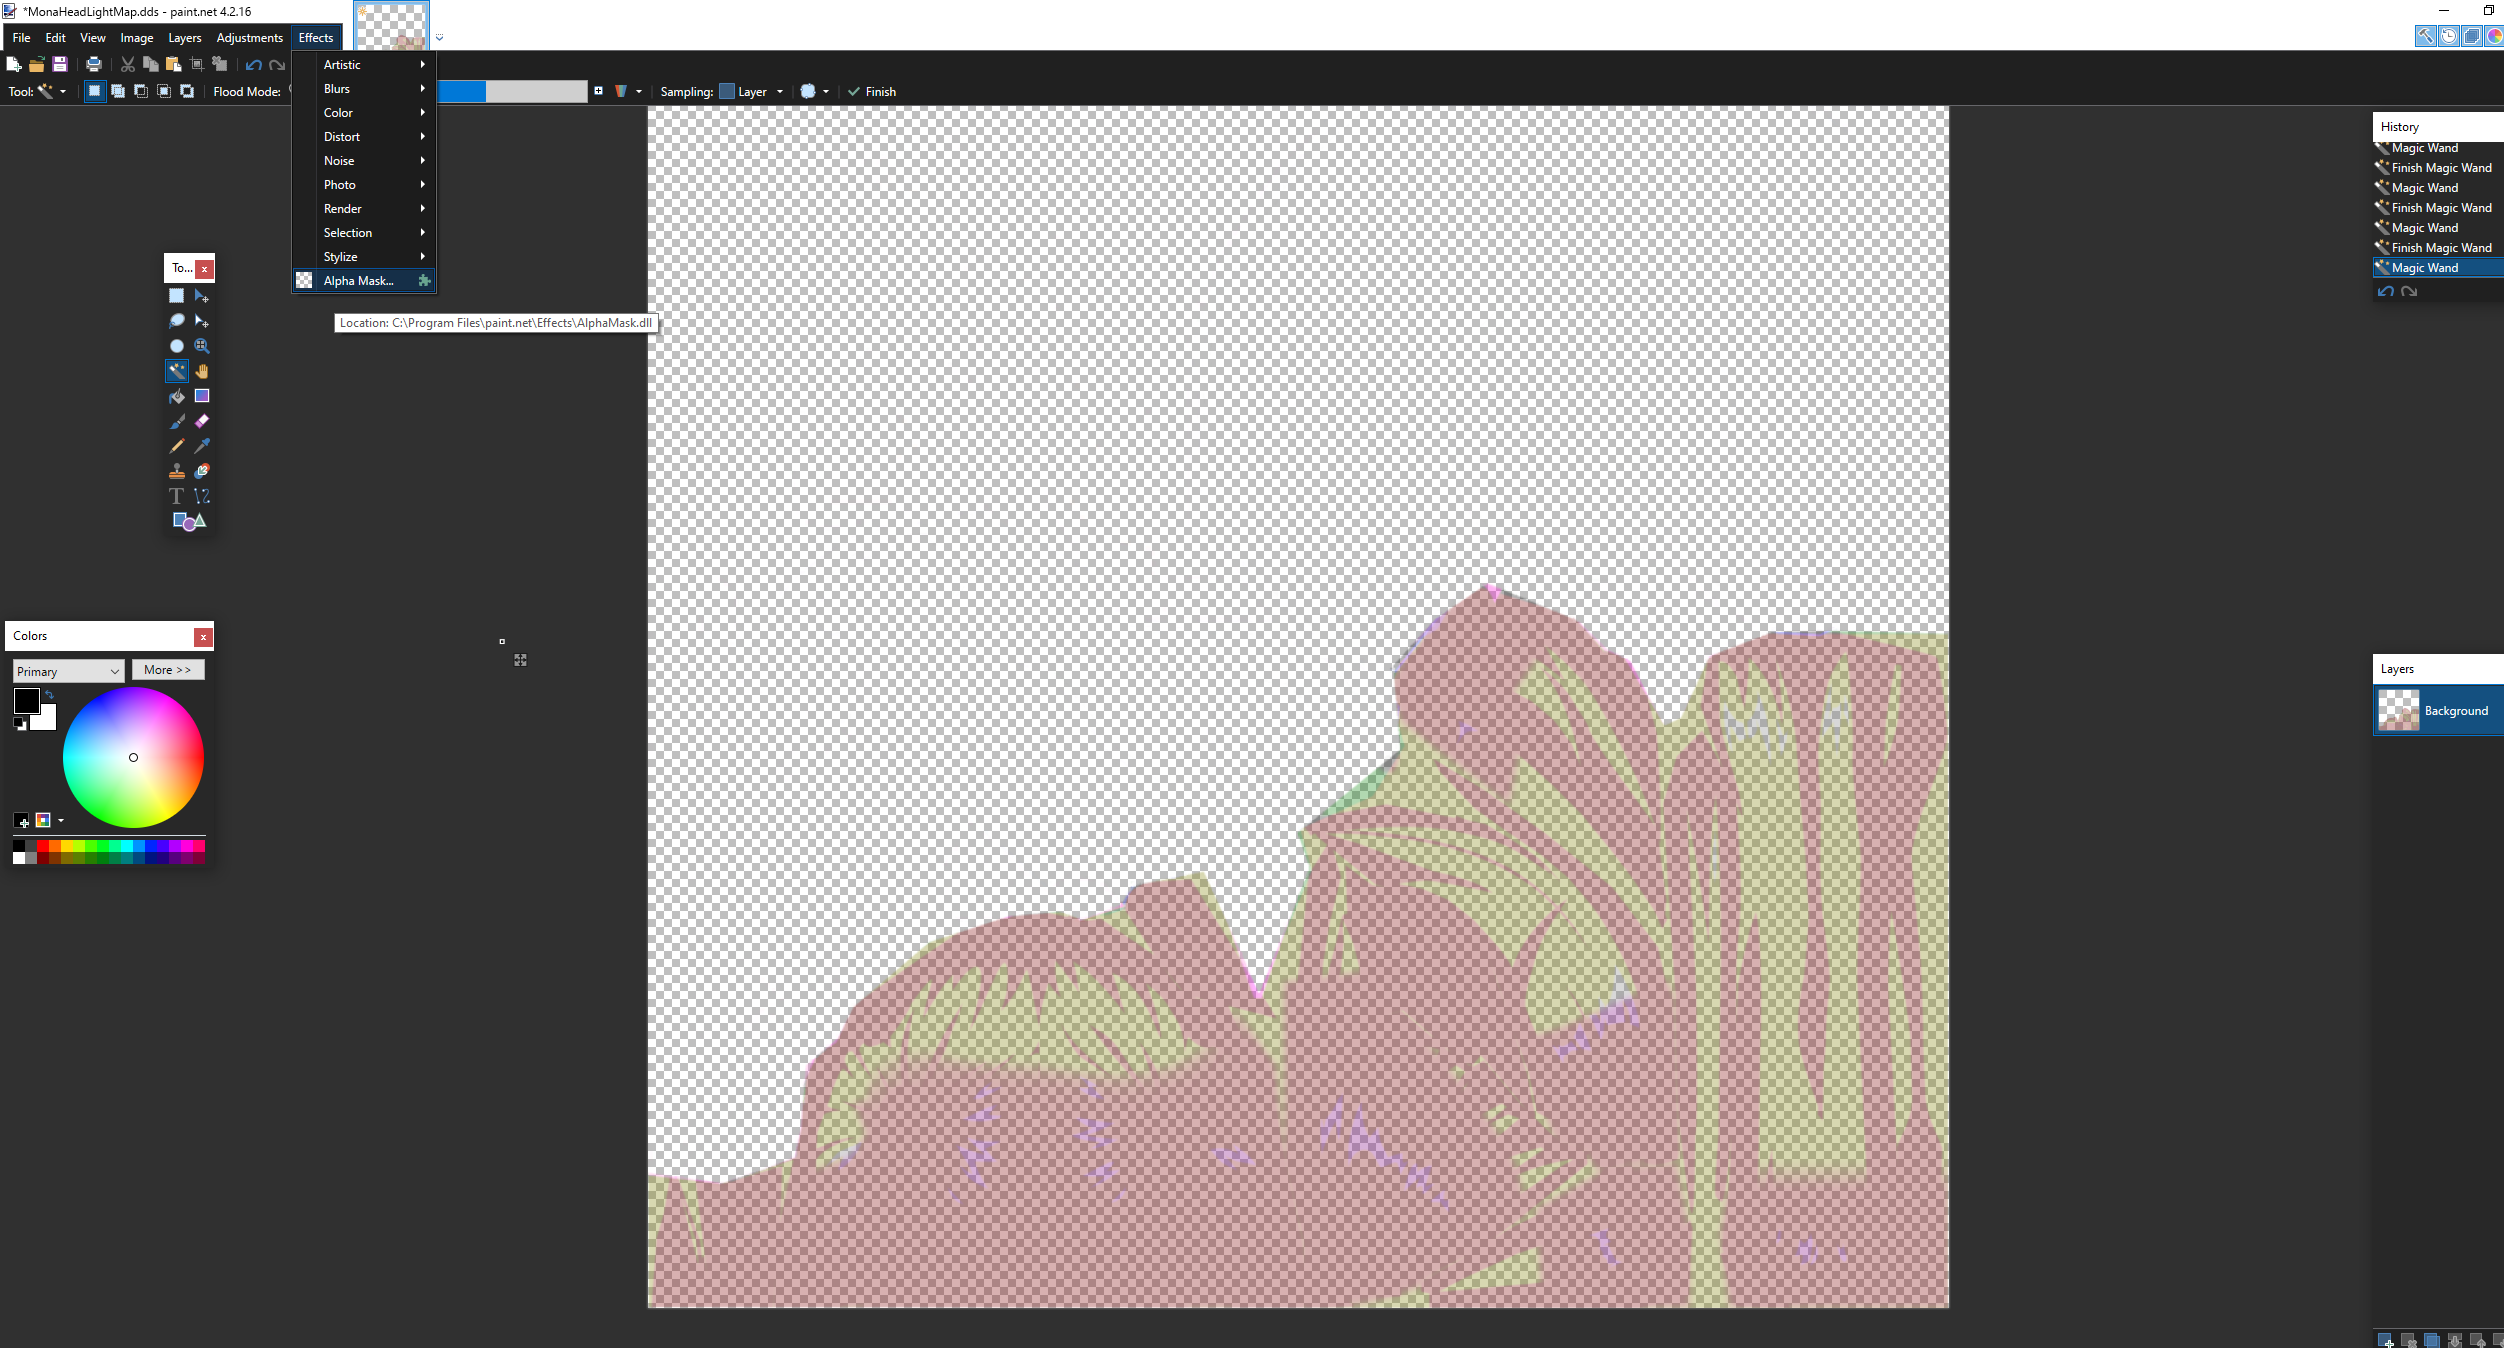
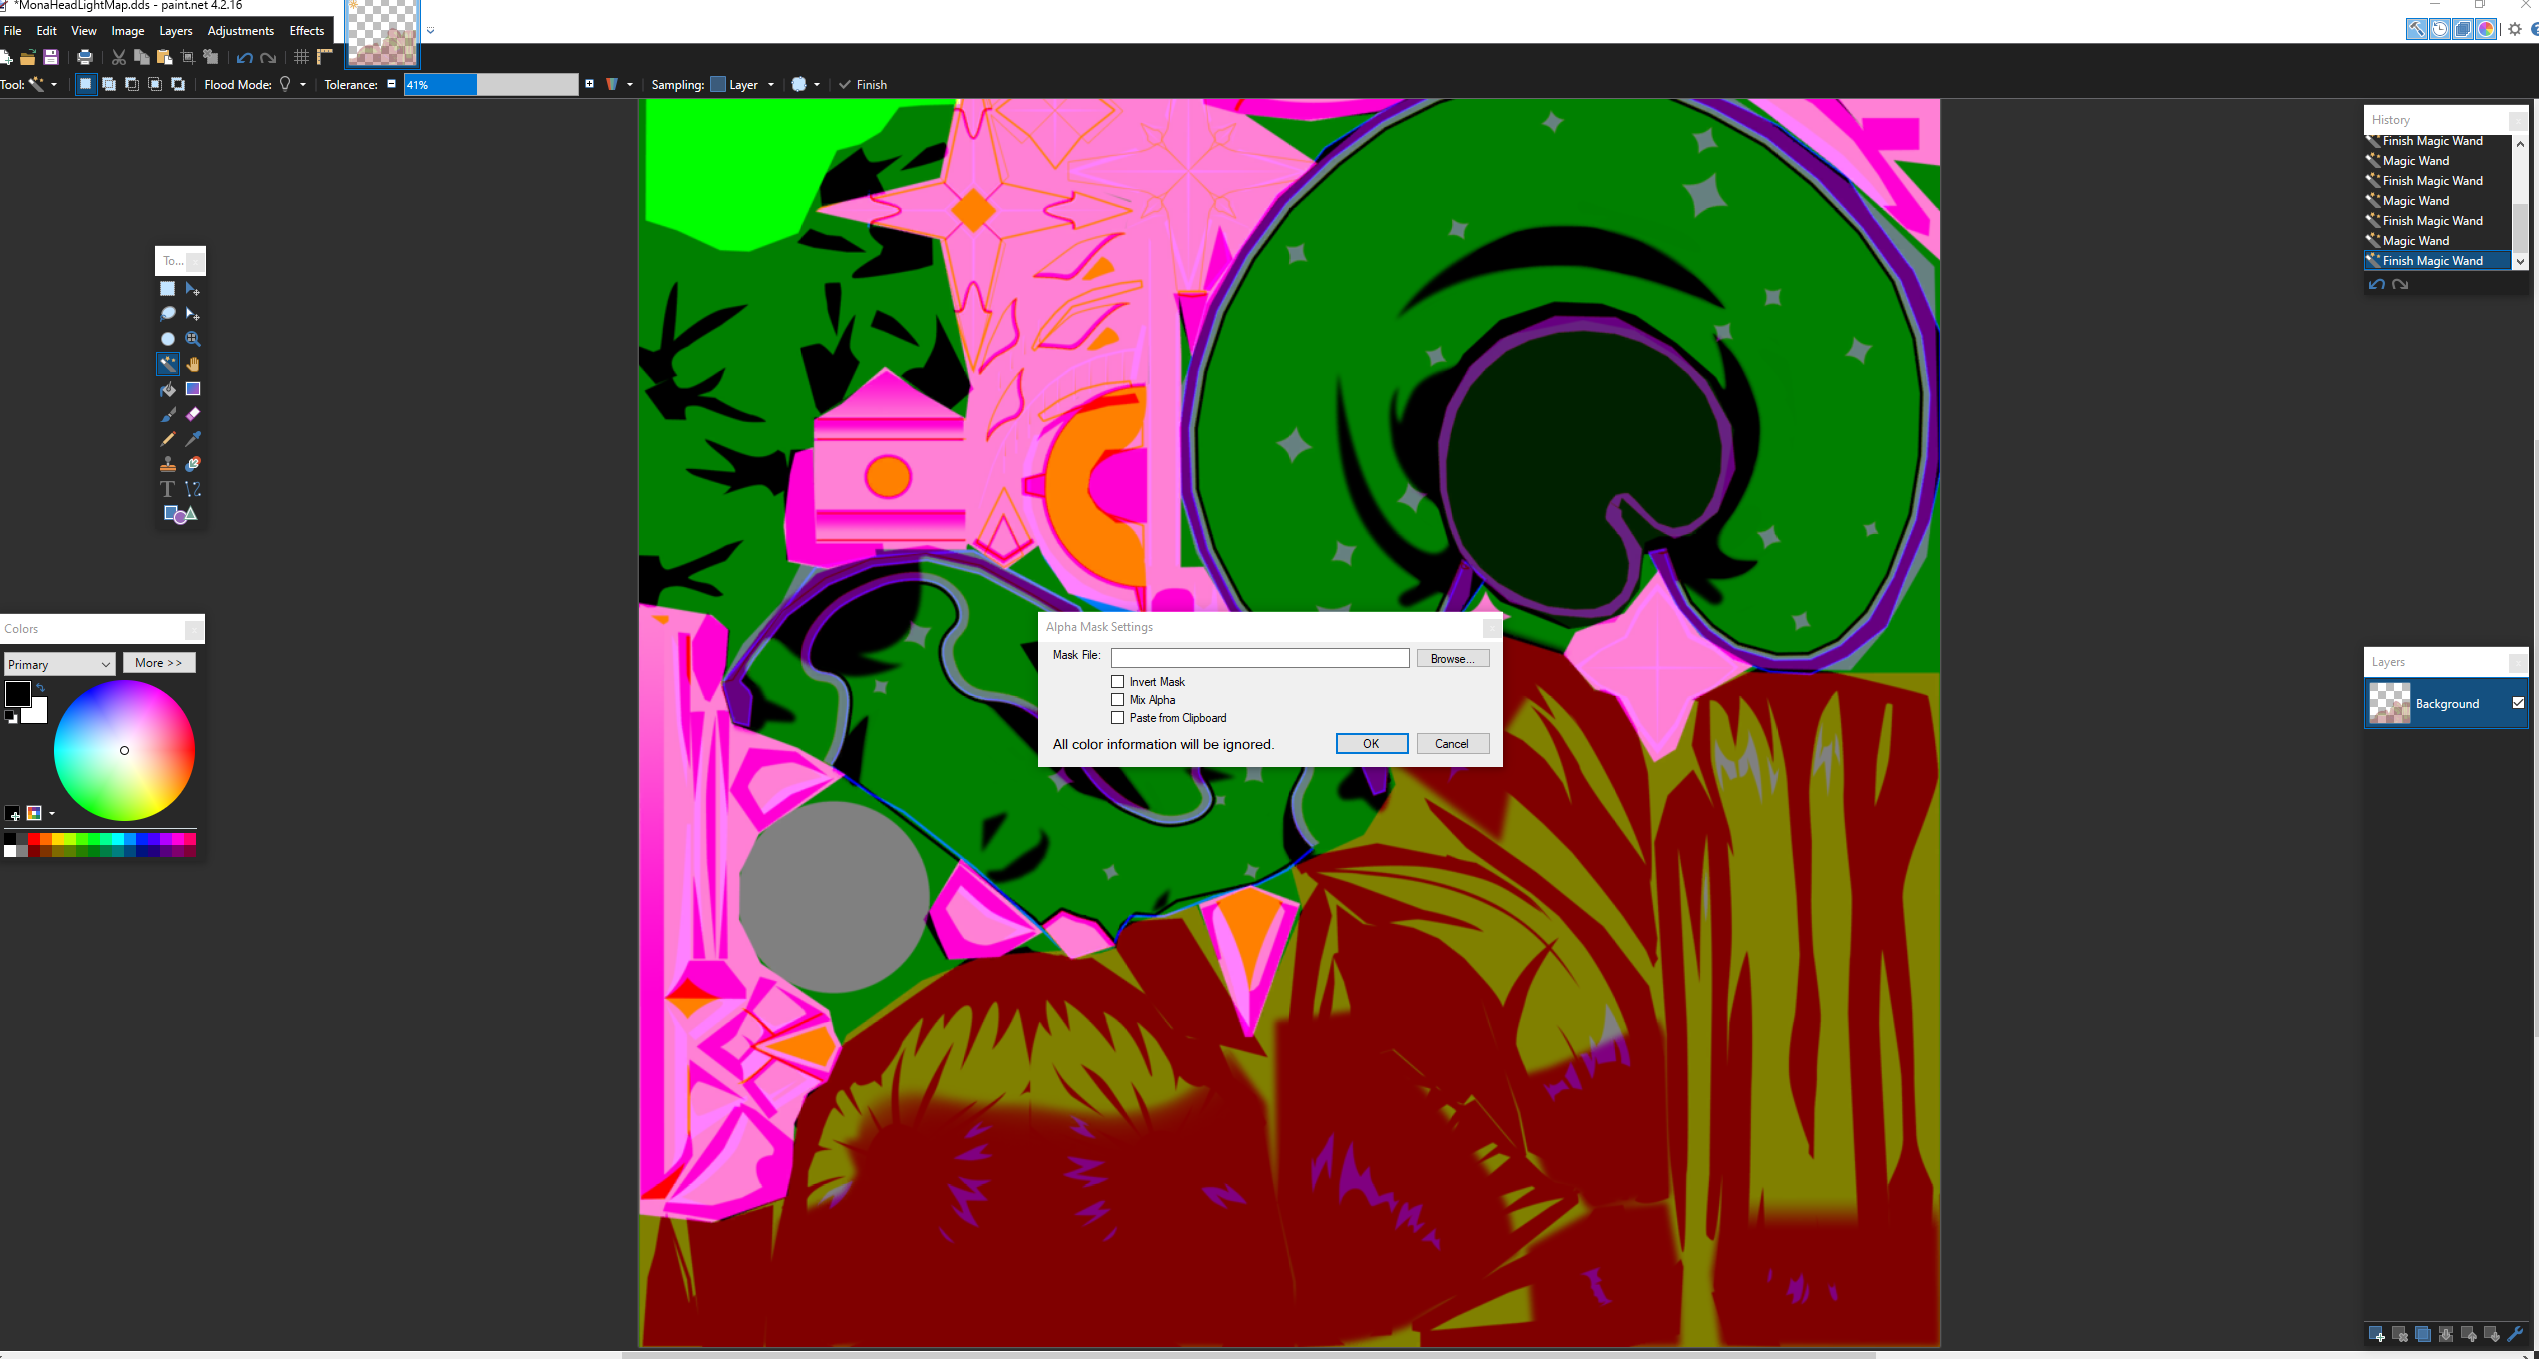
Opening MonaHeadLightMap.dds, we can remove the alpha layer by clicking on Effects->Alpha Mask and making sure all options are unselected and pressing OK:
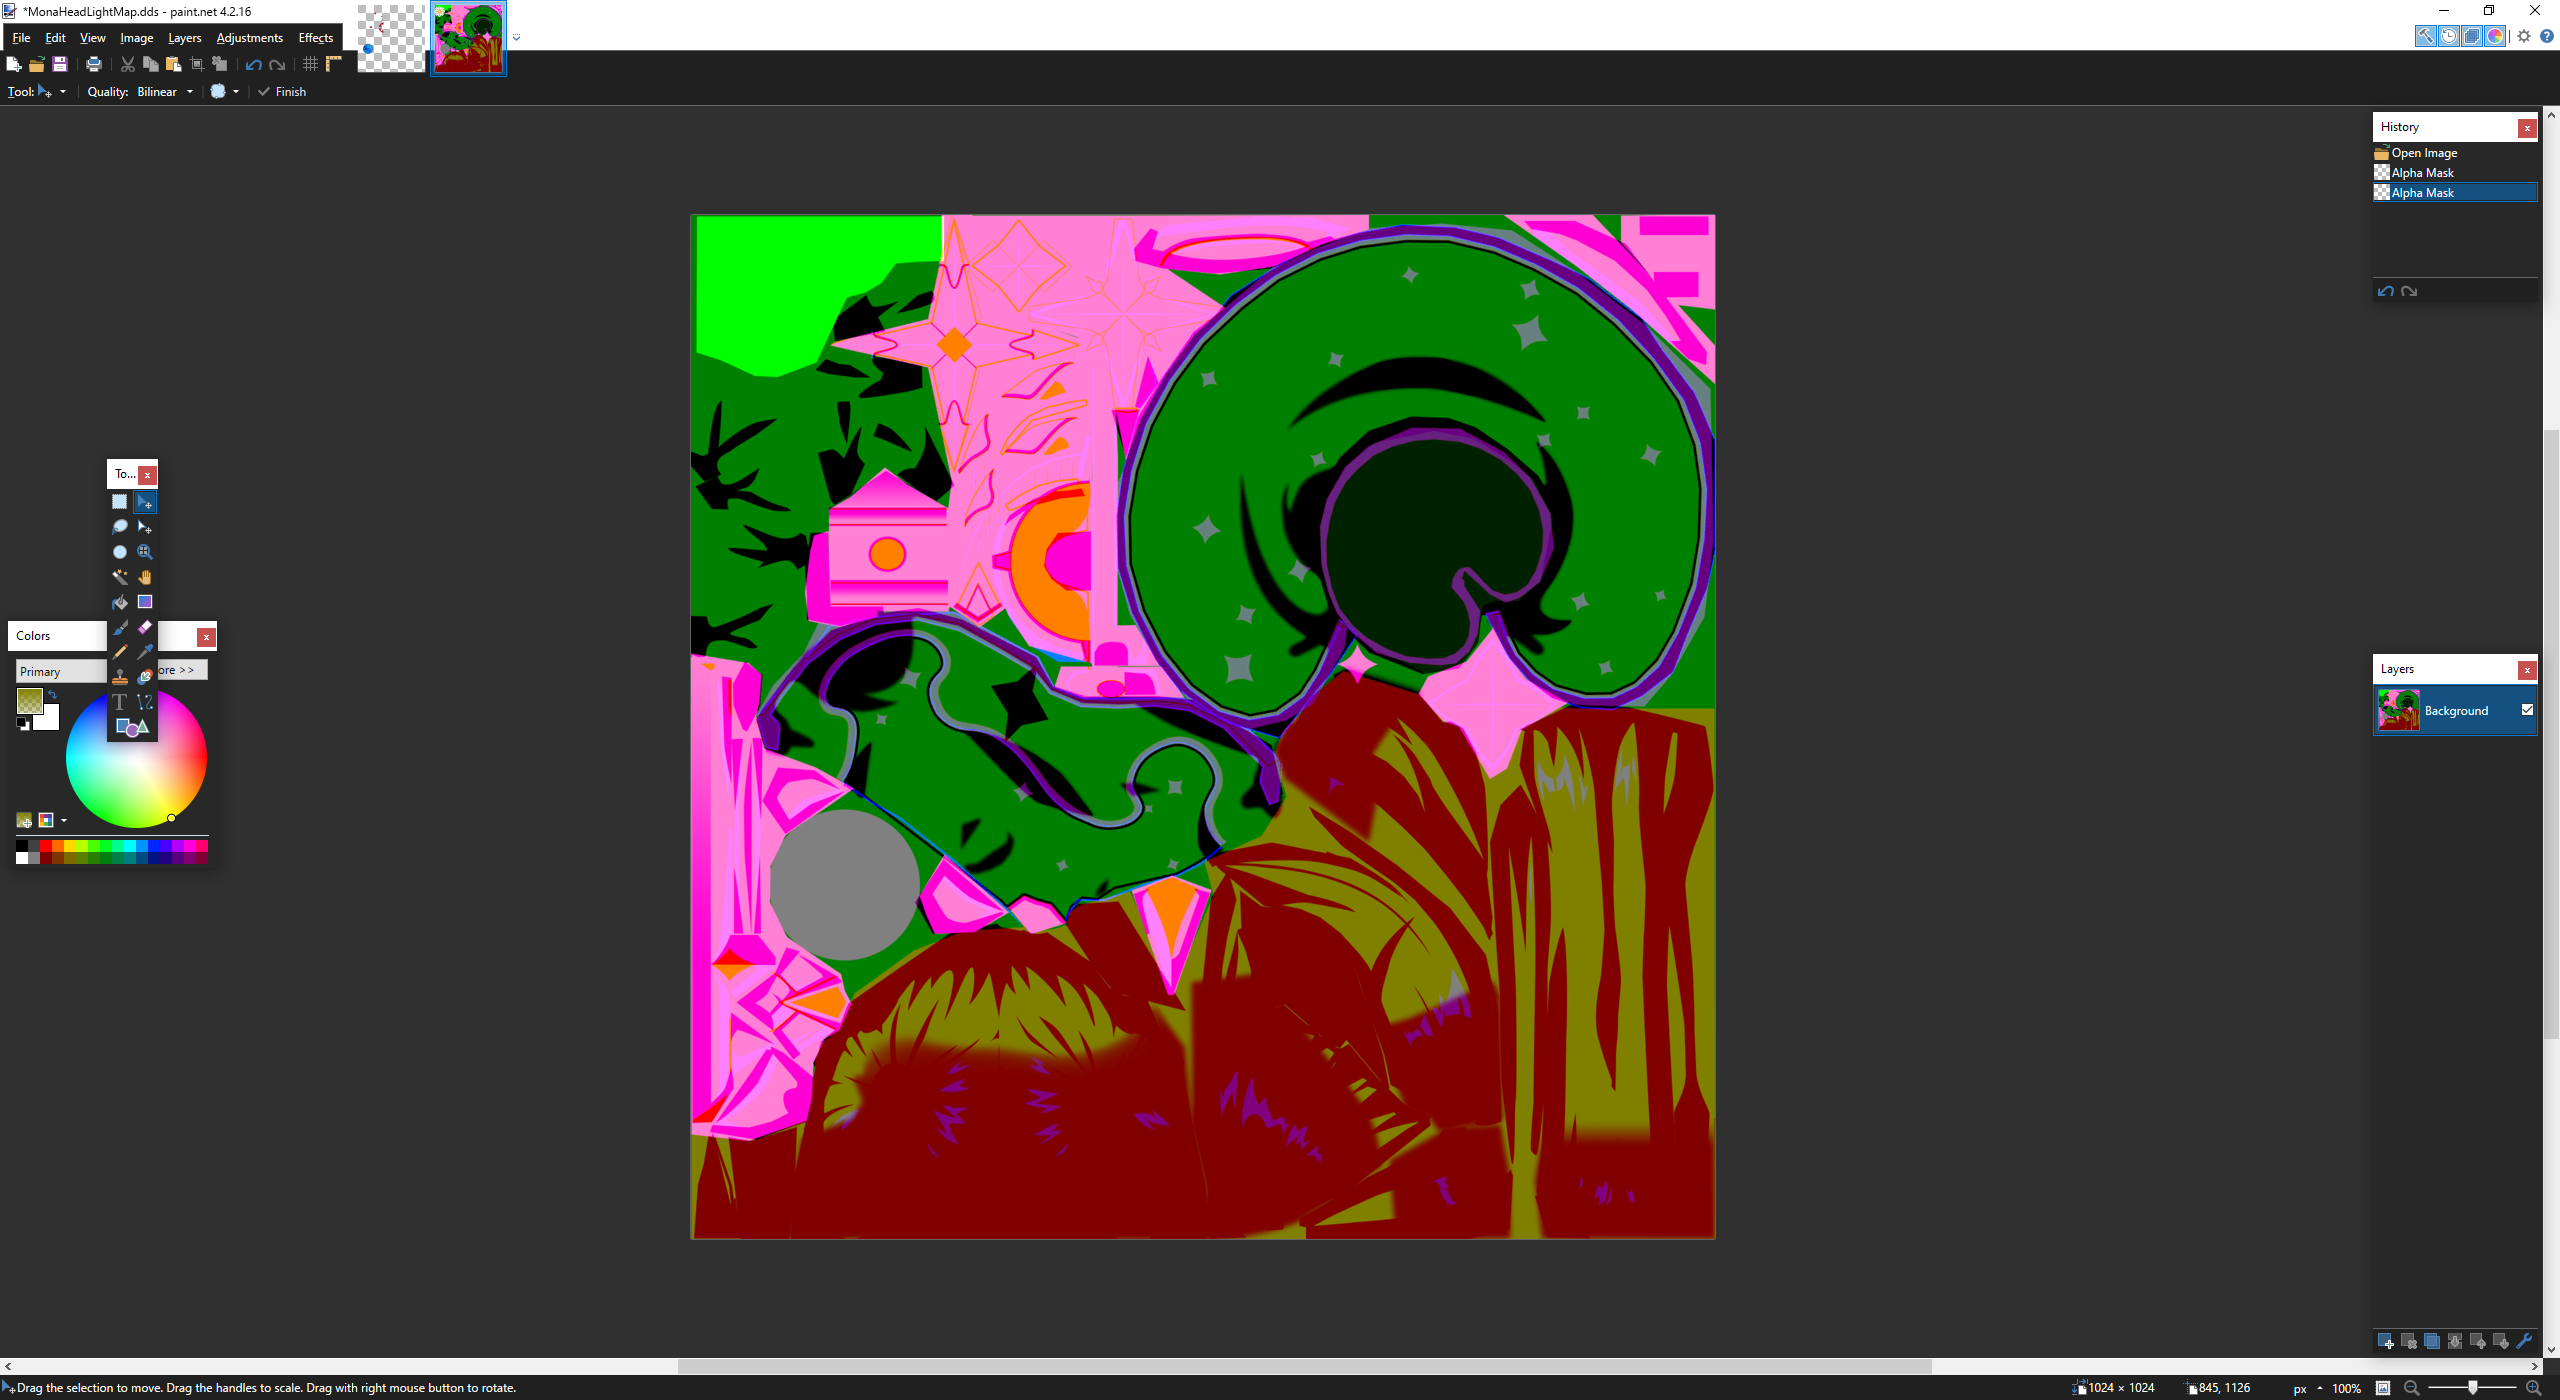
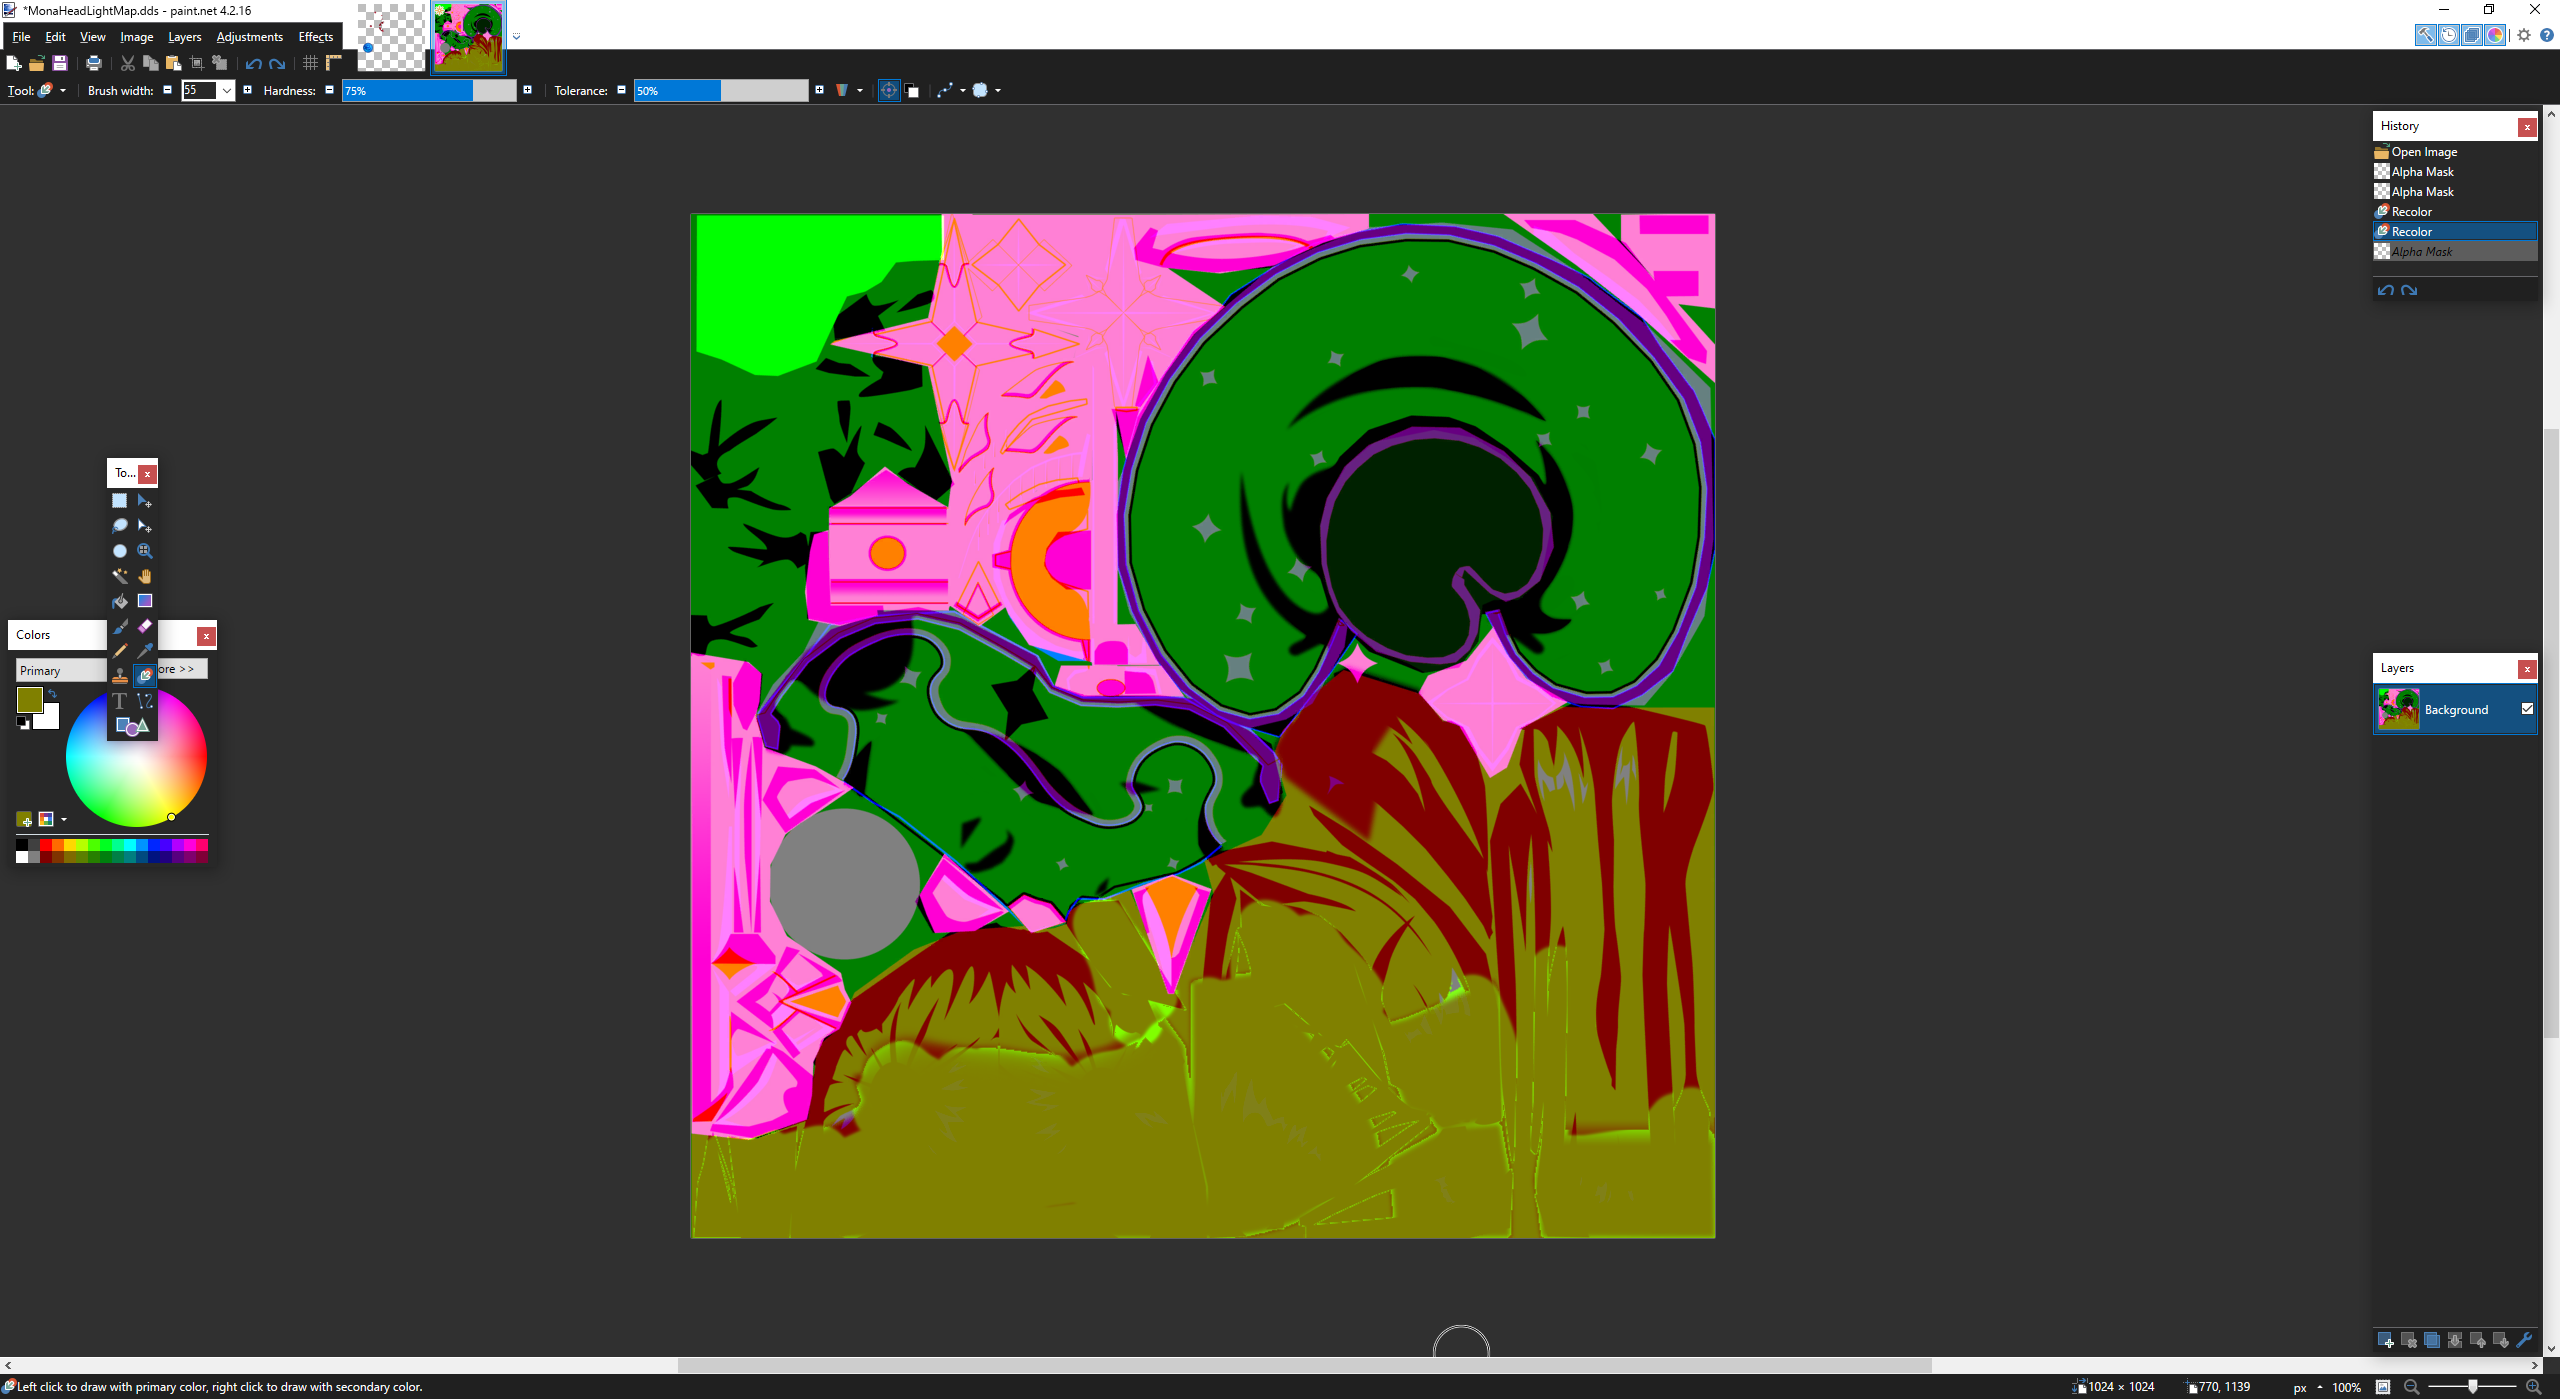
- We can now see that portions of Mona's hair texture are darker. We can smooth these out in order to remove the shadows from Mona's hair:
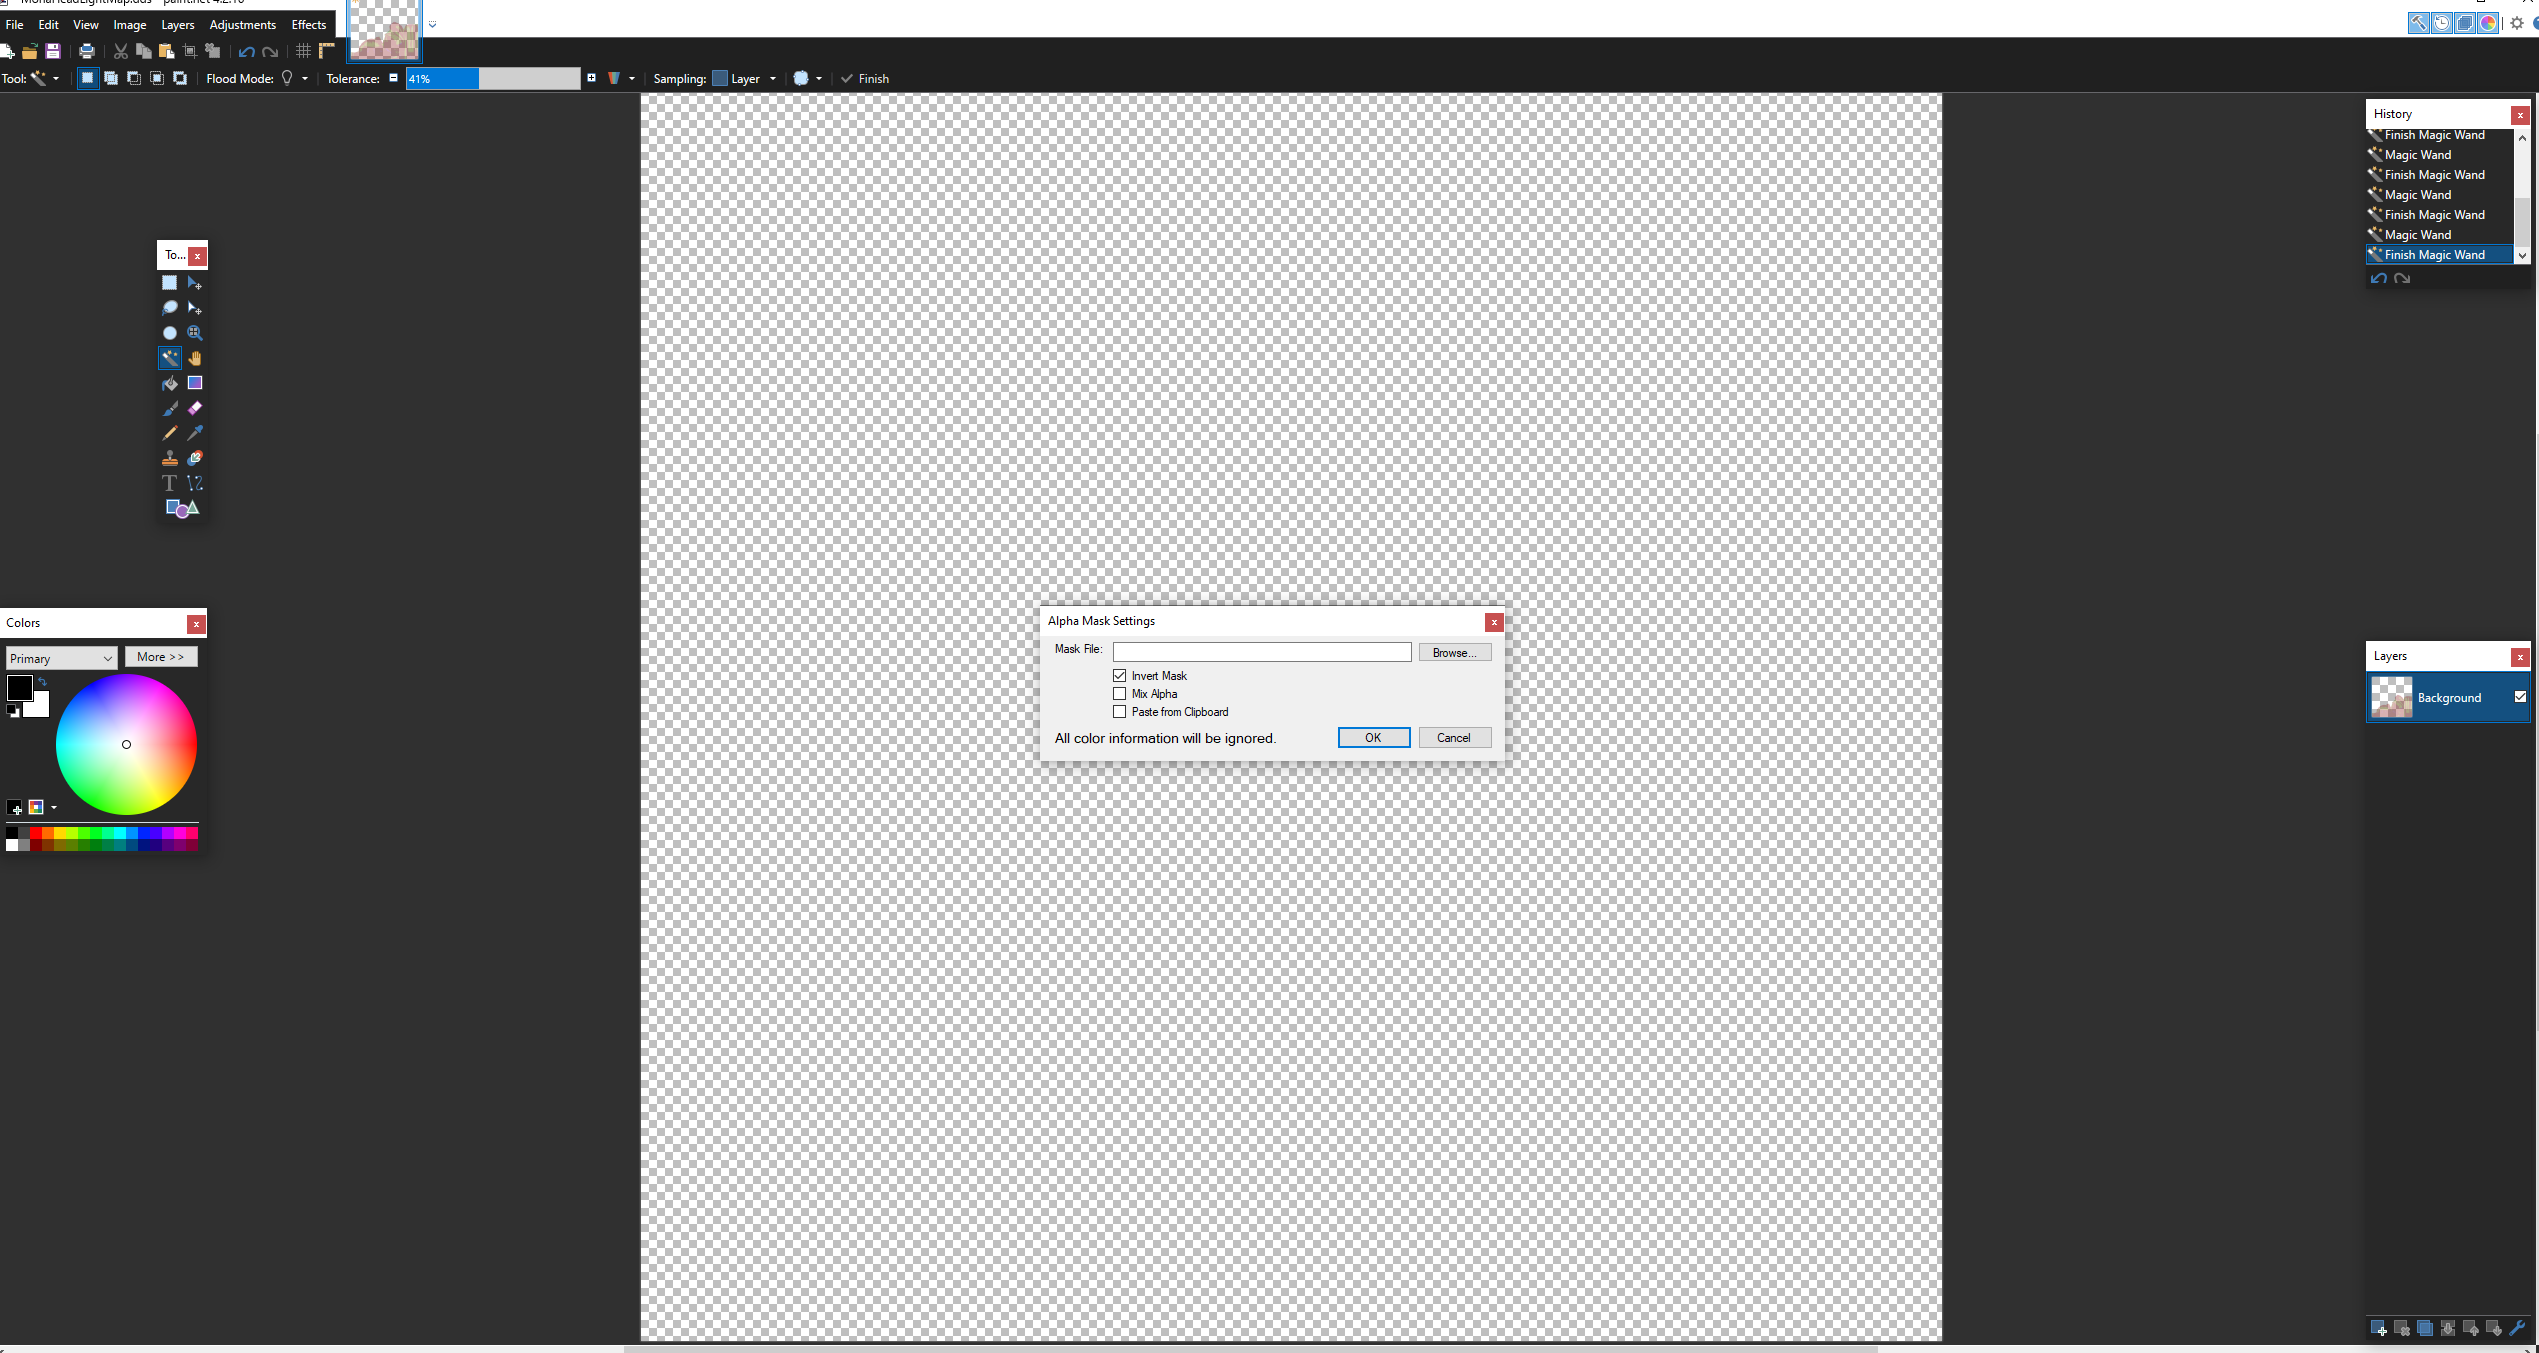
- We can then re-apply the alpha layer by clicking on Effects->Alpha Mask with the entire image selected and checking the "Invert Mask" option:
- Note: A small amount of information related to emissions and blush has been lost compared to the original because we are inverting the alpha channel of the entire image - if you want to keep emission effects when re-applying, see https://www.youtube.com/watch?v=1y8oZ1TFZtg for an example of using masks to selectively apply the inversion to only parts of the image (tutorial is for Special K, but 3dmigoto functions the same) . Alternatively, you could also use Modify Channels plugin to avoid losing any emissions and blush data.
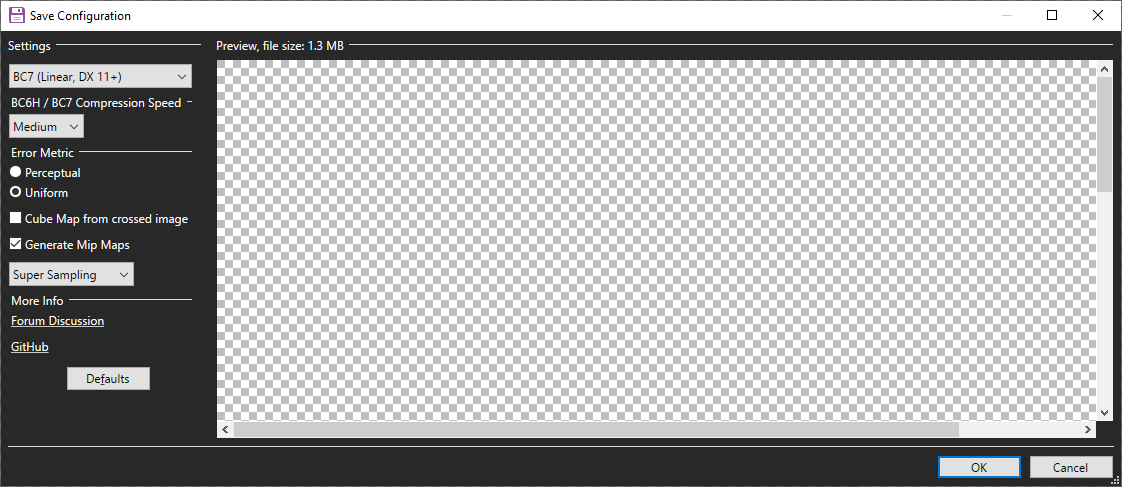
- Export the image by saving as a .dds, making sure to use "BC7 (Linear, DX 11+)" and setting Generate Mip Maps (Note: Lightmaps use BC7 Linear when exporting, Diffuse maps use BC7 SRGB)
- Finally, we can replace the MonaHeadLightMap.dds that the mod is currently using either by directly overwriting it in the MonaMod folder or putting it back in the Mona character folder and recreating the mod folder again (the plugin will pull the texture .dds from the character folder every time it runs)
