This project is a graphical user interface for annotating point clouds and Stray scenes.
Several different label types are supported, including:
- Bounding boxes
- Keypoints
- Rectangles
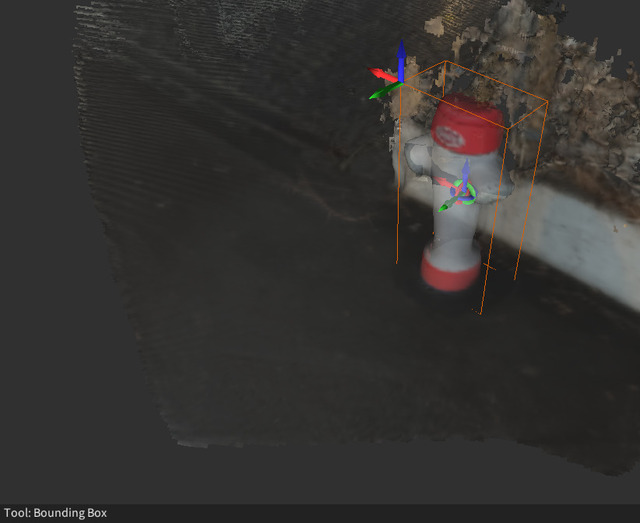
An example of a bounding box is shown above. They have the following properties:
class_idthe class id of the label.positionthe x, y, z position relative to the point cloud.orientationthe rotation that transforms vectors in the box coordinate frame to the point cloud coordinate frame.dimensionsthree values denoting the width along the x, y and z axes in the bounding boxes local coordinate frame.
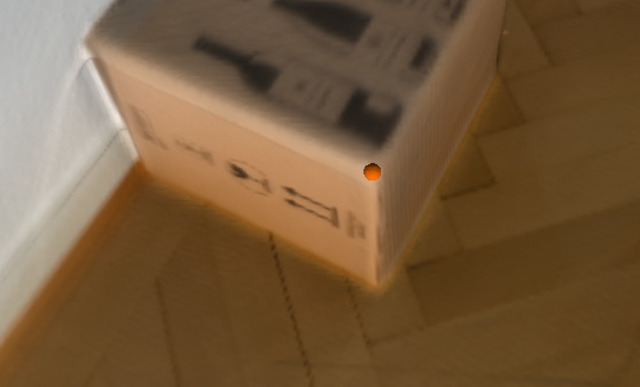
Keypoints are individual points in the global coordinate frame. They have the following properties:
class_idthe class id of the label.positionthe x, y, z position in the global frame.
Rectangles, show above, are rectangular planes that have a size (height and width), an orientation and position.
The properties are:
class_idthe class id of the label.positionthe x, y, z position of the center in the global frame.orientationthe rotation taking vectors in local frame to the world frame.sizewidth and height of the rectangle.
- Install Homebrew: https://brew.sh/
- Run
brew update && brew install cmake libomp eigen boost git-lfs pkg-config
- RUN
sudo apt install libeigen3-dev libglfw3-dev libomp-dev libxinerama-dev libxcursor-dev libxi-dev git-lfs cmake libboost-all-dev
- Get the source code
git clone https://github.com/StrayRobots/3d-annotation-tool.git(requires git) - Navigate to the
3d-annotation-tooldirectory (e.g.cd 3d-annotation-tool) - Initialize git submodules with
git submodule update --init --recursive - Create a build directory with
mkdir build - Pull
git-lfsobjects (helper meshes etc) withgit lfs install && git lfs pull - To build the project run
cd build && cmake .. && make -j8(-j8specifies the number of parallel jobs, for a fewer jobs use a lower number (than8)) - The executable is called
studio, it can be executed with./studio <path-to-pointcloud>. You can find an examplecloud.plypoint cloud from here.<path-to-pointcloud>should then specify the absolute path to the downloaded file.
Run ./studio <path-to-pointcloud> to open a point cloud in the viewer. Currently only .ply point clouds are supported. Annotations are saved into a file of with the same filename but a .json file extension. When annotating point clouds, you can move to the next point cloud in the same directory as <path-to-pointcloud> using tab.
An example cloud.ply point cloud can be downloaded from here.
The keyboard shortcuts are:
ctrl+sto save the annotations.kswitches to the keypoint tool.bswitches to the bounding box tool.rswitches to the rectangle tool.vswitches to the move tool.
This project is part of the Stray command line interface, a toolkit to make building 3D computer vision applications easy. Stray Studio can be used through the stray studio command.
The Stray toolkit allows you to build point clouds out of handheld or robot mounted RGB-D scans. It also contains utility functions to manage datasets and export labels into commonly used formats, such as Yolo for object detection.
In your build directory, run:
cmake .. -DBUILD_TESTS=1
make build_tests
ctest
Code can be formatted using clang-format.
Install clang-format on Mac (brew):
brew install clang-format
Install clang-format on Ubuntu:
sudo apt install clang-format
There's a script that runs formatting on all .h and .cc files based on the .clang-format file. Usage: ./run_formatting
We have an open Slack workspace for discussion about the project, Q&A, and point cloud annotation in general. Join the workspace via the invite link here.


