workshop은 AWS의 Lightsail을 이용하여 가상머신을 생성하여 실습합니다. 총 비용은 한달동안 사용했을때 약 $20이며 8시간 실습을 하면 약 500원 정도가 나옵니다.
AWS 웹 콘솔에서 가상머신을 설정하는 방법을 소개합니다.
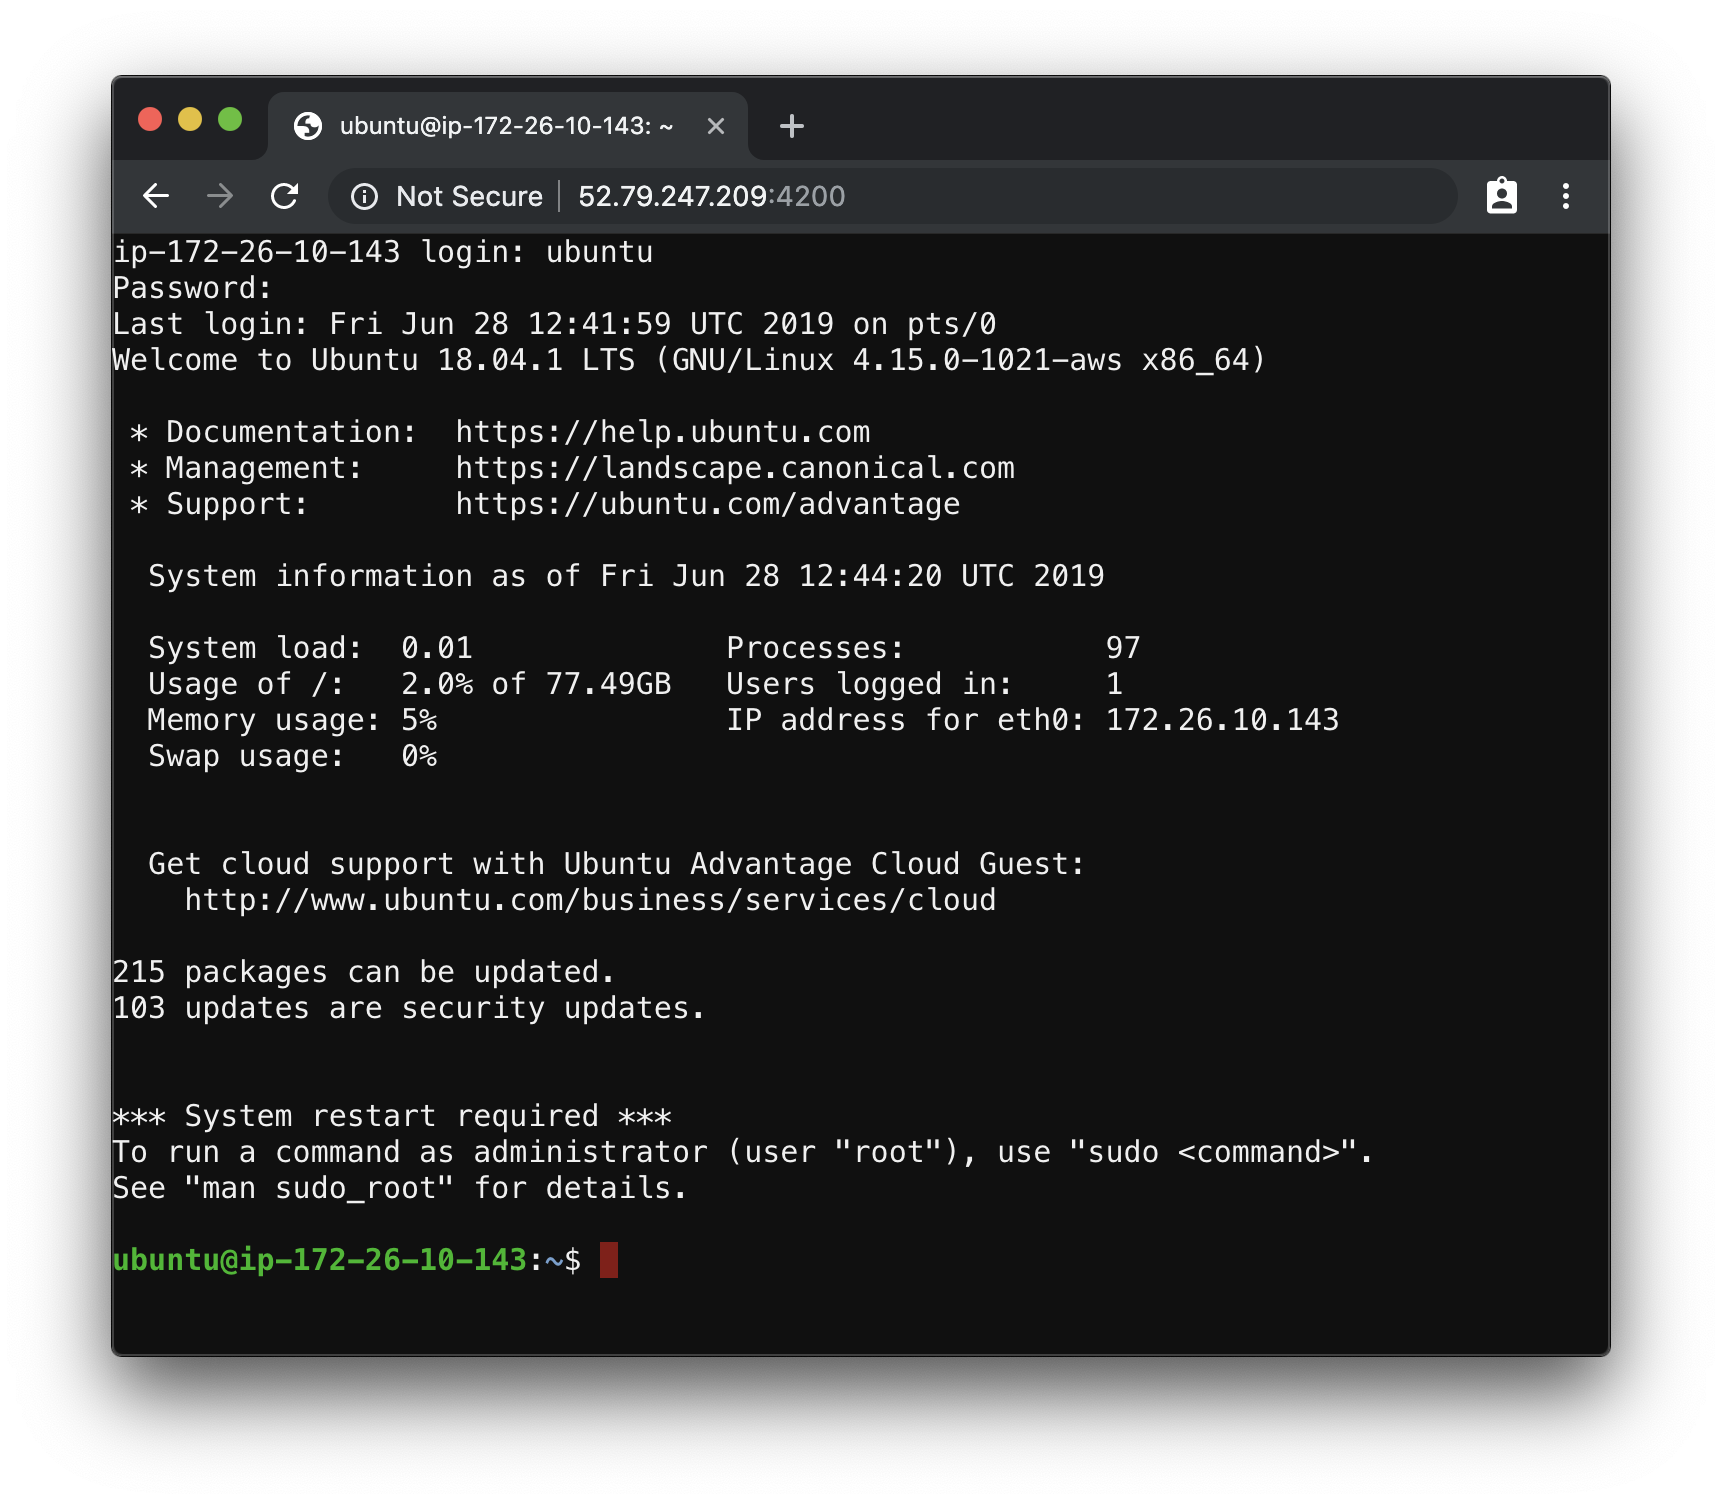
- 크롬 브라우저에서 바로 사용할 수 있는 웹용 터미널 프로그램(wetty)를 사용합니다.
- wetty 웹 기반 terminal - http://xxxx:4200
- 별도의 ssh용 키를 생성하지 않고 ID/Password를 사용합니다. (ID: ubuntu, Password: 1q2w3e4r!!)
- 전체 포트 방화벽을 오픈합니다.
- AWS에 로그인 합니다.
- LightSail 메뉴로 이동합니다.
- 새로운 인스턴스를 생성합니다.
- Linux / Ubuntu 22.04를 선택합니다.
- Add launch script를 선택하고 다음과 같은 명령어를 입력합니다.
sed -i 's/PasswordAuthentication no/PasswordAuthentication yes/' /etc/ssh/sshd_config
echo "ubuntu:1q2w3e4r!!" | chpasswd
service sshd reload
curl -sL https://deb.nodesource.com/setup_18.x | bash -
apt-get -y update
DEBIAN_FRONTEND=noninteractive apt-get -y install nodejs build-essential
npm install -g yarn
yarn global add [email protected]
curl https://gist.githubusercontent.com/subicura/9058671c16e2abd36533fea2798886b0/raw/e5d249612711b14c9c8f44798dea1368395e86a9/wetty.service -o /lib/systemd/system/wetty.service
systemctl start wetty
systemctl enable wetty- 2 vCPUs / 4 GB 또는 더 나은 사양을 선택합니다. (빠를수록 좋다!)
가상 서버 생성이 완료되면 네트워크 방화벽을 모두 허용합니다.
- 생성한 가상서버를 선택합니다.
- 네트워크 방화벽을 모두 허용합니다.
-
Public IP의 주소로 웹 터미널에 접속합니다. (화면상으로 보면 http://52.79.247.209:4200)
-
ID: ubuntu, Password: 1q2w3e4r!!


