Online Demo | Installation | Tutorial | Documentation
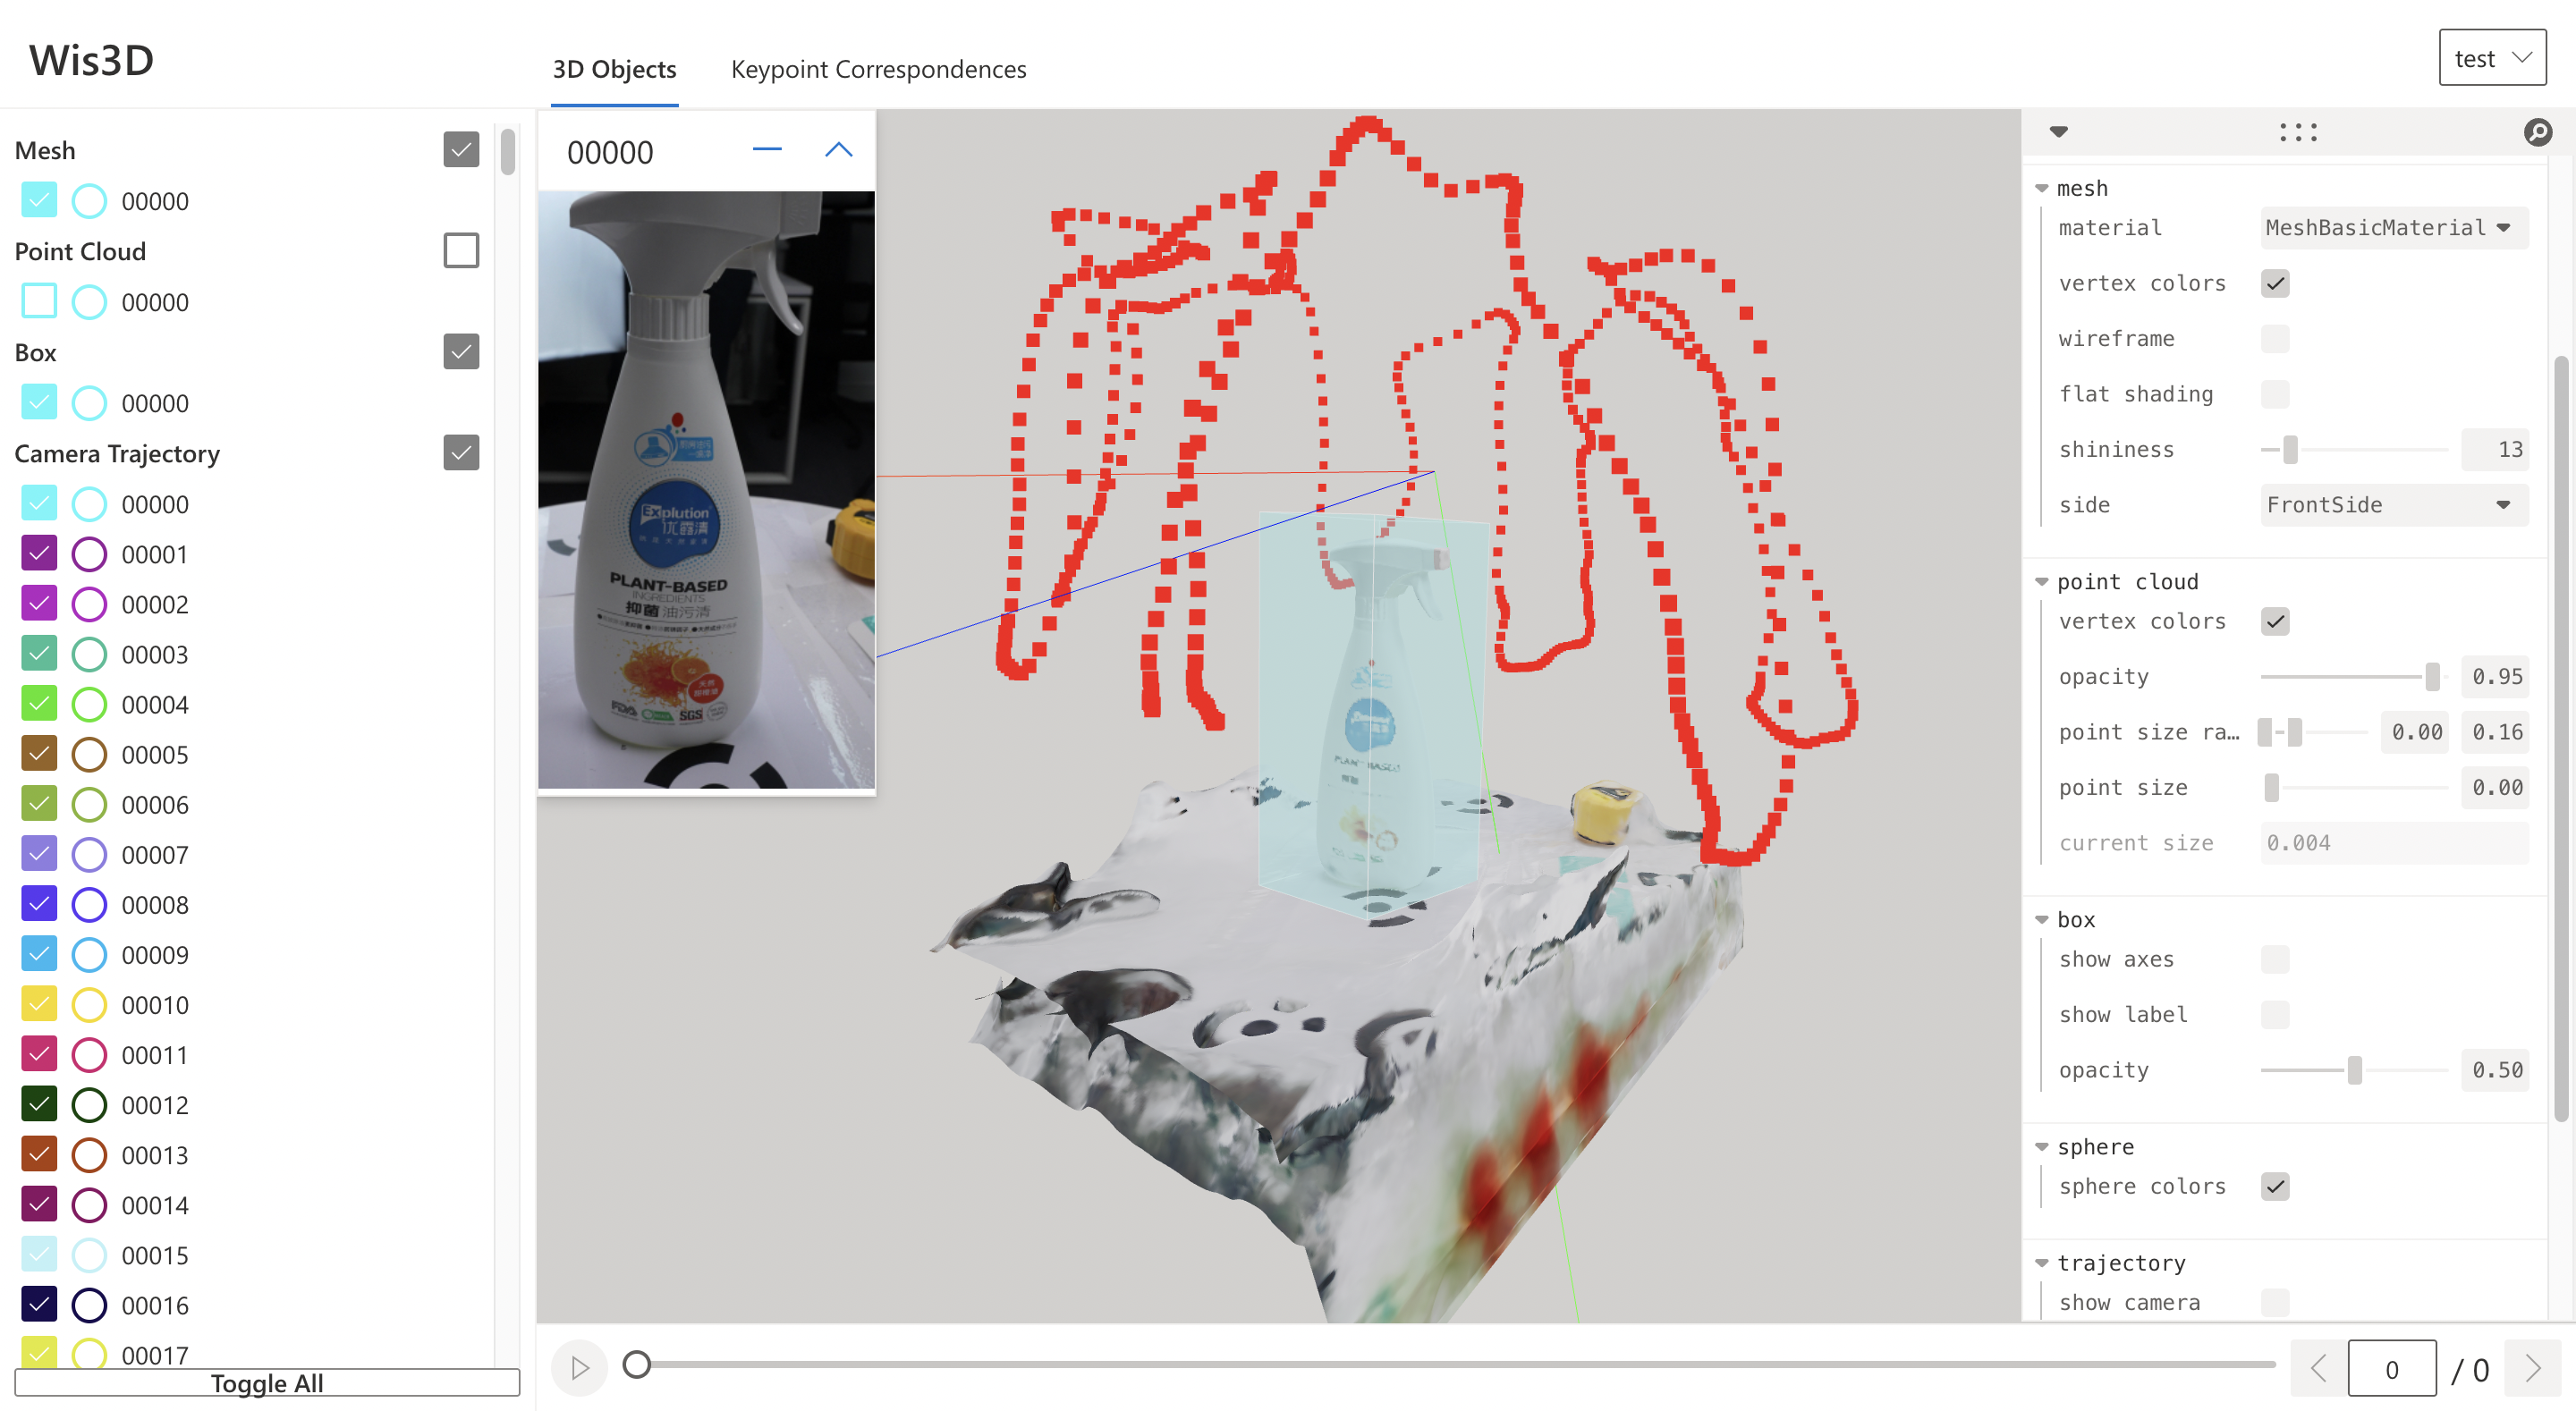
Wis3D is a web-based 3D visualization tool built for 3D computer vision researchers. You can import 3D bounding box, point clouds, meshes and feature correspondences directly from your python code and view them in your local browser. You can think of it as TensorBoard but with 3D data as the first-class citizen.


pip install wis3d- install Node.js
- run
pip install -r requirements.txt - build web pages
cd wis3d/app
npm install # install dependencies
npx next build
npx next export
- install package
cd ../..
python setup.py develop

# coding=utf-8
from wis3d import Wis3D
import trimesh
from PIL import Image
from transforms3d import affines, quaternions
import os
import numpy as np

wis_dir = "path_to_vis_dir"
wis3d = Wis3D(wis_dir, 'test')

# add point cloud
pcd_path = 'path_to_ply_file'
wis3d.add_point_cloud(pcd_path, name='pcd0')
pcd = trimesh.load_mesh(pcd_path)
wis3d.add_point_cloud(pcd, name='pcd1')
wis3d.add_point_cloud(pcd.vertices, pcd.colors, name='pcd2')


# add mesh
mesh_path = 'path_to_mesh_file'
wis3d.add_mesh(mesh_path, name='mesh0')
mesh = trimesh.load_mesh(mesh_path)
wis3d.add_mesh(mesh, name='mesh1')
wis3d.add_mesh(mesh.vertices, mesh.faces,
               mesh.visual.vertex_colors[:, :3], name='mesh2')

# add image
image_path = 'path_to_image_file'
wis3d.add_image(image_path, name='image0')
image = Image.open(image_path)
wis3d.add_image(image, name='image1')
wis3d.add_image(np.asarray(image), name='image2')

# add box
points = np.array([
    [-0.5, -0.5, -0.5],
    [0.5, -0.5, -0.5],
    [0.5, -0.5, 0.5],
    [-0.5, -0.5, 0.5],
    [-0.5, 0.5, -0.5],
    [0.5, 0.5, -0.5],
    [0.5, 0.5, 0.5],
    [-0.5, 0.5, 0.5]
])
wis3d.add_boxes(points, name='box0', labels='test0')
wis3d.add_boxes(points.reshape(1, 8, 3) + 0.6, name='box1', labels=['test1'])
wis3d.add_boxes([0.5, 0.2, 0.1], [1.24, 3.0, 2.1], [0.5, 0.6, 0.7], name='box2', labels='test2')
wis3d.add_boxes([[0.2, 0.6, 0.3],[0.5, 0.9, 1.0]], [[2.24, 1.0, 3.1], [0.6, 2.9, 2.1]], [[0.2, 0.5, 0.8], [0.4, 0.6, 0.8]], name='box3', labels='test3')

# add line
wis3d.add_lines(np.array([0, 0, 0]),np.array([1, 1, 1]), name='line0')
colors = np.array([[0, 255, 0], [0, 0, 255]])
wis3d.add_lines(np.array([[0, 1, 0], [0, -1, 0]]), np.array([[1, 0, 0], [1, 0, 0]]), colors, name='line1')

# add voxel
wis3d.add_voxel(np.array([[1.0, 1.0, 1.0], [-1, -1, -1]]), 0.1, np.array([[255, 255, 255], [0, 0, 0]]), name='voxel0')

# add sphere
wis3d.add_spheres(np.array([0, 0, 0]), 0.5, name='sphere0')
wis3d.add_spheres(np.array([[0, 1, 0], [0, 0, 1]]), 0.5, name = 'sphere1')
wis3d.add_spheres(np.array([[0, 1, 0], [0, 0, 1]]), np.array([0.25, 0.5]),np.array([[0, 255, 0], [0, 0, 255]]), name='sphere2')
You can also reference to examples/test.py. For more usage, see Documentation
Start the web service to view the visualization in the browser.
wis3d --vis_dir $path_to_vis_dir --host 0.0.0.0 -port 19090Open your browser, and enter http://localhost:19090 to see the results.
- Project lead: Jiaming Sun, Xiaowei Zhou
- Core members: Linghao Chen, Jingmeng Zhang, Hongcheng Zhao, Siyu Zhang
- Past contributors: Zijing Huang
@article{sun2022onepose,
    title={{OnePose}: One-Shot Object Pose Estimation without {CAD} Models},
    author = {Sun, Jiaming and Wang, Zihao and Zhang, Siyu and He, Xingyi and Zhao, Hongcheng and Zhang, Guofeng and Zhou, Xiaowei},
    journal={CVPR},
    year={2022},
}