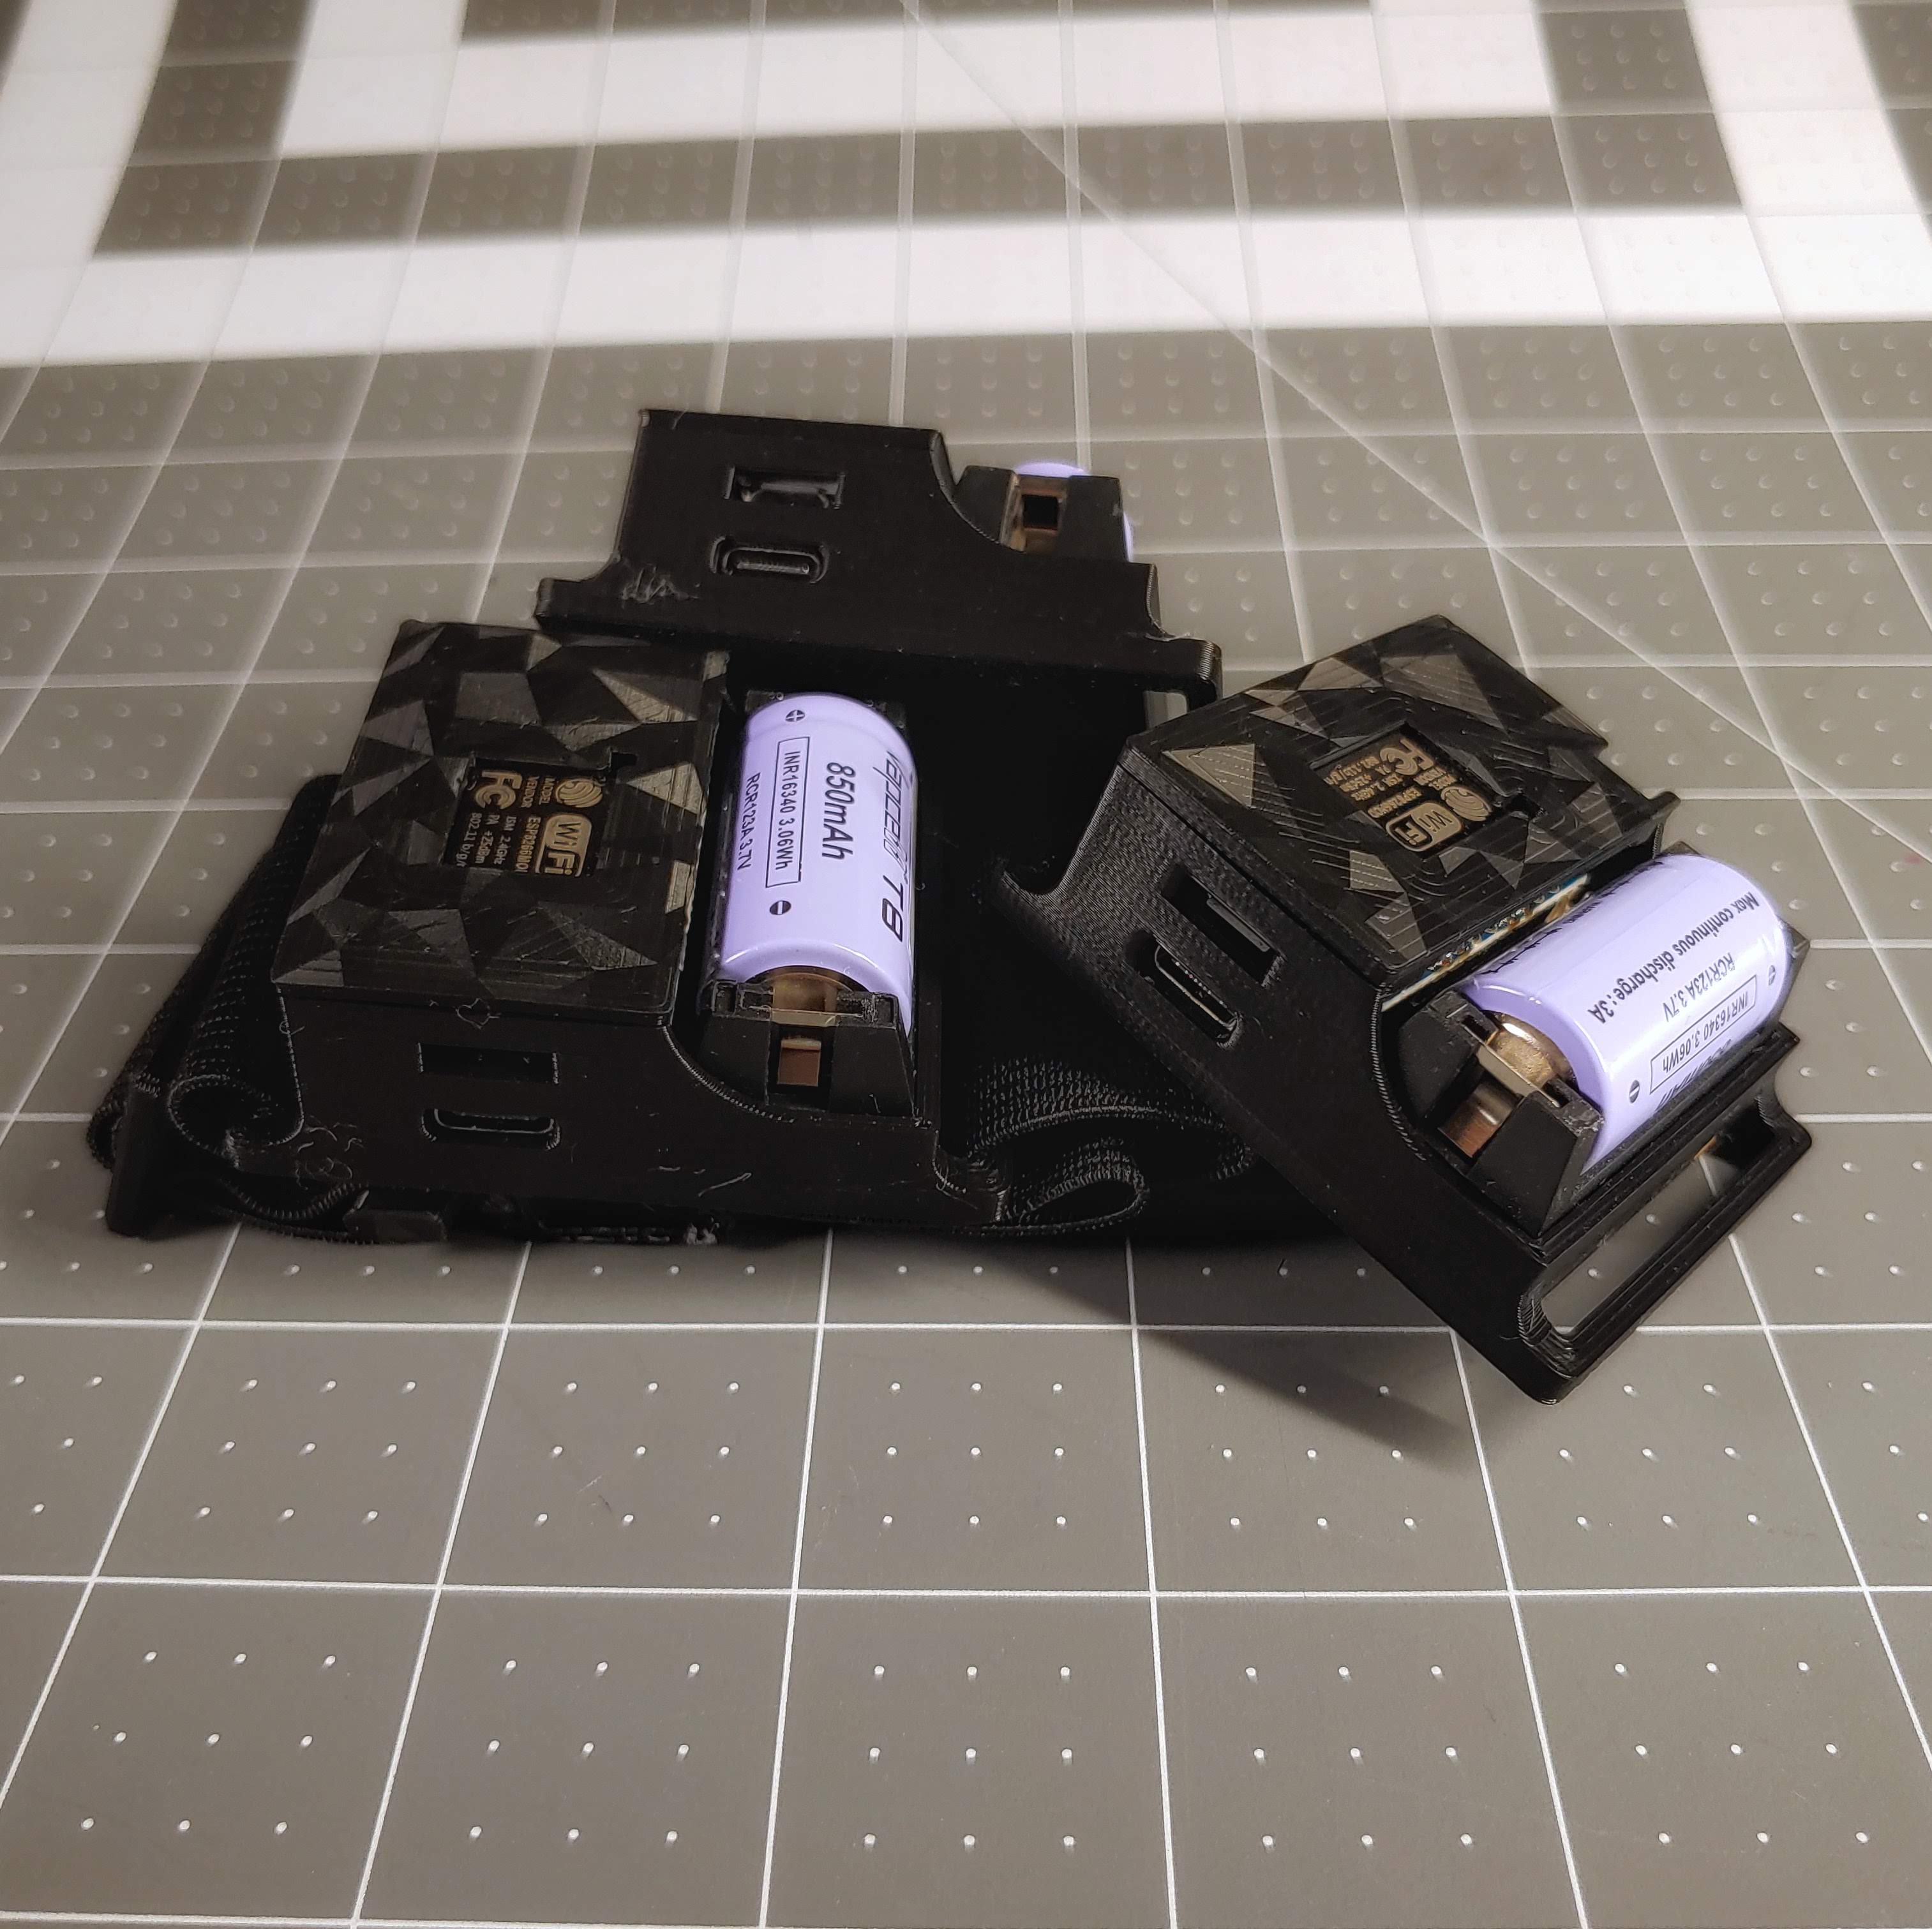
A compact, easy-to-assemble SlimeVR tracker design using all the standard recommended DIY tracker parts, and the commonly available 16340 battery.

AceStacks is a compact, easy-to-assemble SlimeVR tracker design using all the standard recommended DIY tracker parts, and the commonly available 16340 battery. Here are some of the standout features of the AceStacks trackers.
- The use of the included pin sockets of the D1 Mini allows the MCU to be mounted over the charging board, resulting in a compact PCB footprint.
- The design of the board reduces the number of pin headers that need to be trimmed, one of the more annoying parts of DIY trackers with PCBs.
- 16340 cells are easier to obtain (in the United States, not sure about the rest of the world), relatively cheap, more durable compared to li-po pouch cells, and hot swappable if you need more battery life
This arrangement allows for a compact full body tracker with ~8 hours of battery life, battery sense, AUX tracker support, and a hot swappable battery.
Refer to the Official SlimeVR Component Guide for more info https://docs.slimevr.dev/diy/components-guide.html
- Microcontroller: Wemos D1 Mini // https://www.aliexpress.com/w/wholesale-D1-mini.html
- IMU: BMI160 // https://www.aliexpress.com/w/wholesale-BMI160.html
- Charging Board: TP4056 // https://www.aliexpress.us/item/2251832463465716.html
- Batteries: 16450 Li-ion Batteries // https://illumn.com/16340-vapcell-inr16340-t8-850mah-3a-high-discharge-button-top.html or https://liionwholesale.com/products/vapcell-t8-16340-rcr123a-3a-button-top-850mah-battery-genuine?variant=31955045056581
- CR123/16340 Battery Holders // https://www.aliexpress.com/w/wholesale-cr123-holder.html
- Power Switches: 12d19 Horizontal Switches // https://www.aliexpress.com/w/wholesale-12D19.html
- Straps: 1.5in or 38mm Straps // https://www.aliexpress.us/item/3256801722425879.html or https://www.aliexpress.us/item/3256802873749389.html
For Battery Percentage
- Resistors: 0805 SMD 180K Resistor // https://www.aliexpress.us/item/3256801607747550.html
For Charge Protection (a Jumper Pad is Provided if You Don't Use These"
- B5817W SOD-123 SMD Schottky Diodes // https://www.lcsc.com/product-detail/Schottky-Barrier-Diodes-SBD_JSMSEMI-B5817W_C917035.html
For Removable Extensions
- JST ZH1.5 4P Vertical Connector // https://www.aliexpress.us/item/3256802928739446.html
- JST ZH1.5 4P Wire // https://www.aliexpress.us/item/3256802896025388.html Make sure you get the right pitch (ZH, p1.5) and pin count (4p) The extension wires can be soldered directly to the same holes the JST connector is soldered to, but using a JST allows removal of the extension
Information related to the ports, battery, and layout for the AceStacks Tracker https://www.youtube.com/watch?v=jQLkWUqJBMk
- There are two ports, the bottom USB C port is for charging the battery, though the battery can be removed and charged in an appropriate Lithium Ion battery charger.
- The top Micro-USB port is for data. You’ll use the data port during initial setup to configure the wi-fi and to debug the trackers if necessary.
- SlimeVR trackers are programmed with a set orientation. As programmed, AceStacks should be worn on the body such that the USB ports are facing the ceiling. This only matters for manual mounting.
The USB cable may not fully seat in the data port, preventing a proper data connection with the tracker. If you’re having trouble connecting, try the following
- Hold and firmly press the cable into the tracker to form a proper connection
- Use a USB cable with, or trim back the rubber sheath on a cable to allow you to insert the USB cable further into the port
- If neither of the above work, you may need to partially disassemble the tracker, remove the microcontroller, and connect directly to the usb port
If replacing the battery, such as to place fresh ones in or if one accidentally fell out, make sure to place the battery polarity correctly.
- The battery has a flat negative pole, and a button top positive pole
- Follow the battery holder markings for + and -
- The negative pole should be closer to the side with the data and charging port, and the positive side should be on the opposite side
Placing the battery in the wrong polarity and turning on the tracker will damage the tracker
Refer to the official SlimeVR documentation to set up the server and configure your trackers for use.
Quick setup guide for SlimeVR: https://docs.slimevr.dev/quick-setup.html Detailed setup guide: https://docs.slimevr.dev/server/index.html
-
The SlimeVR Team, for an incredible open-source project and community
-
Errorbox, who’s tracker design using a similar stacked layout inspired this one
-
Fns720, for their modified GoPro Quick Release Locking Clip https://www.printables.com/model/19390-lockable-gopro-quick-release-clip https://www.thingiverse.com/thing:3375200