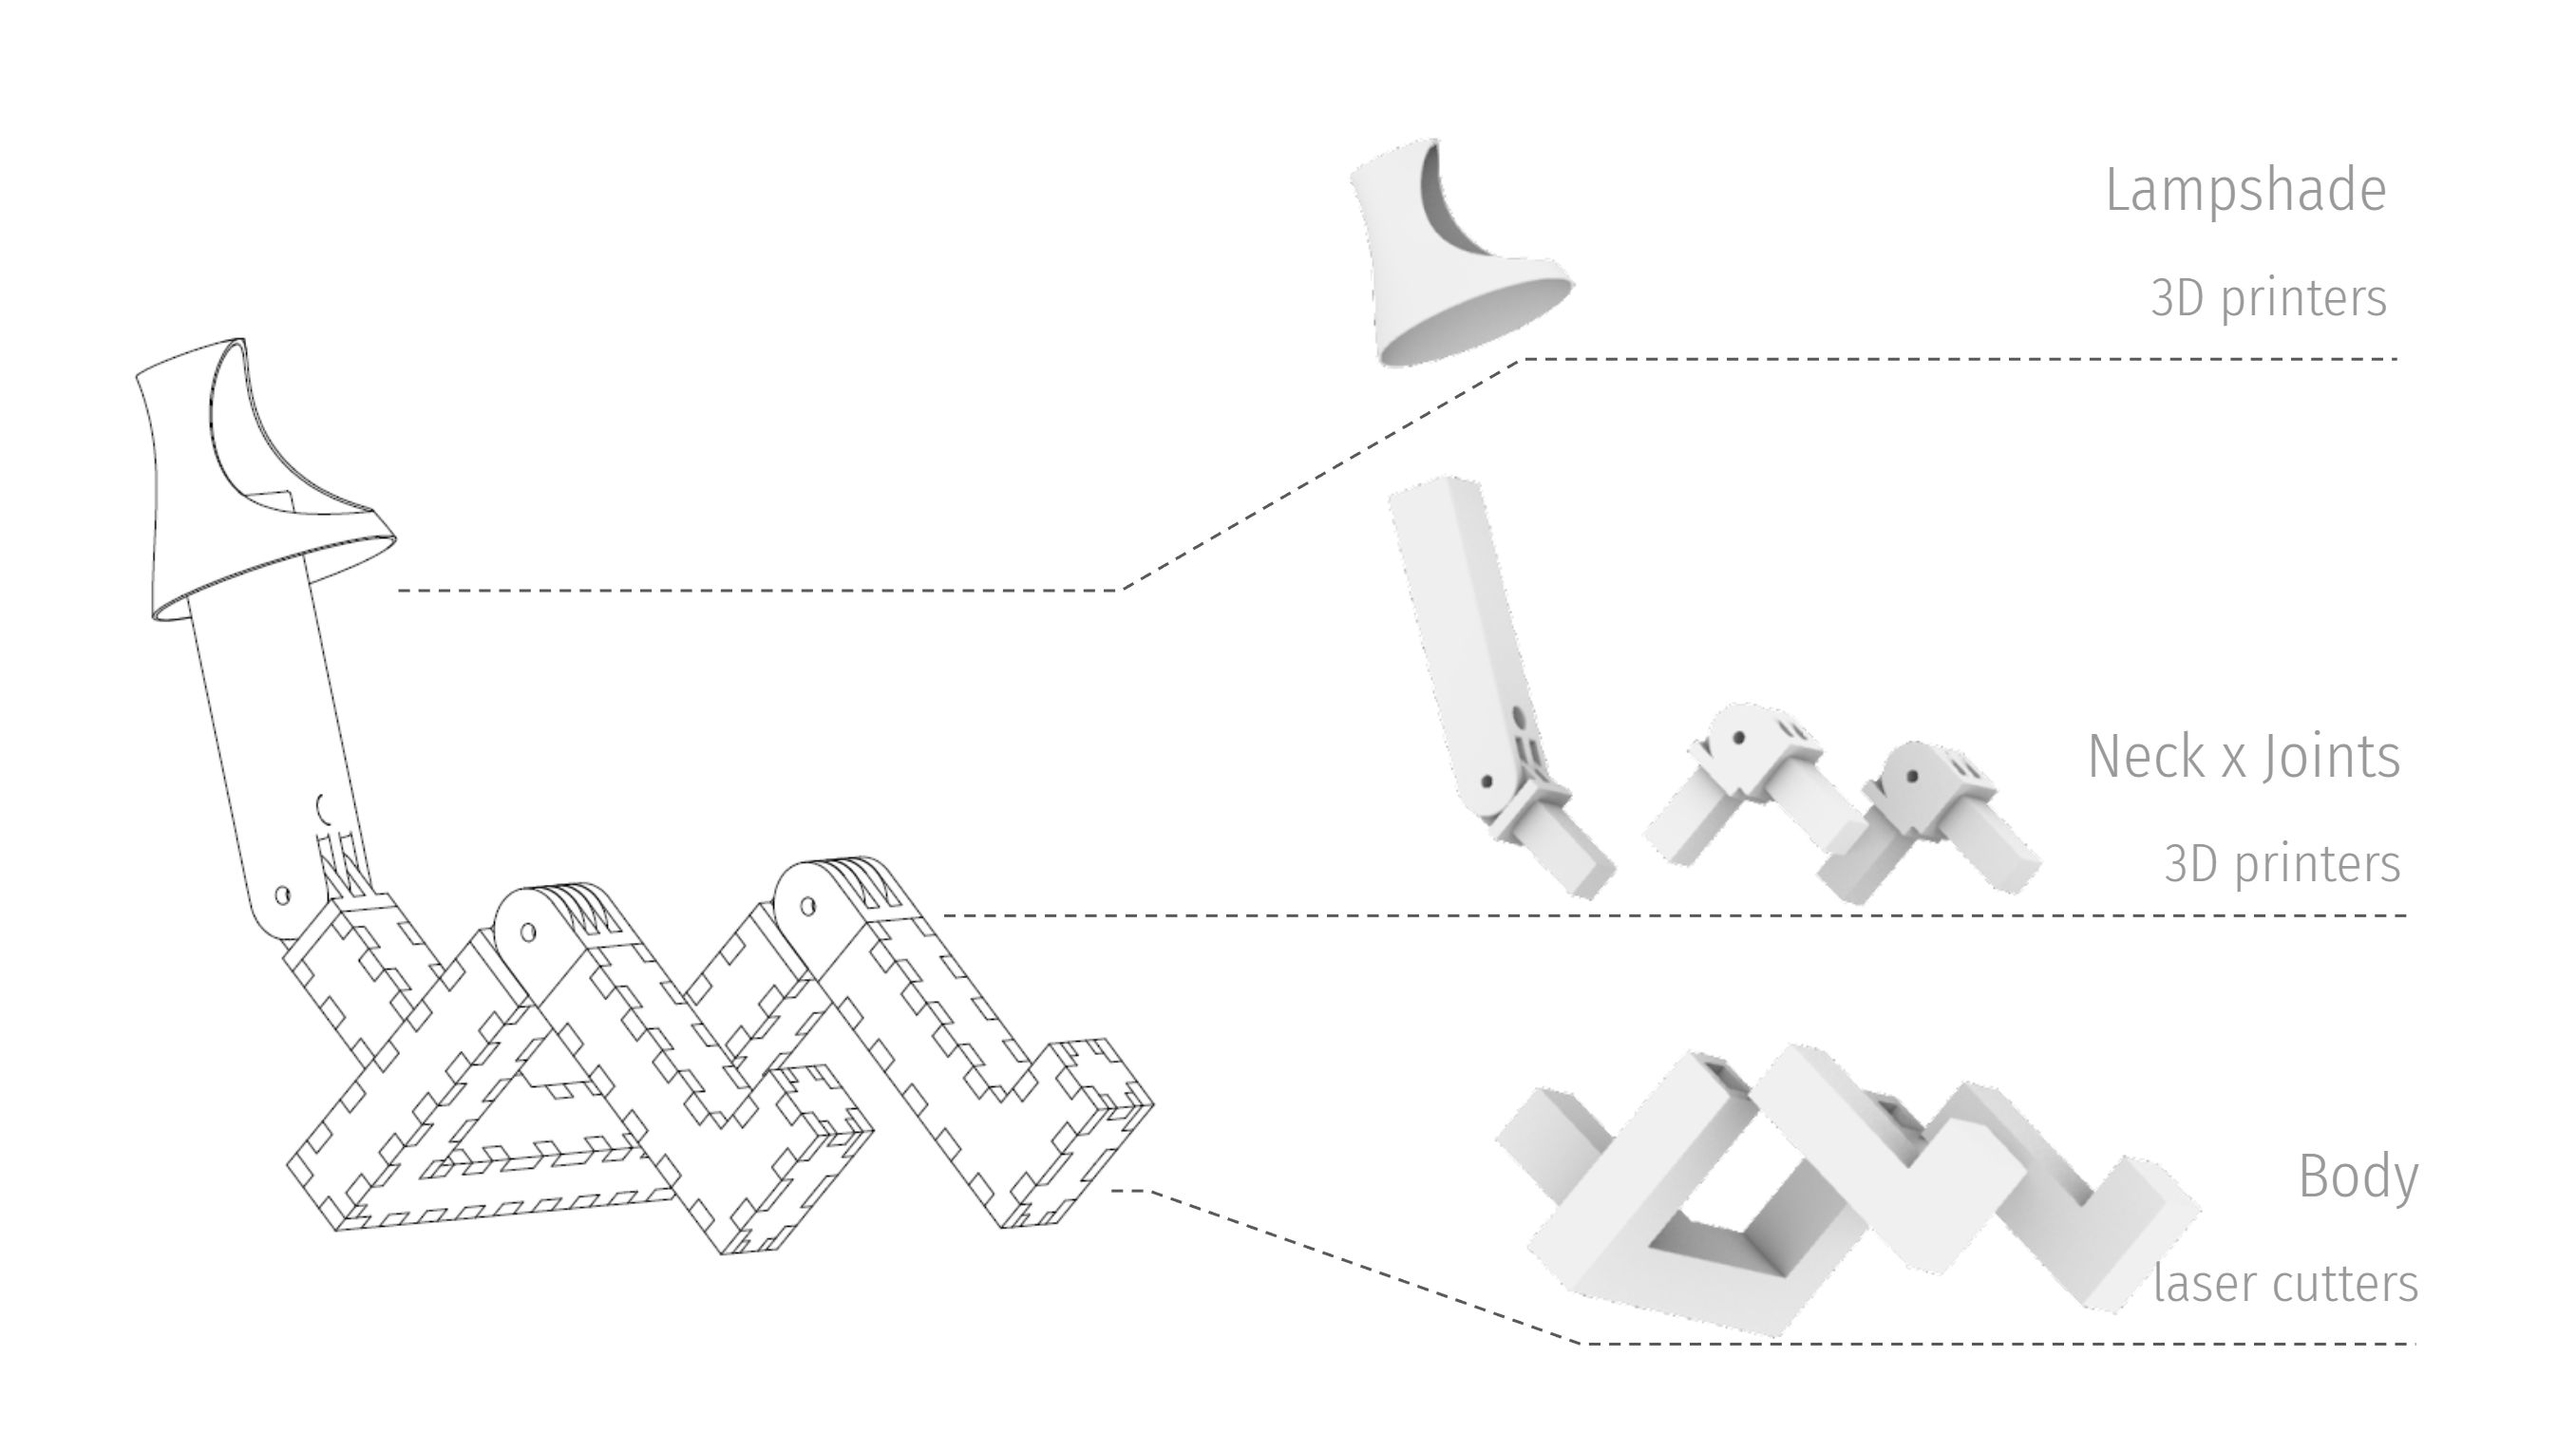
Computer Aided Manufacturing Project : utilizing 3D printers and laser cutters.
- Hexagonal Structure on the surface.
- Join the curve of Hexagonal Lines.
- Create a pipe surface around a rail curve with 0.5 cm radius.
- Hexagonal Structure to decorate lampshade surface in Grasshopper.
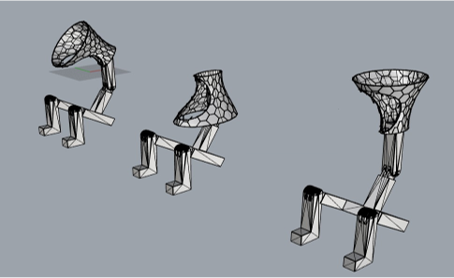
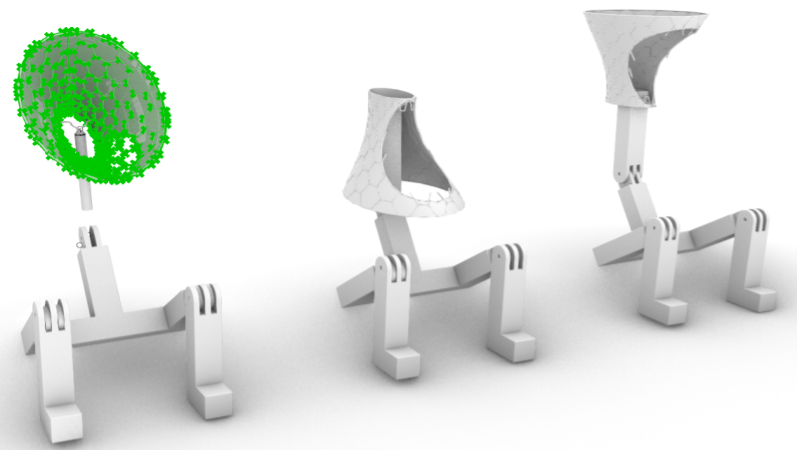
- Concepts & shapes of lamp model.
- Rendered display mode of these lamp model.
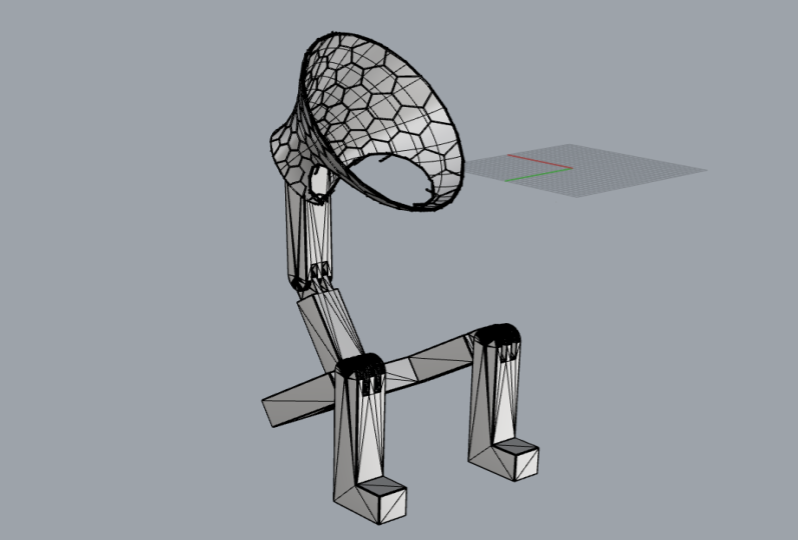
- Final program of lamp modeling in Rhino 7.
- Layer Height: 0.2 mm
- Wall Thickness: 0.8 mm
- Infill Density: 5.0 %
- Infill Pattern: Grid
- Printing Temperature:200.0°C
- Print Speed:60.0 mm/s
- Initial Layer Speed:30.0mm/s
- Build Plate Adhesion Type:Skirt
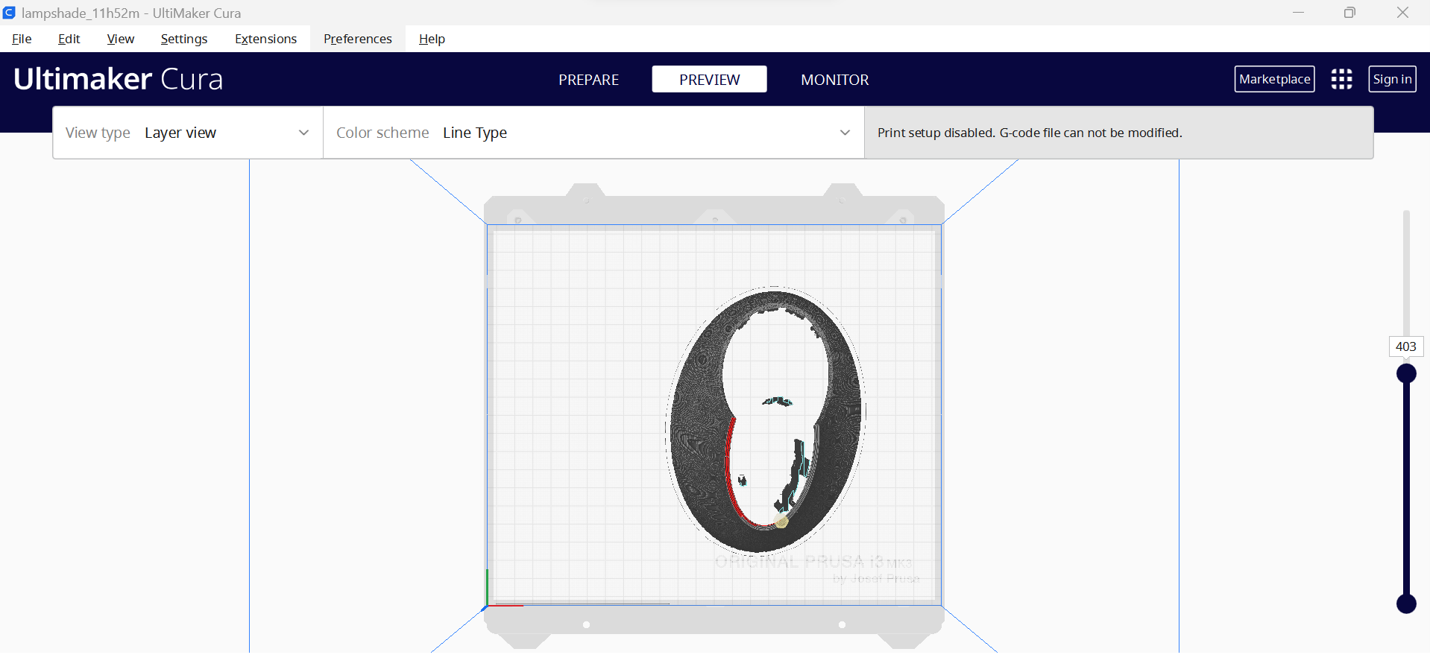
- Top view of lamp shade model for the simulation slicing for 3D printers in Ultimaker Cura.
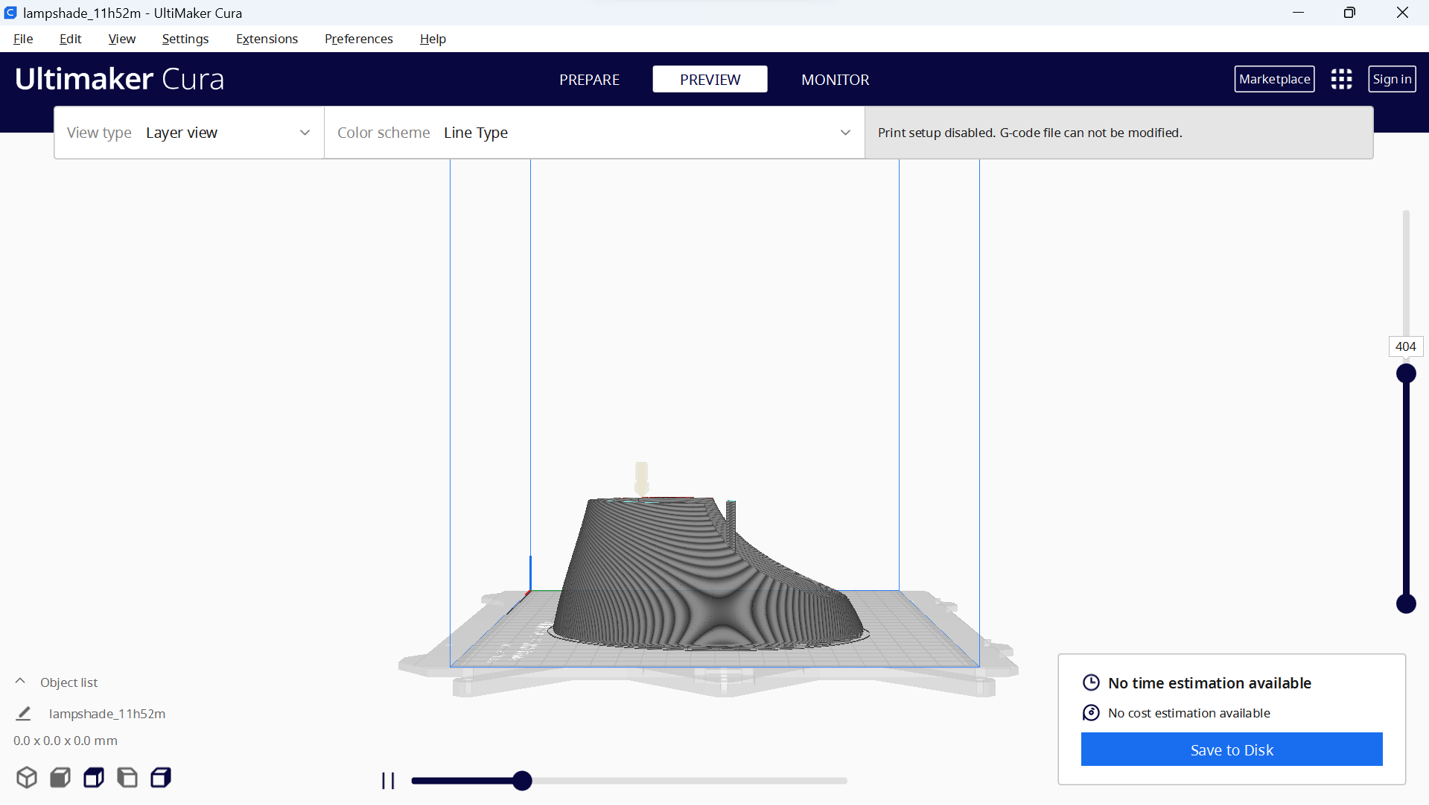
- Right view of lamp shade model for the simulation slicing for 3D printers in Ultimaker Cura.
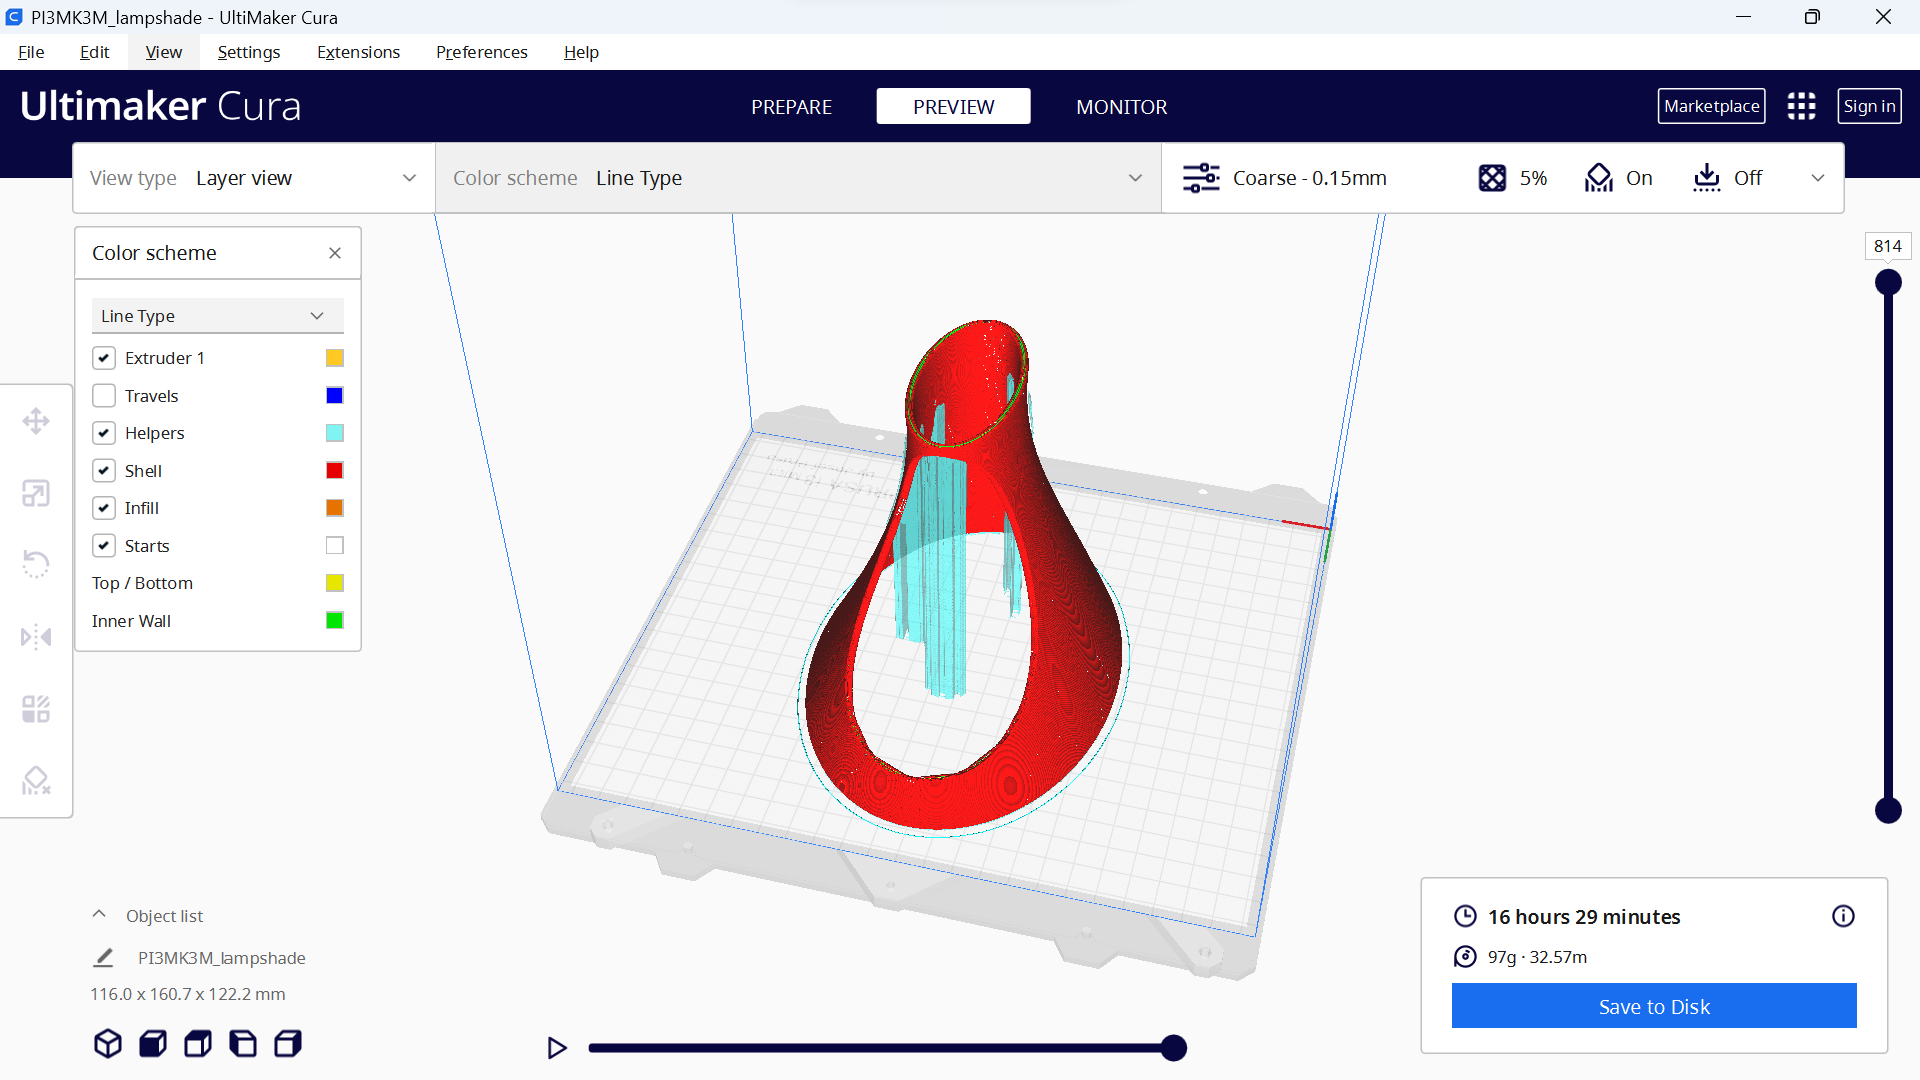
- The slicing lamp shade model in line type of color scheme for 3D printers in Ultimaker Cura.
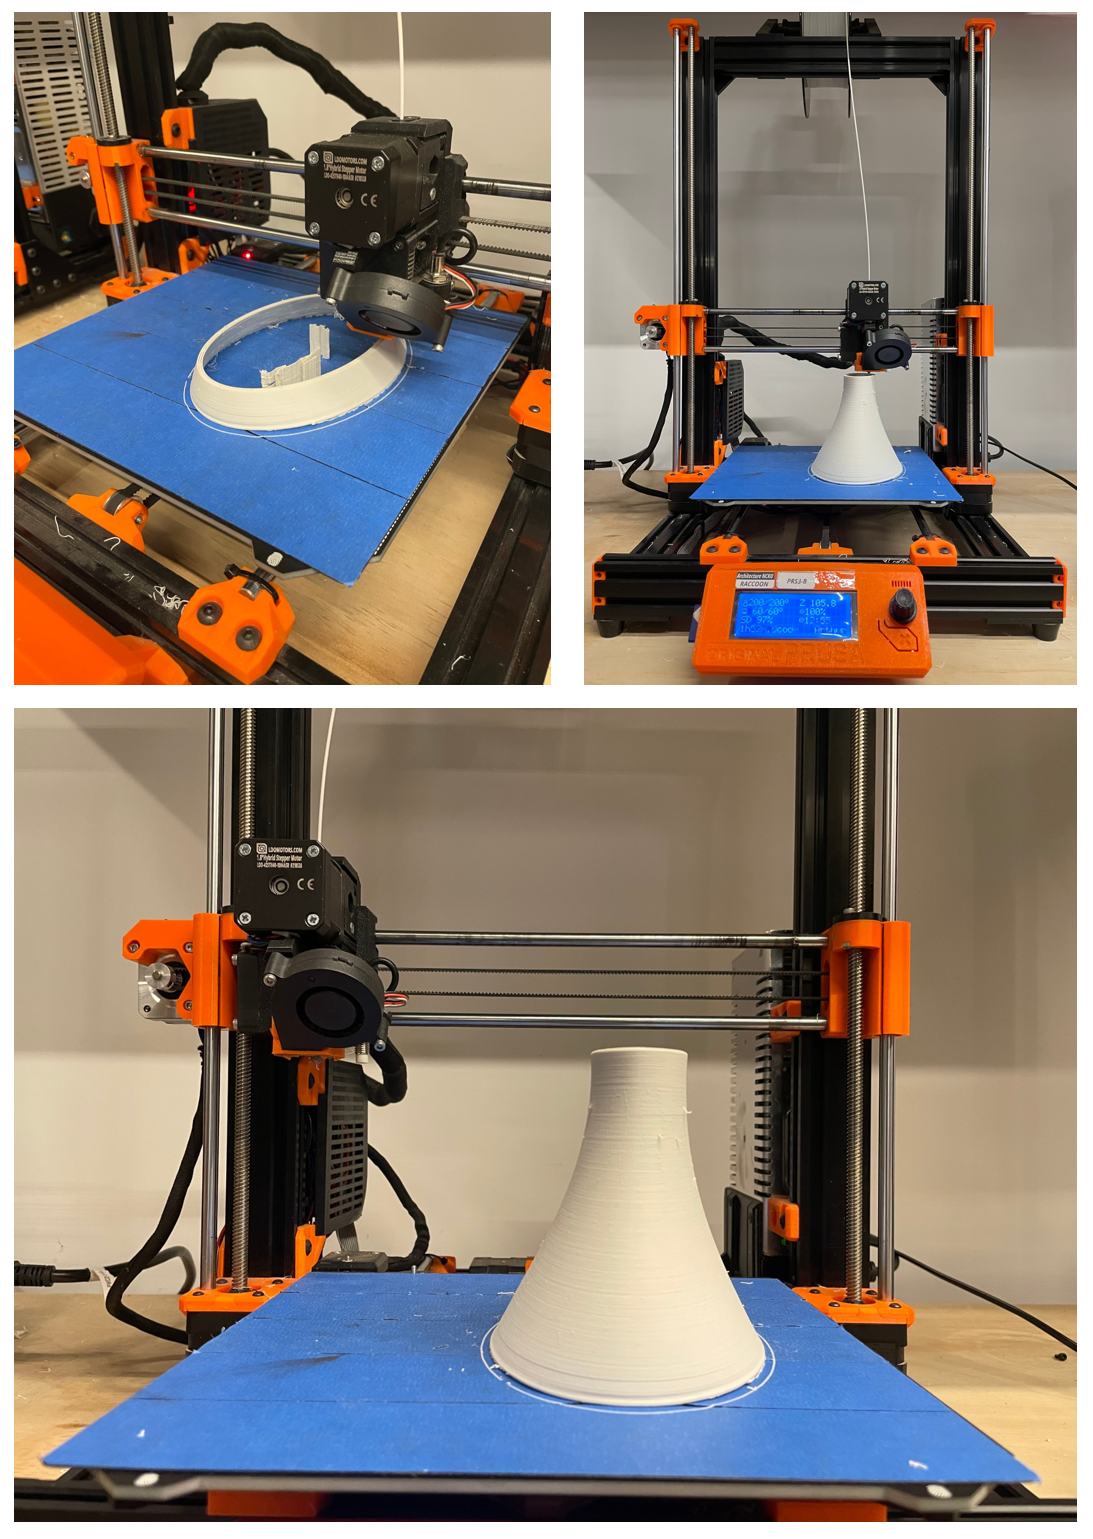
- Too thin of a wall is easy to collapse the bottom and support structure.
- The printing path in the Z-axis value is over setting.
- The initial speed is too fast to make sure a completed printing process.
- printing process and result of lamp shade model in PLA.
- Utilize “offsetsrf” command to thicken the surface into
- Reduce the speed by tuning the 3D printer setting after the 9 times calibration of horizontal foundation.
- The initial speed is too fast to make sure a completed printing process.
- Made by 3D printers with PLA.
- Layer Height: 0.3 mm
- Wall Thickness: 0.3 mm
- Infill Density: 10 %
- Infill Pattern: Triangles
- Easy to break between layers
- Wall should increase density
- Infill is not enough to be a joint (20~30%)
- Layer Height: 0.2 mm
- Wall Thickness: 0.8 mm
- Infill Density: 20 %
- Infill Pattern: Triangles
- Overly strong support
- Wall (top) quality is still poor
- Support is not as expected
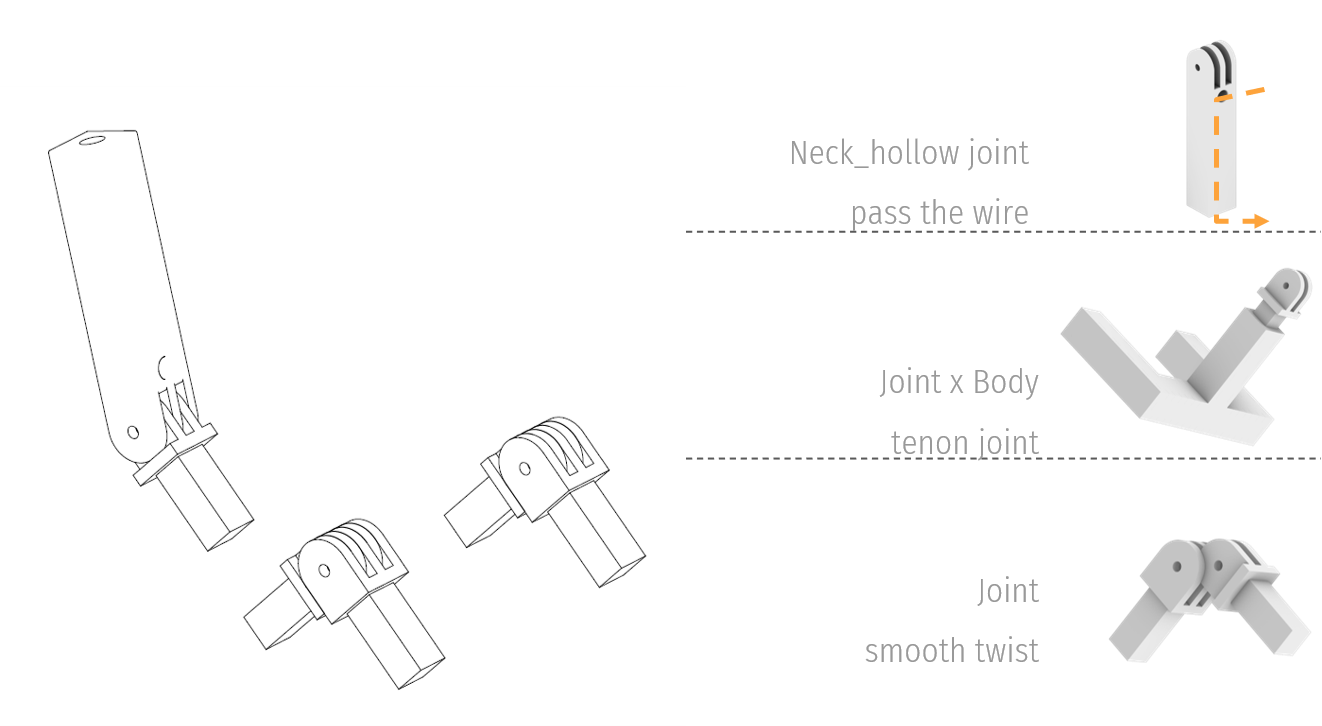
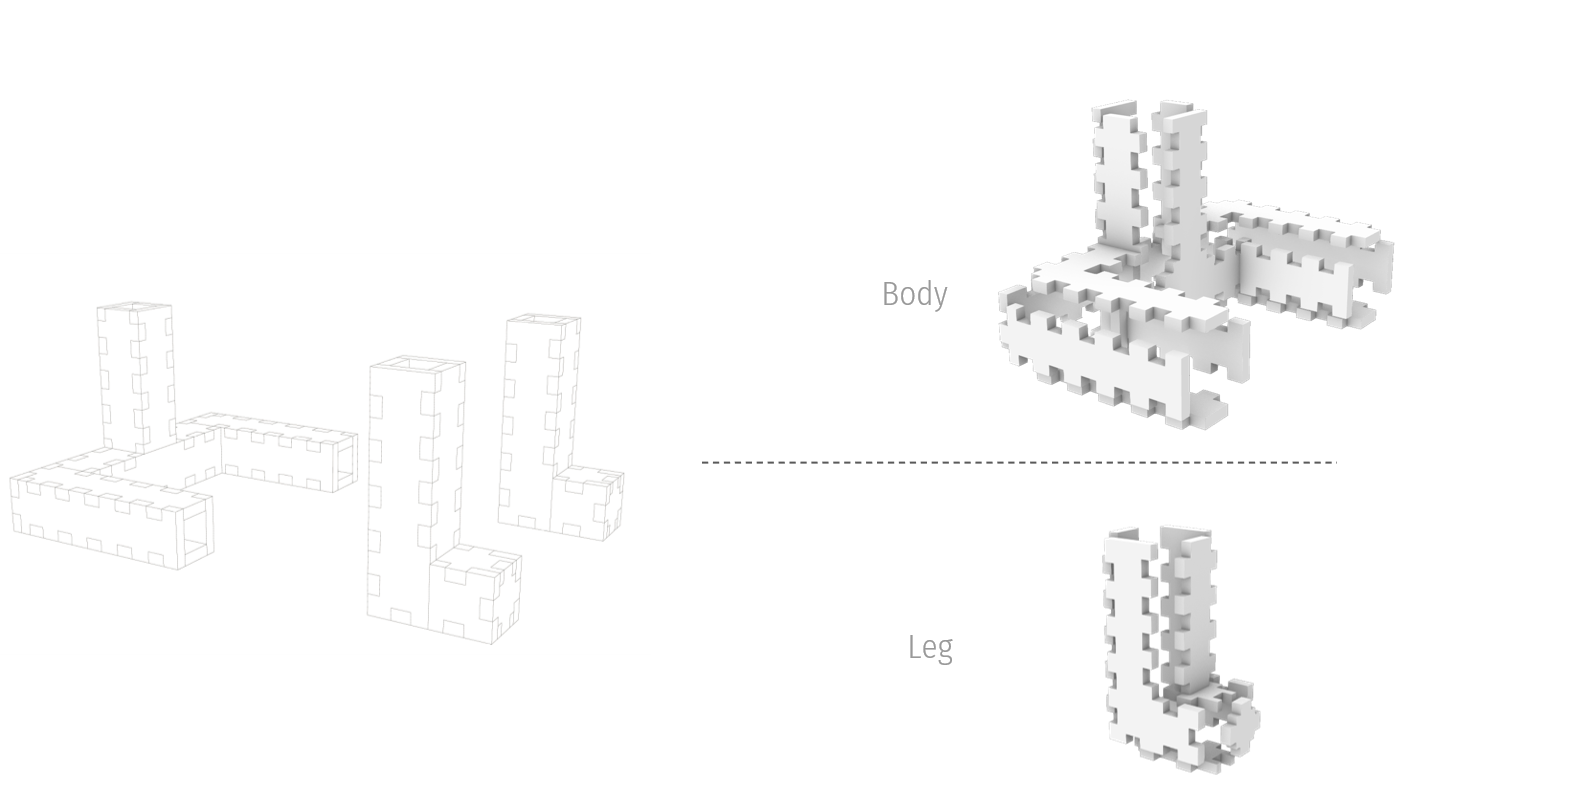
- Topological interlocking in assembly procedure.
- Laser Cutter
- White-grained Wood
Cutting Power : 75% Cutting Rate : 4%
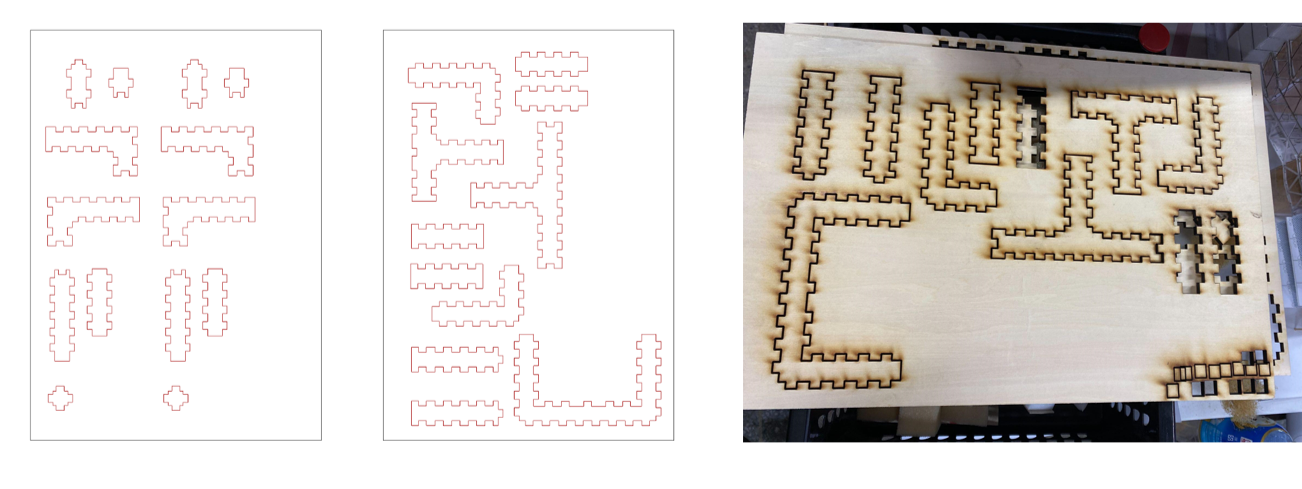
- Layout of model and result.
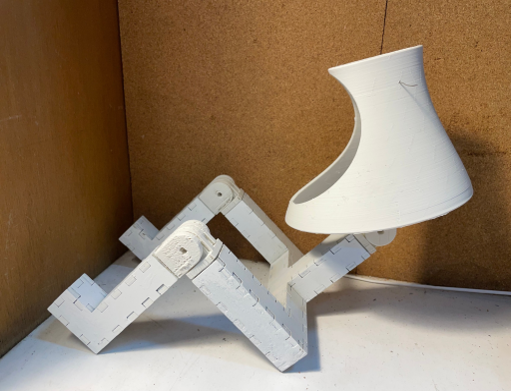
- Assembly of outcomes by laser cutter.
- The joints are still not strong enough to resist long-term using.
- After thicken the lampshade, the weight distribution unbalanced.
- The deviation of laser cutting makes the combination between body and joint just fit-in.
