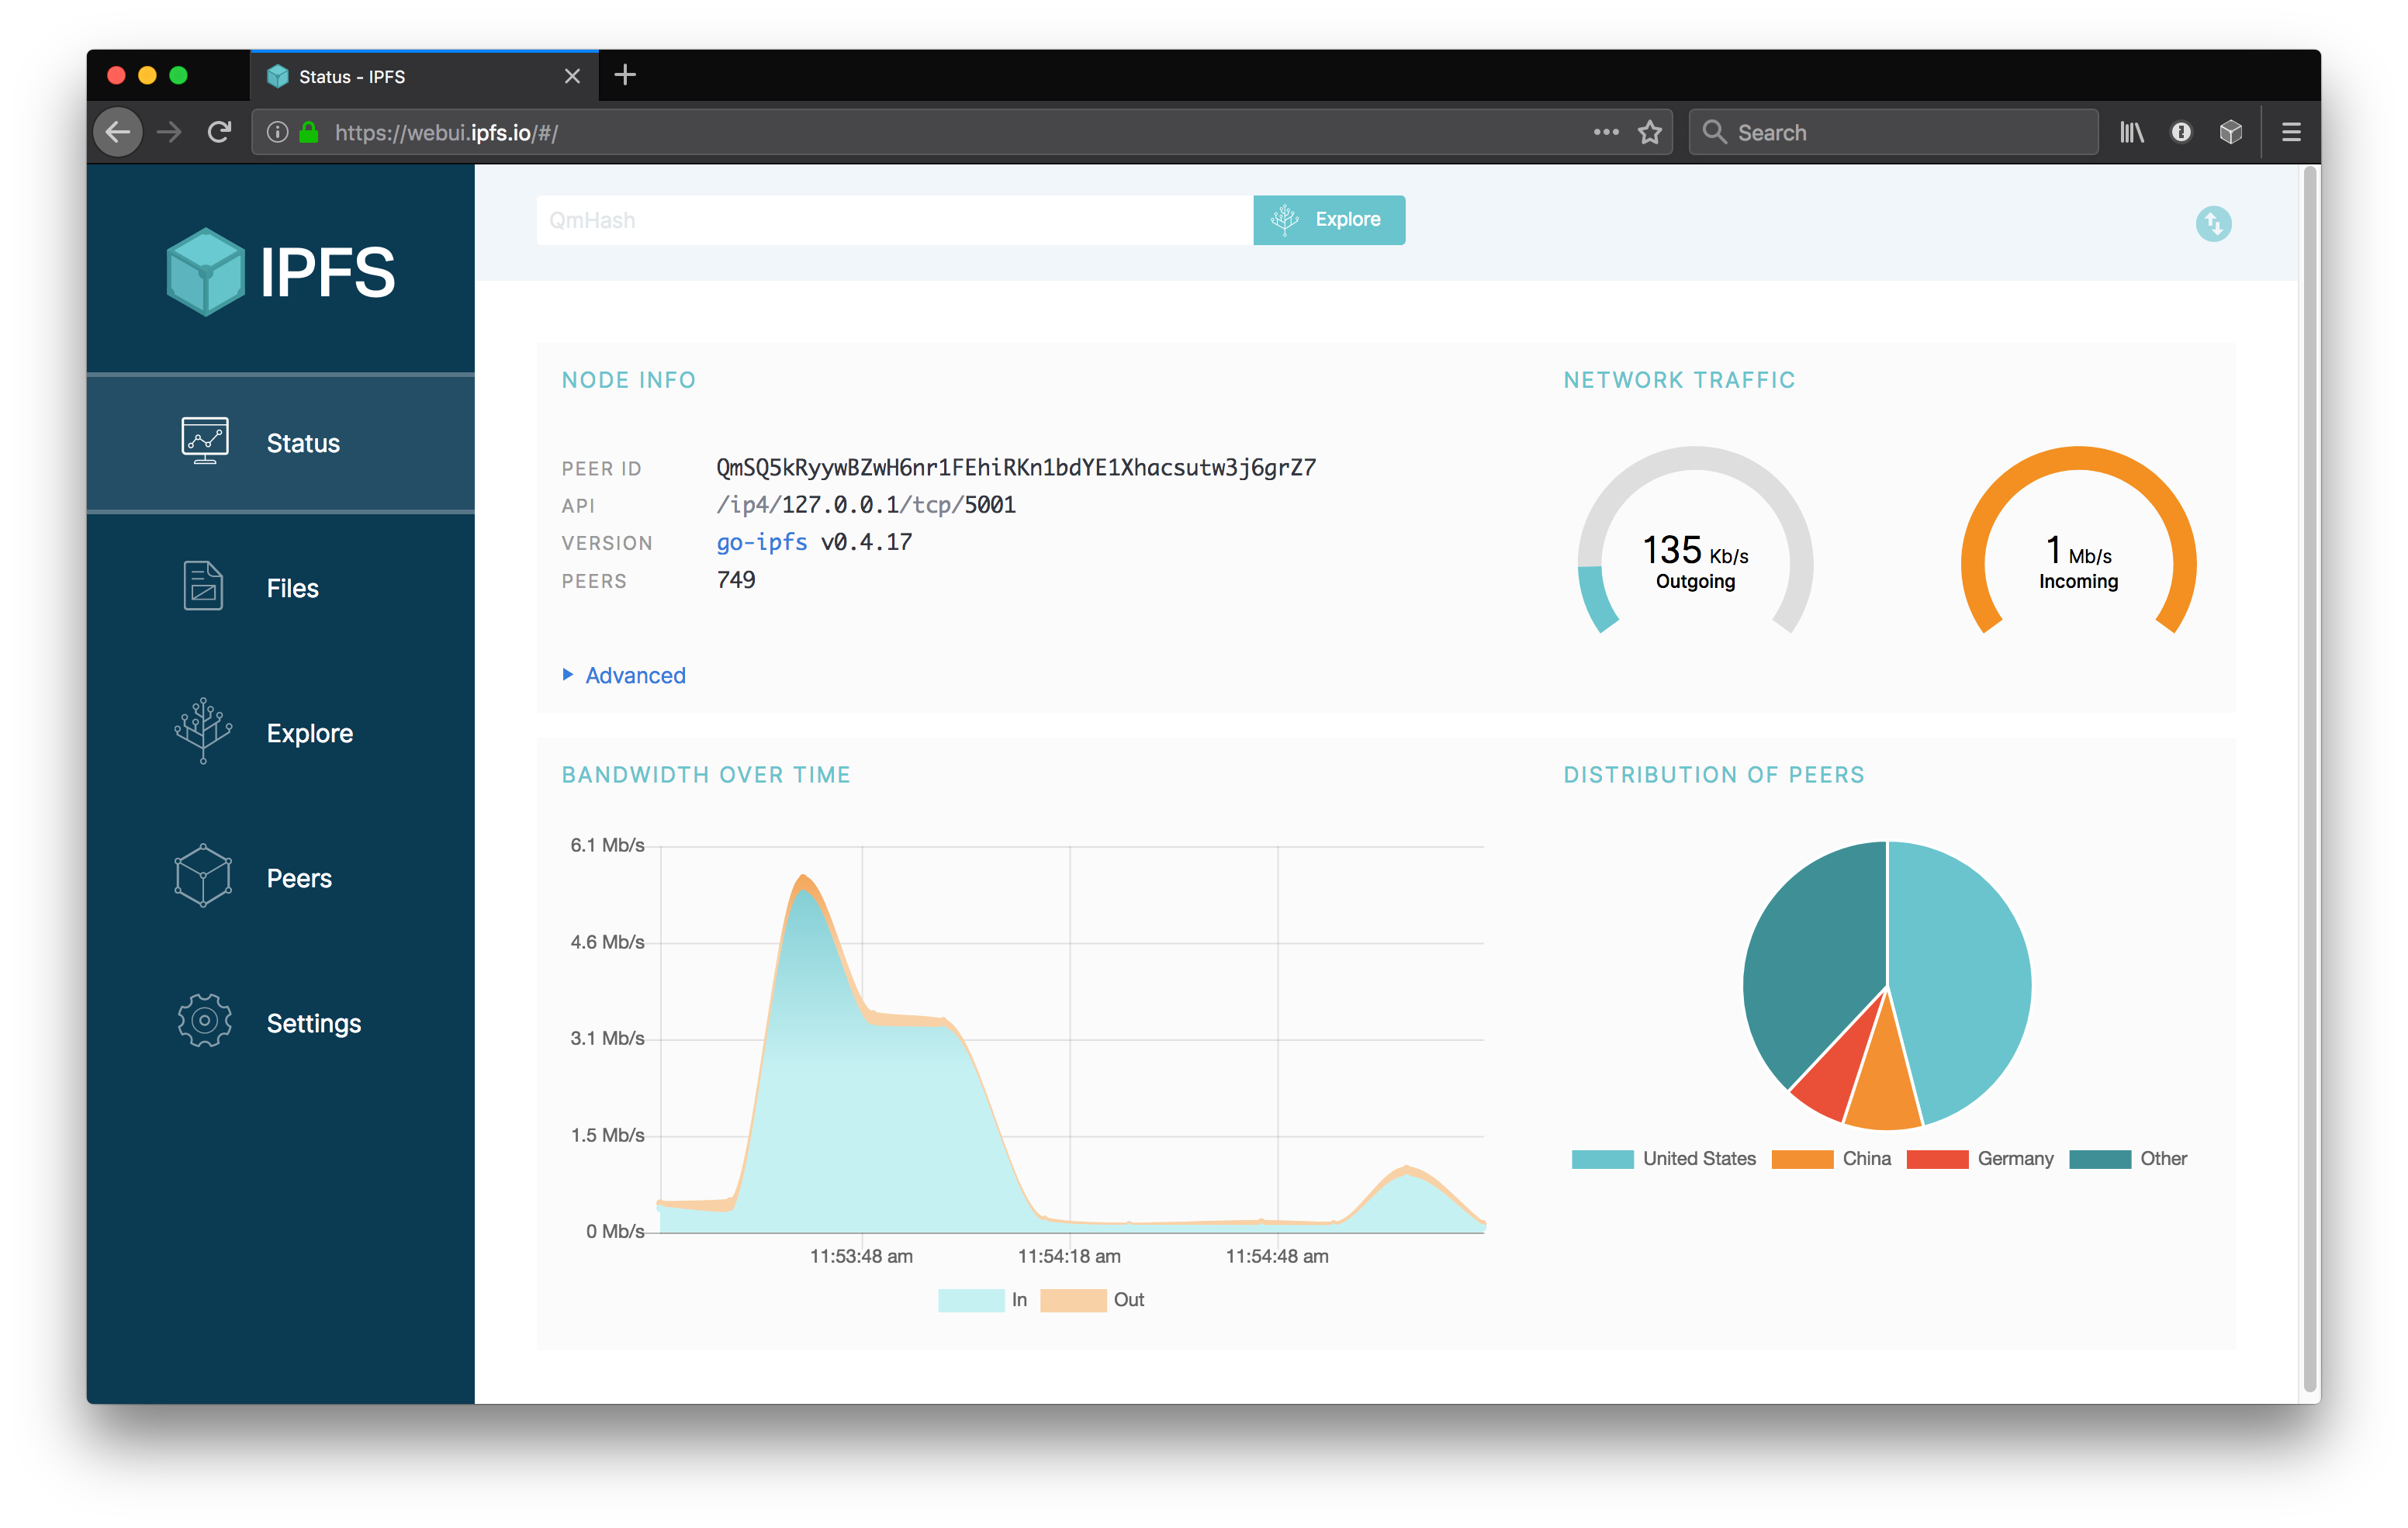
A web interface to IPFS.
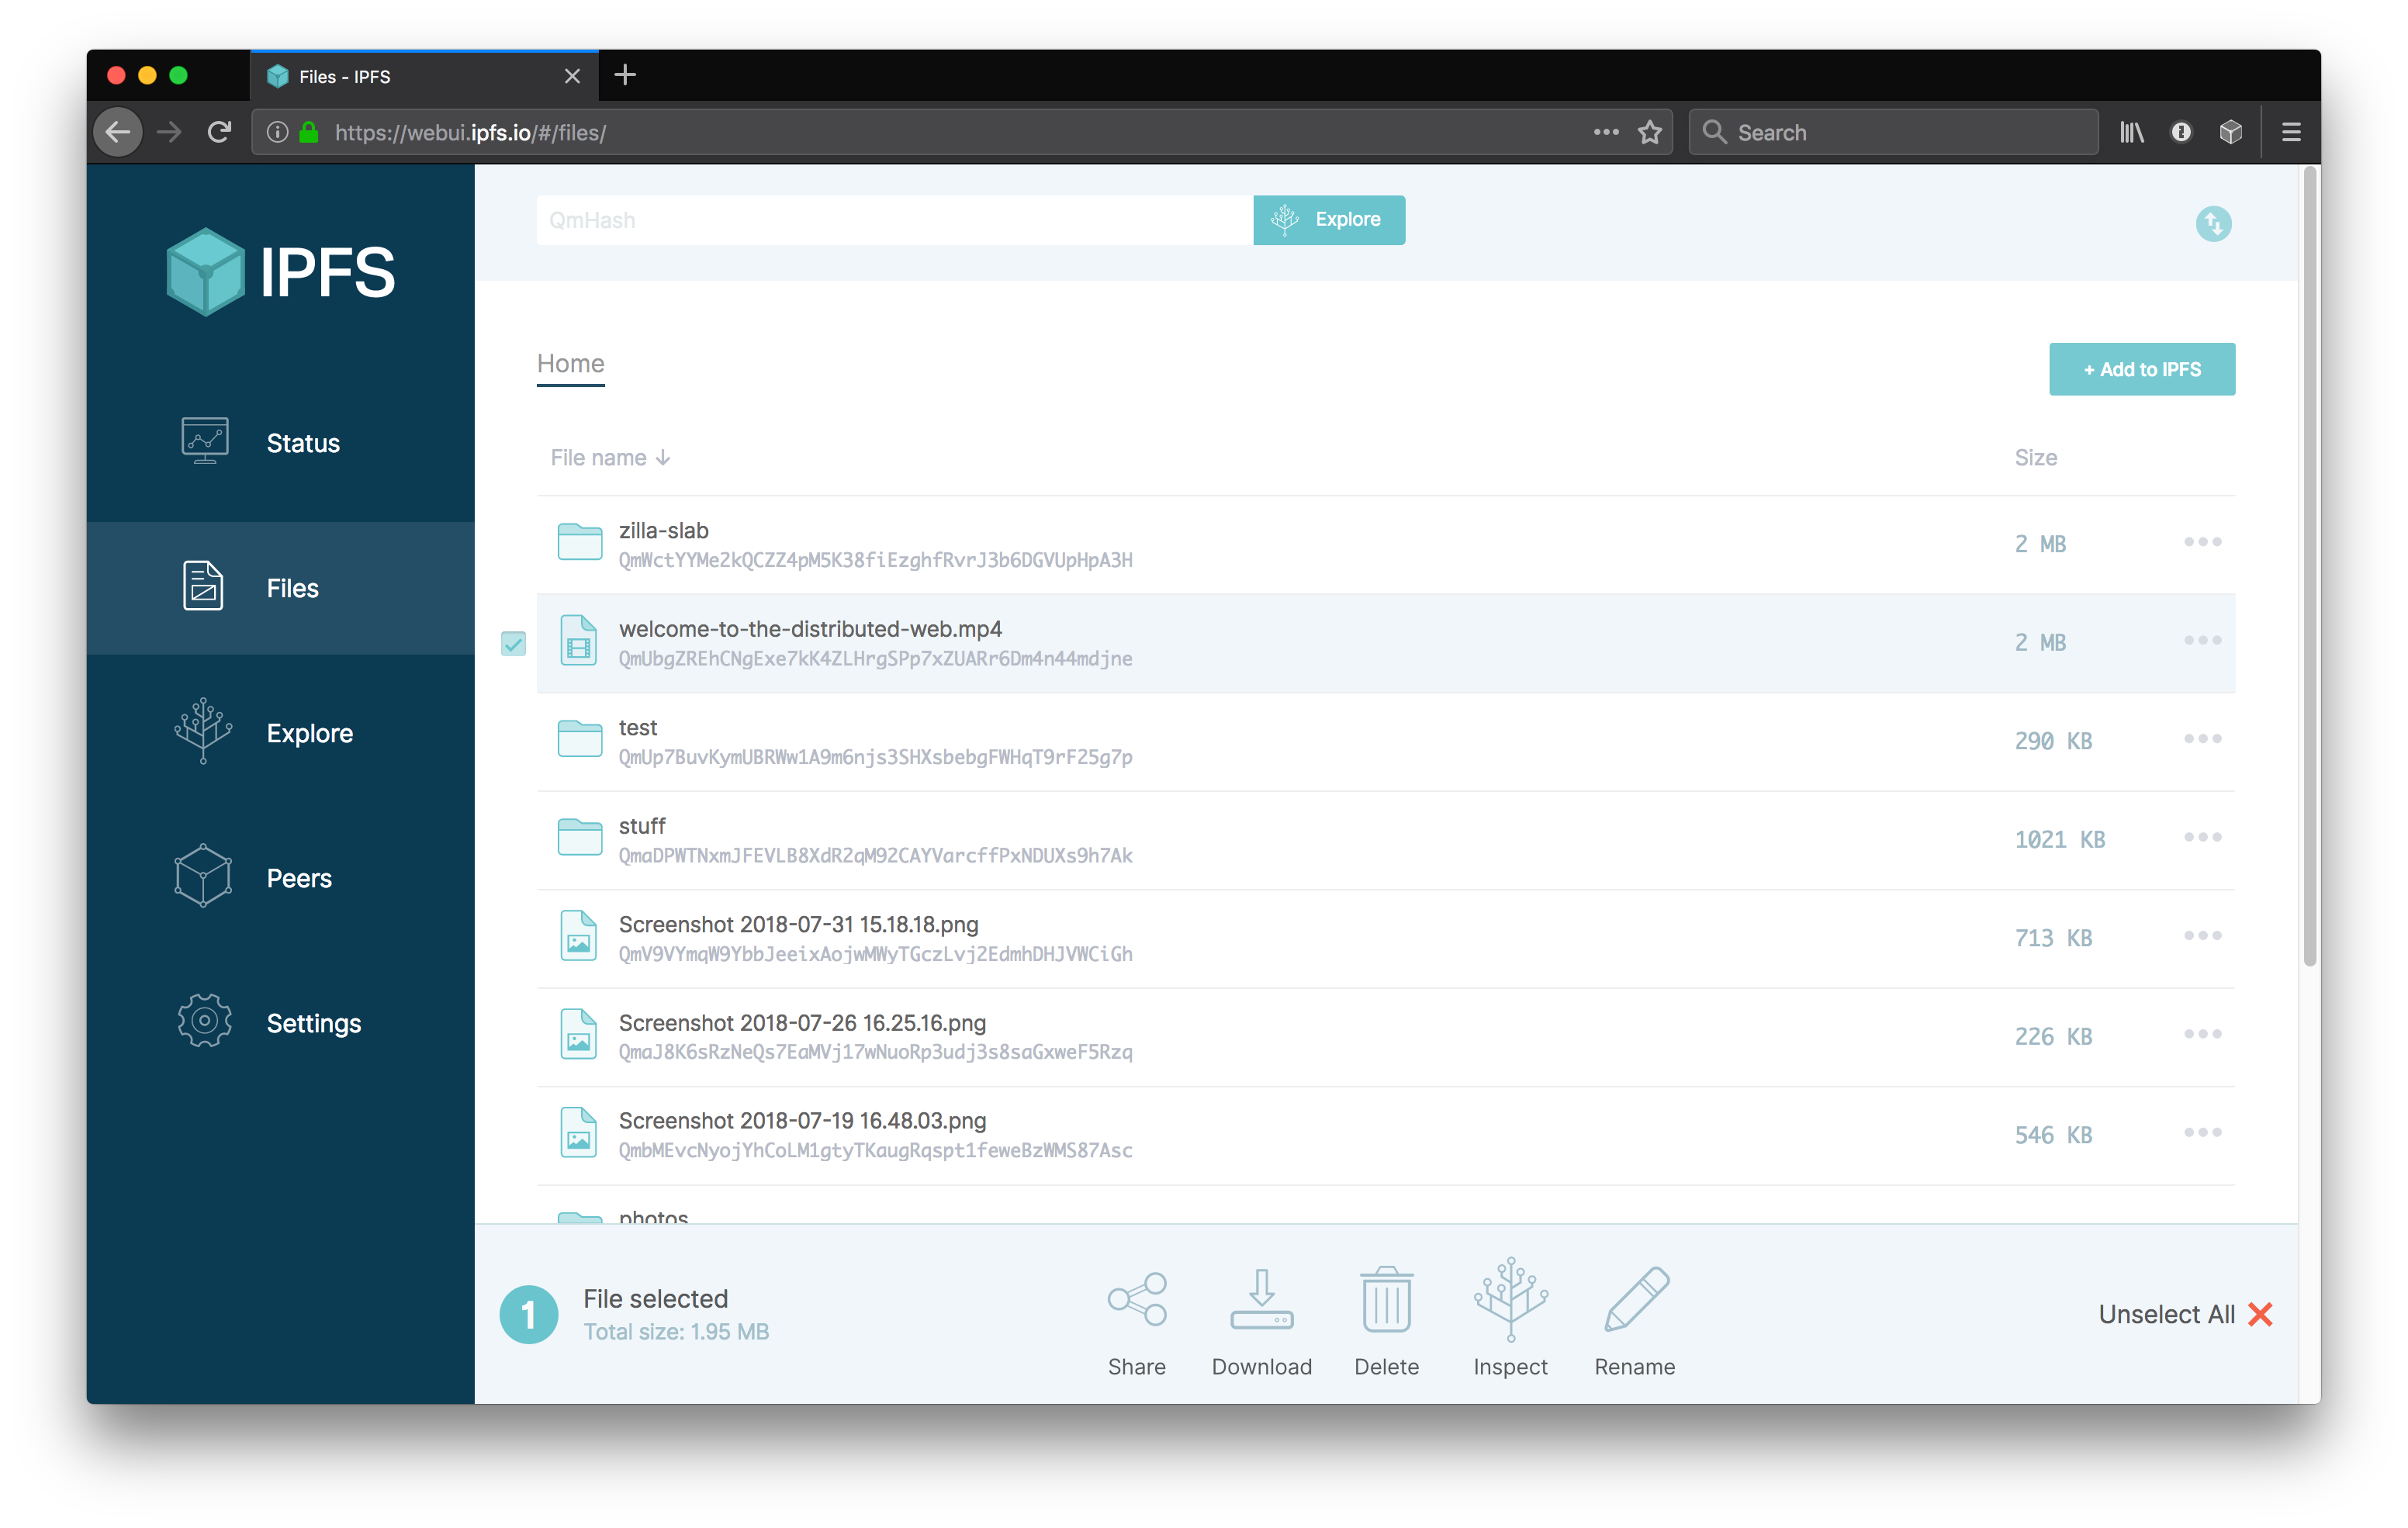
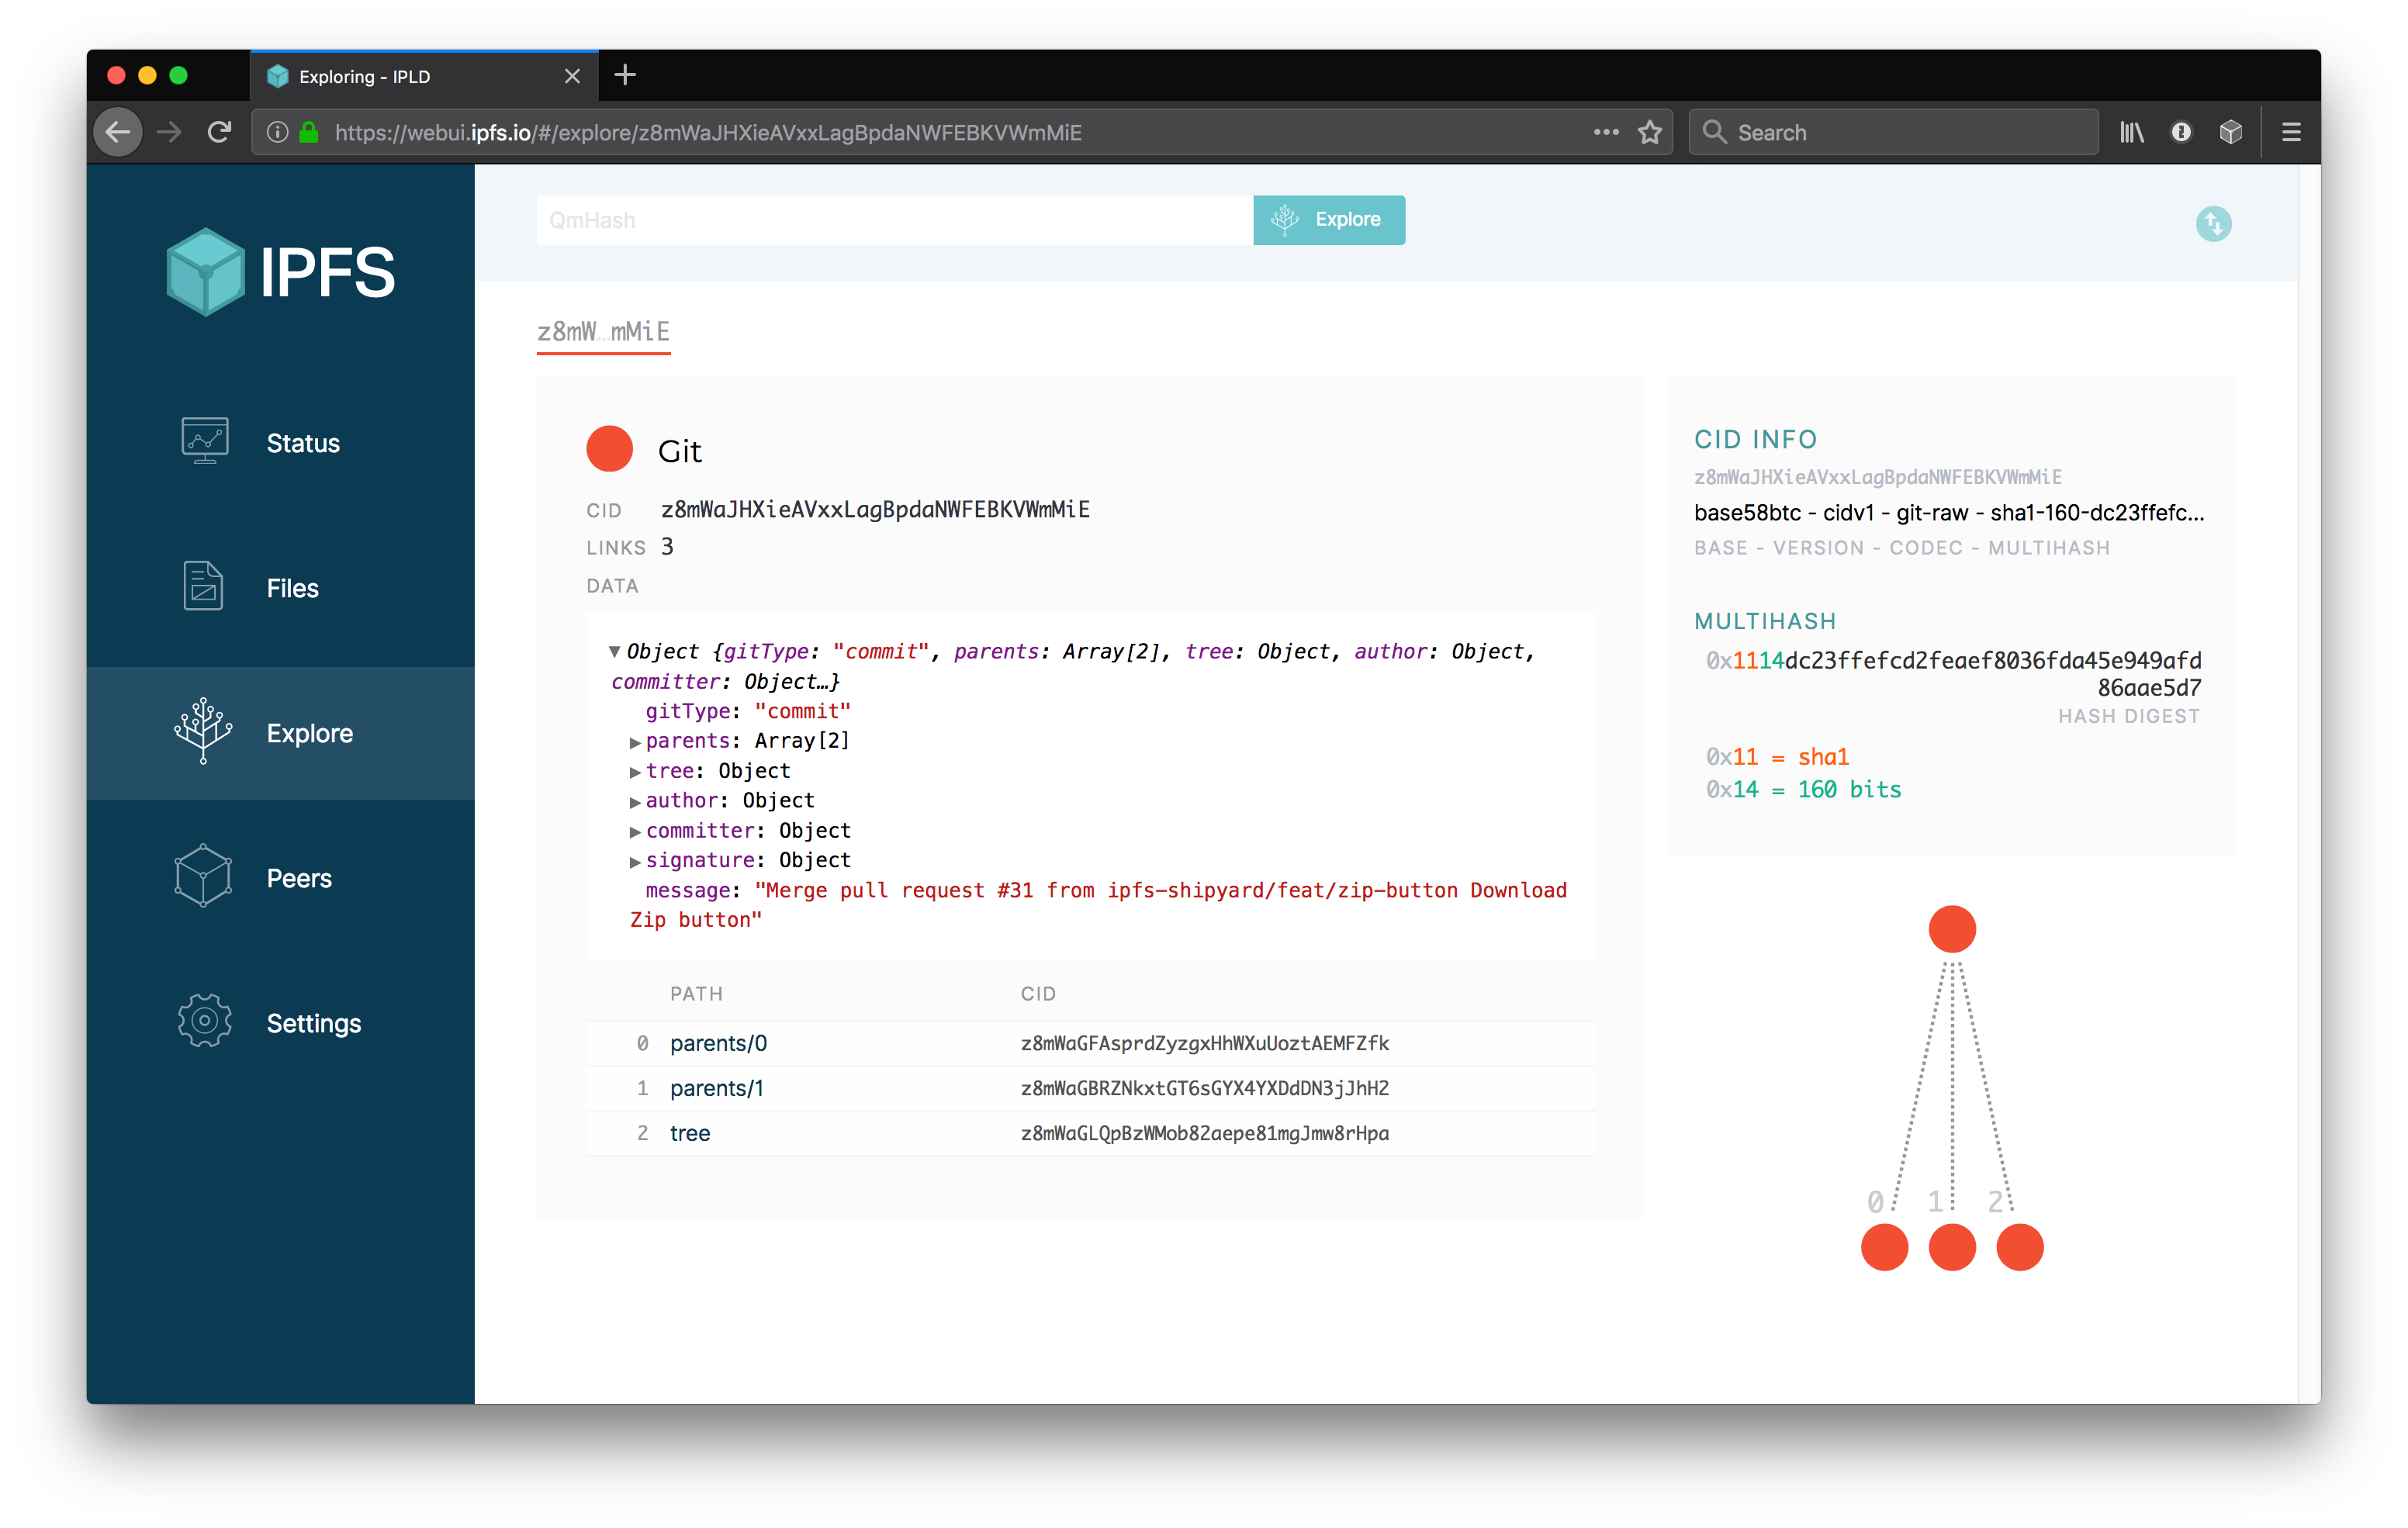
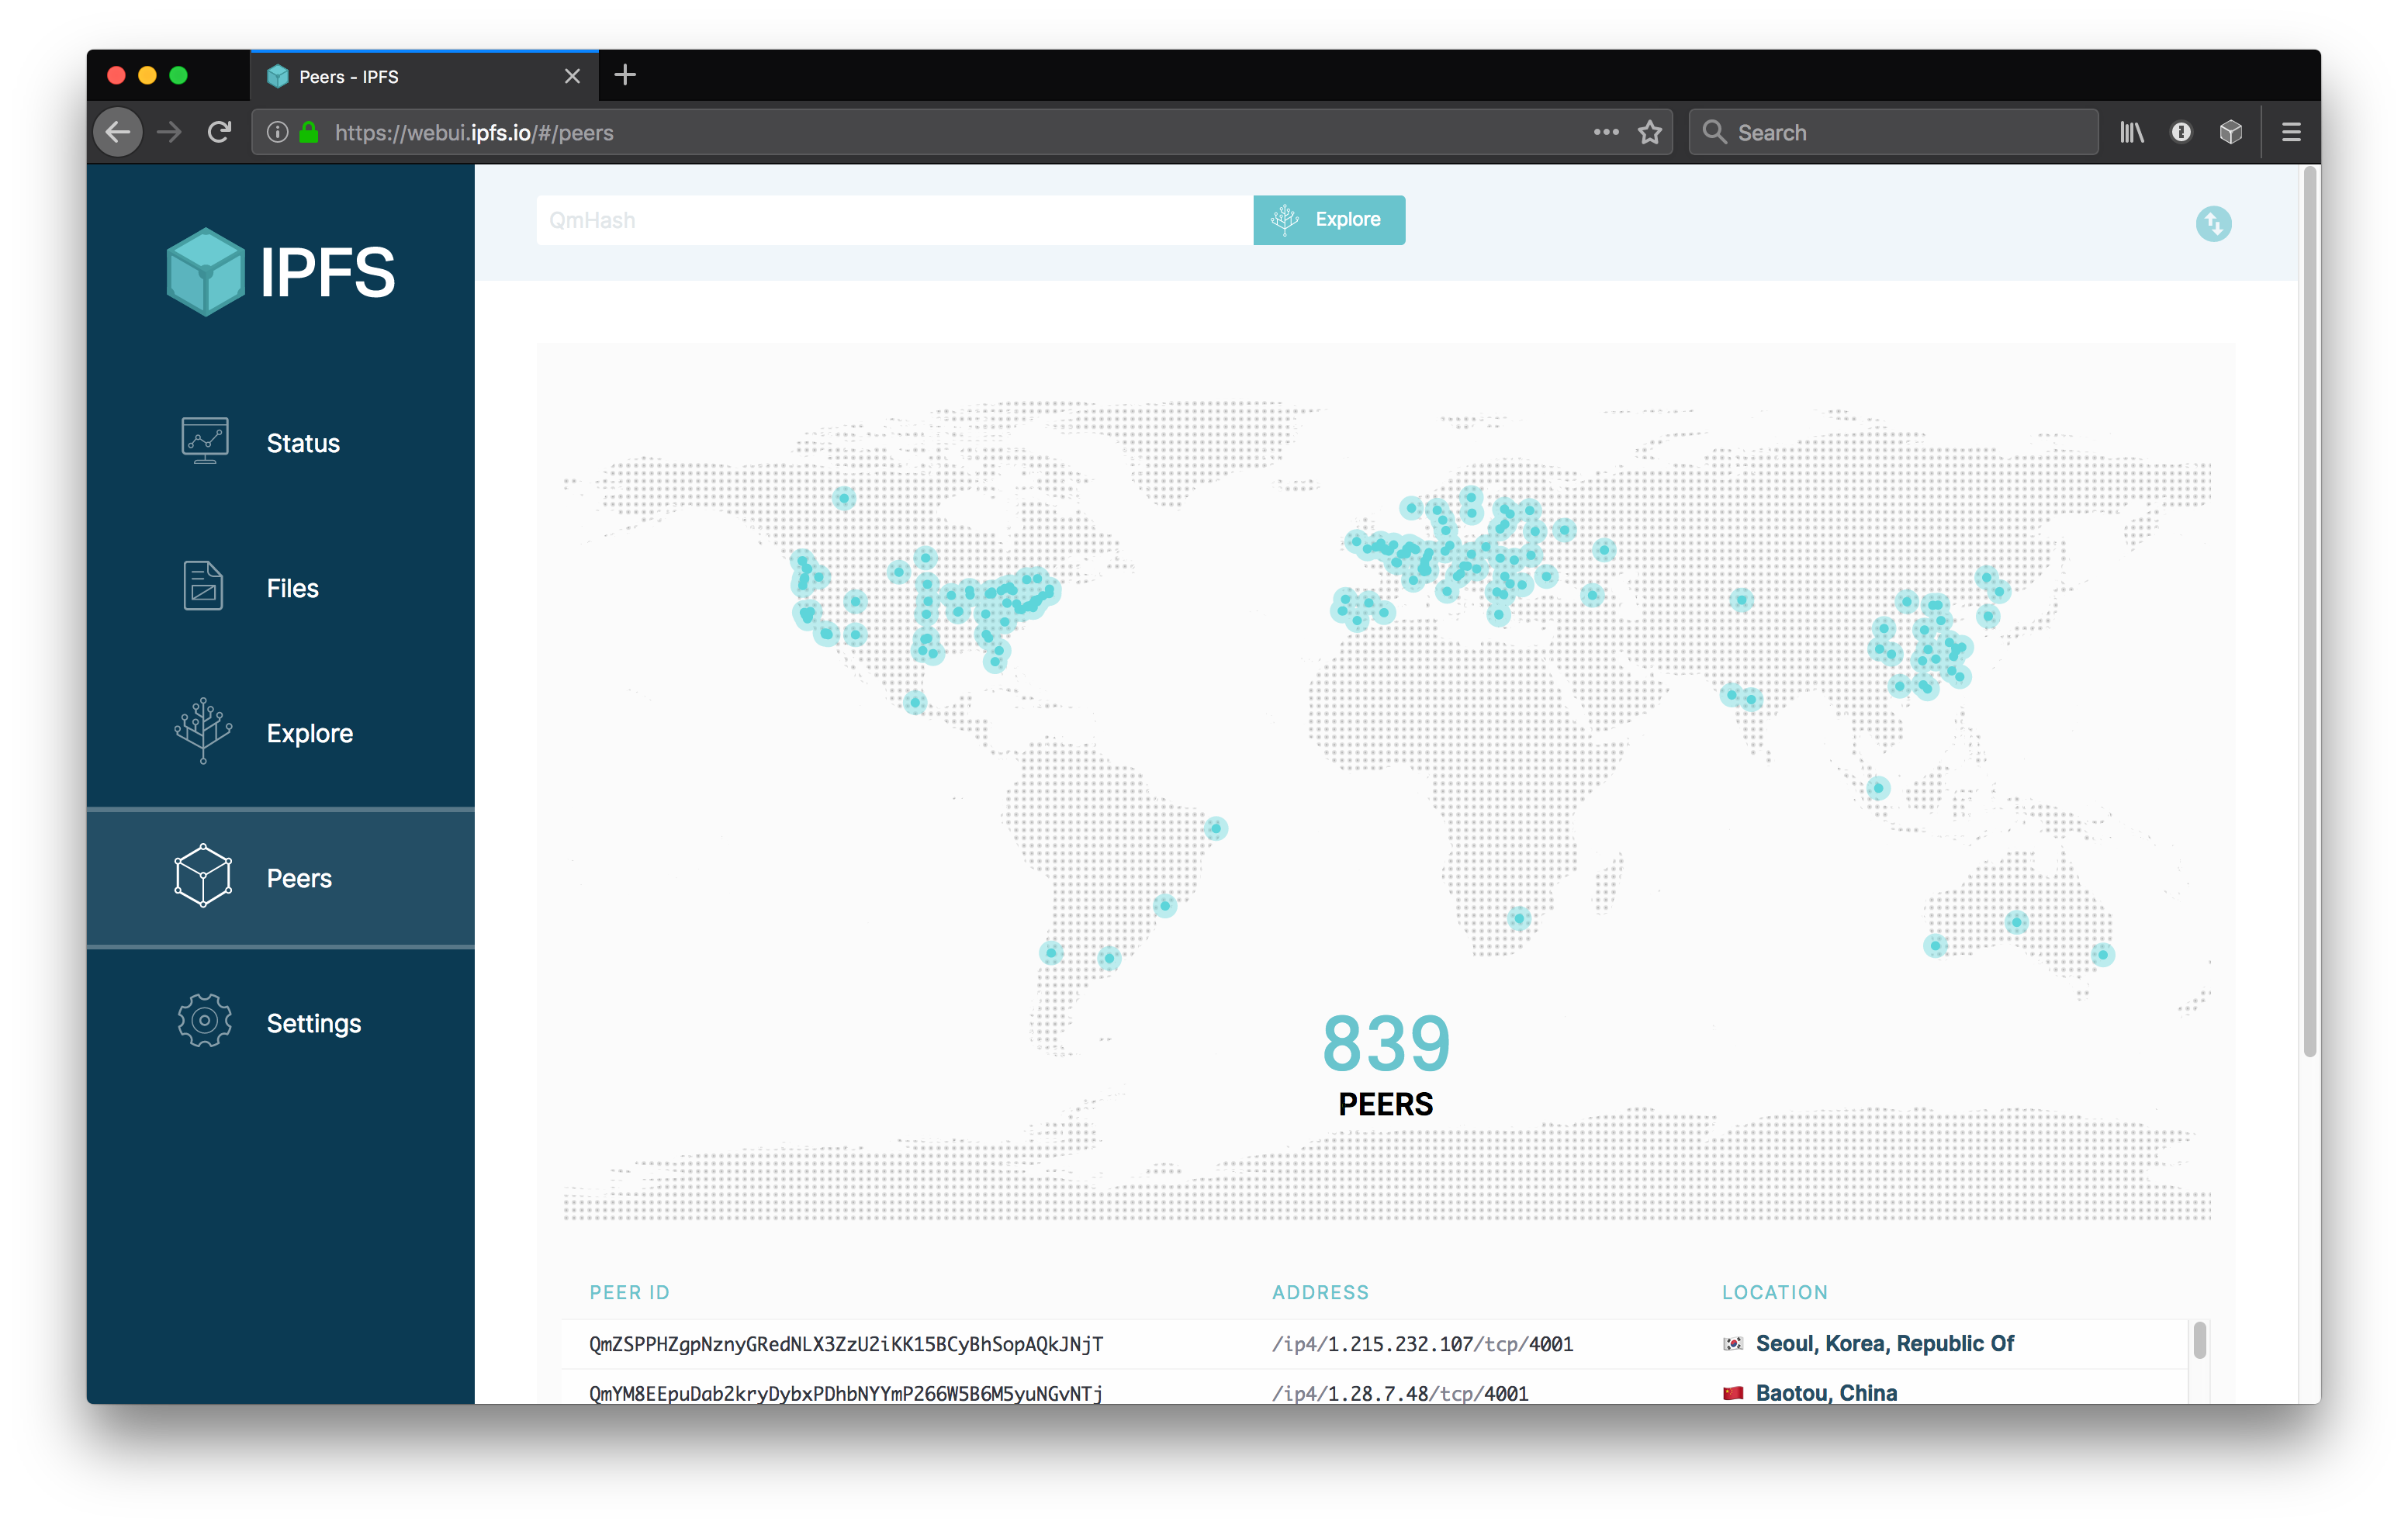
Check on your node stats, explore the IPLD powered merkle forest, see peers around the world and manage your files, without needing to touch the CLI.
| Files | Explore | Peers | Settings |
|---|---|---|---|
 |
 |
 |
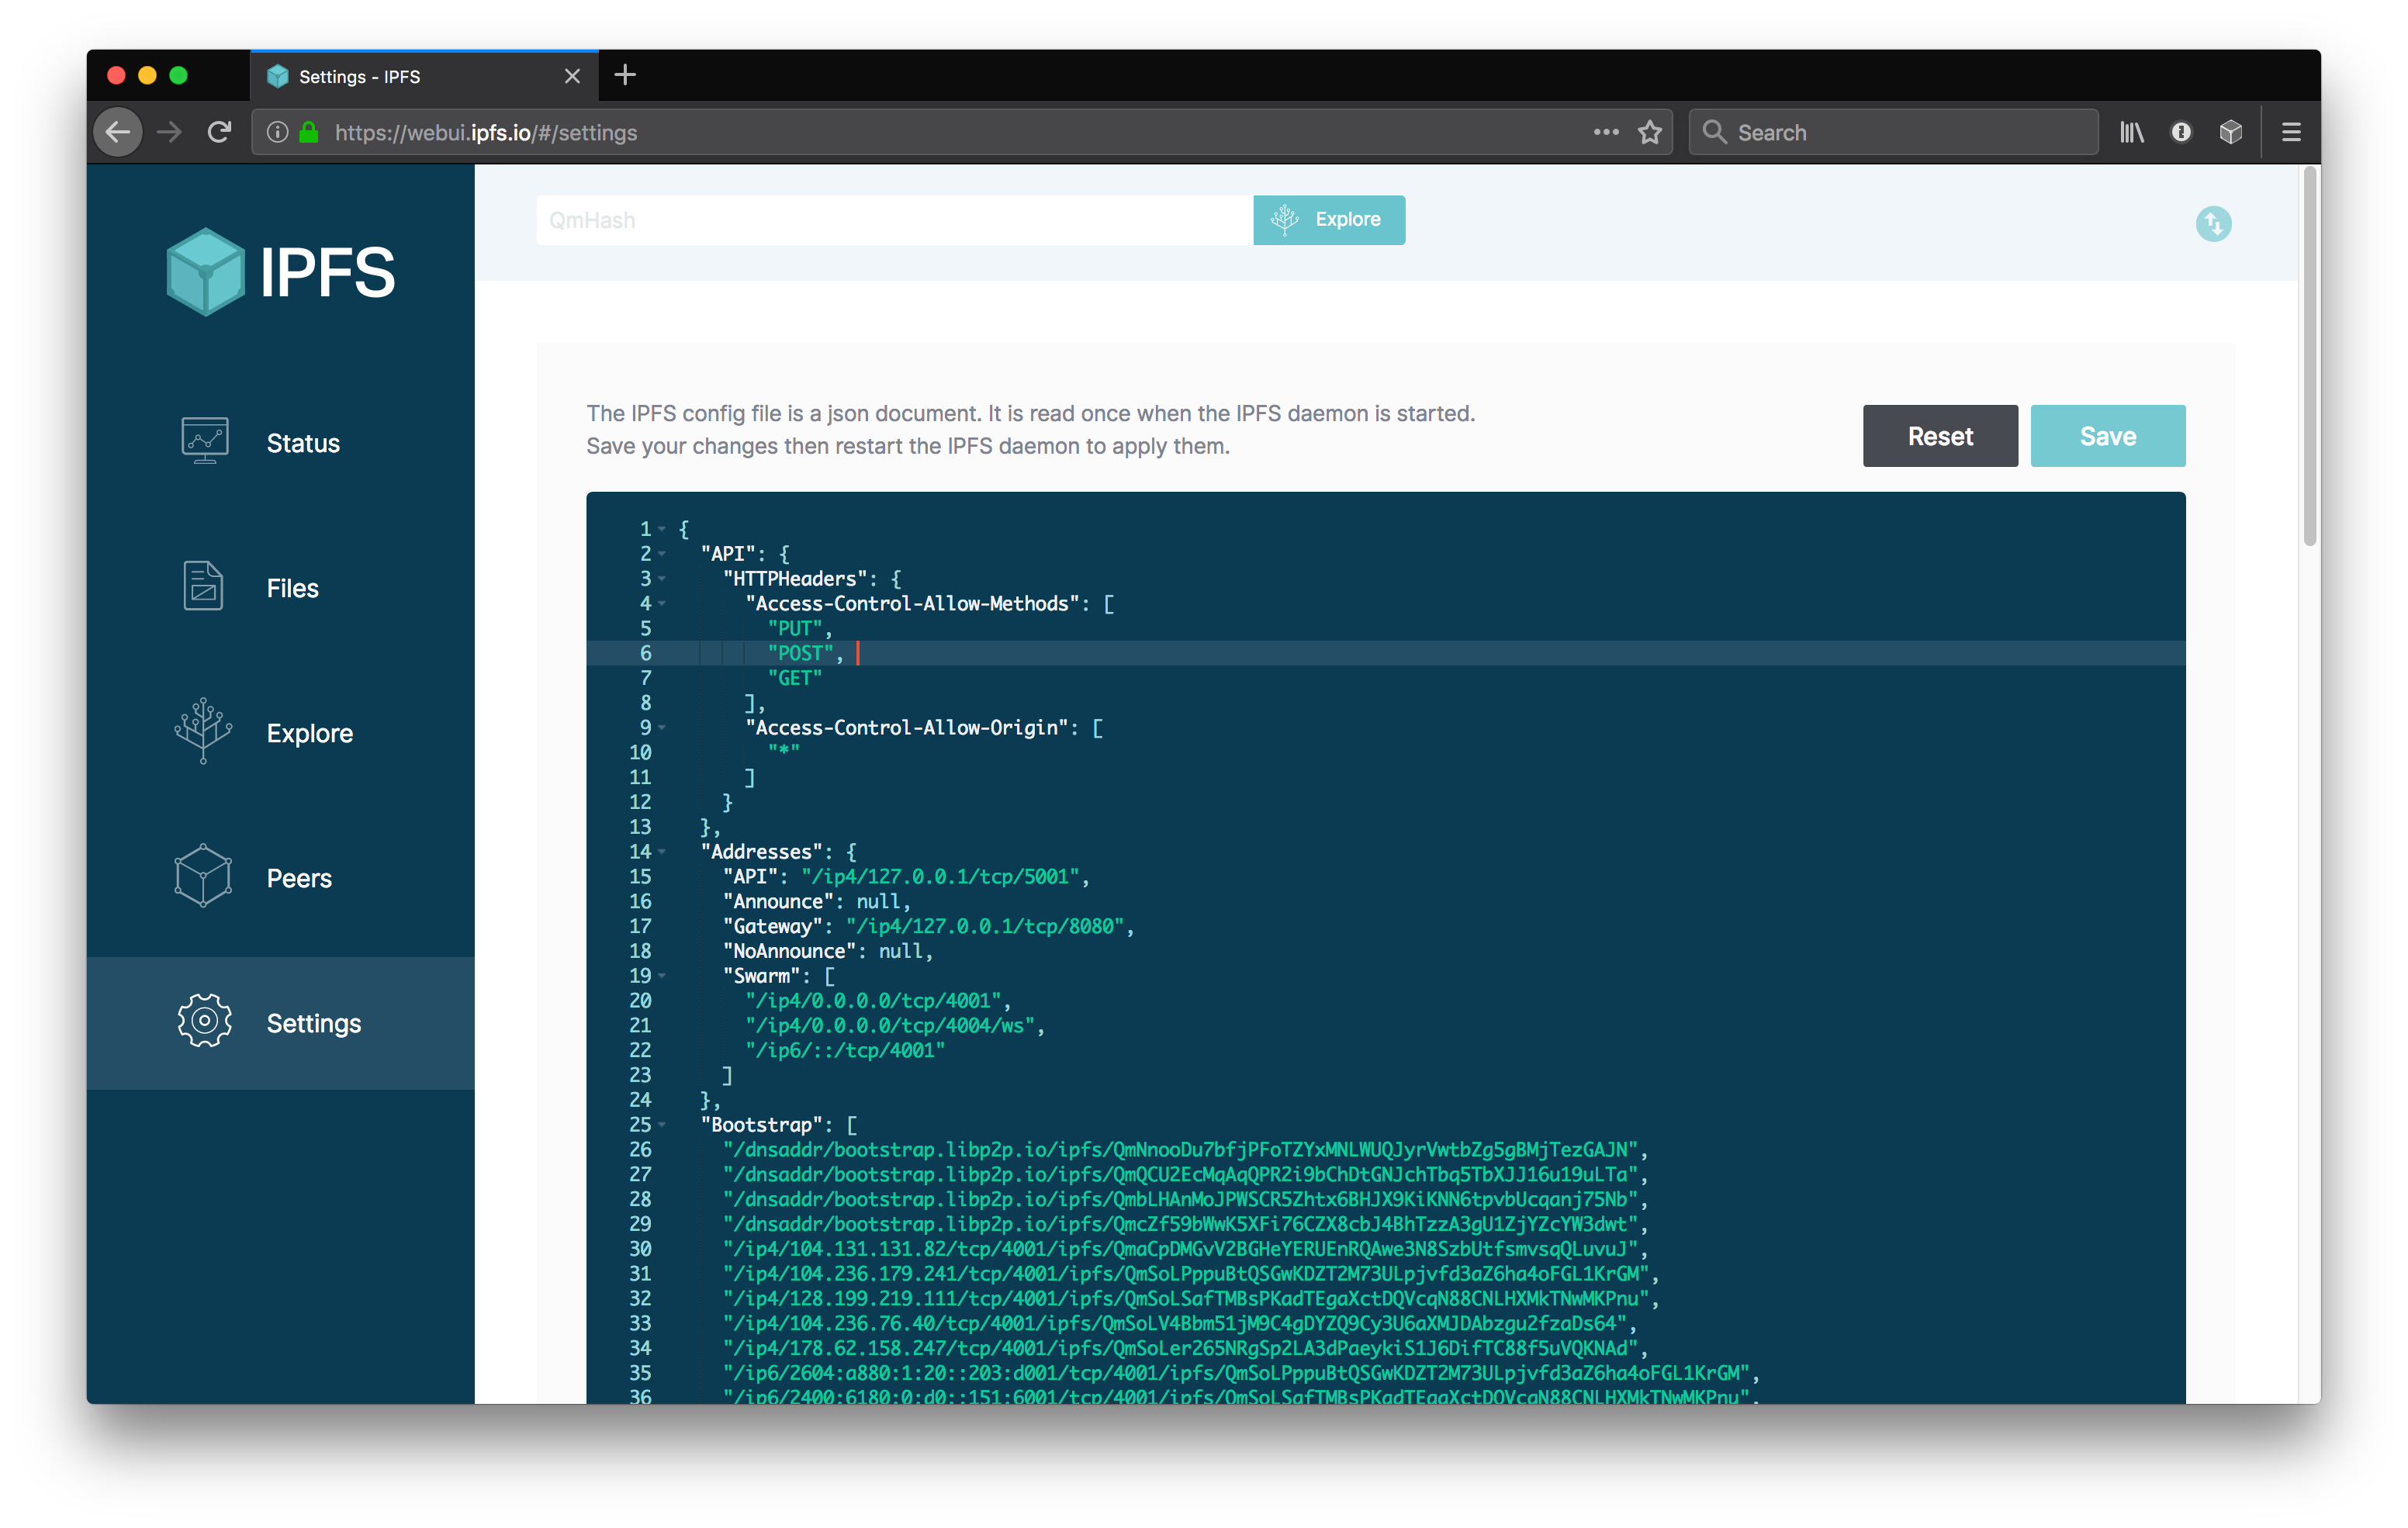 |
The IPFS WebUI is a work-in-progress. Help us make it better! We use the issues on this repo to track the work and it's part of the wider IPFS GUI project.
The app uses the IPFS HTTP API to get data from the ipfs node. It will use the window.ipfs api provided by the IPFS Companion web-extension where available, and fallback to using js-ipfs-api where not.
The app is built with create-react-app. Please read the docs.
With node >= 8.12 and npm >= 6.4.1 installed, run
> npm installWhen working on the code, run an ipfs daemon, the local dev server, the unit tests, and the storybook component viewer and see the results of your changes as you save files.
In separate shells run the following:
# Run IPFS
> ipfs daemon
# Run the dev server @ http://localhost:3000
> npm start# Run the unit tests
> npm test# Run the UI component viewer @ http://localhost:9009
> npm run storybookYou must configure your IPFS API at http://127.0.0.1:5001 to allow cross-origin (CORS) requests from your dev server at http://localhost:3000
Similarly if you want to try out pre-release versions at https://webui.ipfs.io you need to add that as an allowed domain too.
Run the cors-config.sh script with:
> ./cors-config.sh> ipfs config --json API.HTTPHeaders.Access-Control-Allow-Origin '["http://localhost:3000", "https://webui.ipfs.io"]'
> ipfs config --json API.HTTPHeaders.Access-Control-Allow-Methods '["PUT", "GET", "POST"]'
> ipfs config --json API.HTTPHeaders.Access-Control-Allow-Credentials '["true"]'To reset your config back to the default configuration, run the following command.
> ipfs config --json API.HTTPHeaders {}You might also like to copy the ~/.ipfs/config file somewhere with a useful name so you can use ipfs config replace <file> to switch your node between default and dev mode easily.
To create an optimized static build of the app, output to the build directory:
# Build out the html, css & jss to ./build
> npm run buildThe following command will run the app tests, watch source files and re-run the tests when changes are made:
> npm testThe WebUI uses Jest to run the isolated unit tests. Unit test files are located next to the component they test and have the same file name, but with the extension .test.js
The end-to-end tests (e2e) test the full app in a headless Chromium browser. They require an http server to be running to serve the app.
In dev, run npm start in another shell before starting the tests
# Run the end-to-end tests
> npm run test:e2e
By default the test run headless, so you won't see the the browser. To debug test errors, it can be helpful to see the robot clicking around the site. To disable headless mode and see the browser, set the environment variable DEBUG=true
# See the end-to-end tests in a browser
> DEBUG=true npm run test:e2e
In a continuous integration environment we lint the code, run the unit tests, build the app, start an http server and run the unit e2e tests.
> npm run lint
> npm test
> npm run build
> npm run test:ci:e2eTo do a single run of the tests and generate a coverage report, run the following:
> npm run test:coveragePerform standard linting on the code:
> npm run lintTo inspect the built bundle for bundled modules and their size, first build the app then:
# Run bundle
> npm run analyzeThe translations are stored on ./public/locales and the English version is the source of truth.
We use Transifex to help us translate WebUI to another languages. If you're interested in contributing, go to our page on Transifex, create an account, pick a language and start translating.
- Install and set up command-line client (
tx) - To download new translations from Transifex:
tx pull -a- this should create/update files in
public/locales/*that need to be committed - if a new language is created, remember to add it to
src/i18n.js
- this should create/update files in
We've split up our files by tab, so you can find the translations files at
- Files
->public/locales/en/files.json - Explore
->public/locales/en/explore.json
..etc. The filename is the namespace that i18next will look up to find the keys for the right section.
We define our source file to be the en locale, in public/locales/en/*. Developers should update those files directly. Changes to from master branch are fetched by Transifex automatically every day for our lovely team of translators to ruminate on.
All other locales are pulled from Transifex service via the tx commandline tool.
If you want to add new keys or change existing values in the en locale, you should make sure you have the latest from transifex first.
For example, before adding keys to public/locales/en/explore.json, first check you've got the latest source file:
$ tx pull -r ipld-explorer.explore-json -s
tx INFO: Pulling translations for resource ipld-explorer.explore-json (source: public/locales/en/explore.json)
tx WARNING:  -> ko_KR: public/locales/ko_KR/explore.json
tx WARNING:  -> en: public/locales/en/explore.json
...-smeans "include the source file when pulling", which in our case is theenversions.-r ipld-explorer.explore-jsonmeans justexplore.jsonfile. The mappings of resource name to files is in the.tx/configfile.
Now make your changes and add great keys and snappy en default values for them. When you are done, commit your changes as per usual. Changes to from master branch are fetched by Transifex automatically.
For more info on our i18n process at IPFS, check out:
- Pull latest translations from transifex
- Build it
- Add to IPFS
- Pin to the gateways
- Add the new version to https://github.com/ipfs-shipyard/ipfs-webui/tree/master/versions
- Update the hash at:
Feel free to dive in! Open an issue or submit PRs.
To contribute to IPFS in general, see the contributing guide.
MIT © Protocol Labs
