

A flexible FREE and UNLIMITED tool to translate between different languages in a simple way using multiple translators.
- Free software: MIT license
- Documentation: https://deep-translator.readthedocs.io.
- Swagger API: https://deep-translator-api.azurewebsites.net/docs.
Table of Contents
- Translation for humans
- Motivation
- When you should use it
- Why you should use it
- Features
- Installation
- Quick Start
- Usage
- Imports
- Check Supported Languages
- Language Detection
- Google Translate
- Mymemory Translator
- DeeplTranslator
- QcriTranslator
- Linguee Translator
- PONS Translator
- Yandex Translator
- Microsoft Translator
- ChatGpt Translator
- Papago Translator
- Libre Translator
- TencentTranslator
- BaiduTranslator
- BaiduTranslator
- Proxy usage
- File Translation
- Usage from Terminal
- Tests
- Links
- Help
- Next Steps
- Credits
- License
- Swagger UI
- The Translator++ mobile app
- Website & Desktop app
I needed to translate a text using python. It was hard to find a simple way to do it. There are other libraries that can be used for this task, but most of them are buggy, not free, limited, not supported anymore or complex to use.
Therefore, I decided to build this simple tool. It is 100% free, unlimited, easy to use and provides support for all languages.
Basically, my goal was to integrate support for multiple famous translators in this tool.
- If you want to translate text using python
- If you want to translate from a file
- If you want to get translations from many sources and not only one
- If you want to automate translations
- If you want to use ChatGpt for translations
- If you want to compare different translations
- If you want to detect language automatically
- It's the only python tool that integrates many translators
- Multi language support
- Support for ChatGpt (version >= 1.11.0)
- Supports batch translation
- High level of abstraction
- Automatic language detection
- Easy to use and extend
- Support for most famous universal translators
- Stable and maintained regularly
- The API is very easy to use
- Proxy integration is supported
- Support for google translate
- Support for the microsoft translator (version >= 1.3.5)
- Support for Pons translator
- Support for the Linguee translator
- Support for the Mymemory translator
- Support for the Yandex translator (version >= 1.2.1)
- Support for the QcriTranslator translator (version >= 1.2.4)
- Support for the DeeplTranslator translator (version >= 1.2.5)
- Support for the Papago translator (version >= 1.4.4)
- Support for the Libre translator
- Support for ChatGpt
- Support for proxy usage
- Automatic single language detection
- Batch language detection
- Translate directly from a text file
- Translate docx files (version >= 1.9.4)
- Translate PDF files (version >= 1.9.4)
- Get multiple translation for a word
- Automate the translation of different paragraphs in different languages
- Translate directly from terminal (version >= 1.1.0)
Install the stable release:
$ pip install -U deep-translator

$ poetry add deep-translator   # for poetry usage
take a look at the docs if you want to install from source.
Also, you can install extras if you want support for specific use case. For example, translating Docx and PDF files
$ pip install deep-translator[docx]  # add support for docx translation

$ pip install deep-translator[pdf]  # add support for pdf translation

$ pip install deep-translator[ai]   # add support for ChatGpt

$ poetry add deep-translator --extras "docx pdf ai" # for poetry usagefrom deep_translator import GoogleTranslator
# Use any translator you like, in this example GoogleTranslator
translated = GoogleTranslator(source='auto', target='de').translate("keep it up, you are awesome") # output -> Weiter so, du bist großartigor using proxies:
from deep_translator import GoogleTranslator

proxies_example = {
    "https": "34.195.196.27:8080",
    "http": "34.195.196.27:8080"
}
translated = GoogleTranslator(source='auto', target='de', proxies=proxies_example).translate("keep it up, you are awesome")  # output -> Weiter so, du bist großartig
or even directly from terminal:
$ deep-translator --source "en" --target "de" --text "hello world"

or shorter

$ dt -tg de -txt "hello world"In this section, demos on how to use all different integrated translators in this tool are provided.
Note
You can always pass the languages by the name or by abbreviation.
Example: If you want to use english as a source or target language, you can pass english or en as an argument
Note
For all translators that require an ApiKey, you can either specify it as an argument to the translator class or you can export it as an environment variable, this way you won't have to provide it to the class.
Example: export OPENAI_API_KEY="your_key"
from deep_translator import (GoogleTranslator,
                             ChatGptTranslator,
                             MicrosoftTranslator,
                             PonsTranslator,
                             LingueeTranslator,
                             MyMemoryTranslator,
                             YandexTranslator,
                             PapagoTranslator,
                             DeeplTranslator,
                             QcriTranslator,
                             single_detection,
batch_detection)Note
You can check the supported languages of each translator by calling the get_supported_languages function.
# default return type is a list
langs_list = GoogleTranslator().get_supported_languages()  # output: [arabic, french, english etc...]

# alternatively, you can the dictionary containing languages mapped to their abbreviation
langs_dict = GoogleTranslator().get_supported_languages(as_dict=True) # output: {arabic: ar, french: fr, english:en etc...}Note
You can also detect language automatically. Notice that this package is free and my goal is to keep it free. Therefore, you will need to get your own api_key if you want to use the language detection function. I figured out you can get one for free here: https://detectlanguage.com/documentation
- Single Text Detection
lang = single_detection('bonjour la vie', api_key='your_api_key')
print(lang) # output: fr- Batch Detection
lang = batch_detection(['bonjour la vie', 'hello world'], api_key='your_api_key')
print(lang) # output: [fr, en]text = 'happy coding'- You can use automatic language detection to detect the source language:
translated = GoogleTranslator(source='auto', target='de').translate(text=text)- You can pass languages by name or by abbreviation:
translated = GoogleTranslator(source='auto', target='german').translate(text=text)

# Alternatively, you can pass languages by their abbreviation:
translated = GoogleTranslator(source='en', target='de').translate(text=text)- You can also reuse the Translator class and change/update its properties.
(Notice that this is important for performance too, since instantiating new objects is expensive)
# let's say first you need to translate from auto to german
my_translator = GoogleTranslator(source='auto', target='german')
result = my_translator.translate(text=text)
print(f"Translation using source = {my_translator.source} and target = {my_translator.target} -> {result}")

# let's say later you want to reuse the class but your target is french now
# This is the best practice and how you should use deep-translator.
# Please don't over-instantiate translator objects without a good reason, otherwise you will run into performance issues
my_translator.target = 'fr'  # this will override the target 'german' passed previously
result = my_translator.translate(text=text)
print(f"Translation using source = {my_translator.source} and target = {my_translator.target} -> {result}")

# you can also update the source language as well
my_translator.source = 'en'  # this will override the source 'auto' passed previously
result = my_translator.translate(text=text)
print(f"Translation using source = {my_translator.source} and target = {my_translator.target} -> {result}")- Translate batch of texts
texts = ["hallo welt", "guten morgen"]

# the translate_sentences function is deprecated, use the translate_batch function instead
translated = GoogleTranslator('de', 'en').translate_batch(texts)- Translate text from txt/docx/pdf:
path = "your_file.txt"

translated = GoogleTranslator(source='auto', target='german').translate_file(path)Note
As in google translate, you can use the automatic language detection with mymemory by using "auto" as an argument for the source language. However, this feature in the mymemory translator is not so powerful as in google translate.
- Simple translation
text = 'Keep it up. You are awesome'

translated = MyMemoryTranslator(source='auto', target='french').translate(text)- Translate batch of texts
texts = ["hallo welt", "guten morgen"]

# the translate_sentences function is deprecated, use the translate_batch function instead
translated = MyMemoryTranslator('de', 'en').translate_batch(texts)- Translate text from txt/docx/pdf:
path = "your_file.txt"

translated = MyMemoryTranslator(source='en', target='fr').translate_file(path)Note
In order to use the DeeplTranslator translator, you need to generate an api key. Deepl offers a Pro and a free API. deep-translator supports both Pro and free APIs. Just check the examples below. Visit https://www.deepl.com/en/docs-api/ for more information on how to generate your Deepl api key
- Simple translation
text = 'Keep it up. You are awesome'

translated = DeeplTranslator(api_key="your_api_key", source="en", target="en", use_free_api=True).translate(text)
Note
deep-translator uses free deepl api by default. If you have the pro version then simply set the use_free_api to false.
- Translate batch of texts
texts = ["hallo welt", "guten morgen"]

# the translate_sentences function is deprecated, use the translate_batch function instead
translated = DeeplTranslator("your_api_key").translate_batch(texts)Note
In order to use the QcriTranslator translator, you need to generate a free api key. Visit https://mt.qcri.org/api/ for more information
- Check languages
# as a property
print("language pairs: ", QcriTranslator("your_api_key").languages)- Check domains
# as a property
print("domains: ", QcriTranslator("your_api_key").domains)- Text translation
text = 'Education is great'

translated = QcriTranslator("your_api_key").translate(source='en', target='ar', domain="news", text=text)
# output -> التعليم هو عظيم

# see docs for batch translation and more.word = 'good'- Simple Translation
translated_word = LingueeTranslator(source='english', target='french').translate(word)- Return all synonyms or words that match
# set the argument return_all to True if you want to get all synonyms of the word to translate
translated_word = LingueeTranslator(source='english', target='french').translate(word, return_all=True)- Translate a batch of words
translated_words = LingueeTranslator(source='english', target='french').translate_words(["good", "awesome"])Note
You can pass the languages by the name or by abbreviation just like previous examples using GoogleTranslate
word = 'awesome'- Simple Translation
translated_word = PonsTranslator(source='english', target='french').translate(word)

# pass language by their abbreviation
translated_word = PonsTranslator(source='en', target='fr').translate(word)- Return all synonyms or words that match
# set the argument return_all to True if you want to get all synonyms of the word to translate
translated_word = PonsTranslator(source='english', target='french').translate(word, return_all=True)- Translate a batch of words
translated_words = PonsTranslator(source='english', target='french').translate_words(["good", "awesome"])Note
You need to require a private api key if you want to use the yandex translator. Visit the official website for more information about how to get one
- Language detection
lang = YandexTranslator('your_api_key').detect('Hallo, Welt')
print(f"language detected: {lang}") # output -> language detected: 'de'- Text translation
# with auto detection | meaning provide only the target language and let yandex detect the source
translated = YandexTranslator('your_api_key').translate(source="auto", target="en", text='Hallo, Welt')
print(f"translated text: {translated}")  # output -> translated text: Hello world

# provide source and target language explicitly
translated = YandexTranslator('your_api_key').translate(source="de", target="en", text='Hallo, Welt')
print(f"translated text: {translated}") # output -> translated text: Hello world- File translation
translated = YandexTranslator('your_api_key').translate_file(source="auto", target="en", path="path_to_your_file")- Batch translation
translated = YandexTranslator('your_api_key').translate_batch(source="auto", target="de", batch=["hello world", "happy coding"])Note
You need to require an api key if you want to use the microsoft translator. Visit the official website for more information about how to get one. Microsoft offers a free tier 0 subscription (2 million characters per month).
Required and optional attributes
There are two required attributes, namely "api_key" (string) and "target" (string or list). Attribute "source" is optional. Also, Microsoft API accepts a number of other optional attributes, you can find them here: https://docs.microsoft.com/azure/cognitive-services/translator/reference/v3-0-translate You can simply add them after the required attributes, see the example.
text = 'happy coding'
translated = MicrosoftTranslator(api_key='some-key', target='de').translate(text=text)
translated_two_targets = MicrosoftTranslator(api_key='some-key', target=['de', 'ru']).translate(text=text)
translated_with_optional_attr = MicrosoftTranslator(api_key='some-key', target='de', textType='html']).translate(text=text)- You can pass languages by name or by abbreviation:
translated = MicrosoftTranslator(api_key='some-key', target='german').translate(text=text)

# Alternatively, you can pass languages by their abbreviation:
translated = MicrosoftTranslator(api_key='some-key', target='de').translate(text=text)- Translate batch of texts
texts = ["hallo welt", "guten morgen"]
translated = MicrosoftTranslator(api_key='some-key', target='english').translate_batch(texts)- Translate from a file:
translated = MicrosoftTranslator(api_key='some-key', target='german').translate_file('path/to/file')Note
You need to install the openai support extra. pip install deep-translator[ai]
Note
You need to require an api key if you want to use the ChatGpt translator. If you have an openai account, you can create an api key (https://platform.openai.com/account/api-keys).
Required and optional attributes
There are two required attributes, namely "api_key" (string) and "target" (string or list). Attribute "source" is optional.
You can provide your api key as an argument or you can export it as an env var e.g. export OPENAI_API_KEY="your_key"
text = 'happy coding'
translated = ChatGptTranslator(api_key='your_key', target='german').translate(text=text)- Translate batch of texts
texts = ["hallo welt", "guten morgen"]
translated = ChatGptTranslator(api_key='some-key', target='english').translate_batch(texts)- Translate from a file:
translated = ChatGptTranslator(api_key='some-key', target='german').translate_file('path/to/file')Note
You need to require a client id and client secret key if you want to use the papago translator. Visit the official website for more information about how to get one.
text = 'happy coding'
translated = PapagoTranslator(client_id='your_client_id', secret_key='your_secret_key', source='en', target='ko').translate(text=text) # output: 행복한 부호화Note
Libre translate has multiple mirrors which can be used for the API endpoint. Some require an API key to be used. By default the base url is set to libretranslate.de . This can be set using the "base_url" input parameter.
text = 'laufen'
translated = LibreTranslator(source='auto', target='en', base_url = 'https://libretranslate.com/', api_key = 'your_api_key').translate(text=text) # output: run- You can pass languages by name or by abbreviation:
translated = LibreTranslator(source='german', target='english').translate(text=text)

# Alternatively, you can pass languages by their abbreviation:
translated = LibreTranslator(source='de', target='en').translate(text=text)- Translate batch of texts
texts = ["hallo welt", "guten morgen"]
translated = LibreTranslator(source='auto', target='en').translate_batch(texts)- Translate from a file:
translated = LibreTranslator(source='auto', target='en').translate_file('path/to/file')Note
In order to use the TencentTranslator translator, you need to generate a secret_id and a secret_key. deep-translator supports both Pro and free APIs. Just check the examples below. Visit https://cloud.tencent.com/document/api/551/15619 for more information on how to generate your Tencent secret_id and secret_key.
- Simple translation
text = 'Hello world'
translated = TencentTranslator(secret_id="your-secret_id", secret_key="your-secret_key" source="en", target="zh").translate(text)- Translate batch of texts
texts = ["Hello world", "How are you?"]
translated = TencentTranslator(secret_id="your-secret_id", secret_key="your-secret_key" source="en", target="zh").translate_batch(texts)- Translate from a file:
translated = TencentTranslator(secret_id="your-secret_id", secret_key="your-secret_key" source="en", target="zh").translate_file('path/to/file')Note
In order to use the BaiduTranslator translator, you need to generate a secret_id and a secret_key. deep-translator supports both Pro and free APIs. Just check the examples below. Visit http://api.fanyi.baidu.com/product/113 for more information on how to generate your Baidu appid and appkey.
- Simple translation
text = 'Hello world'
translated = BaiduTranslator(appid="your-appid", appkey="your-appkey" source="en", target="zh").translate(text)- Translate batch of texts
texts = ["Hello world", "How are you?"]
translated = BaiduTranslator(appid="your-appid", appkey="your-appkey" source="en", target="zh").translate_batch(texts)- Translate from a file:
translated = BaiduTranslator(appid="your-appid", appkey="your-appkey" source="en", target="zh").translate_file('path/to/file')Note
In order to use the BaiduTranslator translator, you need to generate a secret_id and a secret_key. deep-translator supports both Pro and free APIs. Just check the examples below. Visit http://api.fanyi.baidu.com/product/113 for more information on how to generate your Baidu appid and appkey.
- Simple translation
text = 'Hello world'
translated = BaiduTranslator(appid="your-appid", appkey="your-appkey" source="en", target="zh").translate(text)- Translate batch of texts
texts = ["Hello world", "How are you?"]
translated = BaiduTranslator(appid="your-appid", appkey="your-appkey" source="en", target="zh").translate_batch(texts)- Translate from a file:
translated = BaiduTranslator(appid="your-appid", appkey="your-appkey" source="en", target="zh").translate_file('path/to/file')deep-translator provides out of the box usage of proxies. Just define your proxies config as a dictionary and pass it to the corresponding translator. Below is an example using the GoogleTranslator, but this feature can be used with all supported translators.
from deep_translator import GoogleTranslator

# define your proxy configs:
proxies_example = {
    "https": "your https proxy",  # example: 34.195.196.27:8080
    "http": "your http proxy if available"
}
translated = GoogleTranslator(source='auto', target='de', proxies=proxies_example).translate("this package is awesome")Deep-translator (version >= 1.9.4) supports not only text file translation, but docx and PDF files too. However, you need to install deep-translator using the specific extras.
For docx translation:
pip install deep-translator[docx]For PDF translation:
pip install deep-translator[pdf]- Translate text from txt/docx/pdf:
Here is sample code for translating text directly from files
path = "example/test.pdf"

translated = GoogleTranslator(source='auto', target='german').translate_file(path)Deep-translator supports a series of command line arguments for quick and simple access to the translators directly in your console.
Note
The program accepts deep-translator or dt as a command, feel free to substitute whichever you prefer.
For a list of available translators:
$ deep-translator listTo translate a string or line of text:
$ deep_translator google --source "english" --target "german" --text "happy coding"Alternate short option names, along with using language abbreviations:
$ deep_translator google -src "en" -tgt "de" -txt "happy coding"Finally, to retrieve a list of available languages for a given translator:
$ deep-translator languages googleDevelopers can install the development version of deep-translator and execute unit tests to verify functionality. For more information on doing this, see the contribution guidelines
Check this article on medium to know why you should use the deep-translator package and how to translate text using python. https://medium.com/@nidhalbacc/how-to-translate-text-with-python-9d203139dcf5
If you are facing any problems, please feel free to open an issue. Additionally, you can make contact with the author for further information/questions.
Do you like deep-translator? You can always help the development of this project by:
- Following on github and/or twitter
- Promote the project (ex: by giving it a star on github)
- Watch the github repo for new releases
- Tweet about the package
- Help others with issues on github
- Create issues and pull requests
- Sponsor the project
Take a look in the examples folder for more :) Contributions are always welcome. Read the Contribution guidelines Here
Many thanks to @KirillSklyarenko for his work on integrating the microsoft translator
MIT license
Copyright (c) 2020-present, Nidhal Baccouri
deep-translator offers an api server for easy integration with other applications. Non python applications can communicate with the api directly and leverage the features of deep-translator
Access the api here: https://deep-translator-api.azurewebsites.net/docs
You can download and try the app on play store https://play.google.com/store/apps/details?id=org.translator.translator&hl=en_US&gl=US
After developing the deep-translator, I realized how cool this would be if I can use it as an app on my mobile phone. Sure, there is google translate, pons and linguee apps etc.. but isn't it cooler to make an app where all these translators are integrated?
Long story short, I started working on the app. I decided to use the kivy framework since I wanted to code in python and to develop a cross platform app. I open sourced the Translator++ app on my github too. Feel free to take a look at the code or make a pull request ;)
Note
The Translator++ app is based on the deep-translator package. I just built the app to prove the capabilities of the deep-translator package ;)
I published the first release on google play store on 02-08-2020
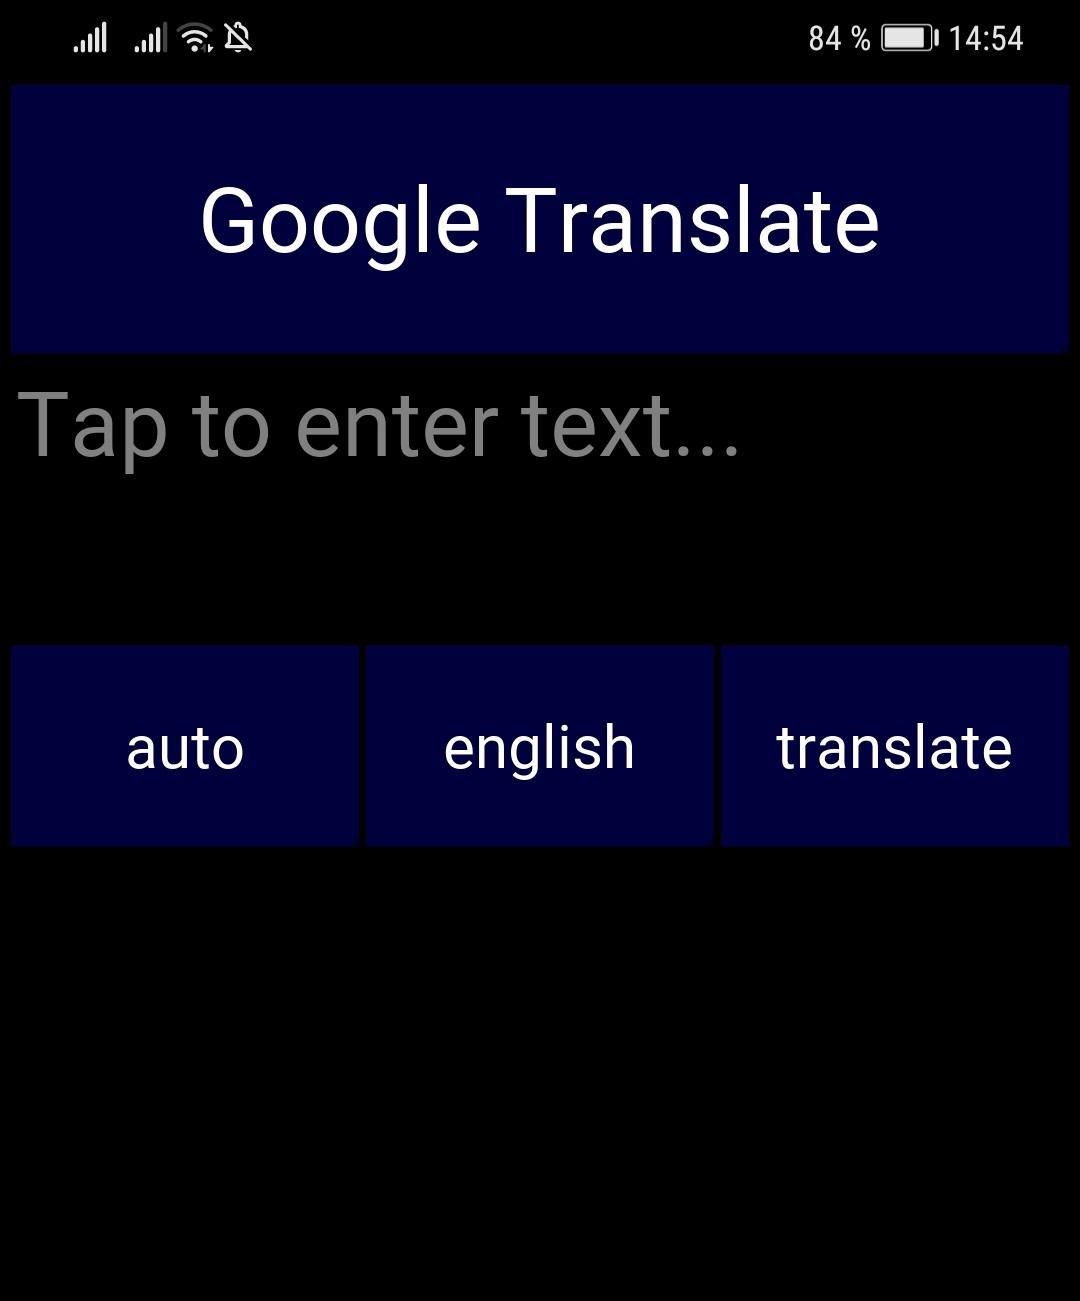
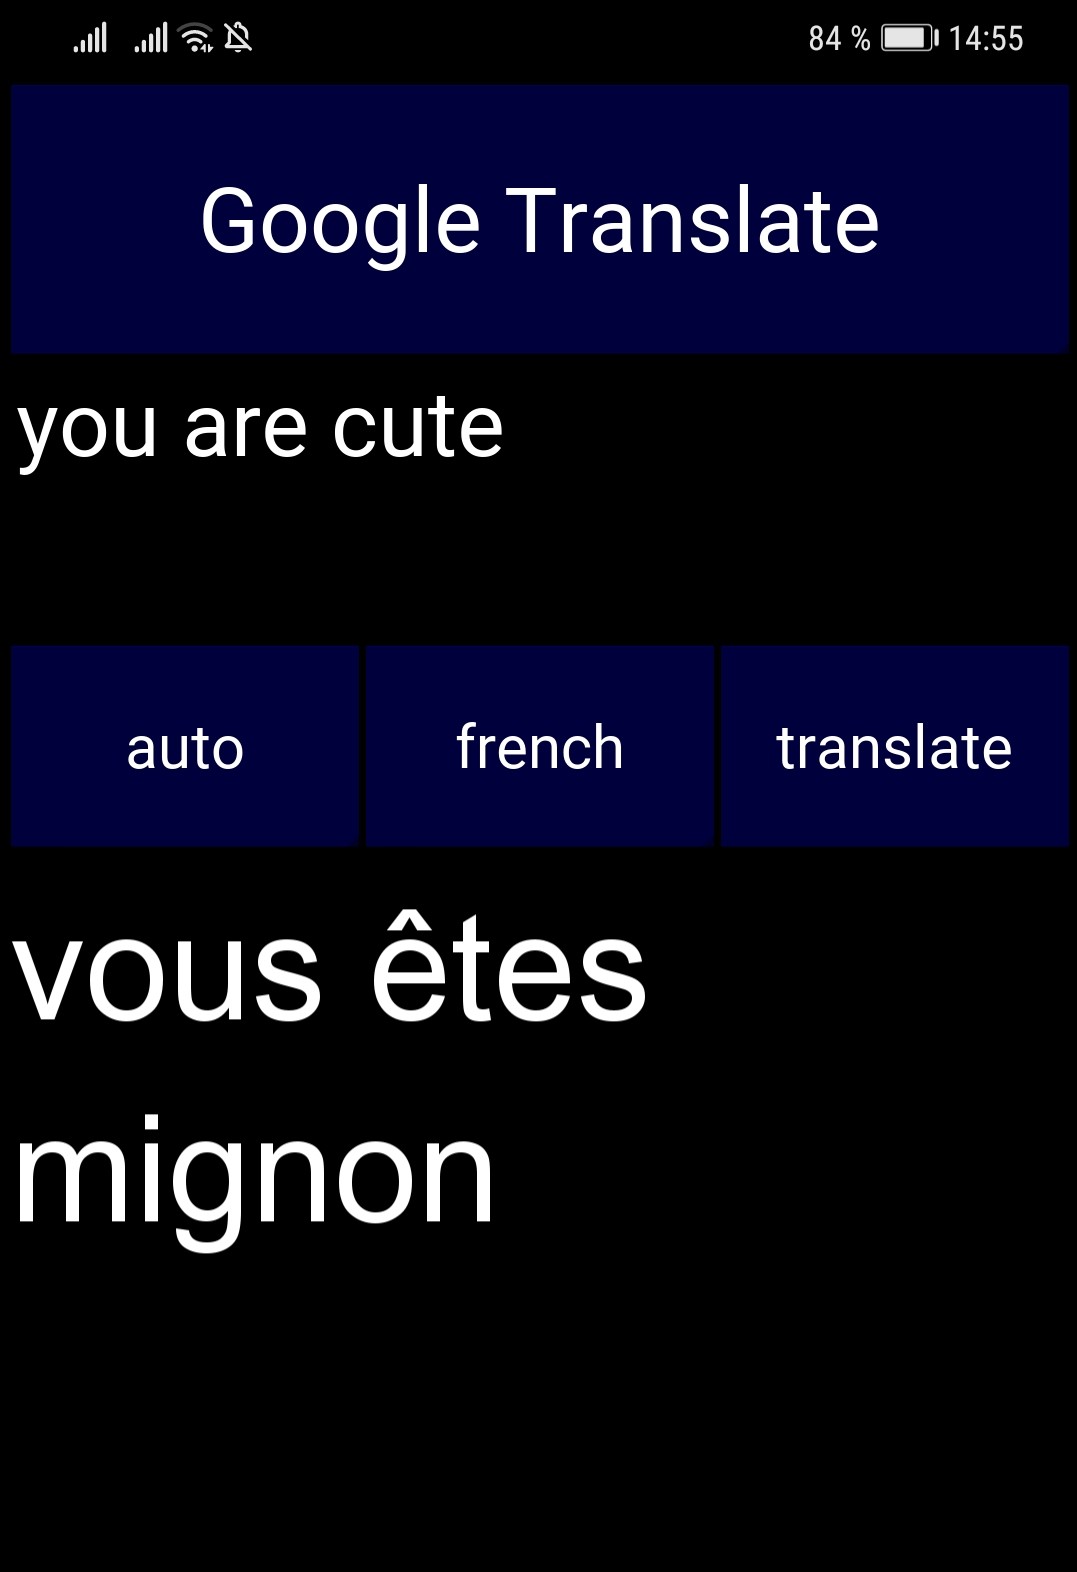
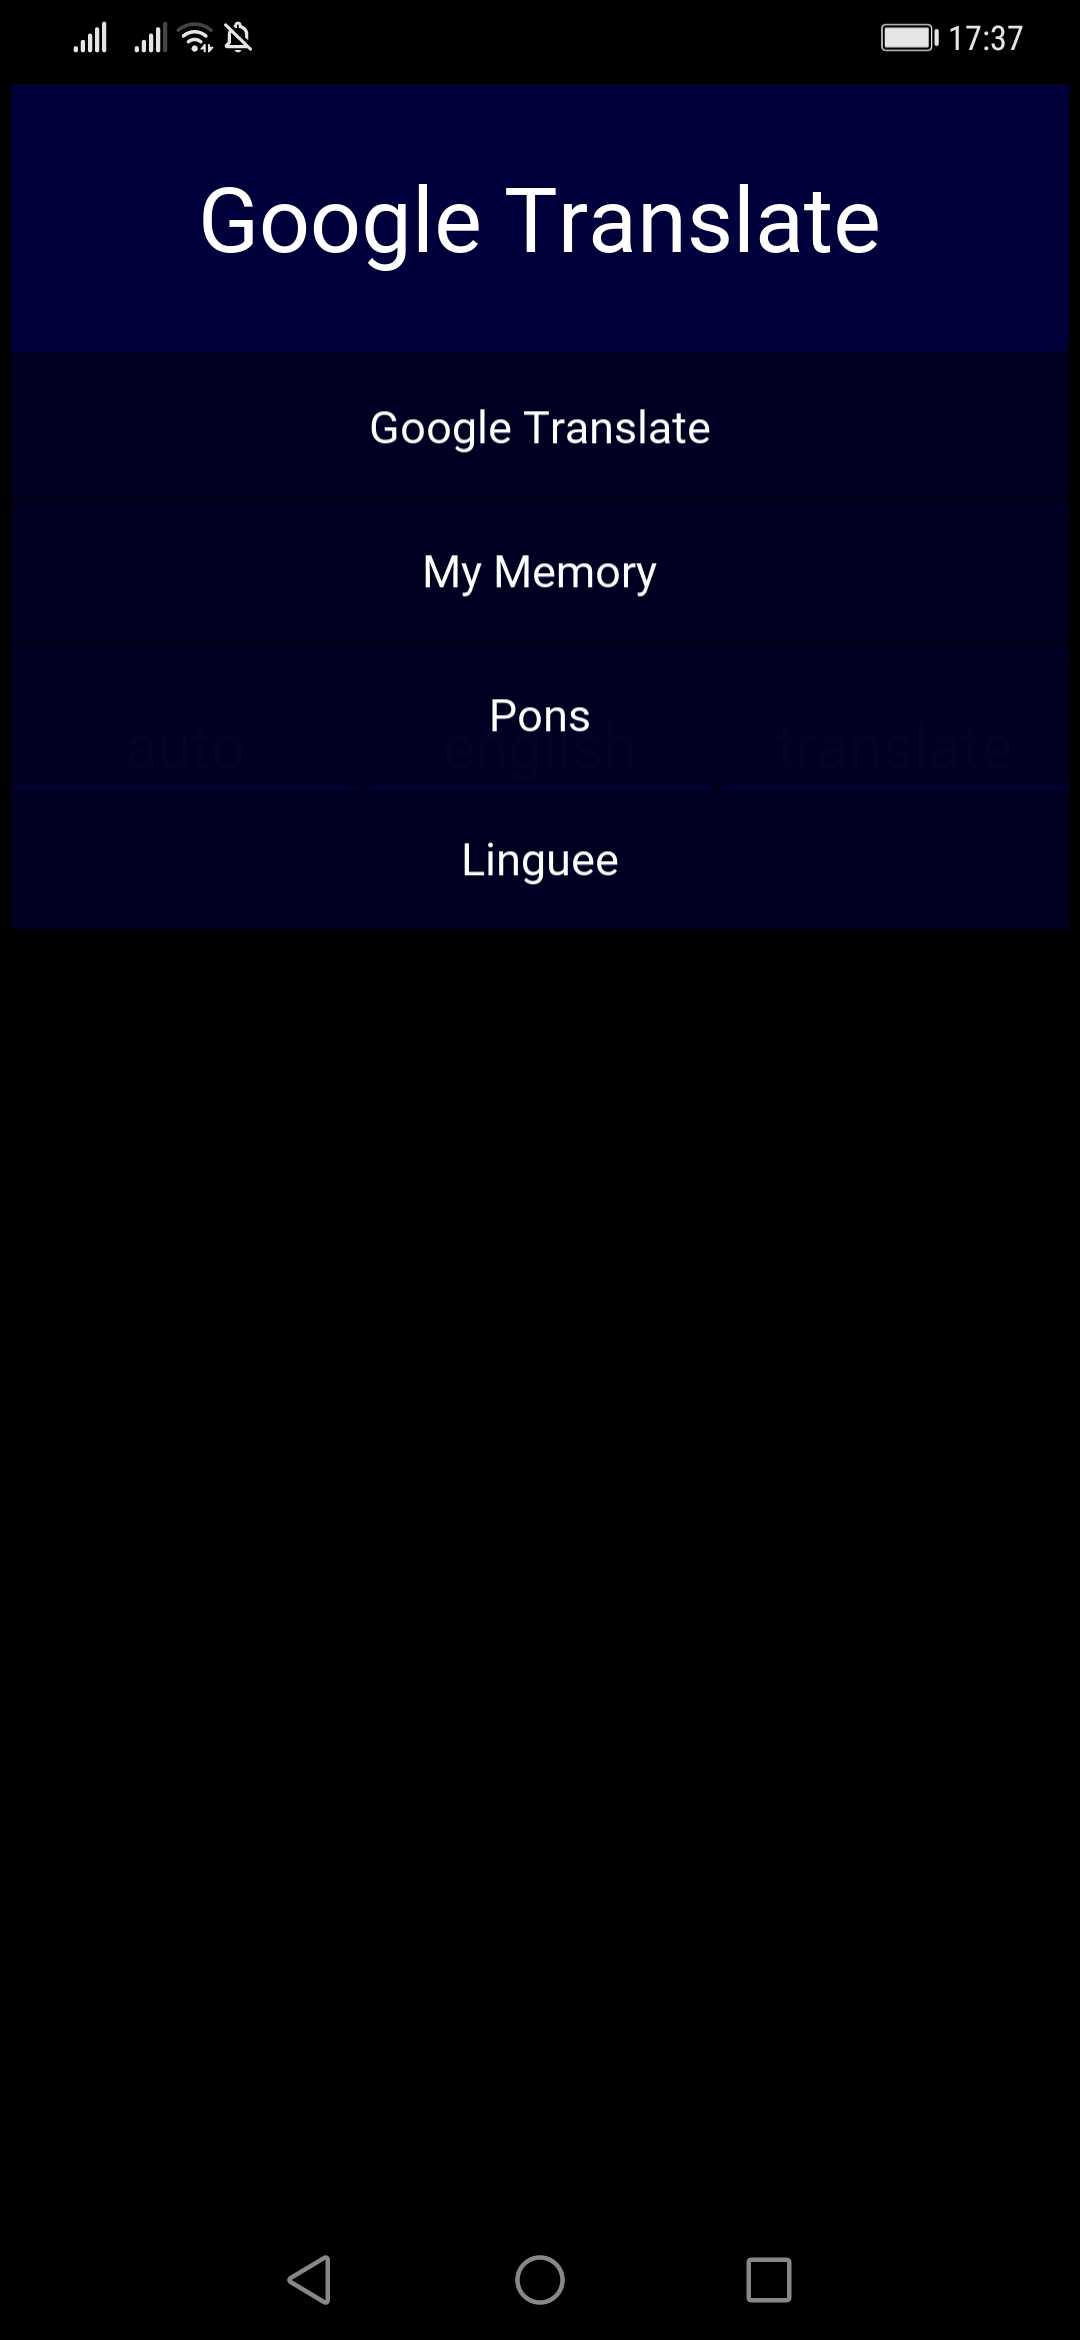
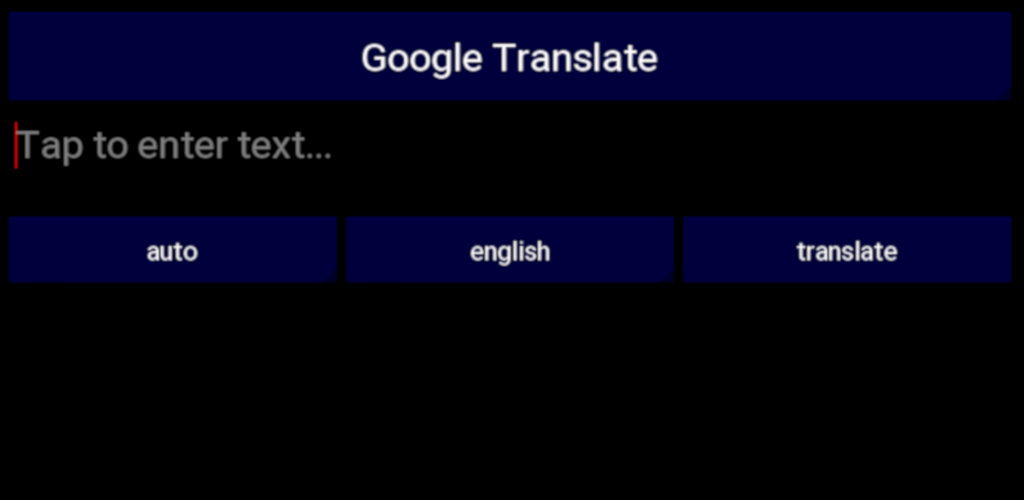
Here are some screenshots:
- Phone
- Tablet:
Currently, there are propositions for a website and/or desktop app based on deep-translator. You can follow the issue here: nidhaloff#144


