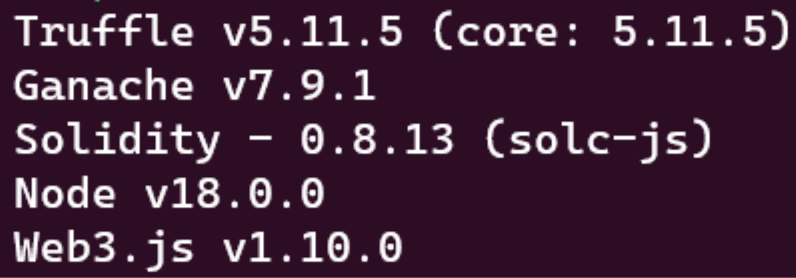
Go version: ≤ @1.18.
https://go.dev/dl
https://dev.to/deadwin19/how-to-install-golang-on-wslwsl2-2880
Nodejs version: @16.0.0 - @18.0.0.
https://nodejs.org/en/download/
Git(Optional).
Solidity: 0.8.13
npm install -g [email protected]
Truffle:
https://trufflesuite.com/truffle/
Polygon-edge:
https://github.com/0xPolygon/polygon-edge/tree/v0.6.1
$ git clone https://github.com/0xPolygon/polygon-edge/tree/v0.6.1
$ cd polygon-edge-v0.6.1/
$ go build -o polygon-edge main.go
$ sudo mv polygon-edge /usr/local/bin
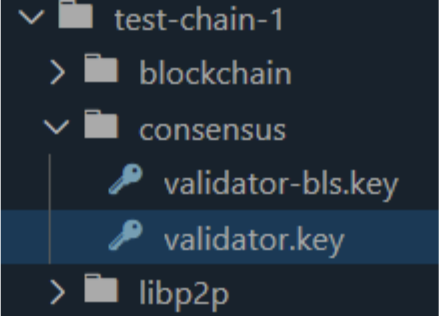
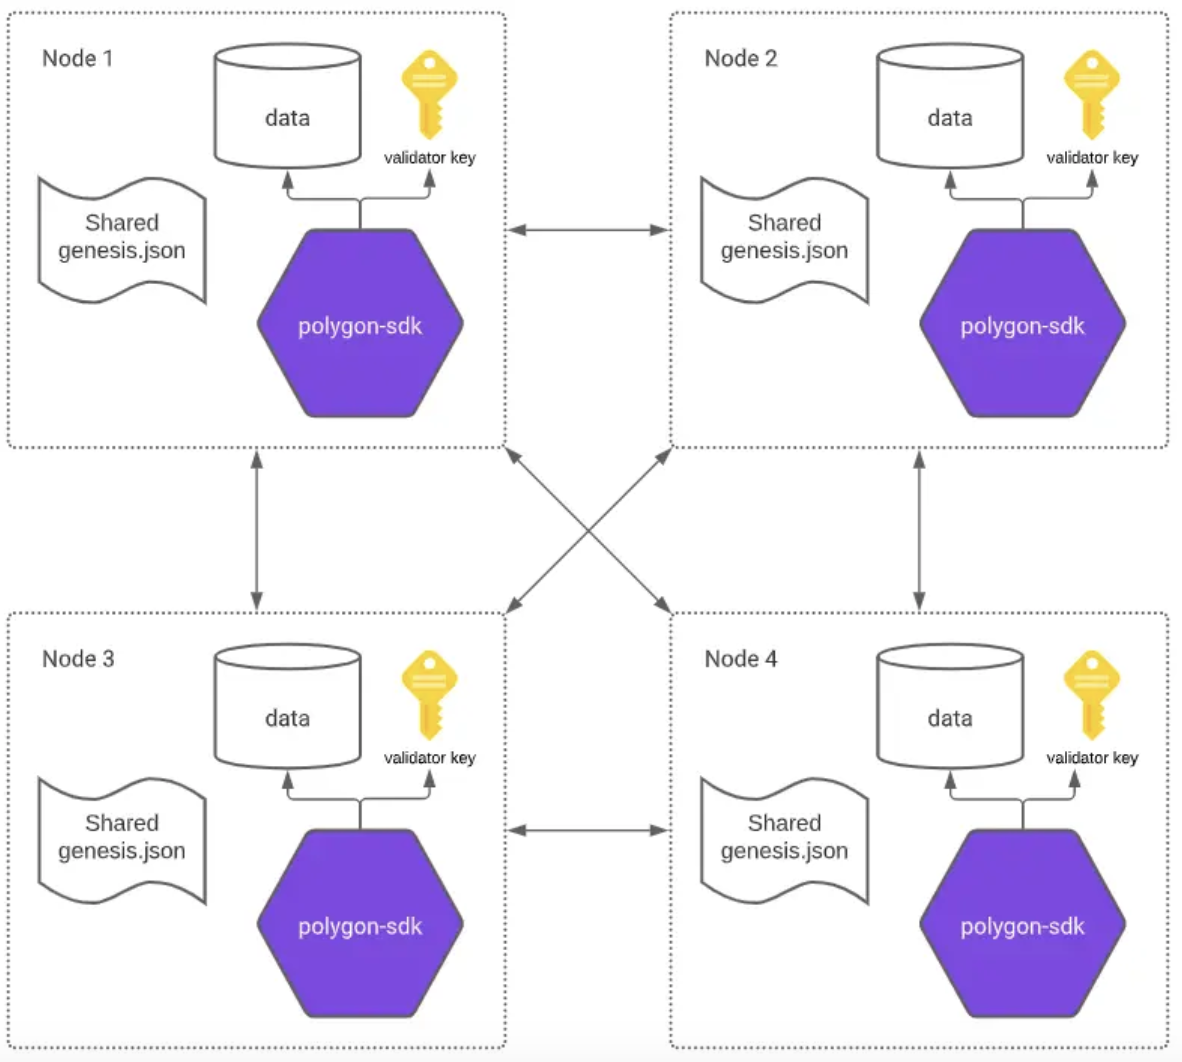
$ polygon-edge secrets init –data-dir test-chain-1
$ polygon-edge secrets init –data-dir test-chain-2
$ polygon-edge secrets init –data-dir test-chain-3
$ polygon-edge secrets init –data-dir test-chain-4
- This will create a data directory for node one named “test-chain-1”.
- Create parameters: • Validator key • BLS public key • Node ID
- Same for test-chain 2,3,4.
- Flag explanation: “–data-dir”: sets the name of the folder for node n.
multiaddr: It is a convention for encoding multiple layers of addressing information into a single path structure.
Multiaddr format is as follows:
"/ip4/<ip_address>/tcp/<port>/p2p/<node_id>"
Here ip address is 127.0.0.1, and the port will be 10001 in the case of node 1. The node id is obtained while initializing the data directories.
So the complete multiaddr string for node 1 will look like:
"/ip4/127.0.0.1/tcp/10001/p2p/16Uiu2HAmGC5ywMrStiGSDqgWSg84Dn6Zfvy4HW
4ReR8ZXjSJ4KqJ"
For node 2:
"/ip4/127.0.0.1/tcp/20001/p2p/16Uiu2HAmRzqp8TboUdDyp3xTJjKU2GHg1yz8iR
ujWvRzxY89qBq8"
The basic command to generate the genesis file:
$ polygon-edge genesis
  -consensus ibft
  -ibft-validators-prefix-path test-chain-
  -bootnode <01_multiaddr>
  -bootnode <02_multiaddr>
  -premine<public_key_address>:1000000000000000000000
Flag explanation:
- “–consensus ibft”: an Istanbul Byzantine Fault Tolerance (IBFT) consensus proto- col.
- “–ibft-validators-prefix-path test-chain-”: Set the prefix folder path to the one spec- ified, which ibft polygon can use this directory is used to find the consensus folder where the validator’s private key is kept.
- “–bootnode”: multiAddr URL for p2p discovery bootstrap. This flag can be used multiple times
- “–premine”: The premined accounts and balances (format: <address>:<balance>) Default premined balance: 0xD3C21BCECCEDA1000000
The complete command will look like:

For node 1:
$ polygon-edge server --data-dir ./test-chain-1 --chain genesis.json --grpc-address :10000 --libp2p :10001 --jsonrpc :10002 --seal
For node 2:
$ polygon-edge server --data-dir ./test-chain-2 --chain genesis.json --grpc-address :20000 --libp2p :20001 --jsonrpc :20002 --seal
For node 3:
$ polygon-edge server --data-dir ./test-chain-3 --chain genesis.json --grpc-address :30000 --libp2p :30001 --jsonrpc :30002 --seal
For node 4:
$ polygon-edge server --data-dir ./test-chain-4 --chain genesis.json --grpc-address :40000 --libp2p :40001 --jsonrpc :40002 --seal
Flag explanation:
- ”–-seal”: This means that the node being started will participate in the block ceiling.
- ”–-chain”: The chain flag specifies with Genesis file should be used for chain configuration.
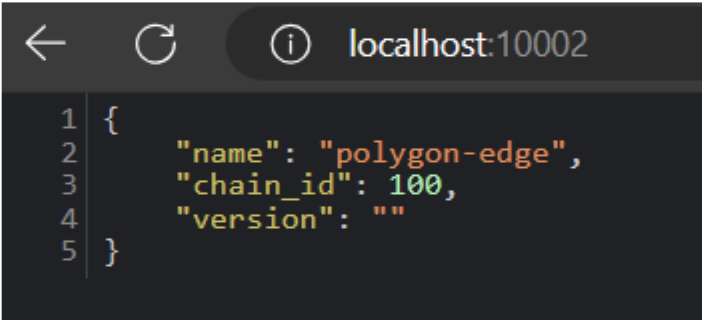
Check JSON-RPC
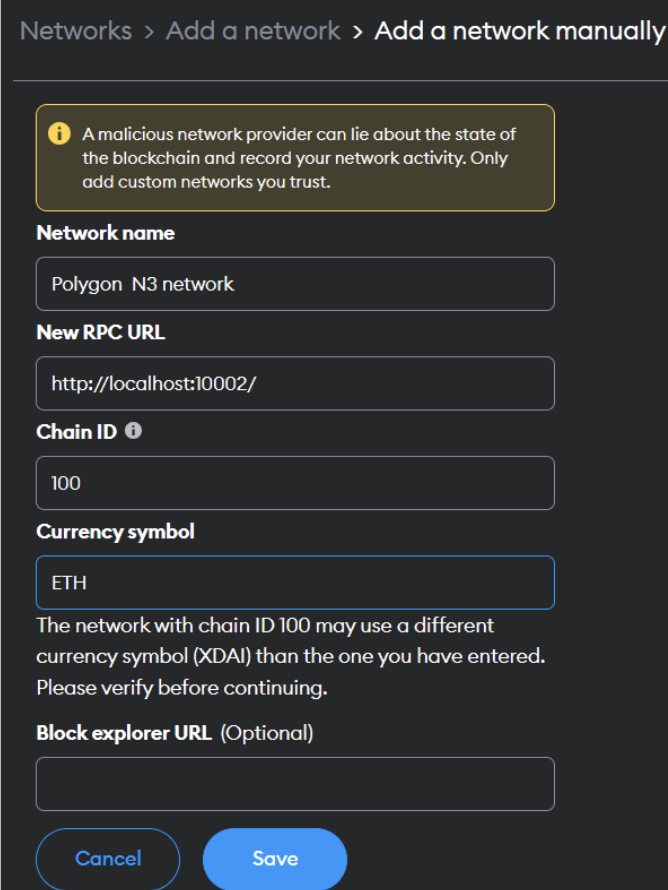
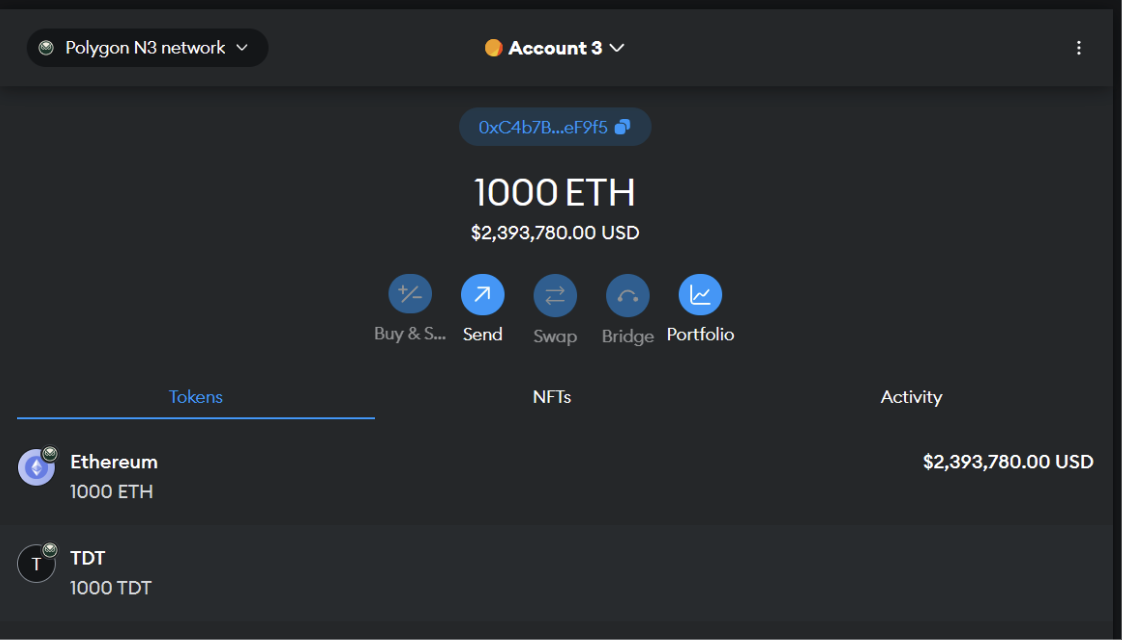
Add newwork in metamask
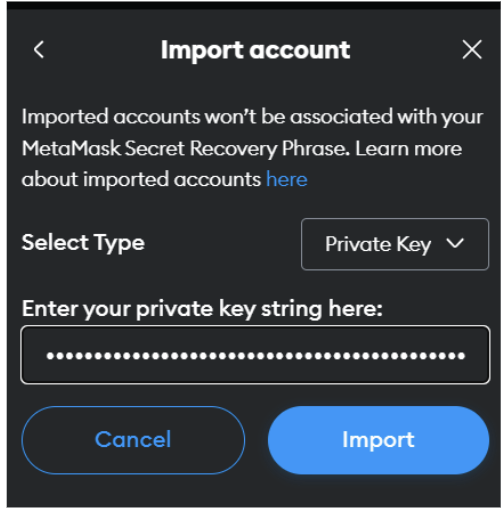
import account (Node 1)
-
Example config:
  const HDWalletProvider = require('@truffle/hdwallet-provider');
  const privateKey = "3543ebb704d4c2ddd4fae9663ecaea8213972758a01fecad9c217e335e4a0bc8";
  module.exports = {
  networks: {
          edgechain: {
          provider: () => new HDWalletProvider(privateKey, "http://localhost:10002/"),
          network_id: "*",
          chain_id: 100,
      }
  },
  mocha: {
      // timeout: 100000
  },
  // Configure your compilers
  compilers: {
      solc: {
          version: "0.8.13",      // Fetch exact version from solc-bin
      }
  }
  };
Note:
- Run “npm i @truffle/hdwallet-provider” to import library.
- privatekey is validator.key in Node1.
We will initialize the truffle project with this command:
truffle init
In the contracts folder we will create a smart contract
Run the command:
npm i @openzeppelin/contracts
File <yournameTokens>.sol:
// SPDX-License-Identifier: MIT
pragma solidity ^0.8.0;

import "@openzeppelin/contracts/token/ERC20/ERC20.sol";

contract TDTcoin is ERC20("TDTcoin", "TDT") {
    constructor (){
        _mint(msg.sender, 1000*10**18);
    }
}
In the migrations folder we will create a file 1_deploy_contracts.js as follows:
const ShipmentContract = artifacts.require('ShipmentContract');
module.exports = function (deployer){
    deployer.deploy(ShipmentContract)
}
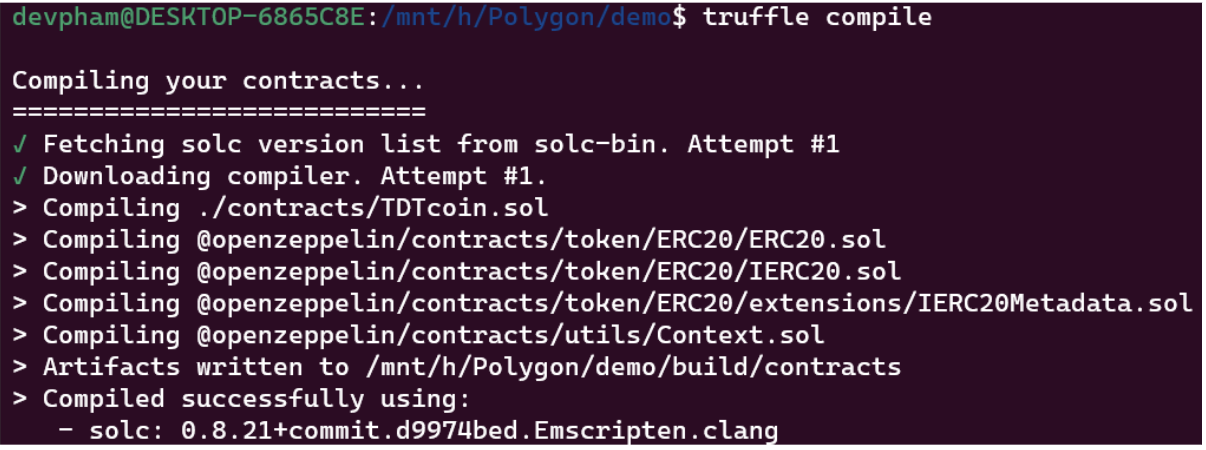
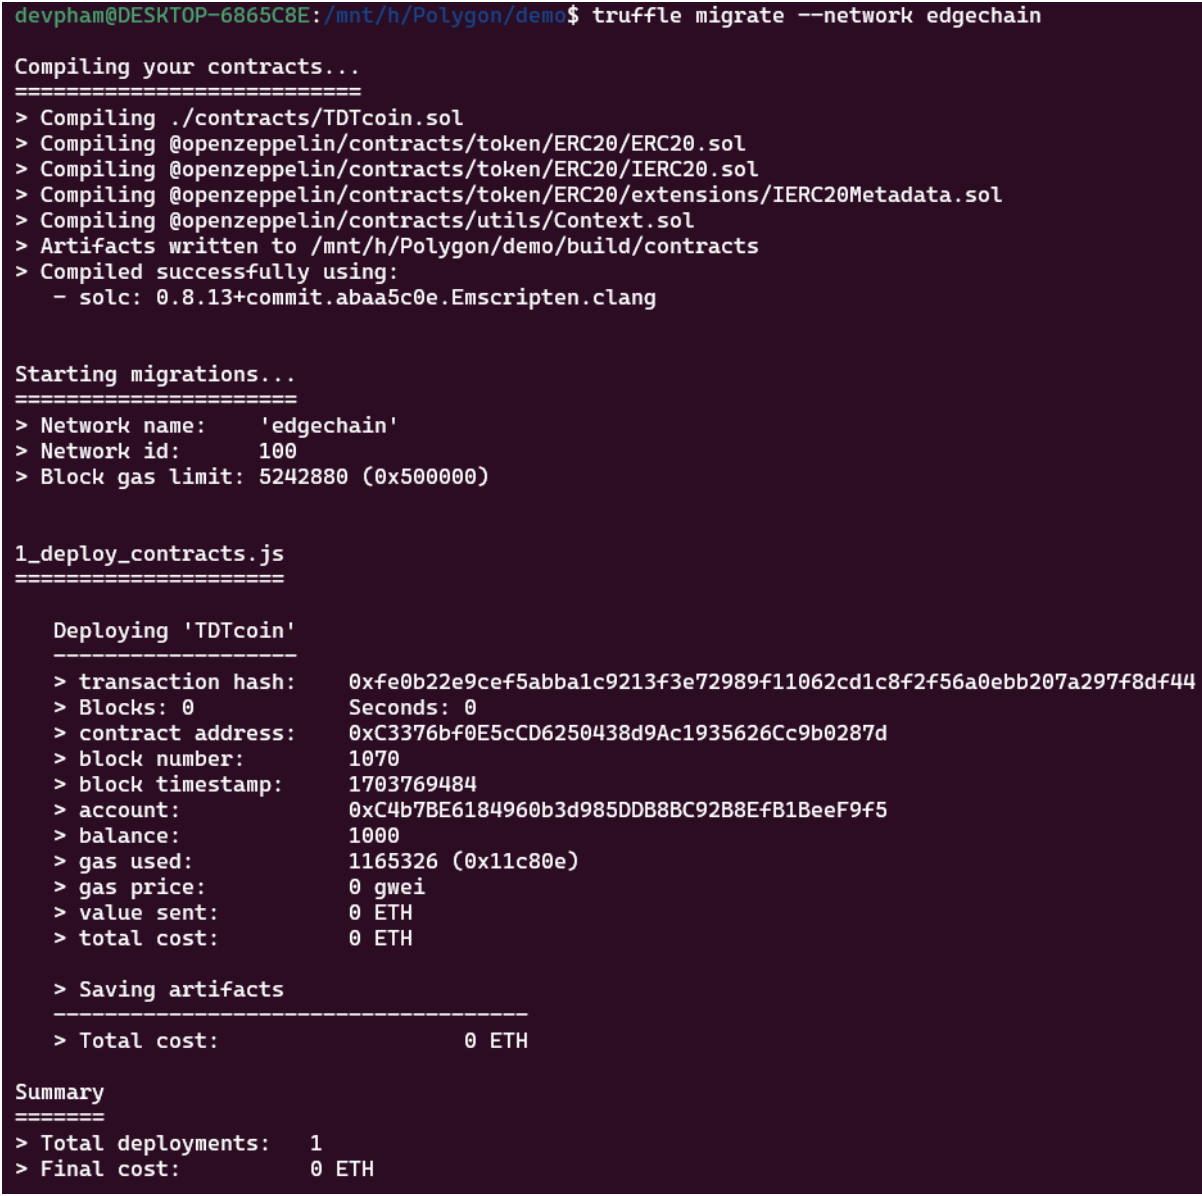
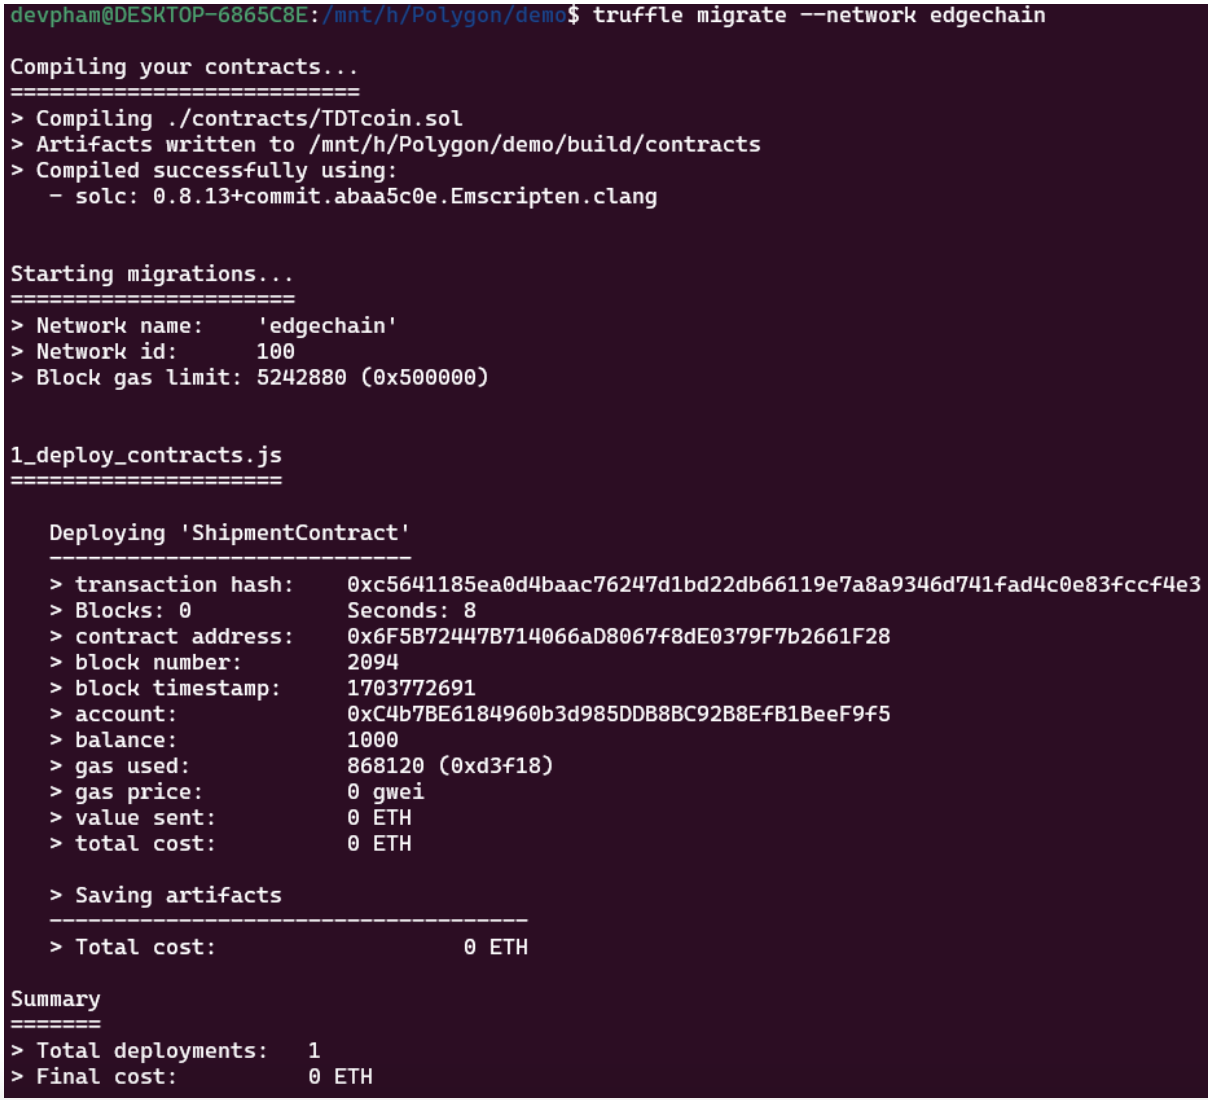
Next, we will run the compile and migrate commands to deploy the above smart contract:
Compile contract
Deploy contract
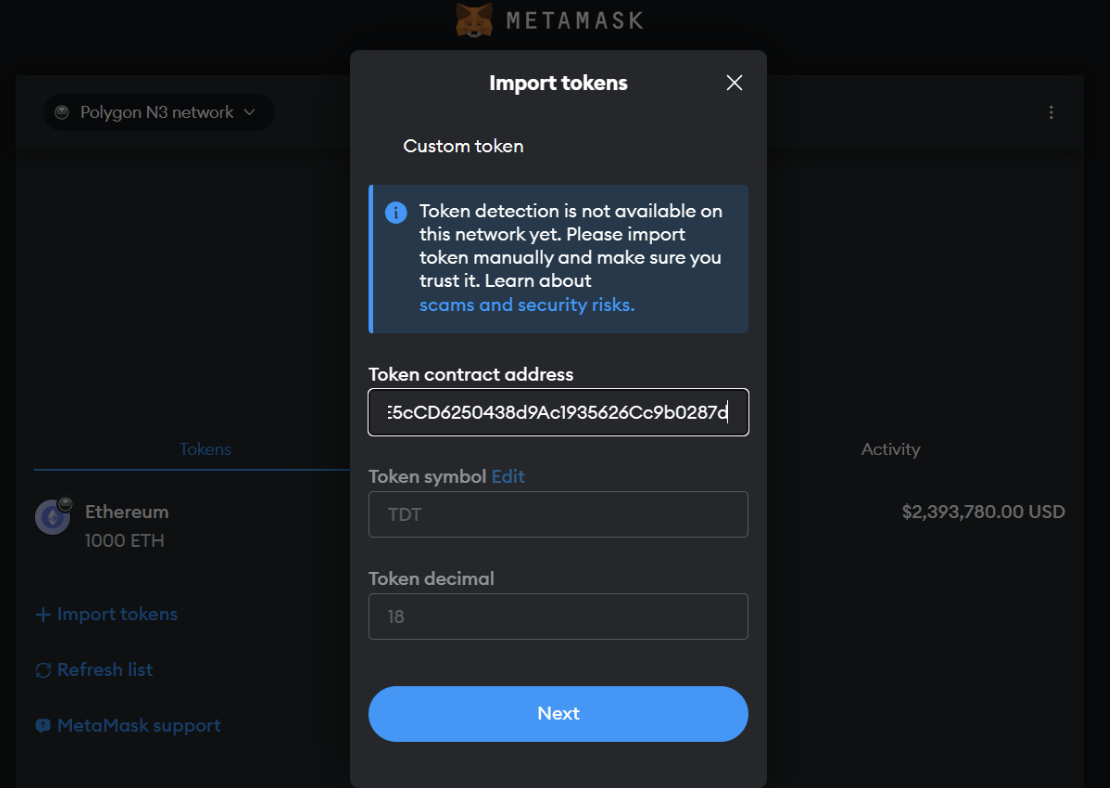
As we have seen, when deploying, there will be a contract address. We will take that address and import the contract into the metamask:
Import token
Result
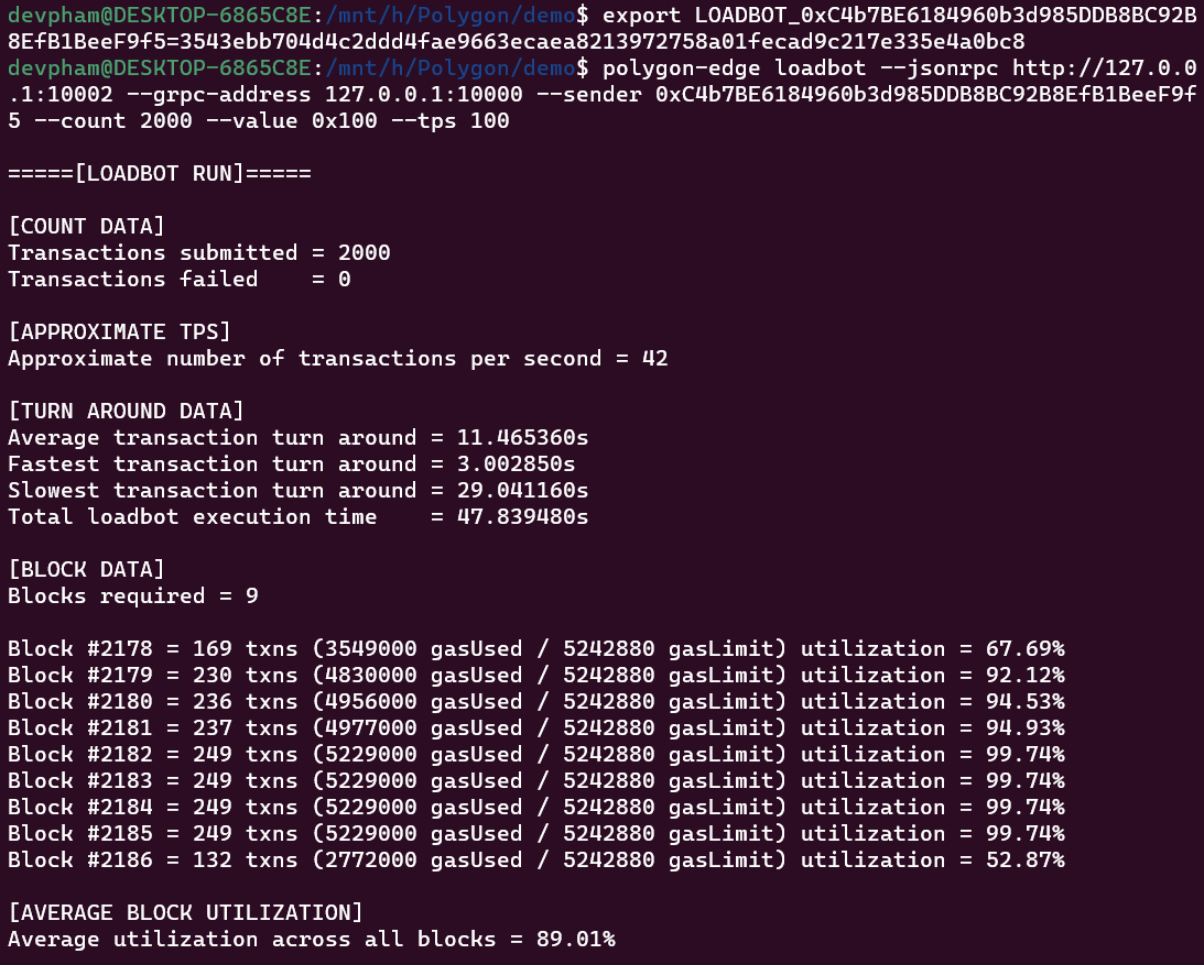
Load board:
- Transactions: which sends a specific amount of fund transactions.
- Deploy: which deploys the smart contract with each transaction, the first method that is sending fund transfer transactions is the default method.
- We need have the public and private key of the account in which we have premined the balance while creating the Genesis block.
When we set environment variables and run loadbot, the result here:
Test network
First , create file ShipmentContract.sol in folder contracts:
// SPDX-License-Identifier: MIT
pragma solidity ^0.8.0;

// Khai báo contract
contract ShipmentContract {
    // Struct để lưu trữ thông tin của một lô hàng
    struct Shipment {
        uint256 trackingNumber;
        address sender;
        address receiver;
        string status;
        string location;
    }

    // Mapping để ánh xạ tracking number với thông tin của lô hàng
    mapping(uint256 => Shipment) public shipments;

    // Function để tạo một lô hàng mới
    function createShipment(uint256 _trackingNumber, address _receiver, string memory _status, string memory _location) public {
        // Kiểm tra xem lô hàng đã tồn tại chưa
        require(shipments[_trackingNumber].trackingNumber != _trackingNumber, "Shipment already exists");

        // Tạo một lô hàng mới với thông tin người gửi, người nhận, số theo dõi, trạng thái và vị trí
        shipments[_trackingNumber] = Shipment(_trackingNumber, msg.sender, _receiver, _status, _location);
    }

    // Function để cập nhật trạng thái và vị trí của lô hàng
    function updateShipment(uint256 _trackingNumber, string memory _status, string memory _location) public {
        // Kiểm tra xem lô hàng đã tồn tại chưa
        require(shipments[_trackingNumber].trackingNumber == _trackingNumber, "Shipment does not exist");

        // Kiểm tra xem người gọi function có quyền cập nhật không
        require(msg.sender == shipments[_trackingNumber].sender || msg.sender == shipments[_trackingNumber].receiver, "You are not authorized");

        // Cập nhật trạng thái và vị trí của lô hàng
        shipments[_trackingNumber].status = _status;
        shipments[_trackingNumber].location = _location;
    }

    // Function để lấy thông tin của một lô hàng dựa trên số theo dõi
    function getShipment(uint256 _trackingNumber) public view returns (uint256, address, address, string memory, string memory) {
        // Kiểm tra xem lô hàng đã tồn tại chưa
        require(shipments[_trackingNumber].trackingNumber == _trackingNumber, "Shipment does not exist");

        // Trả về thông tin của lô hàng
        return (
            shipments[_trackingNumber].trackingNumber,
            shipments[_trackingNumber].sender,
            shipments[_trackingNumber].receiver,
            shipments[_trackingNumber].status,
            shipments[_trackingNumber].location
        );
    }
}
Then, we run the command to deploy this contract:
Deploy Shipment Contract
Next, access truffle’s console to test the smart contract:
$ truffle console --network edgechain

let instance = await ShipmentContract.deployed()
await instance.createShipment(001,"0x26BFdAA8d340B879219727f036981FedaE947518","Dang gui","Sai Gon")
await instance.getShipment(001)
- Move to frontend folder and run localhost server.
Run Localhost
