live : https://quick-recognition.netlify.app/
An attendance management application with facial recognition.
Facial Analytics API: Face-API
- You will need a dependency managers such as npm, yarn, brew, etc.
- As for me, I am using npm.
- Download and install NodeJS if not exist: https://nodejs.org/en/download/
- Open CMD, type "node --version" to check NodeJS have been installed.
- Open CMD, type "npm --version" to check Node Package Manager (NPM) also have been installed.
- If you have "git" installed, open CMD and type "git clone https://github.com/KumaarBalbir/engage2022.git".
- Open project in Visual Studio Code or any IDE.
- Open CMD in VSCode, change directory to "client" folder and install the dependency [command: cd client && npm i]
- Open another terminal, change directory to "server" folder and install the dependency [command: cd server && npm i]
- note down the version of dependencies you have to install. You may face some kind of warning or error if version of dependencies doesn't comply with the used ones.
- use command : npm install --save @version --legacy-peer-deps , to install the required version of packages.
- Go to https://www.mongodb.com/try to register a free-tier account.
- Create a project named "Your_project" and create a cluster named "Your_cluster".
- Choose the nearest region, for me it was south mumbai.
- Go to the network access and click on Add IP addrss. Then click on "allow access from anywhere"
- Go to https://cloudinary.com/users/register/free to register a free-tier account.
- You will get an api key and app secret.
- In tab "Media Library", create folder named "quickRecognition".
- Inside folder "quickRecognition", create another two folders named "ProfilePicture" and "FaceGallery".
- Click Setting icon on top right.
- Under tab "Upload", scroll down until you see "Upload presets".
- Click "Add upload preset", set Upload preset name to "quickrecognition_facegallery" and folder set to "quickRecognition/FaceGallery".
- Leave the others as default and click "Save".
- Again, click "Add upload preset", set Upload preset name to "quickrecognition_profilepicture" and folder set to "quickRecognition/ProfilePicture".
- Leave the others as default and click "Save".
- Go to GCP console: https://console.cloud.google.com/apis.
- Create an OAuth credential for google login.
- Under tab "Credentials", click "Create Credential" and choose "OAuth client ID".
- Choose the application type "Web Application".
- Name the OAuth client name "Google Login".
- Add the javascript origin: http://localhost:3000, https://quick-recognition.netlify.app/ ..(mainly when you deploy your web app replace the last one link with your own deployed url).
- Add the redirect uri: https://developers.google.com/oauthplayground.
- Click "Save".
- Create an OAuth credential for email sending.
- Under tab "Credentials", click "Create Credential" and choose "OAuth client ID".
- Choose the application type "Web Application".
- Name the OAuth client name "Mail".
- Add the javascript origin: http://localhost:4000, https://quick-recognition.netlify.app/
- Add the redirect uri: https://developers.google.com/oauthplayground.
- Click "Save".
- Under tab "OAuth Consent Screen", enter the required info (app name, app logo, app uri, privacy policy, etc).
- Inside the "server" folder, create a file named ".env" used to save the credential data of database, API and so on.
- Inside ".env" file, create 10 variables named "MONGO_URI", "SECRET_KEY", "CLOUDINARY_NAME", "CLOUDINARY_API_KEY", "CLOUDINARY_API_SECRET", "GOOGLE_OAUTH_USERNAME", "GOOGLE_OAUTH_CLIENT_ID", "GOOGLE_OAUTH_CLIENT_SECRET", "GOOGLE_OAUTH_REFRESH_TOKEN" and "GOOGLE_OAUTH_REDIRECT_URI".
- Go to MongoDB Cloud, select "connect" and choose "Node.js" to get the connection string. Set the MONGO_URI respectively.
- Set your SECRET_KEY to any random string (e.g: uHRQzuVUcfwT9G21).
- Go to Cloudinary, copy the app name, id and secret, assigned to CLOUDINARY_NAME, CLOUDINARY_API_KEY, CLOUDINARY_API_SECRET.
- Assign GOOGLE_OAUTH_USERNAME to your gmail (e.g: [email protected])
- Go to GCP console, choose the "Attendlytical" project.
- Under "Credentials" tab, select "mail" OAuth client, copy the app id and secret, assigned to "GOOGLE_OAUTH_CLIENT_ID" and "GOOGLE_OAUTH_CLIENT_SECRET".
- Go to https://developers.google.com/oauthplayground, enter scope: "https://mail.google.com".
- Before submiting, click the setting icon on the top right.
- Click "Use your own OAuth credentials"
- Enter "Client ID" and "Client Secret" of "mail" OAuth client.
- Submit the API scope.
- You will get an authorization code, exchange it with access token and refresh token.
- Assign the refresh token to GOOGLE_OAUTH_REFRESH_TOKEN.
- Assign GOOGLE_OAUTH_REDIRECT_URI to https://developers.google.com/oauthplayground.
When you deploy your web app server side on heroku, you have to config all these env variables with heroku.
-
Using command line(change directory to server side if you are not): $ heroku config:set <configVar_key> = <var_value> .
-
using heroku dashboard: You can also edit config vars from your app’s Settings tab in the Heroku Dashboard:

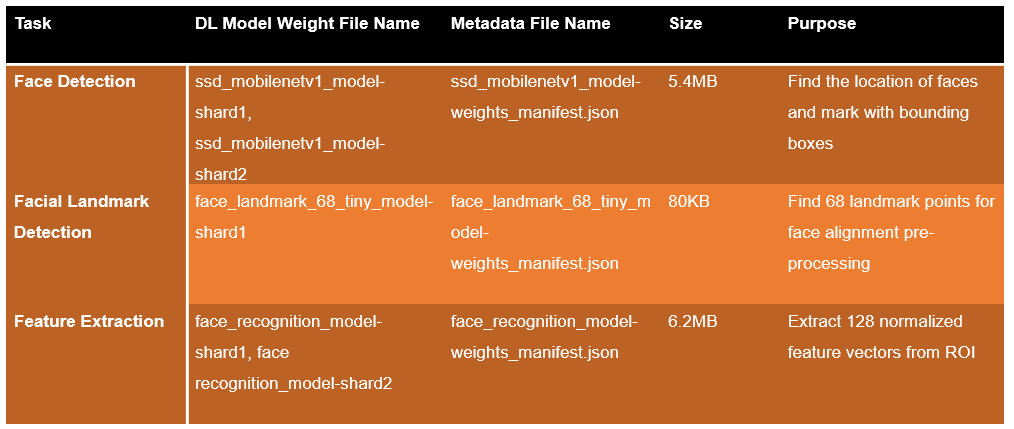
- The model have been put in the "client/public/models" folder.
- The models is downloaded from https://github.com/justadudewhohacks/face-api.js/weights, the API is built on top of TensorflowJS.
- There are 4 pretrained models (face detection, facial landmark detection, face recognition 128 feature vectors extraction, facial expression).
- Download the shard weight file and model json file.
- For face detection, there are 3 types of model architecture (MTCNN, SSD MobileNet V1, Tiny Face)
- As for me, I chose SSD MobileNet V1 for face detection.
- Model download checklist:
- face_expression_model-shard1
- face_expression_model-weights_manifest.json
- face_landmark_68_model-shard1
- face_landmark_68_model-weights_manifest.json
- face_recognition_model-shard1
- face_recognition_model-shard2
- face_recognition_model-weights_manifest.json
- ssd_mobilenetv1_model-shard1
- ssd_mobilenetv1_model-shard2
- ssd_mobilenetv1_model-weights_manifest.json
- Make sure the 10 env variables have been assigned in ".env" file.
- Install the "nodemon" which can restart the server script automatically if changes are detected.
- Open CMD, execute command "npm i -g nodemon" to install nodemon globally.
- Take a look at "server/package.json".
- Open CMD under directory "server", type "npm run dev".
- The server is running on http://localhost:4000.
- The client script is built using ReactJS, through CRA command.
- Open CMD under directory "client", type "npm start".
- The client is running on http://localhost:3000.
- Register an account.
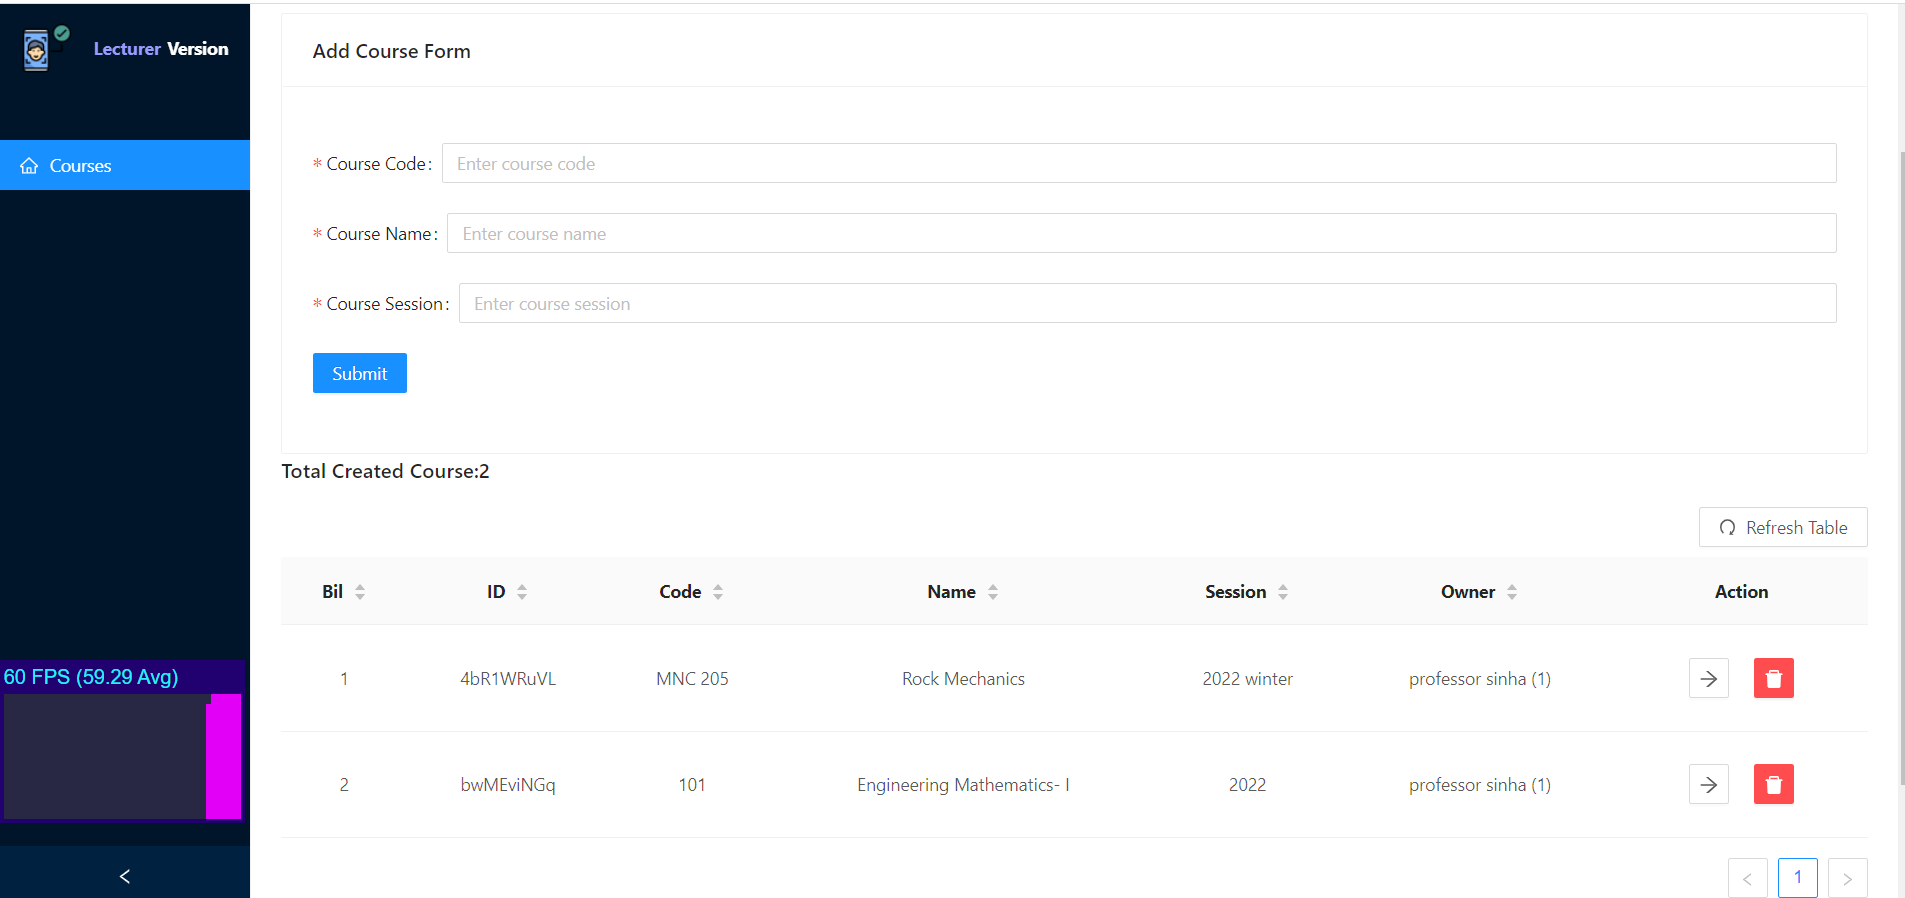
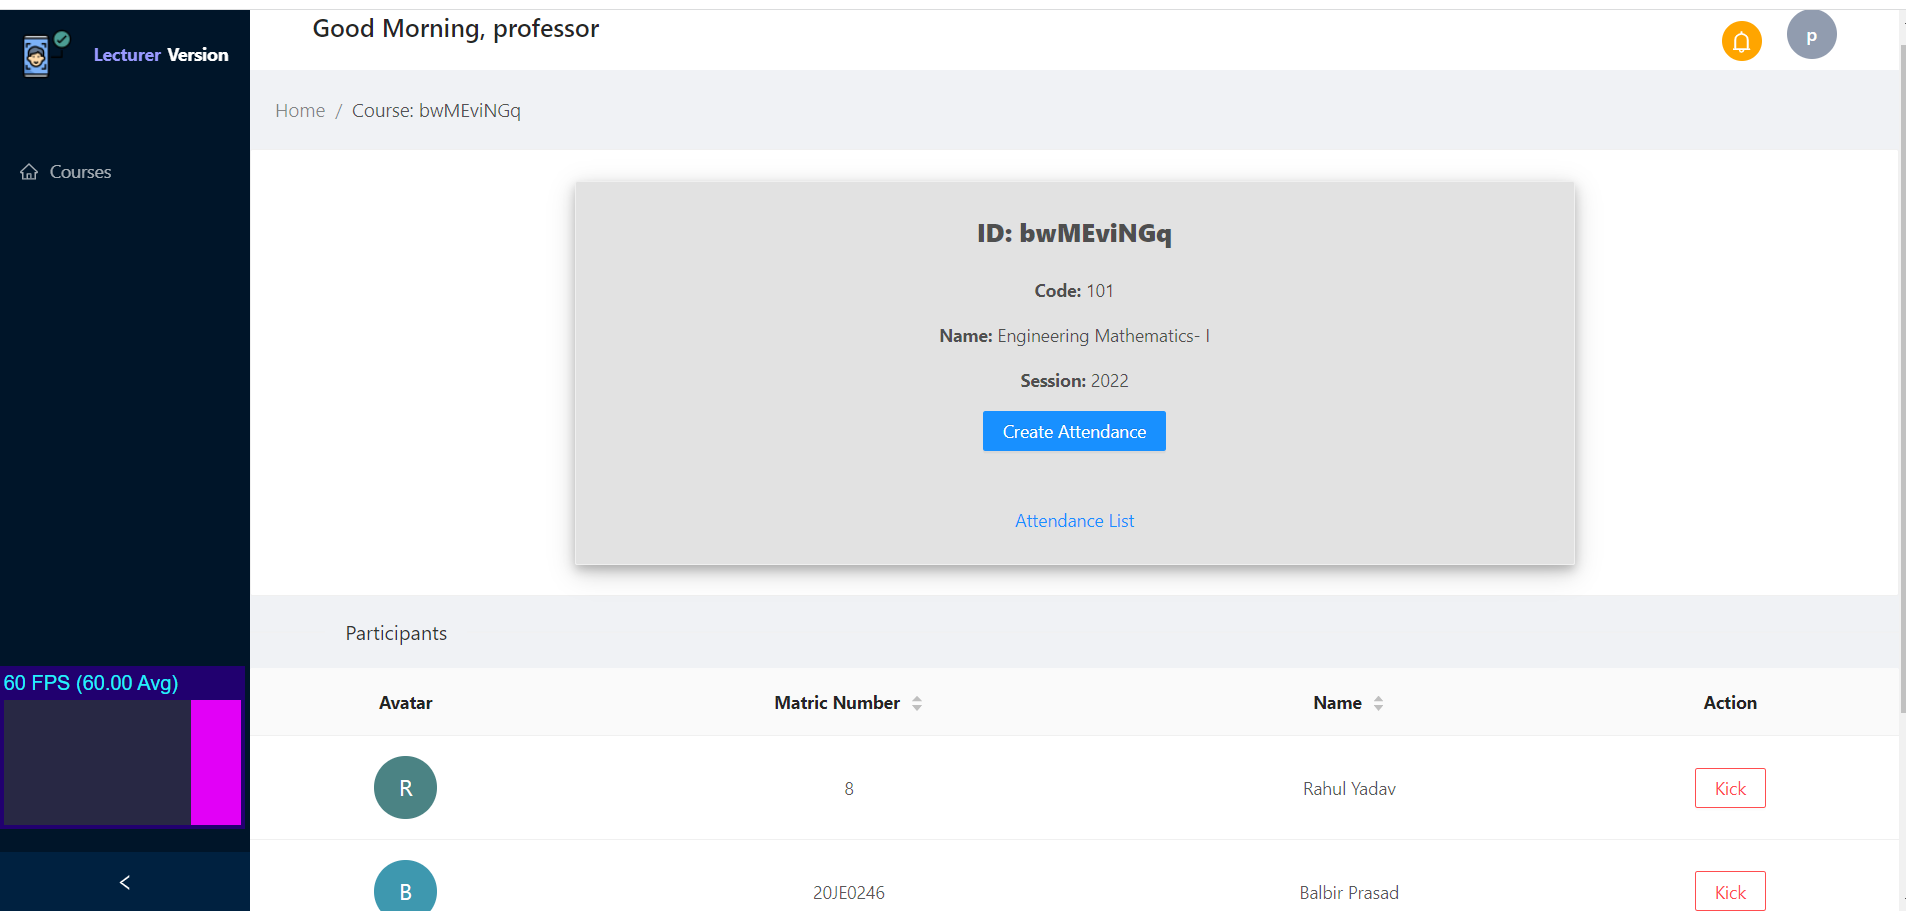
- Create a course.
- Give the course unique ID to your students.
- Students need to send the request to enrol, approve the enrolment.
- You do not need upload student's face photo, which will be done by students.
- After all student enrolled, select a course and take the attendance.
- You can see how many face photo of all the enrolled students have uploaded.
- Ensure that the students upload their face photo, otherwise there is no facial data of that student for reference.
- Only those enrol in the particular course will be counted into dataset for facial classification.
- Inside attendance taking form, select the time, date and camera.
- Wait for all the models being loaded.
- Set the approriate threshold distance as you wish.
- Submit the attendance form if finished.
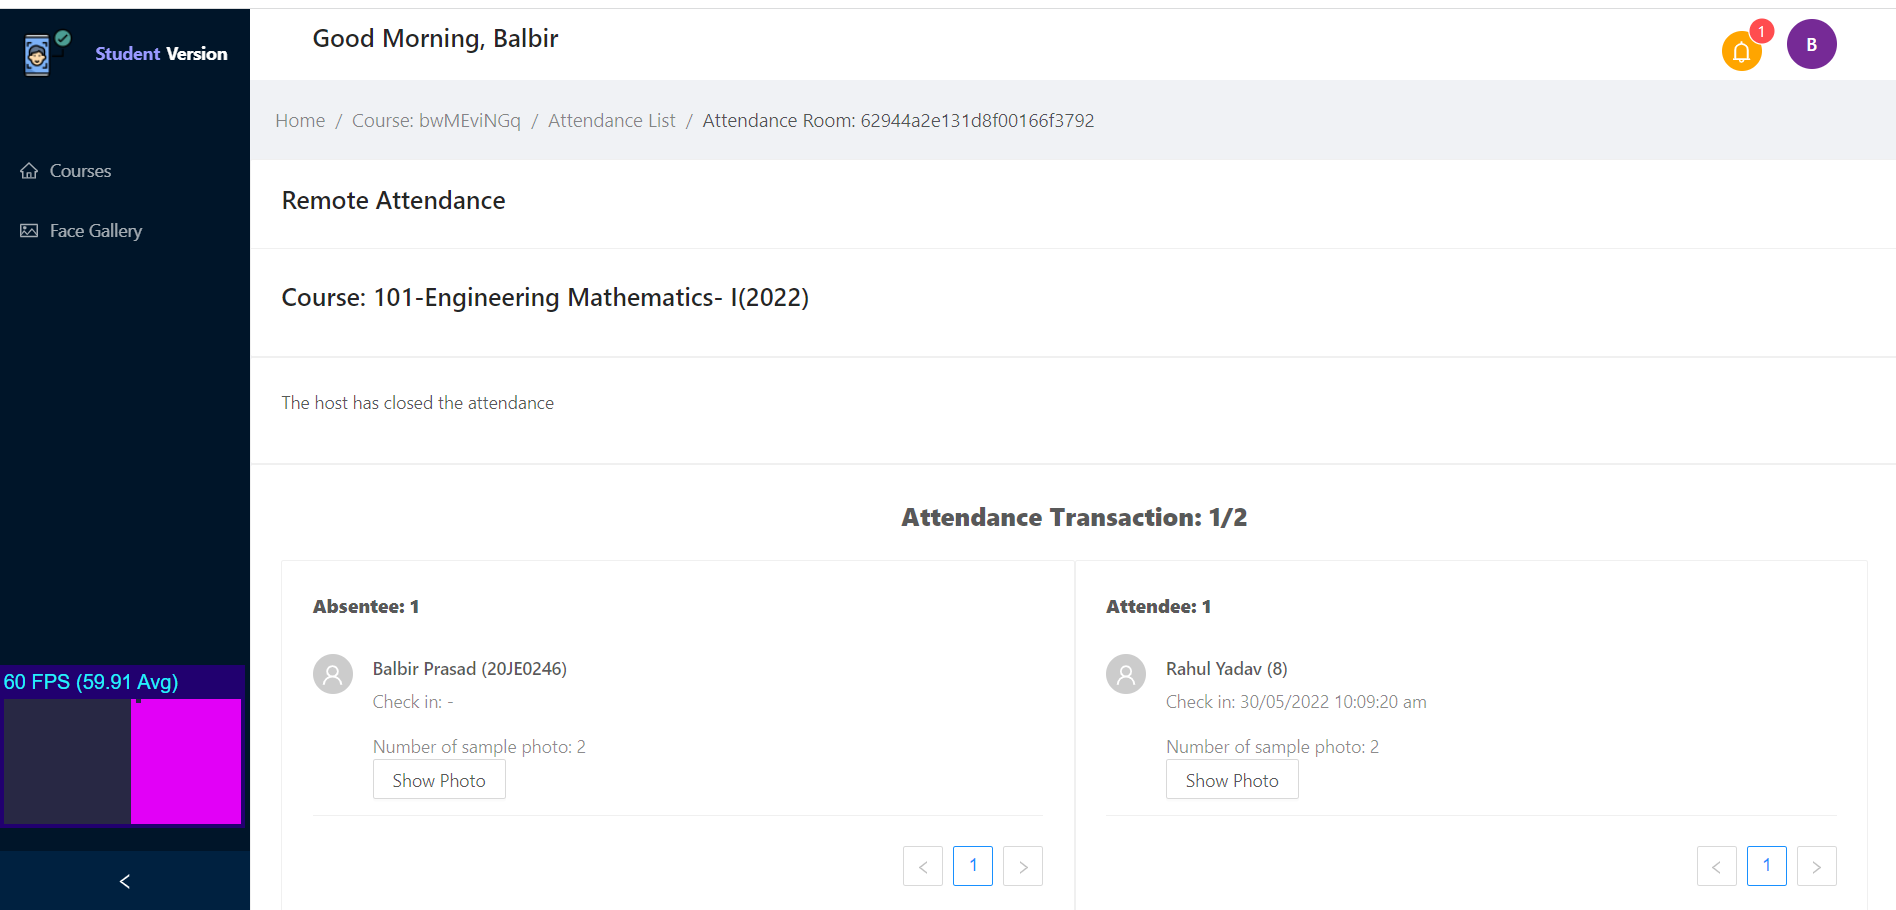
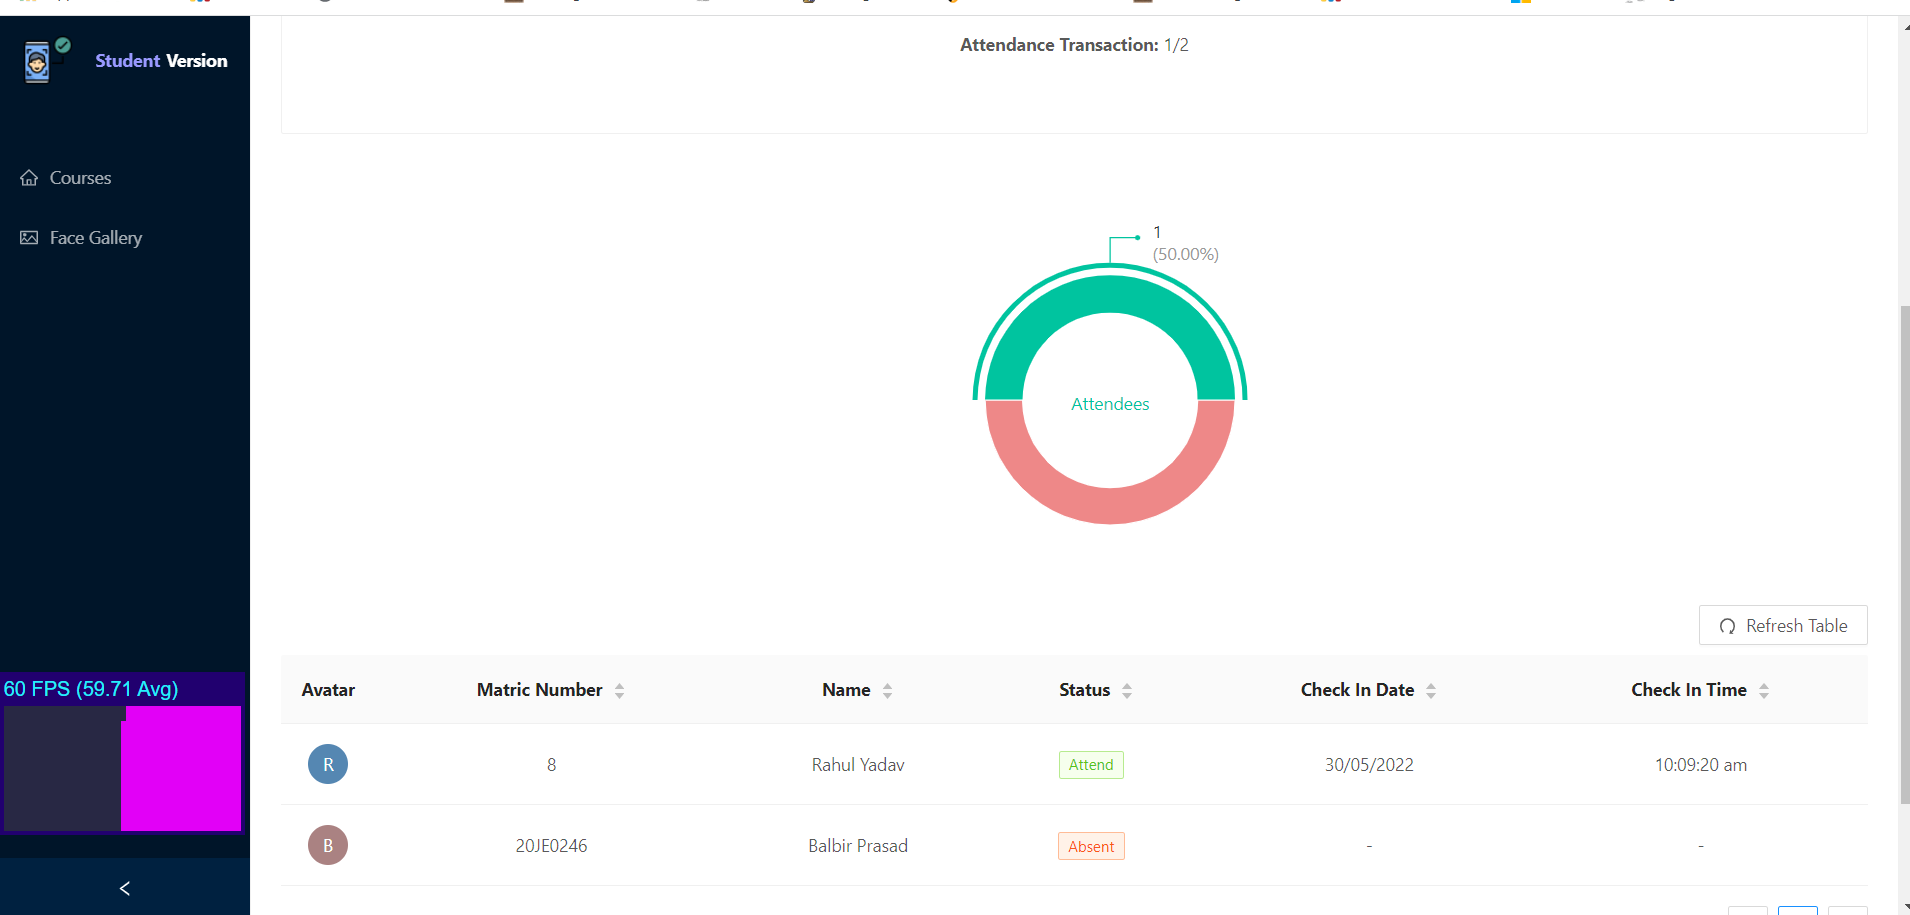
- Visualize the attendance data in "Attendance History", or you can enter a particular course and click "View Attendance History".
- You can "Warn" or "Kick" the student out of a course.
- The face photo of the student who is kicked out will not be counted next time taking the attendance.
- Register an account.
- Enrol a course.
- Wait for approval from the lecturer.
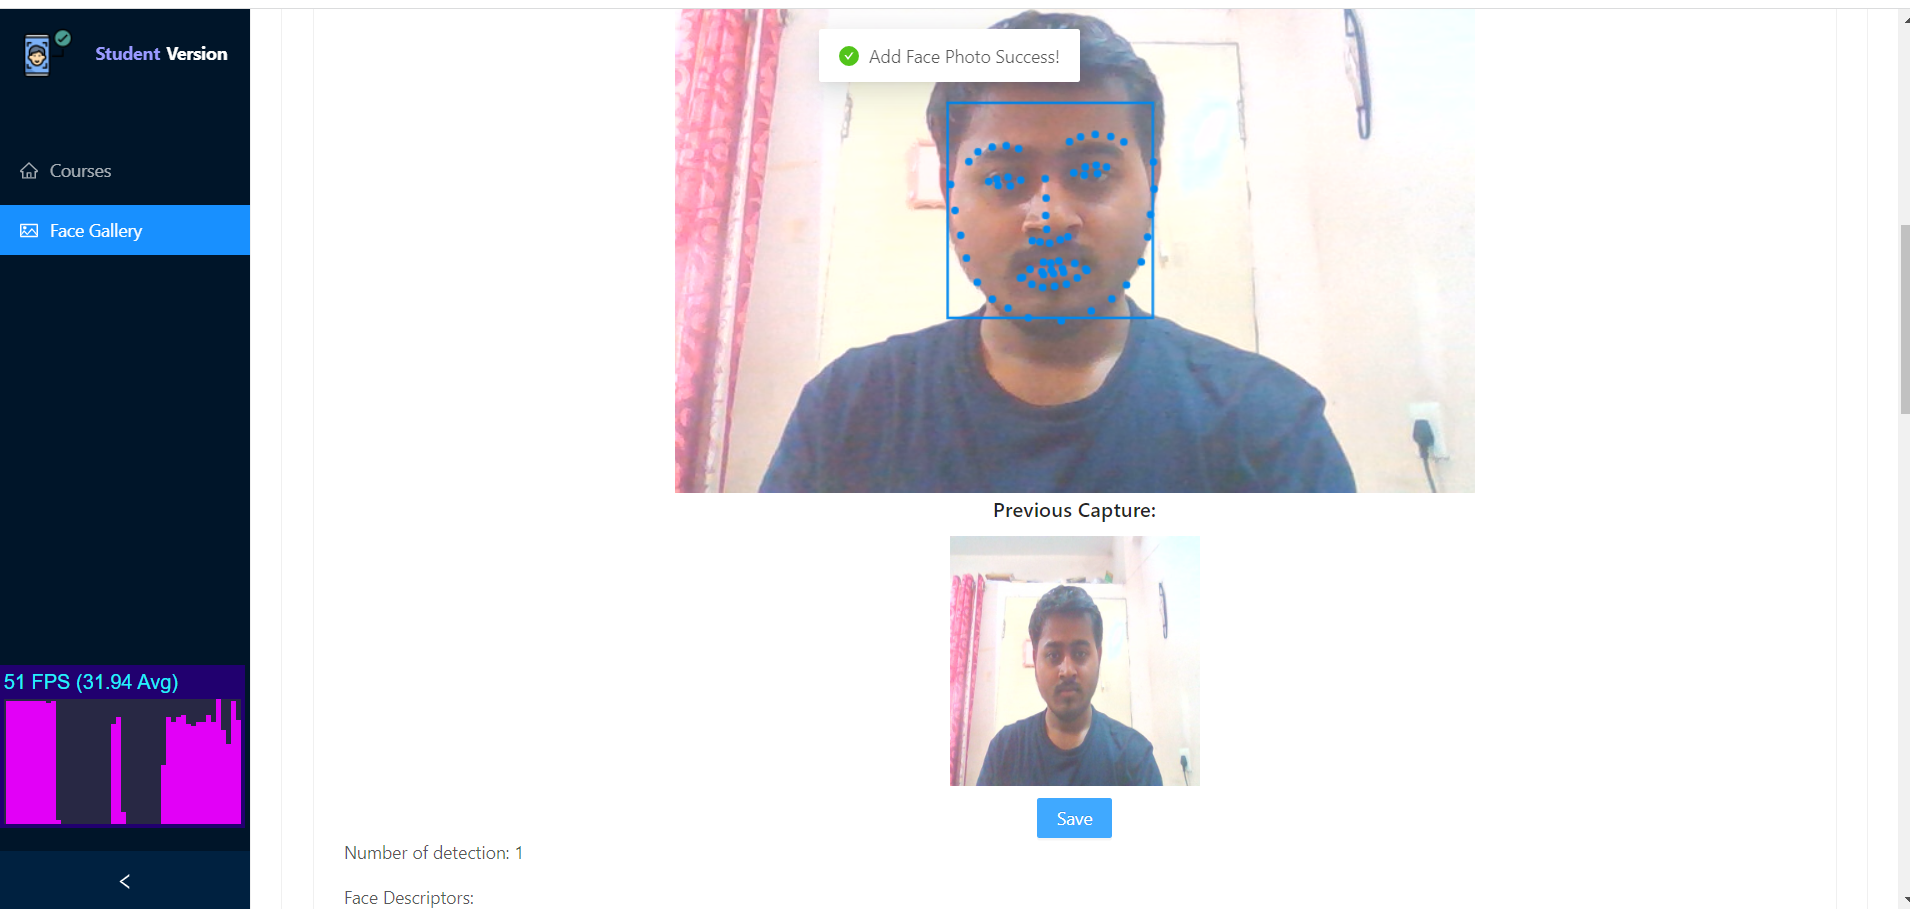
- Upload your face photo in "Face Gallery", best to have at least 2 face photo.
- Wait for all models being loaded.
- The system will perform face detection, ensuring only a single face exist and rejecting photo with empty face or multiple faces.
- The photo will be uploaded to the image storage.
- When your lecturer take the attendance of a particular course, all your uploaded facial data will be counted into the dataset for facial comparison.
- Visualize the attendance data in "Attendance History", or you can enter a particular course and click "View Attendance History".
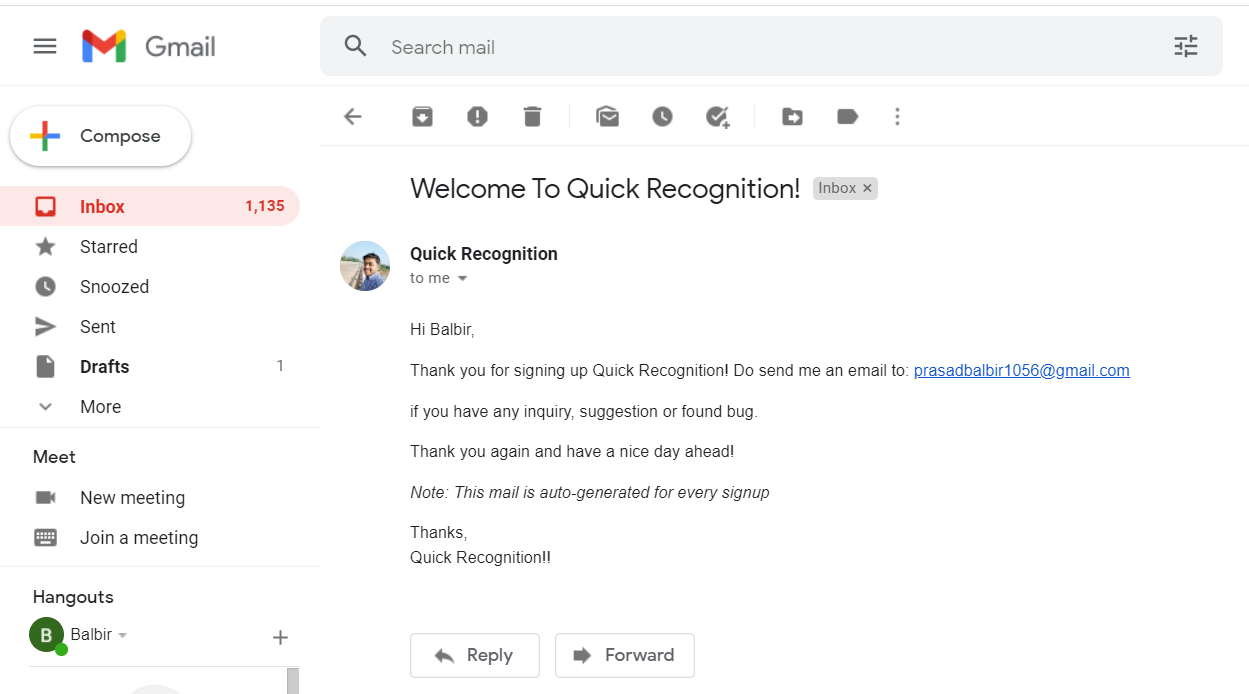
After you signup, you'll receive welcome mail on your registered email:
