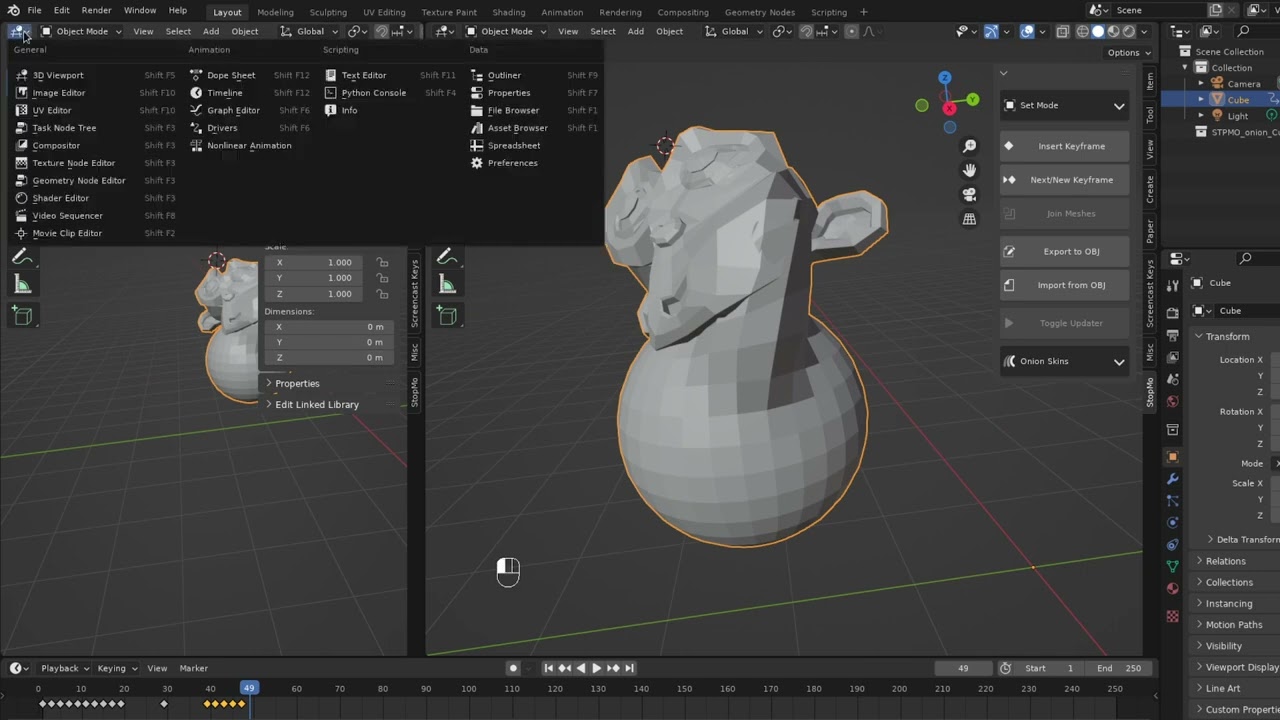
Blender Addon for Frame by Frame 3D Animation
- Allows frame by frame mesh animation on mesh object/s
- Animate and update in all mesh modes - sculpt, edit, and various painting modes
- Render safely in object mode
- Animation is compatible with base Blender; you don't need the plugin to render or view the animation
- Simple yet powerful UI
- Import and export frames as .obj files
- Download a .zip release, or clone the repository and compress the stop_motion folder in .zip format
- Launch Blender version 3.0.0 or greater and do edit->preferences to open the Preferences window
- In the left hand panel, go to the Add-ons tab
- In the top / left corner of the Preferences Window, press install the navigate and select the .zip fro the first step
- Press Enter
- Back in the Preferences window, make sure you check the box next to the add-on name to enable it
Expand the (enabled) Addon box to see the Addon Preferences. Currently there's only one "Frame Offset" which works as follows:
- If you enter zero there is not change in functionality from 'stock' Blender
- If you enter 1 or more, It will change the behavior of the UP Arrow (Jump to next Keyframe button), as follows:
- If there is a next keyframe, the button works as usual, no change
- If there is no next keyframe, blender will go forward the number of frames you specified and insert a new keyframe - useful for straight-ahead or blocking animation
To use the add-on, you need a 3D View, a timeline view, and optionally a dope sheet or other editors.
- In the 3D View, press N or click on the tiny arrow in the right hand side to enable the sidebar (if the sidebar is already visible ignore this step)
- Click on the animation tab in the sidebar to reveal the add-on, the UI should all be visible in the Stomp Panel
- Select an object (make sure it is active), then press + Initialize in the panel header
- To insert a new "drawing" or key frame, press the + (New Frame) button
- The up arrow key has been subtly changed: It jumps to the next available keyframe as before, but if you are animating a stop motion object, once you are at the end of your keys, it will jump a specified number of frames forward and then add a new key. This is a great time-saver for straight-ahead or blocking animation
- Use the mode switcher in the header for any sub-object modes, to ensure the viewport updates
The add-on has some special buttons for using direct numerical editing on .obj files (See srcXor - Art and Computers for some background on the awesome practice of 3D Glitching)
- Optionally, you can have a script / text editor visible in your viewport to edit the .obj files directly in blender
- Use the Export .obj button to edit the current frame as a .obj file. It will be saved next to the blend file with the same name, the object name, and the word frame as the filename, e.g. if your file MyProject.blend and the object is Cube, the filename will be MyProject_Cube_frame.obj
- Now you can edit that file in a text editor (including Blender) to e.g. create "glitch frames"
- Use the Import .obj button to import any .obj (not just ones you exported) as the current frame (caveat you have to name them and place them as above)
(Warning: a bit technical) The add-on's core is a geometry nodes modifier that replaces the object data using an integer index and a source collection. So long as the add-on and the collection are intact, simple object mode animation playback works (this is why you don't need the add-on to see or render the animation, just to edit it easily)
- Since the object itself is just a Blender object that doesn't get switched out per frame, any object properties including transformations are fine to animate
To Enable the following make sure you read the Performance and Modifiers section
- You can even animate the mesh data as usual (for example, shape key animation) - of course, that's only going to work for the frame that has that particular mesh on it
- You can stack any modifiers on top of the base stop motion add on (just treat it like the original mesh data) and it should work just fine.
- You can even rig / use rigged meshes for some frames (Not tested yet though)
- Theoretically, you should be able to e.g. animate weight painting (frame by frame) and change how the modifiers behave
For modifiers that need geometry to work (aka really all of them) we need actual meshes to come out of the first (MeshKey) modifier. However, this becomes unbearably slow on large meshes, so the modifier only outputs instances.
To Enable using the modifier stack there is a second modifier on top of the MeshKey / Stop Motion one - this modifier takes the instance from the previous step and 'realizes it' allowing the rest of the stack to function. Because of performance, it's desabled by default in Edit Mode and in the Viewport - though it works on render. To see e.g. a subsurf in the viewport, you must enable it in viewport by going to the modifier stack and checking the "monitor" shaped button.
