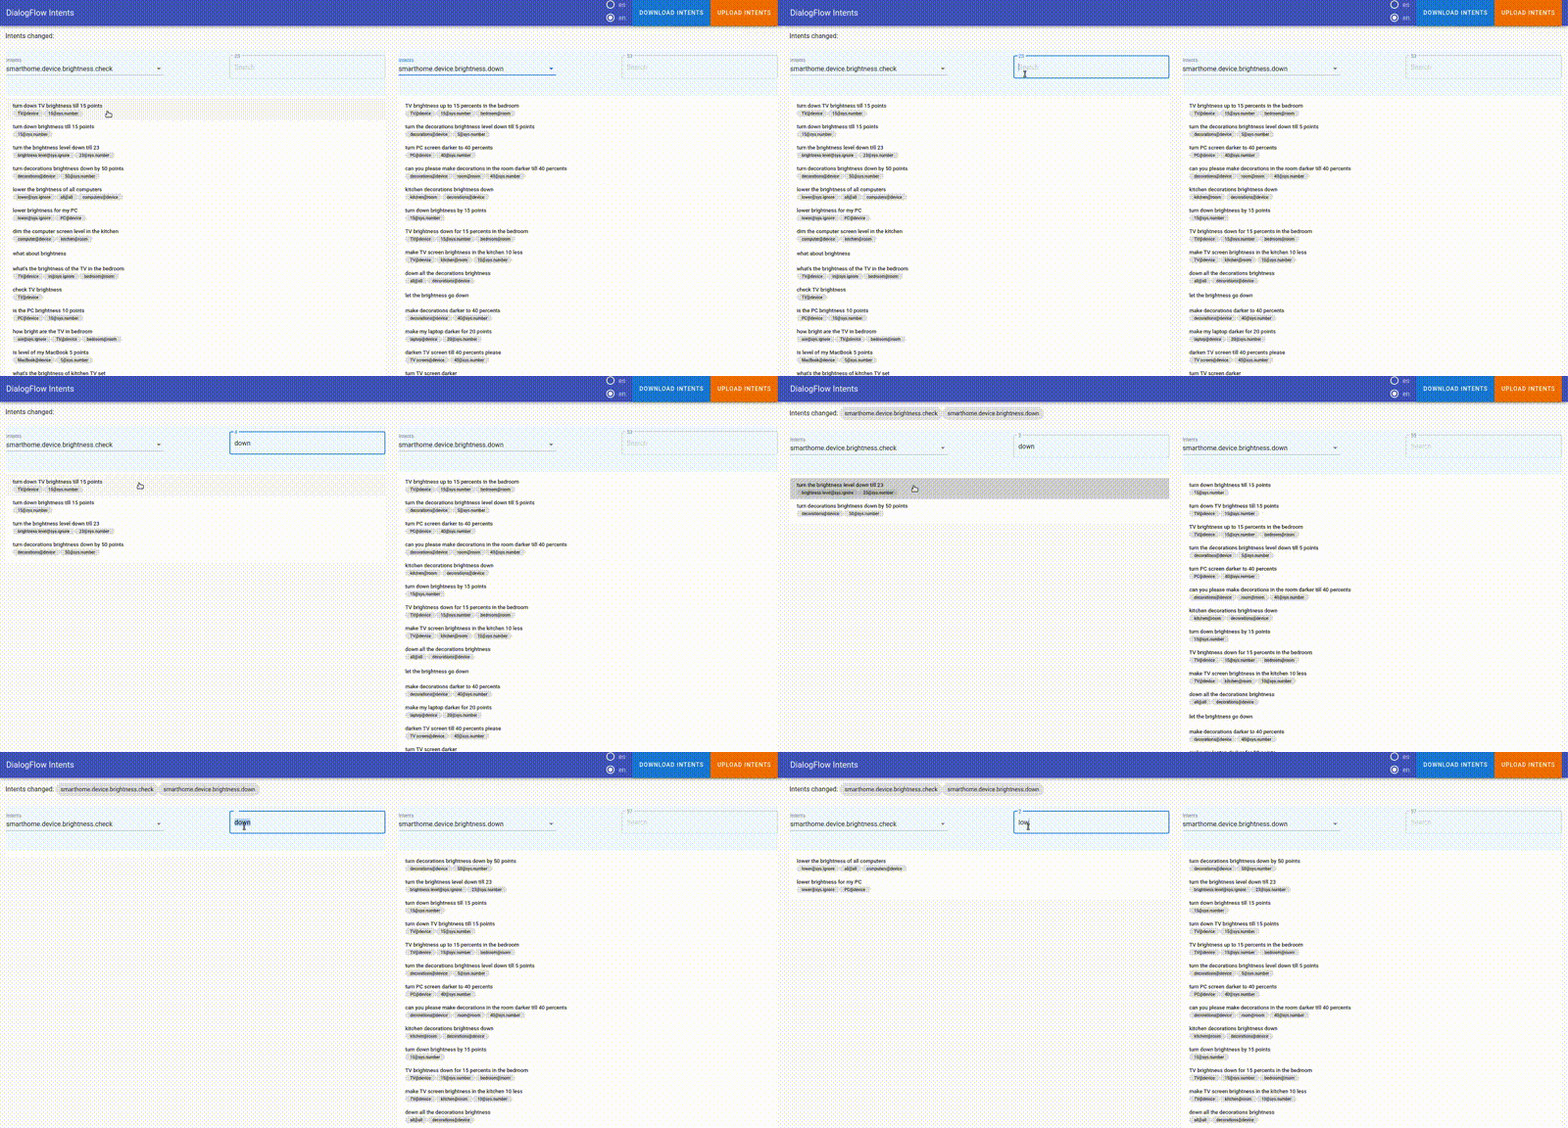
GUI to make changes to a dialogflow project locally and bulk update them. Useful to transfer a lot of training phrases between intents.
While using the dialogflow console I found it very tedious to move a lot of training phrases betweet intents, you have to move the training phrases one by one and, on top of that, every time you do it the training starts.
With this tool you can download all the intents with their training phrases and easily move them locally, then you can bulk update the modified intents.
Here you can see an example. (link to high quality gif)
First you need to download credentials for your project, you can do this in the Google Cloud Platform Console. Credentials should be stored safely in a file with the name dialogflow-secret.json. The contents of the file should look something like this:
{
  "type": "",
  "project_id": "",
  "private_key_id": "",
  "private_key": "",
  "client_email": "",
  "client_id": "",
  "auth_uri": "https://accounts.google.com/o/oauth2/auth",
  "token_uri": "https://oauth2.googleapis.com/token",
  "auth_provider_x509_cert_url": "https://www.googleapis.com/oauth2/v1/certs",
  "client_x509_cert_url": ""
}
With all the fields filled.
You need to install docker and then.
docker run -d -v /path/to/dialogflow-secret.json:/root/api/secret/dialogflow-secret.json -h localhost -p 80:80 -p 3030:3030 orzzet/faster-dialogflow
- You need to change /path/to/dialogflow-secret.json to the path you stored credentials.
- -d is optional, with this you run the container in the background so you can keep using the console.
- You can change the httpd port to a different one, for example to change it to 8080 write
-p 8080:80instead of-p 80:80 - You can not change the 3030 port to a different one, it's used by de app.
After that open your browser and go to localhost:80 (or the desired port).
I have also included the files needed to build the docker image. Keep in mind that the current process copy the api and gui folders with node_modules already installed, so before you build the image, you need to install all dependecies with
lerna installfrom the root ornpm installfrom inside each project.
I used lerna to help with future development and to make the project easier to start running but the current use is minimal, you actually don't need it and can treat api and gui as two completely different projects. Still, I am going to explain how to use the app using lerna.
If you don't have lerna installed, open the terminal and write:
npm i -D lerna
Then, to install this repo:
git clone https://github.com/Orzzet/faster-dialogflow-updates
cd faster-dialogflow-updates
npm install
npm start
Then you need to move the credentials (the .json file) to dialogflow-bulk-updates/packages/api/secret/dialogflow-secret.json. Remember to not expose this file by any means. You should only use this option self-hosted. Further development will provide a secure method to host this app in a public server.
After that open your browser and go to localhost:80
- If you want to run api and gui separately, you need to run 'npm install' from inside each project, then
npm startfrom api andnpm run servefrom gui. npm run serveshould be only for development, for production usenpm run build, all the needed files will be in the folder gui/dist.- If you want to run api on a different machine or port, you need to change this line
