Tutorial for Multi-UAV (Quadcopters) simulation in Gazebo and Ardupilot.
- Ubuntu
- ROS
- Gazebo
- Ardupilot
- Ardupilot_gazebo plugin
- Docker
- Mavproxy
Ubuntu 20.04 inside a Virtual Machine (VM) used in this tutorial.
The ROS noetic is used in this tutorial. You can use steps below to install it:
sudo sh -c 'echo "deb http://packages.ros.org/ros/ubuntu $(lsb_release -sc) main" > /etc/apt/sources.list.d/ros-latest.list'
sudo apt install curl
curl -s https://raw.githubusercontent.com/ros/rosdistro/master/ros.asc | sudo apt-key add -
sudo apt update
sudo apt install ros-noetic-desktop-full
echo "source /opt/ros/noetic/setup.bash" >> ~/.bashrc
source ~/.bashrc
sudo apt install python3-rosdep python3-rosinstall python3-rosinstall-generator python3-wstool build-essential
sudo apt install python3-rosdep
sudo rosdep init
rosdep update
The Gazebo version 11 is used in this tutorial. ROS noetic has gazebo11 but if there is problem with it, you can use steps below to install it:
sudo sh -c 'echo "deb http://packages.osrfoundation.org/gazebo/ubuntu-stable `lsb_release -cs` main" > /etc/apt/sources.list.d/gazebo-stable.list'
wget http://packages.osrfoundation.org/gazebo.key -O - | sudo apt-key add –
sudo apt-get update
sudo apt-get install gazebo11 libgazebo11-dev
If you are using Ubuntu in a VM and gazebo has graphical problems, put the line below inside your bash (bashrc, zshrc, ...):
export SVGA_VGPU10=0
The latest version (4.3.6 at the time of writing) used in this tutorial. You can use steps below to install it:
git clone https://github.com/ArduPilot/ardupilot.git
cd ardupilot
git submodule update --init –recursive
alias waf="$PWD/modules/waf/waf-light"
waf configure --board=sitl
waf all
./Tools/environment_install/install-prereqs-ubuntu.sh -y
git clone https://github.com/SwiftGust/ardupilot_gazebo
cd ardupilot_gazebo
mkdir build
cd build
cmake ..
make -j2
sudo make install
After installation of this plugin, you need to add lines below inside your bash (bashrc, zshrc, ...):
source /usr/share/gazebo/setup.sh
export GAZEBO_MODEL_PATH=~/ardupilot_gazebo/models:${GAZEBO_MODEL_PATH}
export GAZEBO_MODEL_PATH=~/ardupilot_gazebo/models_gazebo:${GAZEBO_MODEL_PATH}
export GAZEBO_RESOURCE_PATH=~/ardupilot_gazebo/worlds:${GAZEBO_RESOURCE_PATH}
export GAZEBO_PLUGIN_PATH=~/ardupilot_gazebo/build:${GAZEBO_PLUGIN_PATH}
The latest version (23.0.6 at the time of writing) used in this tutorial. You can use steps below to install it:
sudo apt-get update
sudo apt-get install ca-certificates curl gnupg
sudo install -m 0755 -d /etc/apt/keyrings
curl -fsSL https://download.docker.com/linux/ubuntu/gpg | sudo gpg --dearmor -o /etc/apt/keyrings/docker.gpg
sudo chmod a+r /etc/apt/keyrings/docker.gpg
echo \
  "deb [arch="$(dpkg --print-architecture)" signed-by=/etc/apt/keyrings/docker.gpg] https://download.docker.com/linux/ubuntu \
  "$(. /etc/os-release && echo "$VERSION_CODENAME")" stable" | \
sudo tee /etc/apt/sources.list.d/docker.list > /dev/null
sudo apt-get update
sudo apt-get install docker-ce docker-ce-cli containerd.io docker-buildx-plugin docker-compose-plugin
- Open a terminal and run the commands below:
cd ~/ardupilot/Tools/autotest
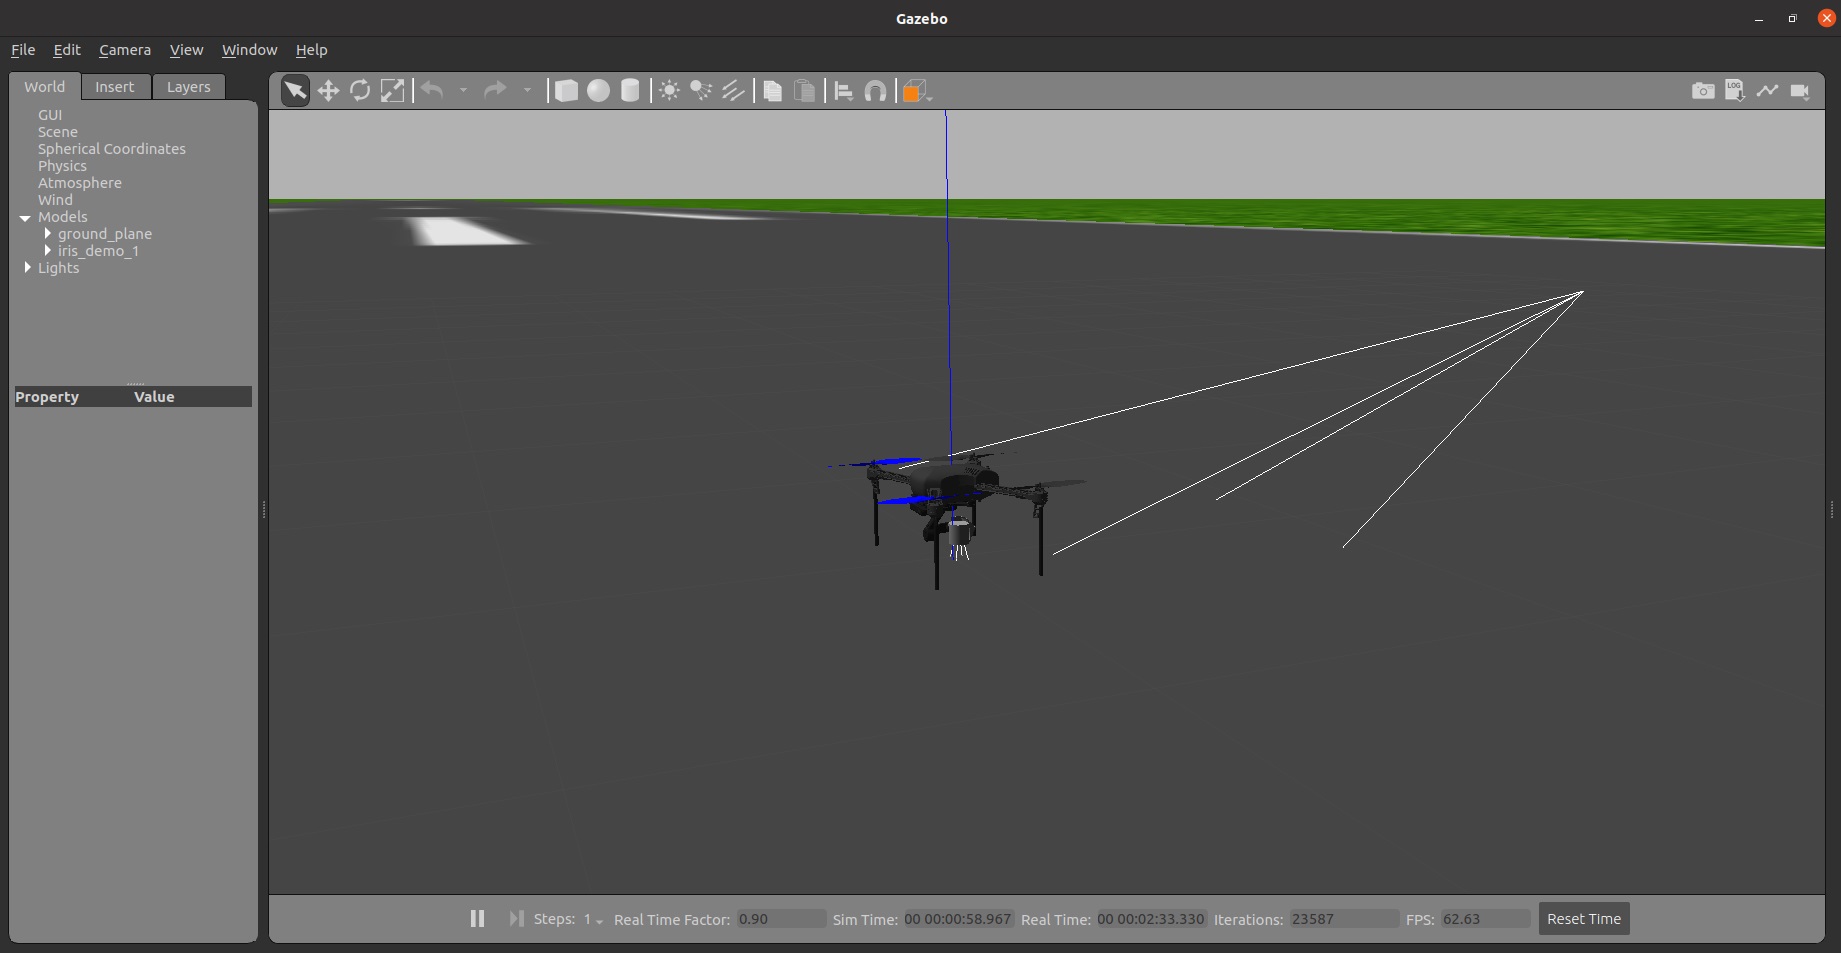
./sim_vehicle.py -v ArduCopter -f gazebo-iris --console -I0
- Open a new terminal and run:
gazebo --verbose ~/ardupilot_gazebo/worlds/iris_ardupilot.world
- After seeing "APM: EKF2 IMU0 is using GPS" message in console, you can use the commands below in the first terminal for takeoff test:
mode guided
arm throttle
takeoff 5
- For any number of UAVs that you want to simulate, make a copy of "iris_with_standoffs_demo" from ardupliot_gazebo/models folder (iris_with_standoffs_demo_1, iris_with_standoffs_demo_2, iris_with_standoffs_demo_3, ...).
- Open "model.sdf" file inside of each iris_with_standoffs_demo folder and change <fdm_port_in> and <fdm_port_out> under plugin name="arducopter_plugin" tag. For example for the first UAV (iris_with_standoffs_demo_1) use below:
    <plugin name="arducopter_plugin" filename="libArduPilotPlugin.so">
      <fdm_addr>127.0.0.1</fdm_addr>
      <fdm_port_in>9002</fdm_port_in>
      <fdm_port_out>9003</fdm_port_out>
- For second UAV (iris_with_standoffs_demo_2) use below:
    <plugin name="arducopter_plugin" filename="libArduPilotPlugin.so">
      <fdm_addr>127.0.0.1</fdm_addr>
      <fdm_port_in>9012</fdm_port_in>
      <fdm_port_out>9013</fdm_port_out>
-
And so on for each UAV add "10" to each port (9002-9003, 9012-9013, 9022-9023, 9032-9033, ...).
-
Now make a copy of iris_ardupilot.world from ardupilot_gazebo/worlds folder:
cd ~/ardupilot_gazebo/worlds
cp iris_ardupilot.world iris_multiuav.world
- Open the new iris_multiuav.world file and change the bottom of file from this:
    <model name="iris">
      <pose> 0 0 0 0 0 0 </pose>
      <include>
        <uri>model://iris_with_standoffs_demo</uri>
         <pose> 0 0 0 0 0 0 </pose>
      </include>
    </model>
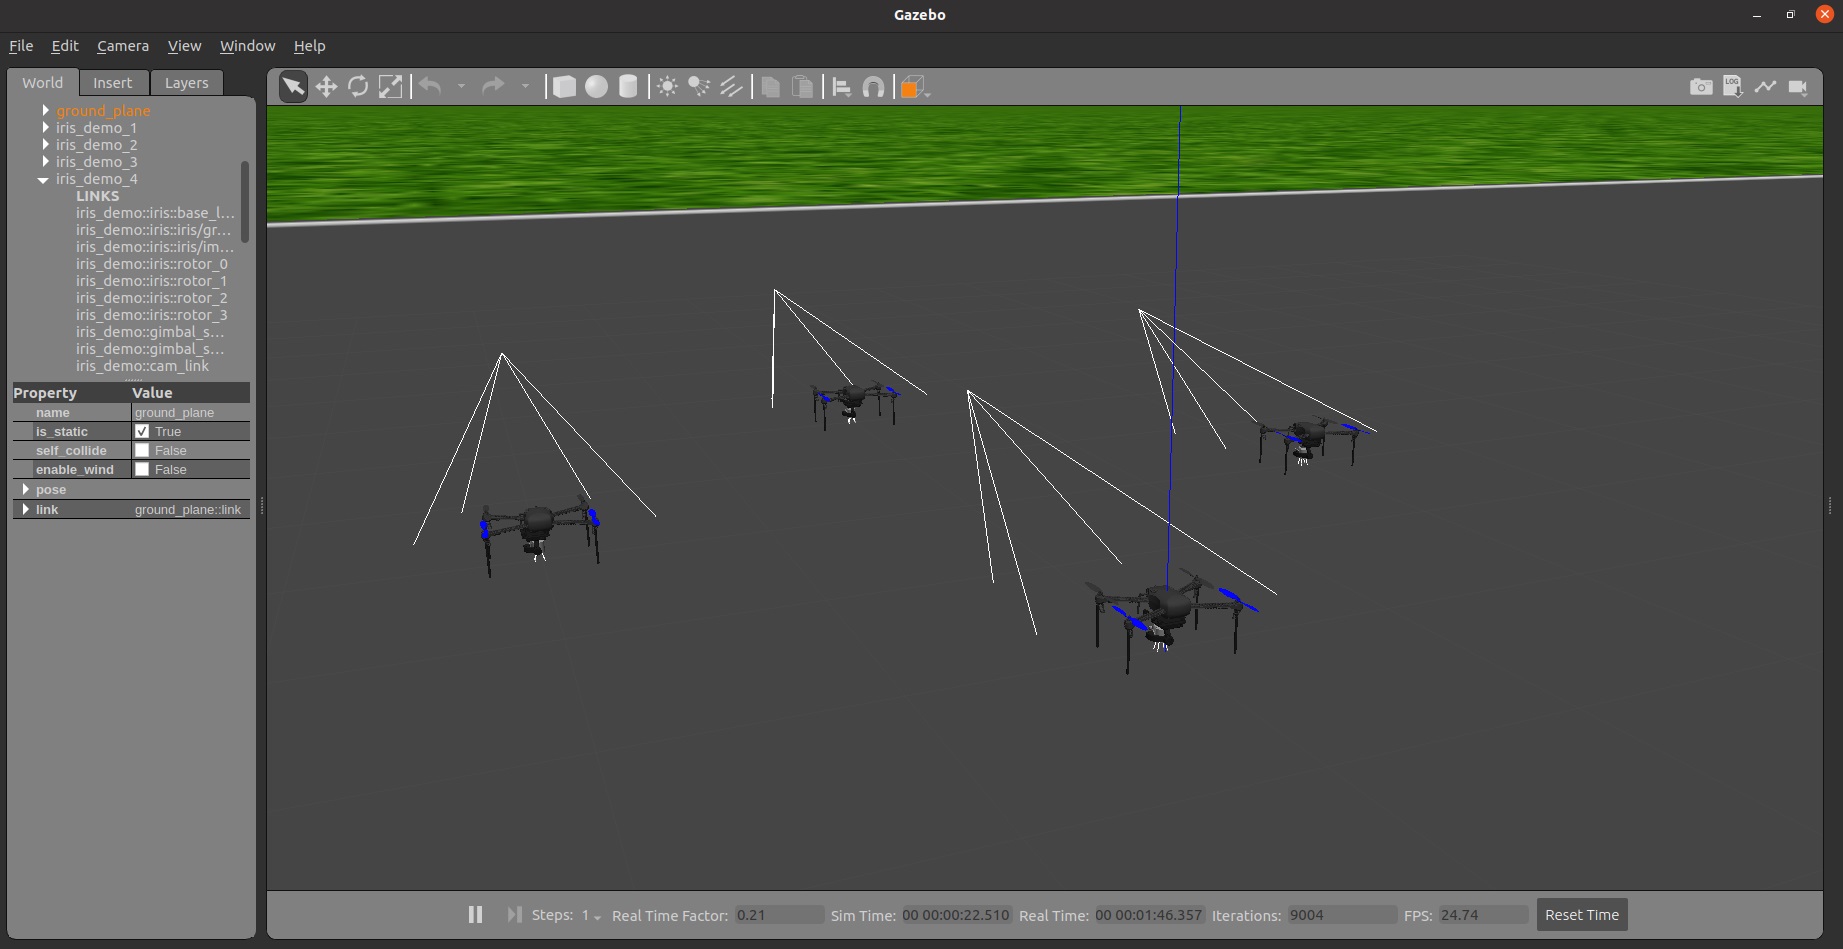
- To this (this is for 4 UAV example):
    <model name="iris_demo_1">
      <pose> 0 0 0 0 0 0 0 </pose>
      <include>
        <uri>model://iris_with_standoffs_demo_1</uri>
      </include>
    </model>
    <model name="iris_demo_2">
      <pose> -10 -10 0 0 0 0 0 </pose>
      <include>
        <uri>model://iris_with_standoffs_demo_2</uri>
      </include>
    </model>
    <model name="iris_demo_3">
      <pose> -20 0 0 0 0 0 0 </pose>
      <include>
        <uri>model://iris_with_standoffs_demo_3</uri>
      </include>
    </model>
    <model name="iris_demo_4">
      <pose> -10 10 0 0 0 0 0 </pose>
      <include>
        <uri>model://iris_with_standoffs_demo_4</uri>
      </include>
    </model>
- Open a terminal for each UAV and run the commands below in each of them (4 UAV example):
# First terminal:
cd ~/ardupilot1/Tools/autotest
./sim_vehicle.py -v ArduCopter -f gazebo-iris --console -I0

# Second terminal:
cd ~/ardupilot1/Tools/autotest
./sim_vehicle.py -v ArduCopter -f gazebo-iris --console -I1

# Third terminal:
cd ~/ardupilot1/Tools/autotest
./sim_vehicle.py -v ArduCopter -f gazebo-iris --console -I2

# Fourth terminal:
cd ~/ardupilot1/Tools/autotest
./sim_vehicle.py -v ArduCopter -f gazebo-iris --console -I3
- Open a new terminal and run the command below:
gazebo --verbose ~/ardupilot_gazebo/worlds/iris_multiuav.world
- Wait for each UAV to get "APM: EKF2 IMU0 is using GPS" message and then you can control UAVs.
- Note that you still need to install mavproxy and ardupilot_gazebo plugin and make a copy of iris_with_standoffs_demo for each UAV (if you did previous step you do not have to do it again).
- You can use docker provided here:
docker pull radarku/sitl-swarm
- Run the docker by command below (use NUMCOPTERS for the number of UAVs you want):
docker run --rm -p 5760-5810:5760-5810 --env NUMCOPTERS=4 radarku/sitl-swarm
- You need to change startArdu.sh inside "radarku/sitl-swarm" docker, you can use the startArdu.sh file in repo and replace it inside docker with commands below:
# After running radarku/sitl-swarm docker and made a copy of startArdu.sh in your home directory:
docker cp ~/startArdu.sh [container_name]:/startArdu.sh
docker commit [container_name] sitl-swarm
- Now run the new docker with command below:
docker run --rm --network="host" -p 5760-5810:5760-5810 --env NUMCOPTERS=4 sitl-swarm
- Open a terminal for each UAV and run the commands below in each of them (4 UAV example):
# First terminal:
mavproxy.py --master=tcp:localhost:5760

# Second terminal:
mavproxy.py --master=tcp:localhost:5770

# Third terminal:
mavproxy.py --master=tcp:localhost:5780

# Fourth terminal:
mavproxy.py --master=tcp:localhost:5790
- Open a new terminal and run the command below:
gazebo --verbose ~/ardupilot_gazebo/worlds/iris_multiuav.world
- Wait for each UAV to get "APM: EKF2 IMU0 is using GPS" message and then you can control UAVs.
- Install dependencies.
sudo apt-get install ros-noetic-gazebo-ros-pkgs ros-noetic-gazebo-ros-control
- Go inside ardupilot_gazebo/models_gazebo folder and make a copy of gimbal_small_2d folder and rename it to gimbal_1 (you can do this for each uav, e.g. gimbal_2, gimbal_3,...).
- Go to gimbal_1 and open model.sdf file and under tag put the lines below (for gimbal_2 change cameraName to uav2 and so on):
         <plugin name="camera_controller" filename="libgazebo_ros_camera.so">
           <cameraName>uav1/camera1</cameraName>
           <imageTopicName>image_raw</imageTopicName>
           <cameraInfoTopicName>camera_info</cameraInfoTopicName>
           <frameName>camera_link_optical</frameName>
           <hackBaseline>0.0</hackBaseline>
           <distortionK1>0.0</distortionK1>
           <distortionK2>0.0</distortionK2>
           <distortionK3>0.0</distortionK3>
           <distortionT1>0.0</distortionT1>
           <distortionT2>0.0</distortionT2>
           <CxPrime>0</CxPrime>
           <Cx>0.0</Cx>
           <Cy>0.0</Cy>
           <focalLength>0.0</focalLength>
         </plugin>
- Go to ardupilot_gazebo/models/iris_with_standoffs_demo_1 folder and inside model.sdf file change this:
    <include>
      <uri>model://gimbal_small_2d</uri>
      <pose>0 -0.01 0.070 1.57 0 1.57</pose>
    </include>
- To this (do this for each UAV):
    <include>
      <uri>model://gimbal_1</uri>
      <pose>0 -0.01 0.070 1.57 0 1.57</pose>
    </include>
- Go to /opt/ros/noetic/share/gazebo_ros/launch/ folder and copy multi.launch file from repo to there (change "world_name" argument in this file according to your world file).
- Open a terminal and use the command below to launch your world (this will launch gazebo):
roslaunch gazebo_ros multi.launch
- Open a new terminal and run a UAV:
cd ~/ardupilot/Tools/autotest && ./sim_vehicle.py -v ArduCopter -f gazebo-iris -I0
- After seeing "APM: EKF2 IMU0 is using GPS" message in console, you can use the commands below to takeoff:
mode guided
arm throttle
takeoff 50
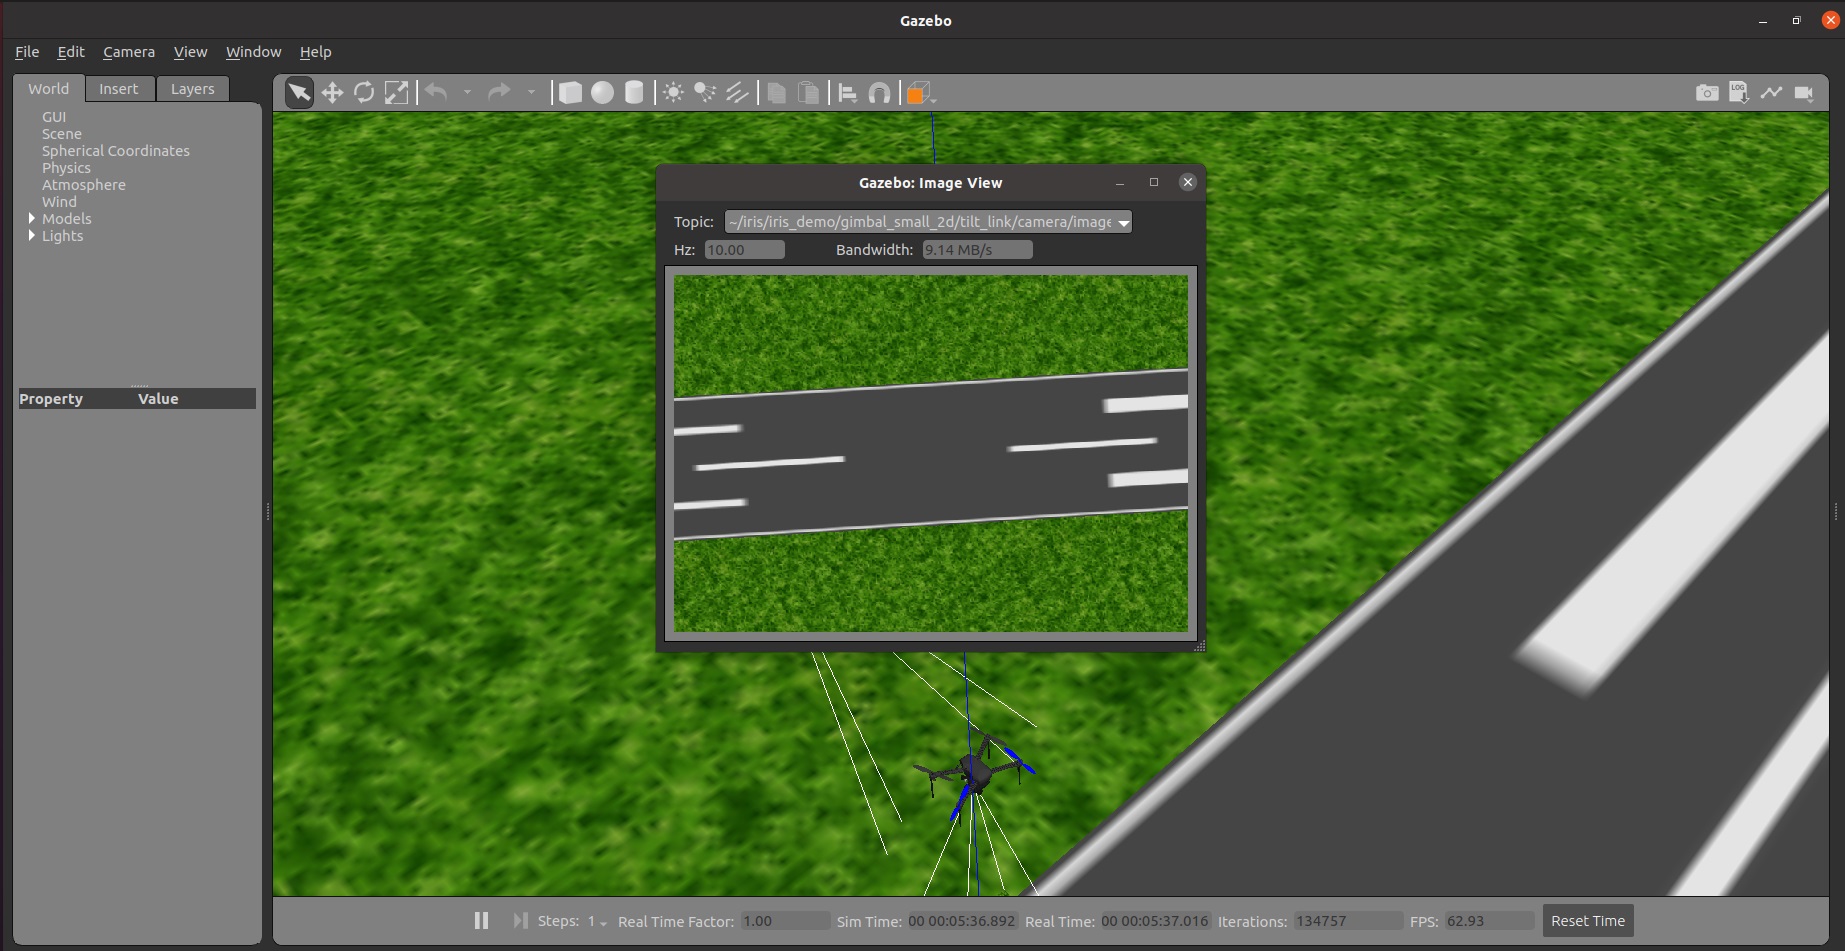
- You can use Topic Visualization from Window menu inside Gazebo (or press Ctrl+T inside Gazebo) and select /gazebo/default/iris/iris_demo/gimbal_small_2d/tilt_link/camera... and view the image captured from UAV's camera.
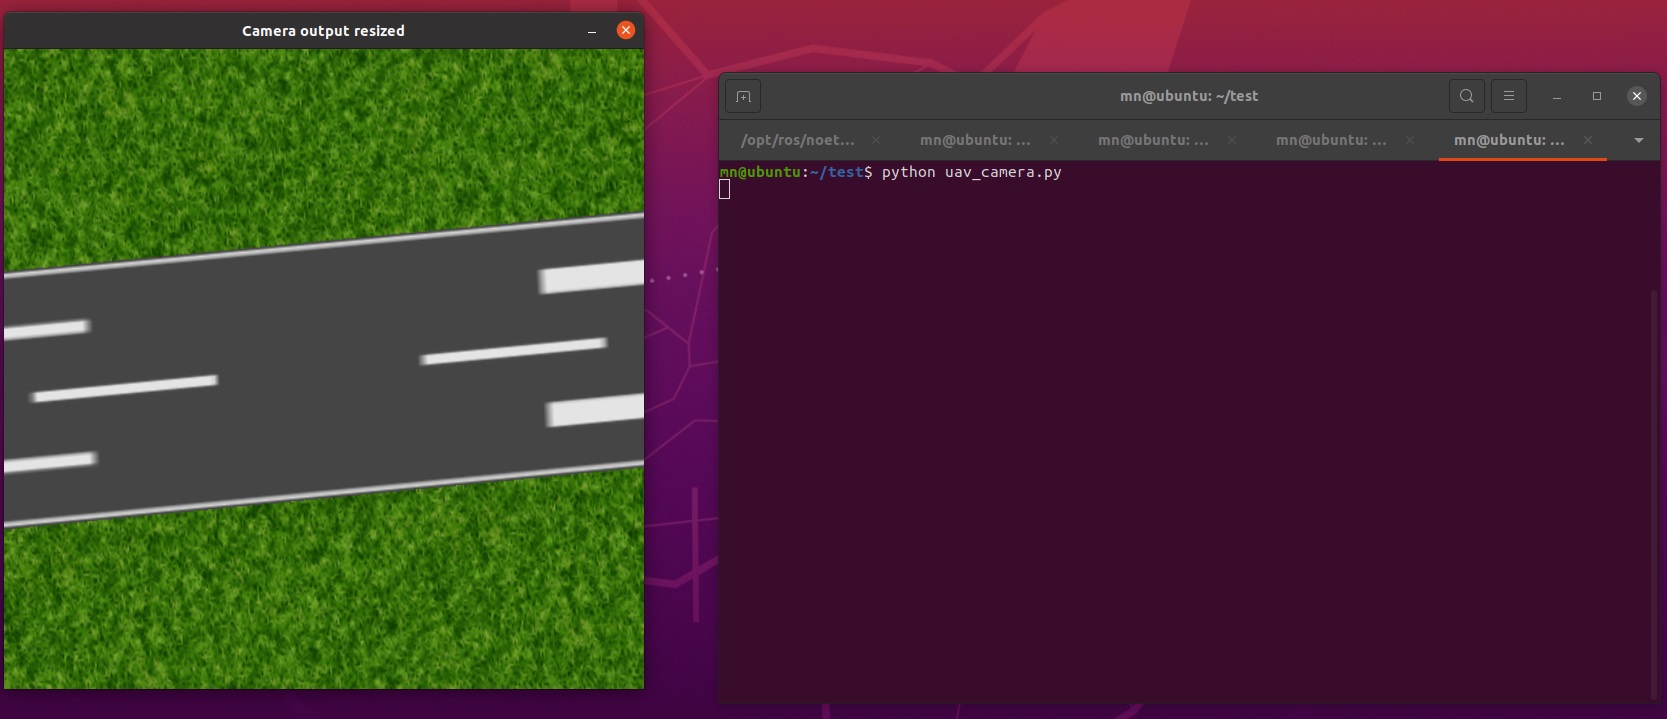
- You can also use uav_camera.py script to view the image captured from UAV's camera.
- https://ubuntu.com/
- https://www.ros.org/
- https://gazebosim.org/
- https://github.com/ArduPilot/ardupilot
- https://github.com/SwiftGust/ardupilot_gazebo
- https://github.com/khancyr/ardupilot_gazebo
- https://www.docker.com/
- https://github.com/ArduPilot/MAVProxy
- https://github.com/dhanuzch/pkg_cv_ros_tutorial_by_dhanuzch


