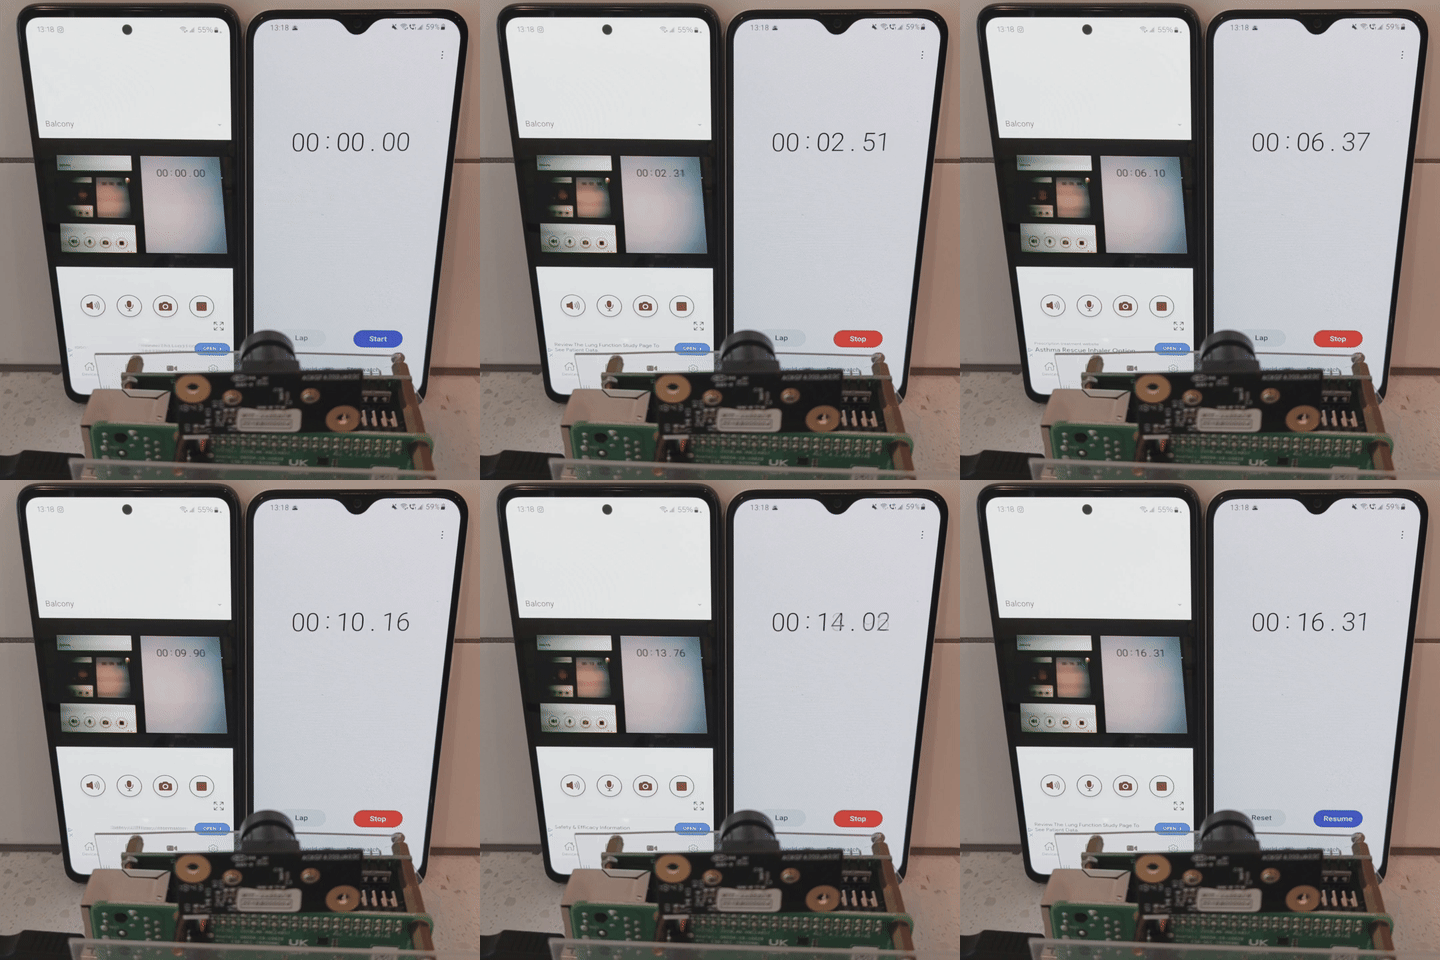
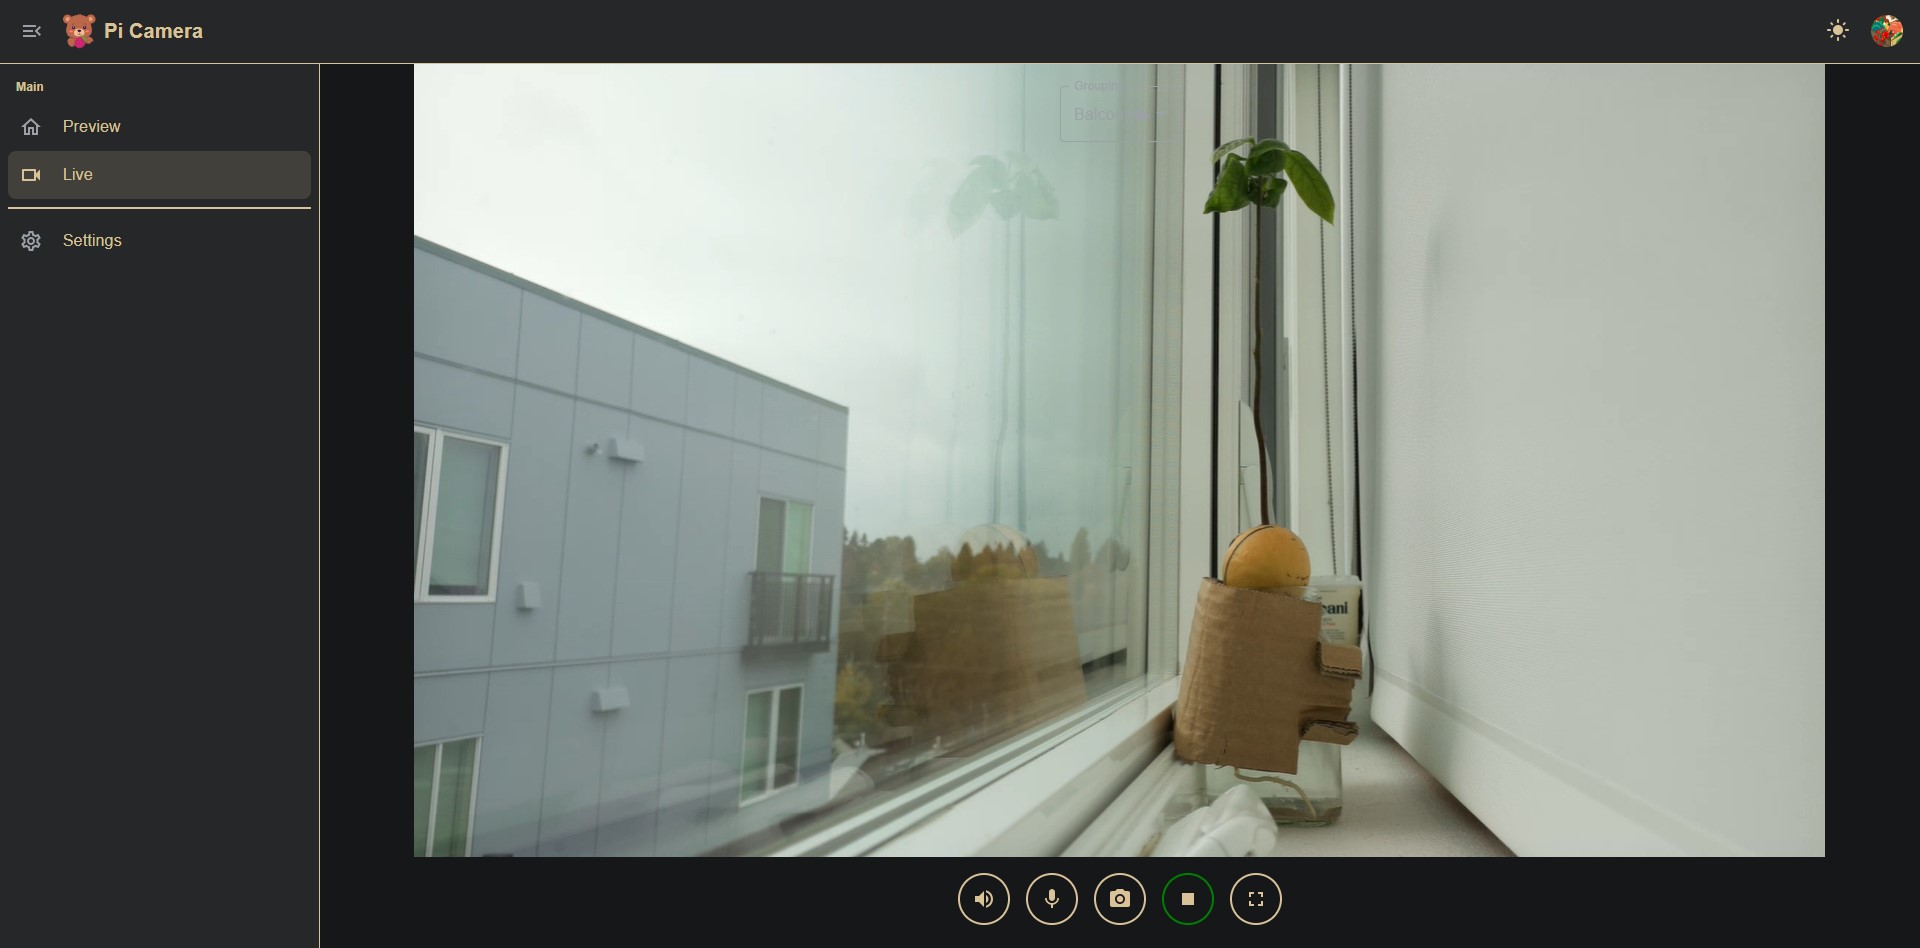
Turn your Raspberry Pi into a low-latency home security camera using the V4L2 DMA hardware encoder and WebRTC. [demo video]
-
Supports real-time adjustment of camera parameters and video recording download.
-
Support multiple users for simultaneous live streaming.
-
Support signaling
MQTT
- PiCamera.js
- Pi Camera App (for development and testing)
- Pi Camera Web (for development and testing)
To set up the environment, please check out the tutorial video or the steps below.
- Raspberry Pi (Zero 2W/3B/3B+/4B/5).
- CSI or USB Camera Module.
Use the Raspberry Pi Imager to install Raspberry Pi Lite OS on your microSD card.
💡 Can I use a regular Raspberry Pi OS, or does it have to be Lite?
You can use either the Lite or full Raspberry Pi OS (the official recommended versions), but Lite OS is generally more efficient.
sudo apt install libmosquitto1 pulseaudio libavformat59 libswscale6Prepare the binary file from Releases.
wget https://github.com/TzuHuanTai/RaspberryPi_WebRTC/releases/latest/download/pi_webrtc-v1.0.6-rc.1_MQTT_raspios-bookworm-arm64.tar.gz
tar -xzf pi_webrtc-v1.0.6-rc.1_MQTT_raspios-bookworm-arm64.tar.gzYou can use a free cloud MQTT service like HiveMQ or EMQX, or set up your own self-hosted broker.
💡 Is MQTT registration necessary, and why is MQTT needed?
MQTT is one option for signaling P2P connection information between your camera and the client UI. WHEP, on the other hand, runs an HTTP service locally and does not require a third-party server. It is only suitable for devices with a public hostname. If you choose to self-host an MQTT server (e.g., Mosquitto) and need to access the signaling server remotely via mobile data, you may need to set up DDNS, port forwarding, and SSL/TLS.
- Set up the MQTT settings on your Pi Camera App or Pi Camera Web, and create a new device in the Settings page to get a
UID. - Run the command based on your network settings and
UIDon the Raspberry Pi:./pi_webrtc \ --camera=libcamera:0 \ --fps=30 \ --width=1280 \ --height=960 \ --mqtt_host=your.mqtt.cloud \ --mqtt_port=8883 \ --mqtt_username=hakunamatata \ --mqtt_password=Wonderful \ --uid=your-custom-uid \ --no_audio \ --hw_accel # Only Pi Zero 2W, 3B, 4B support hw encoding
Important
Use --hw_accel for Pi Zero 2W, 3B, 3B+, and 4B. Remove for Pi 5 or devices without hardware encoding.
- Go to the Live page to enjoy real-time streaming!


