Features | Download | Contribute | Build | License
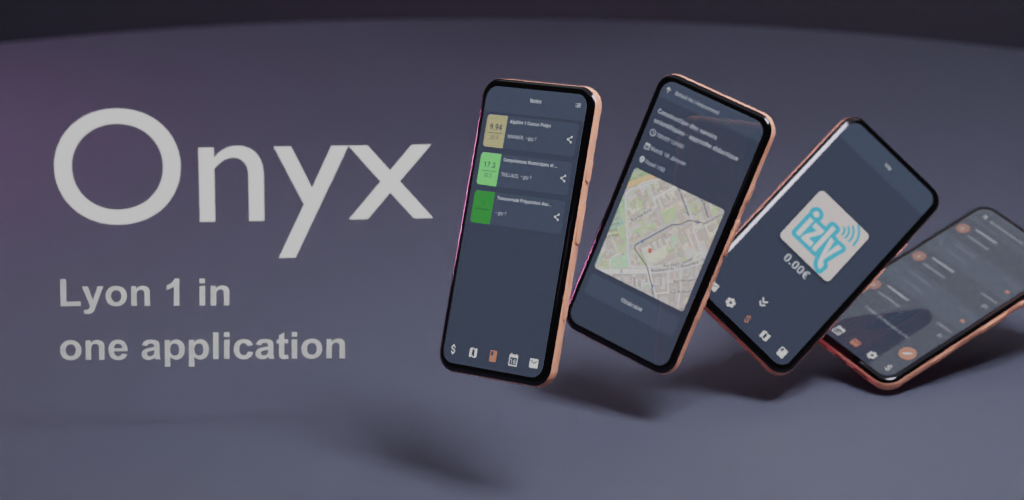
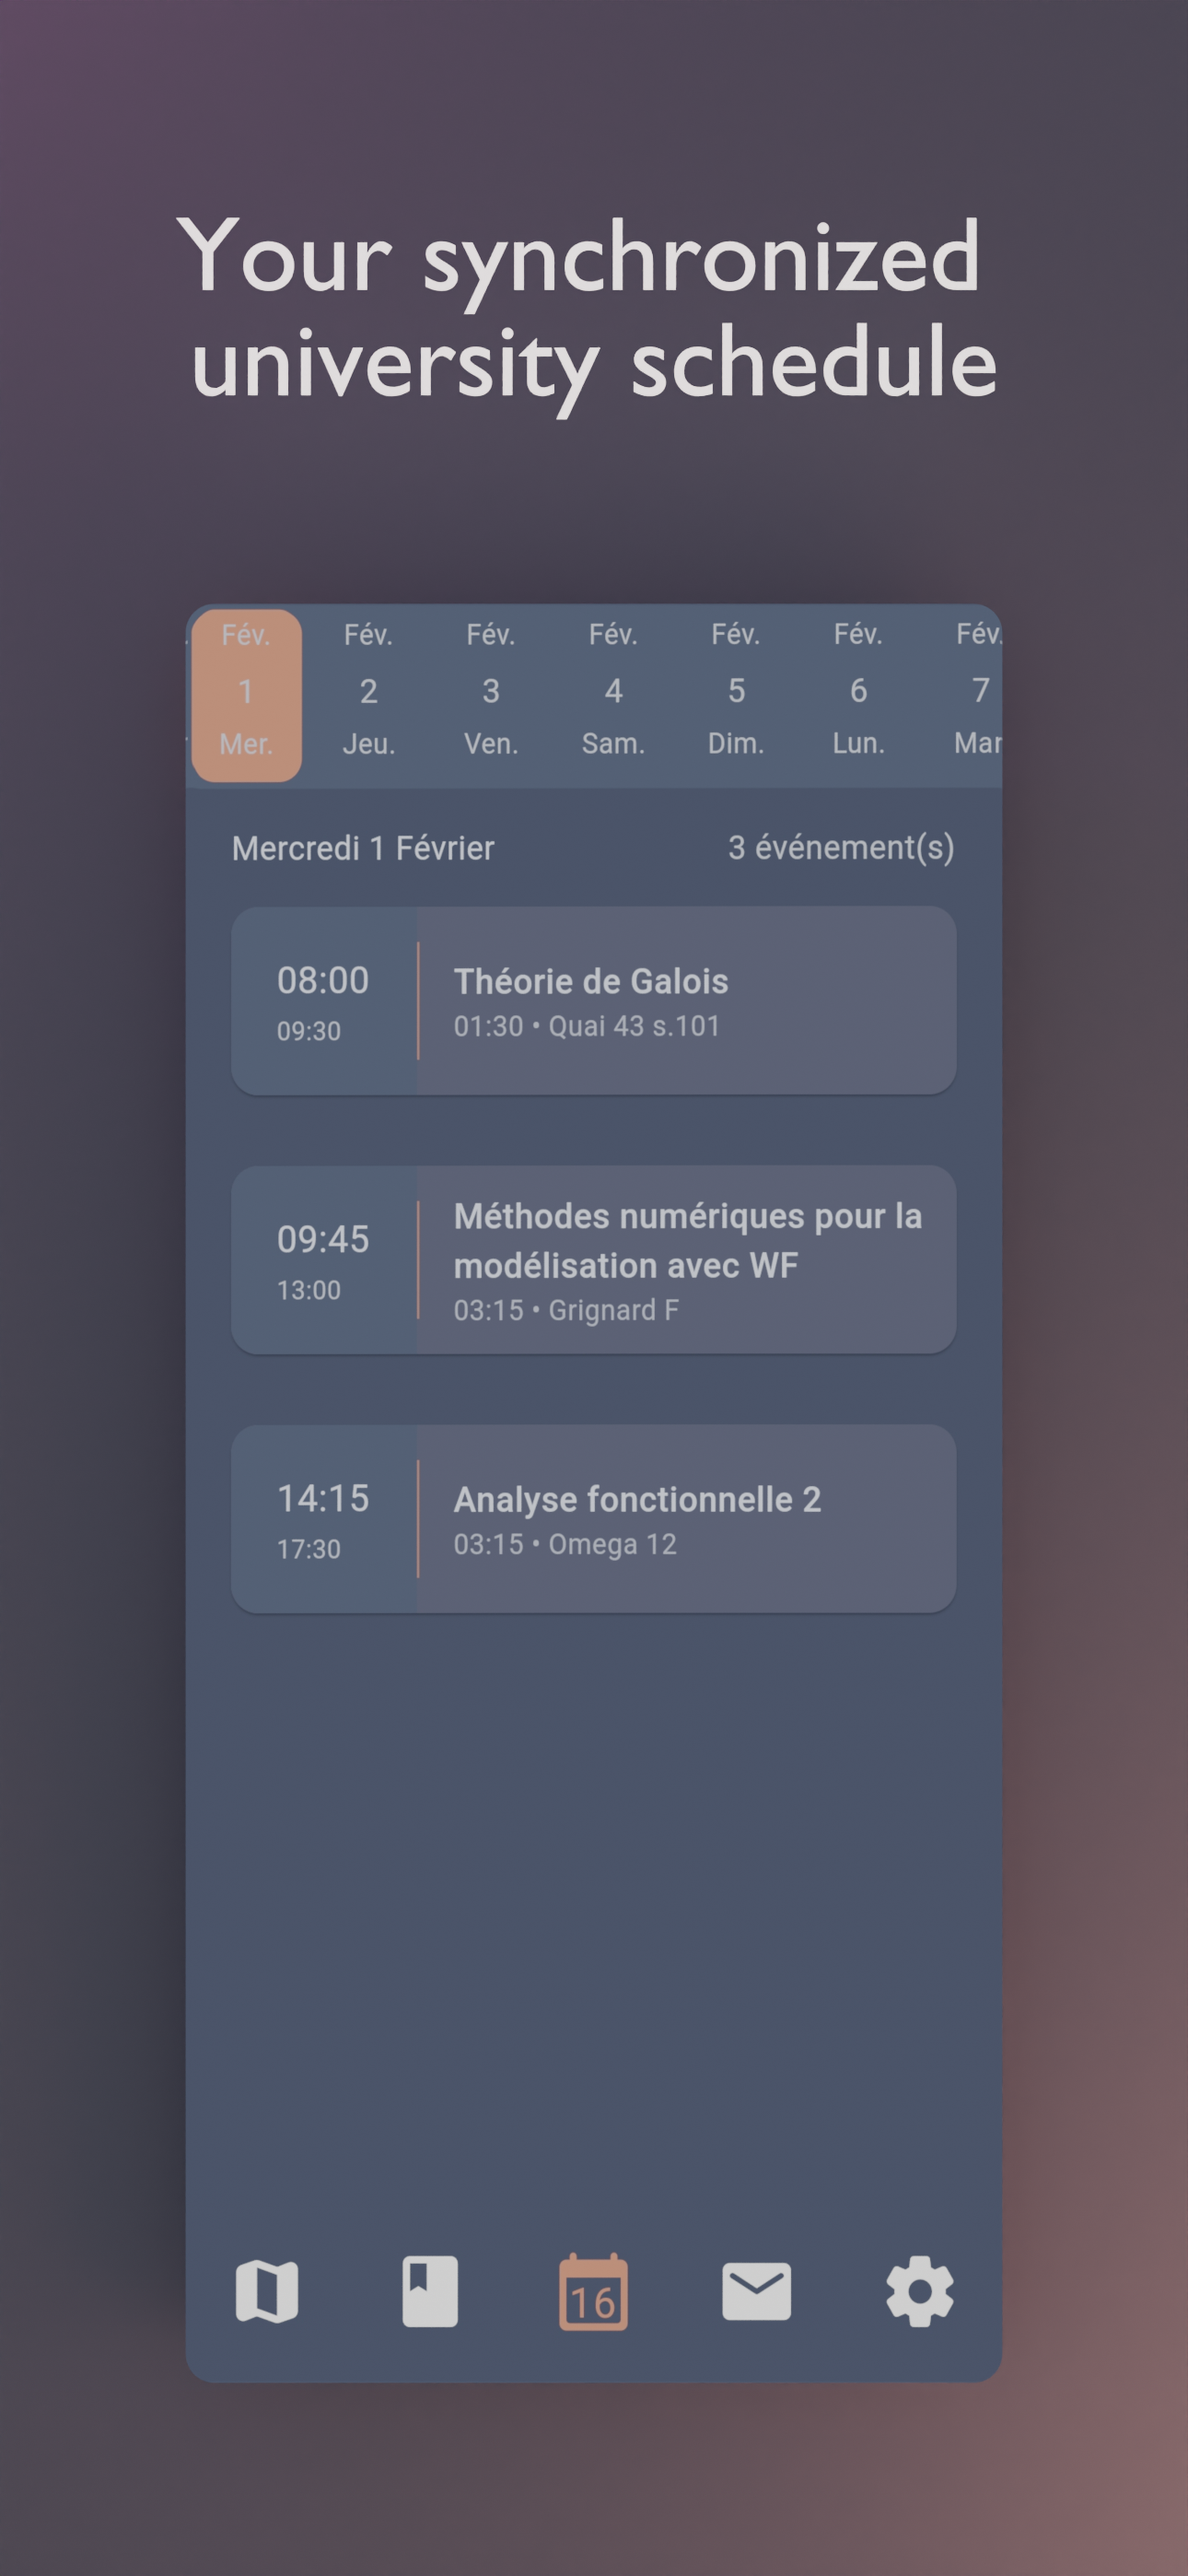
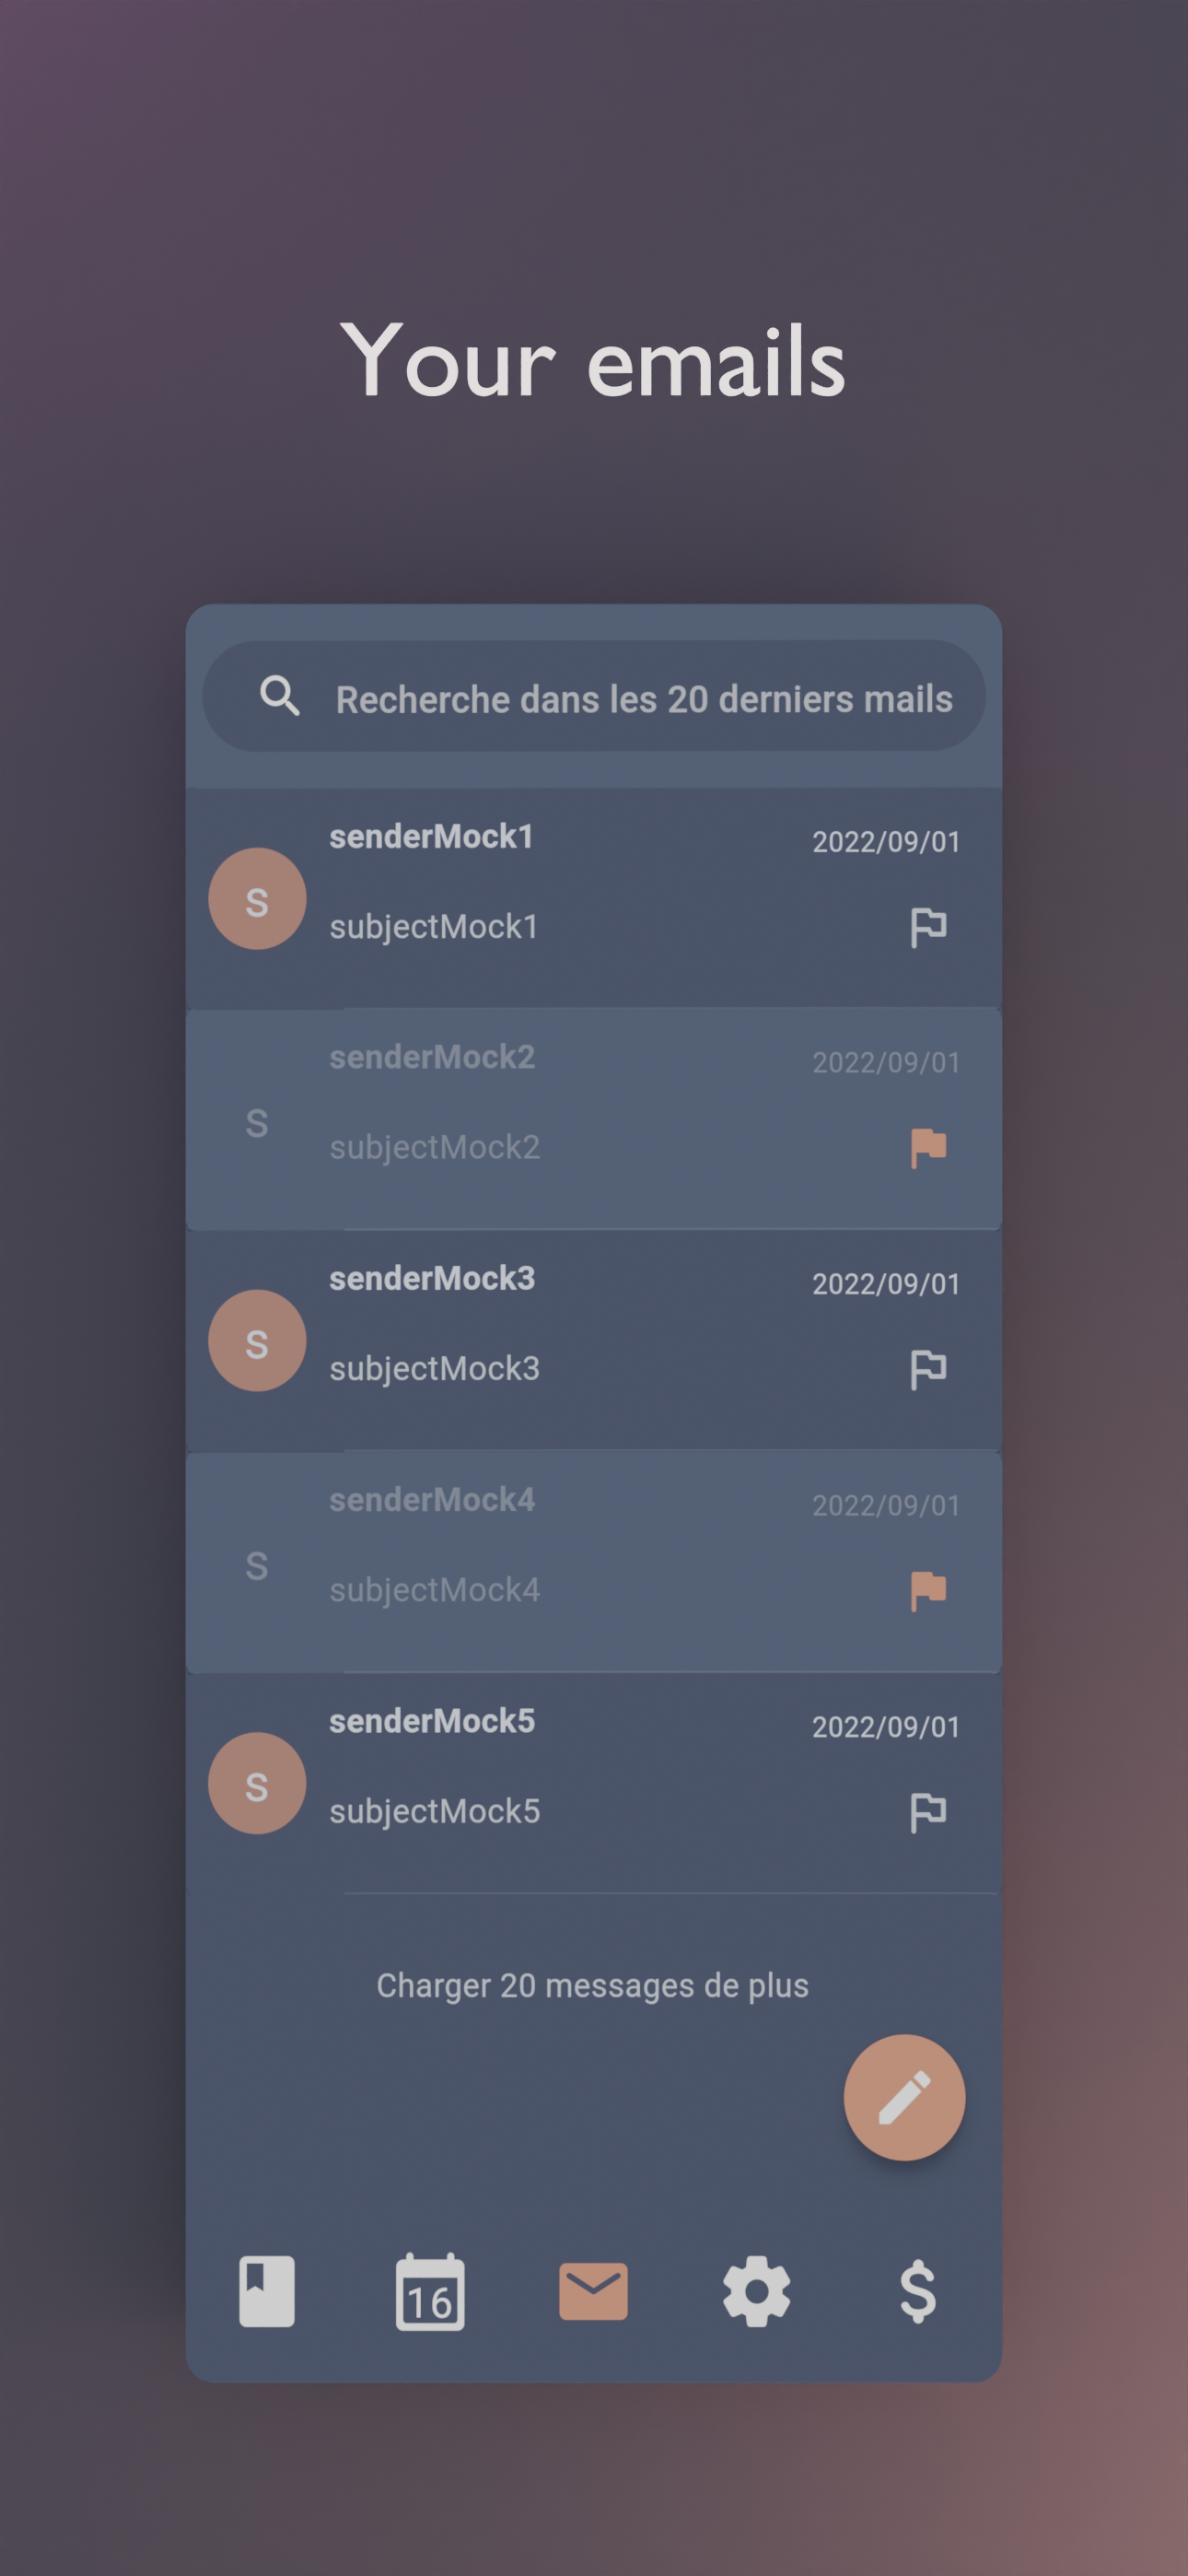
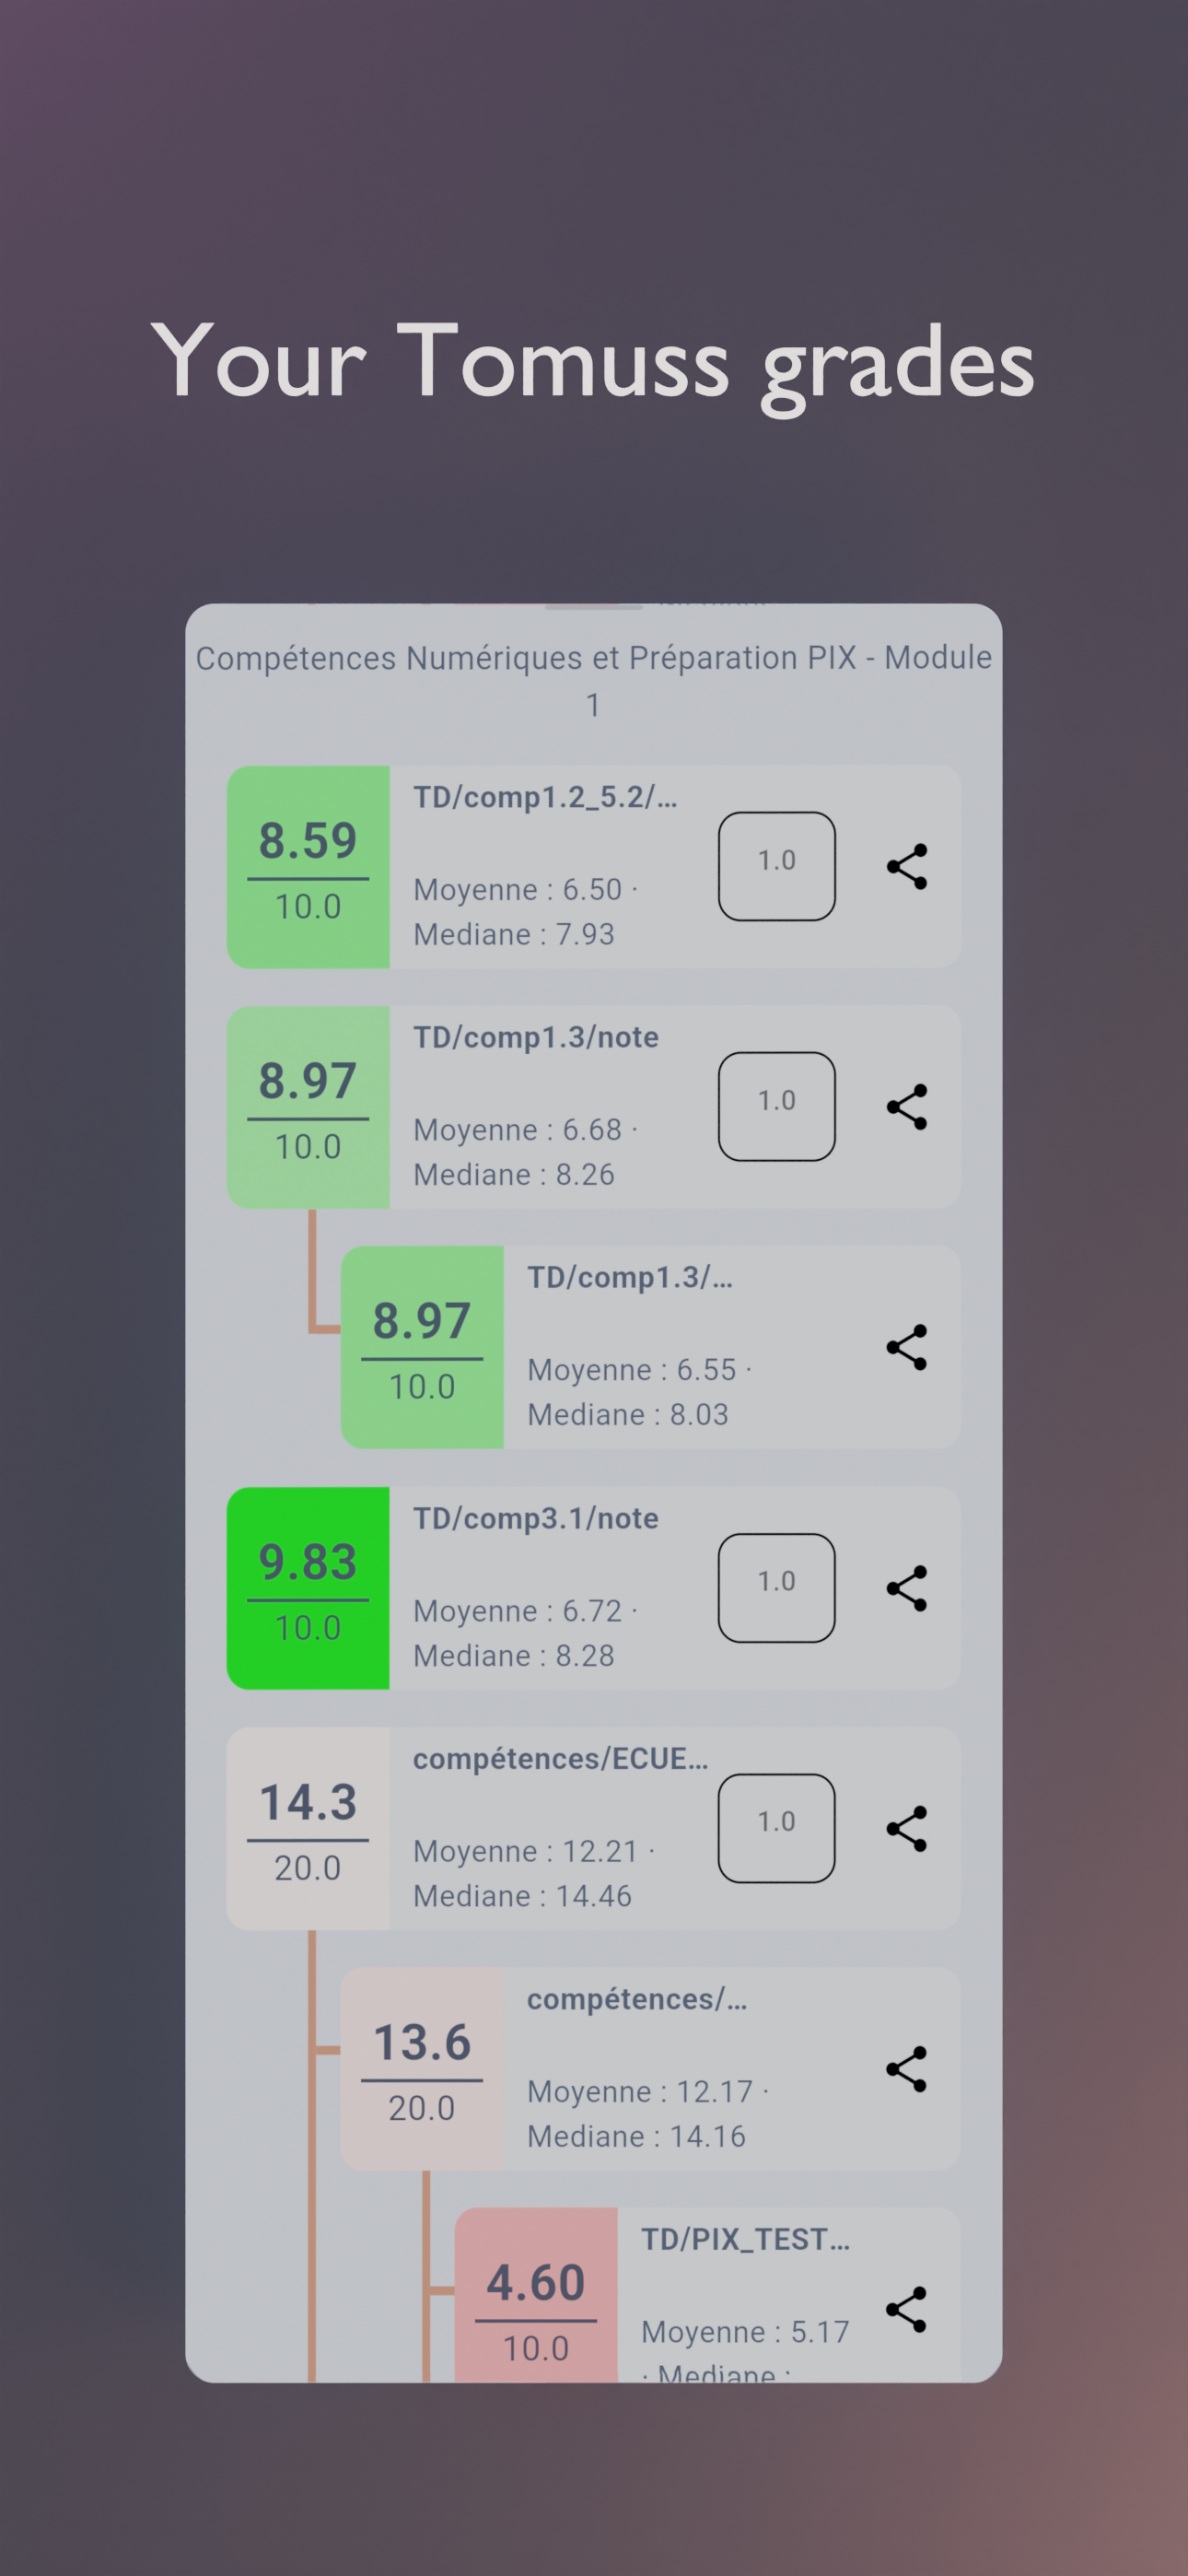
Onyx is an unofficial, open-source application that lets you access all Université Claude Bernard Lyon 1 services from your phone.
An application for students, by students. Feel free to contribute to this project by opening issues or pull requests. We really appreciate any help. You can also chat with us on Discord.
To build the app, follow these steps:
-
Install Flutter from flutter.dev.
-
You will need those libraries:
- pkg-config
- libgtk3
- libglib2
- libsecret
On Debian/Ubuntu like distros, they can be installed with this single command :
sudo apt install pkg-config libgtk-3-dev libglib2.0-dev libsecret-1-dev
-
You will need a recent version of Android Sdk.
You can then run
flutter doctorto check if it's detected by flutter.
Please make sure you are on the main branch before proceeding with the build process.
Navigate to the apps/onyx directory and execute the following command based on your
target platform:
- To build an APK:
flutter build apk --profile(the--profileflag build the app without the signing key but with full optimizations)- The APK file is located at
apps/onyx/build/app/outputs/flutter-apk/app-release.apk.
- The APK file is located at
- To build for Linux:
flutter build linux- The Linux build is located at
apps/onyx/build/linux/x64/release/bundle/Onyx.
- The Linux build is located at
- To build an app bundle:
flutter build appbundle --profile(the--profileflag build the app without the signing key but with full optimizations)- The app bundle is located at
apps/onyx/build/app/outputs/bundle/release/app-release.aab.
- The app bundle is located at
- For other platforms, please refer to the Flutter documentation for their respective build locations.
To set up your development environment:
- The required libraries are located in the
packages/directory. - Install Melos, which handles linking libraries directly in the app for development:
- Install Melos by running:
dart pub global activate melos. - Refer to the Melos documentation for more details.
- Install Melos by running:
- Run
melos bsormelos bootstrapto link the local libraries in the app and retrieve all dependencies. - Navigate to the
apps/onyxdirectory and runflutter cleanto ensure a clean environment. - Run
flutter runto start the app. - Optionally, you can use
melos generateto generate automatically generated files (usually not needed unless you modify them). - Run
melos testto run unit tests for all the libraries. - Run
melos analyzeto perform static analysis on the libraries and the Onyx app. - To unlink everything, use
melos clean. - You may have to use the agenda ids with your keys, to prevent commiting them, you can
use
git update-index --assume-unchanged apps/onyx/assets/key.txtandgit update-index --assume-unchanged apps/onyx/assets/iv.txtto ignore changes to this file.
if you are using the flake, to create an virtual device, run : avdmanager create avd --force --name phone --package 'system-images;android-33;google_apis_playstore;x86_64'
then to run it simply run : emulator -avd phone -skin 720x1280
To run end-to-end tests:
- Install Maestro by following the Maestro documentation.
- Run the following command to install Maestro:
curl -Ls "https://get.maestro.mobile.dev" | bash(Applicable for Mac OS, Linux, or Windows with WSL) - Navigate to the
apps/onyx/integration_testdirectory. 4. After installing the app on an Android device (physical or virtual), run the following command to execute the tests:maestro test general_test.yamlMaestro will automatically run the tests.
Now, you're all set to build and test your Flutter app. 🎉
This work is licensed under the GPL-3.0 License. To view a copy of this license, visit https://www.gnu.org/licenses/


