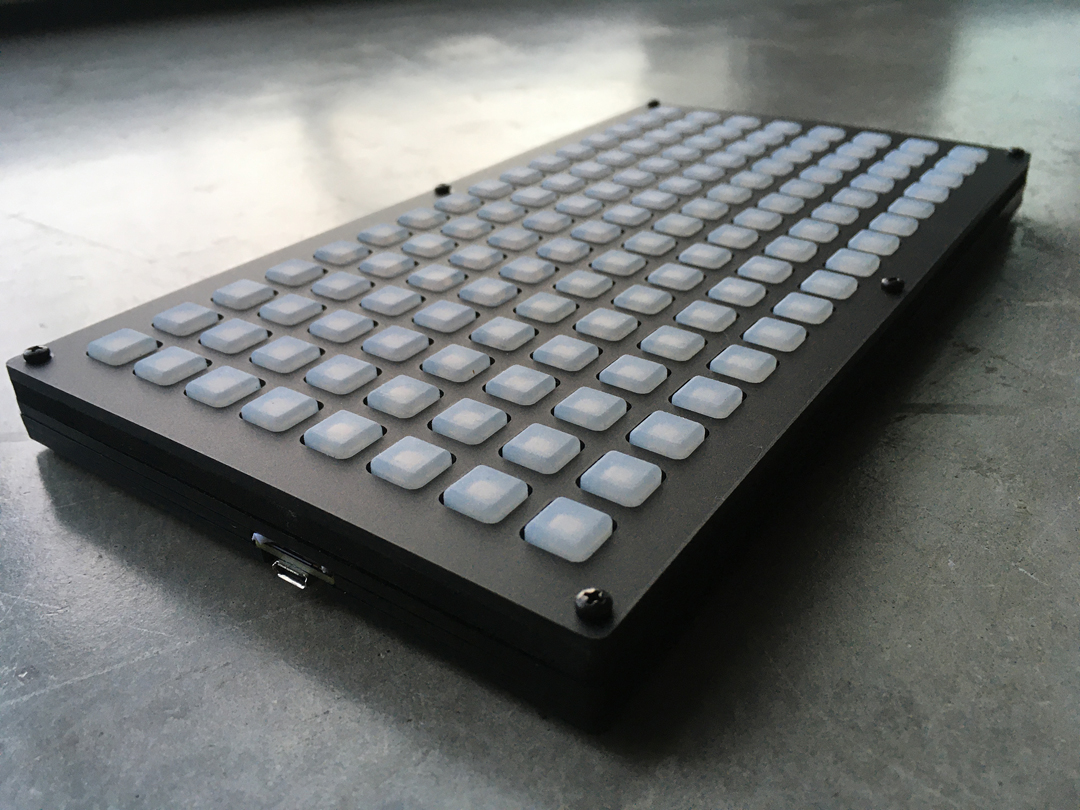
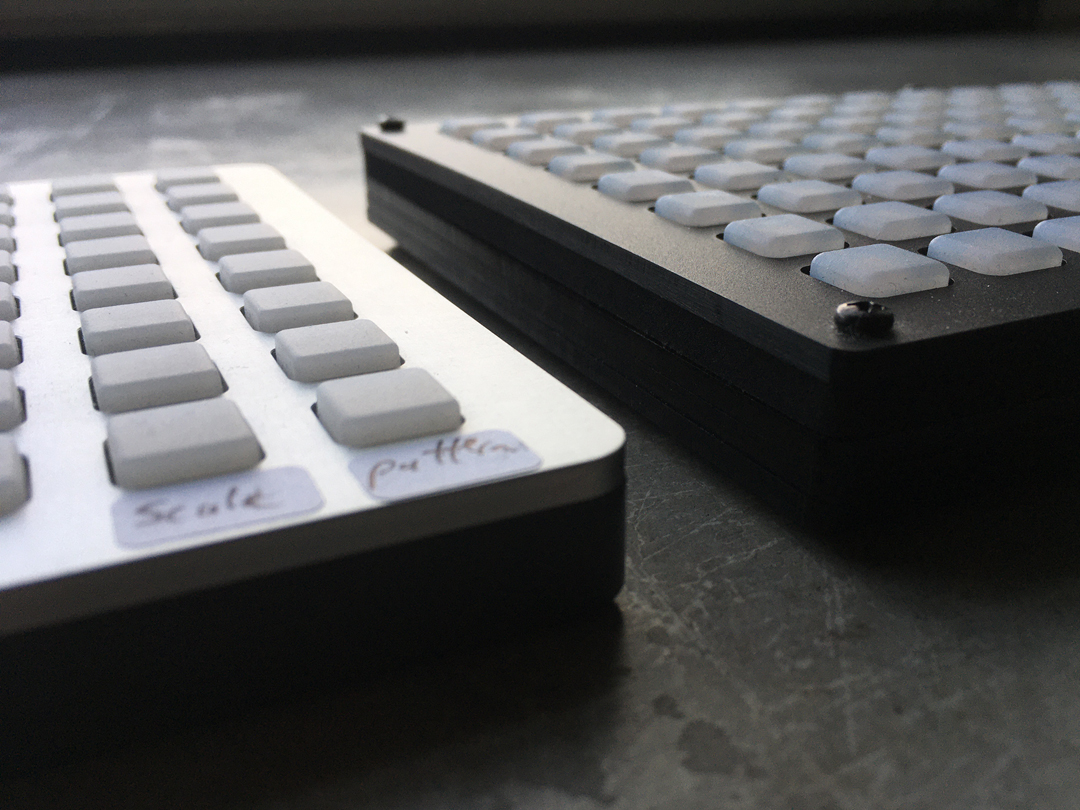
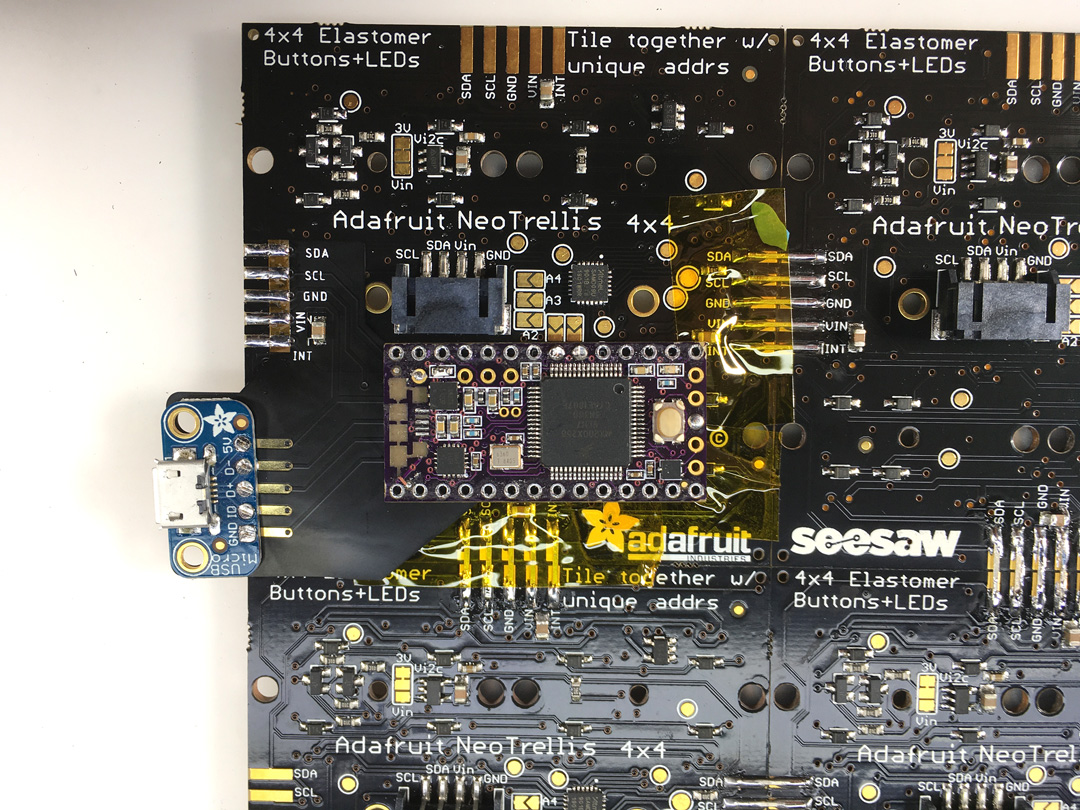
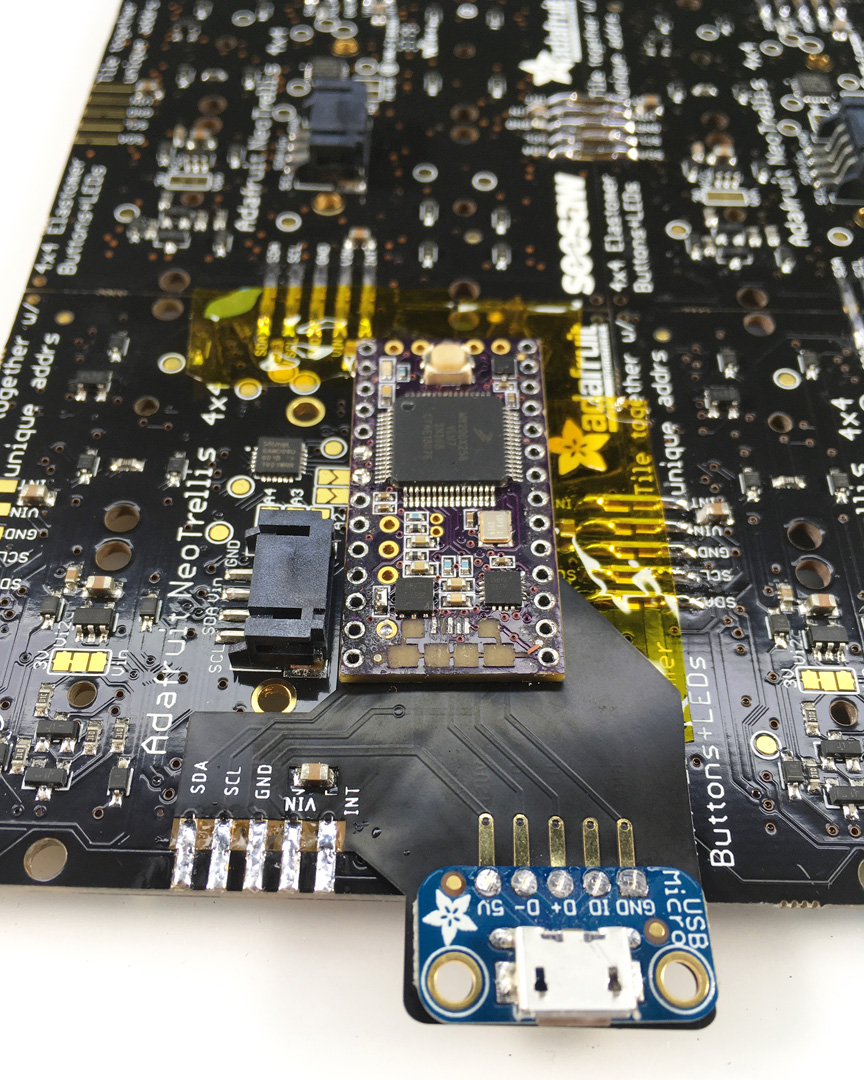
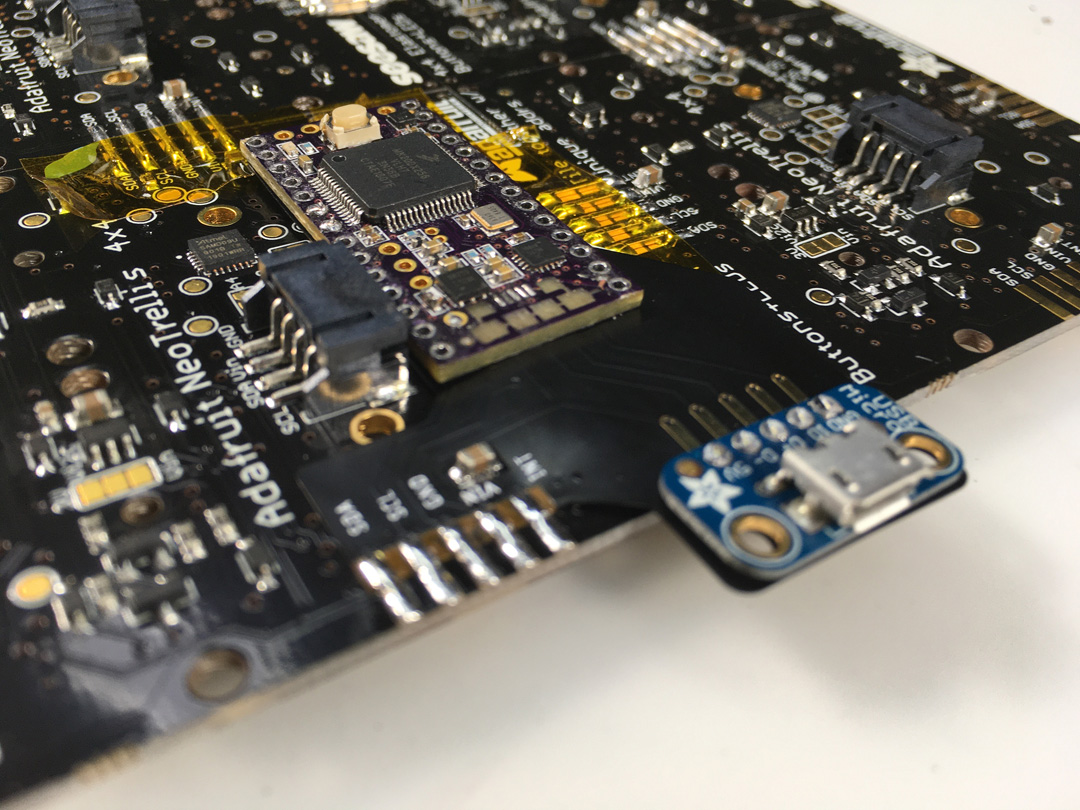
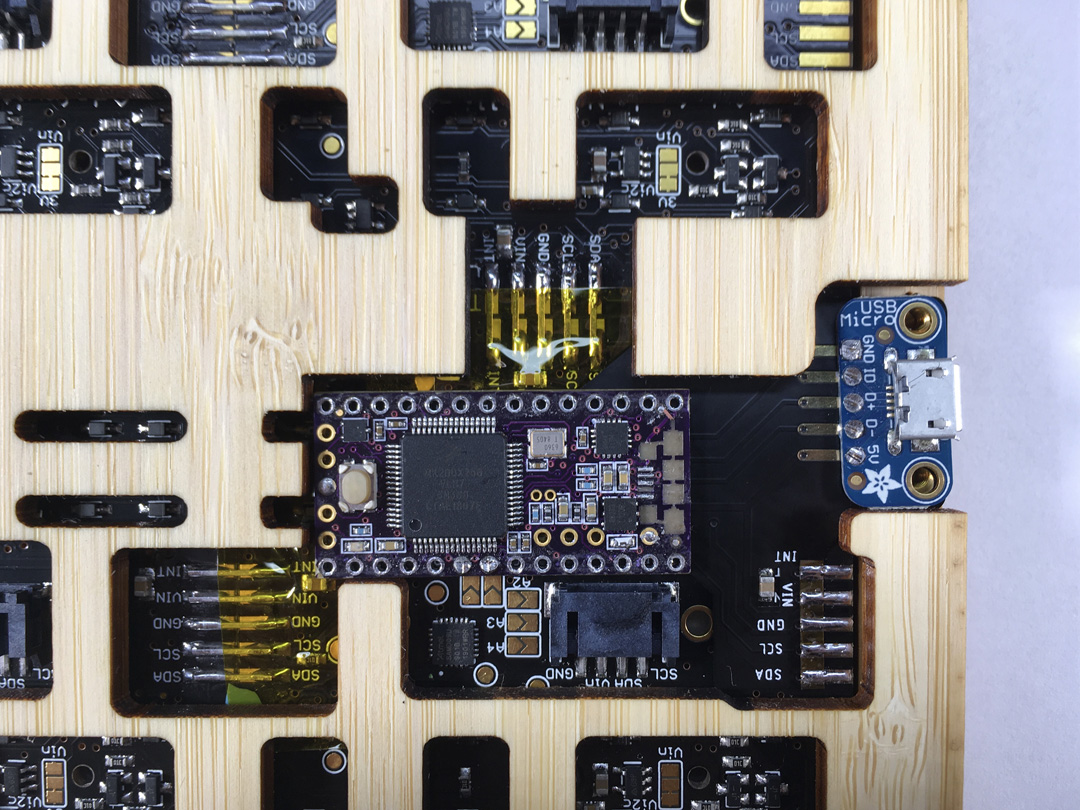
This is one example of an enclosure for the neotrellis grid - using a Teensy 3.2 and Adafruit USB micro breakout
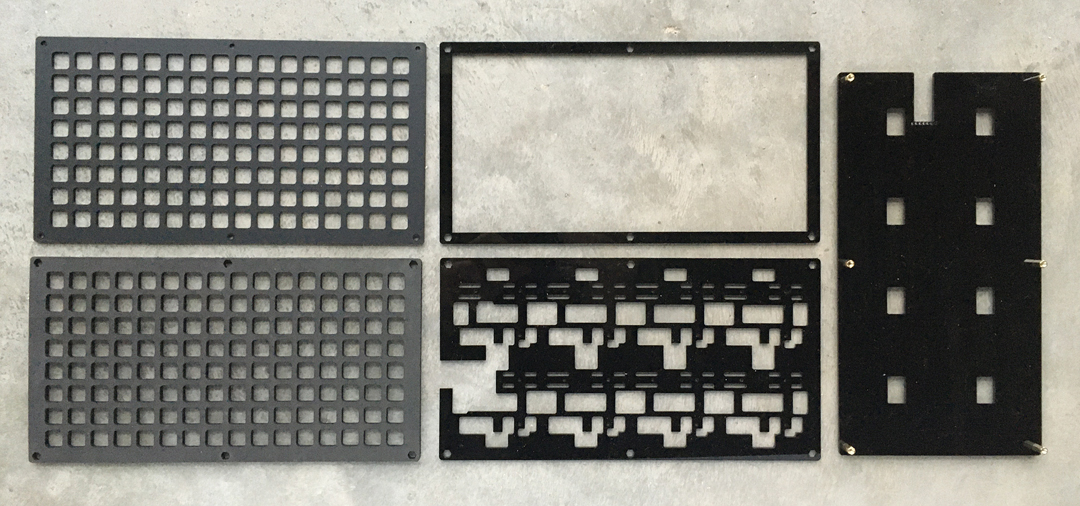
It's a "stack" of laser cut 3mm acrylic and one layer of 5mm EVA foam. I'm using six 2.5M 11mm standoffs and 2.5M screws to attach everything.
(this photo is a slightly older layout)
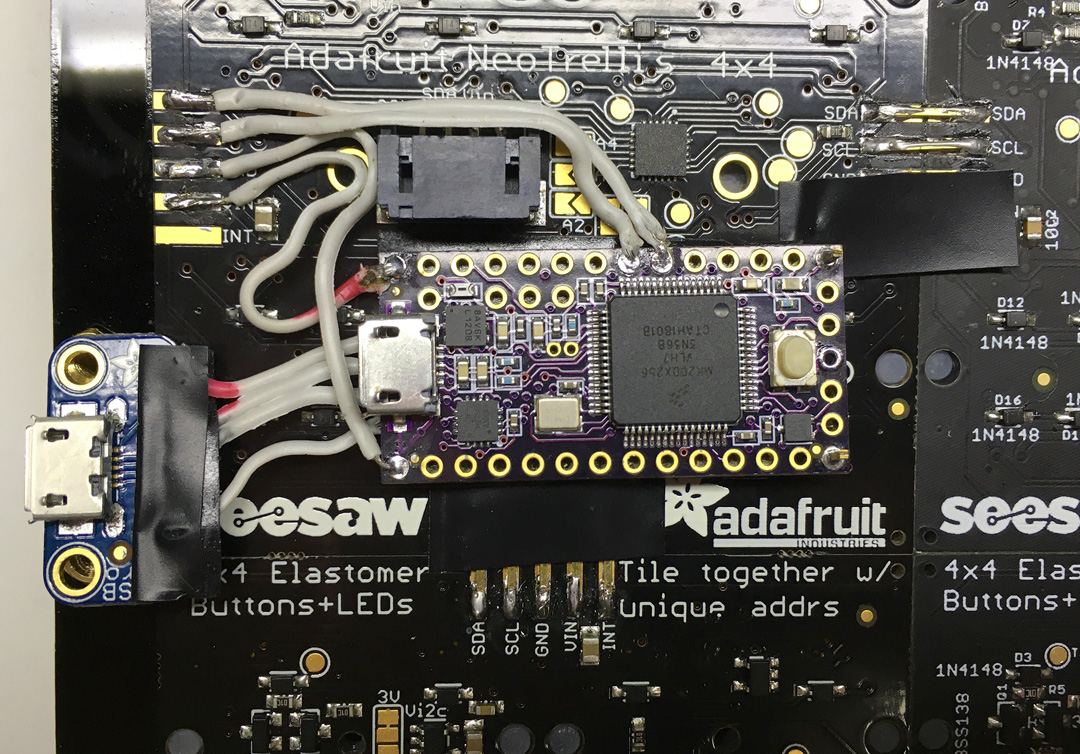
The USB micro breakout is used to breakout 5v power/data from the Teensy and workaround a current limiter on the Teensy 3.2's usb port. This also to provide a cheap and easily replaceable part if the jack gets damaged (Teensy's are a huge pain if the USB jack breaks off).
NOTE - The usb breakout setup here will not work with the Teensy 4. But it appears the Teensy 4 does not have the current limiting issue. However, using a T4 would require a slightly different case design/layout.
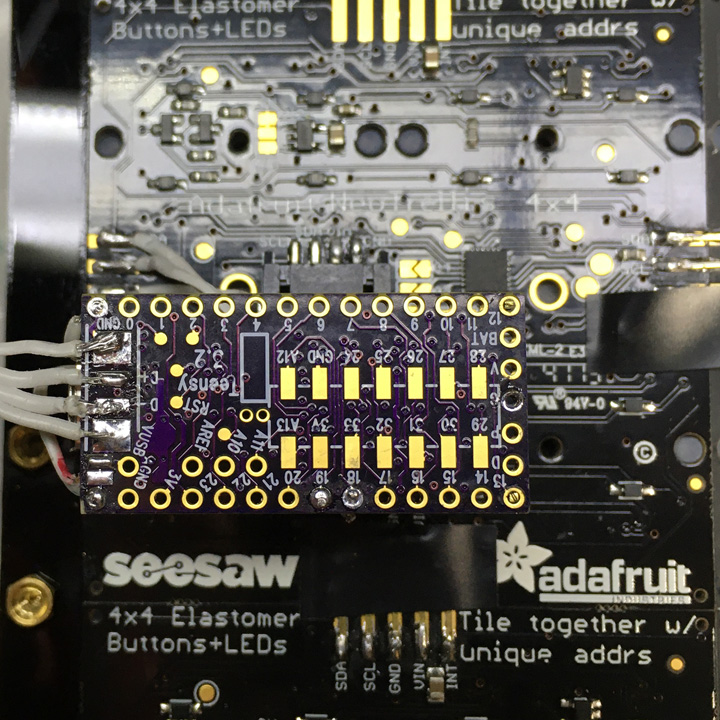
Pins used on the Teensy are VIN (5v from USB), GND, D+, D- (SMD pads on the underside), and then SCL (pin 19), SDA (pin 18).
Put a piece of electrical/kapton tape over the back of the teensy to avoid potential shorts when you stack it up (its a bit of a tight squeeze).
Just in case - also put a piece of electrical/kapton tape on the neotrellis board under where the teensy sits.
Putting the Teensy in the case, you want to be sure it's as flat as possible (see pix).
Kinda ugly example of the teensy and usb breakout wiring for this case layout:
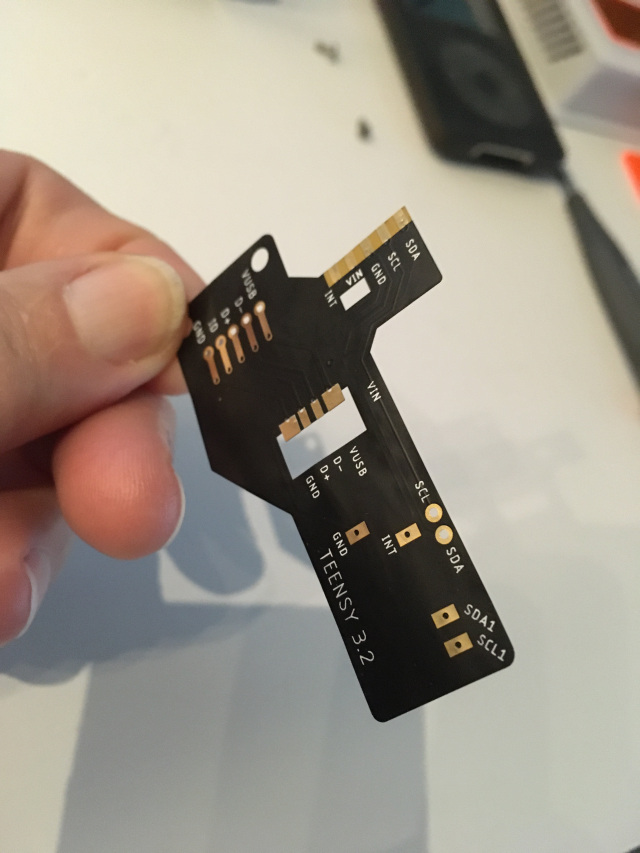
As a replacement for the slightly janky free-wiring, I designed a flexible PCB carrier for the Teensy and the USB breakout.
This gets everything Super Flat and Awesome.
The Flexi PCB is available for sale here
As noted above - also put a piece of electrical/kapton tape on the neotrellis board under where the teensy sits.
