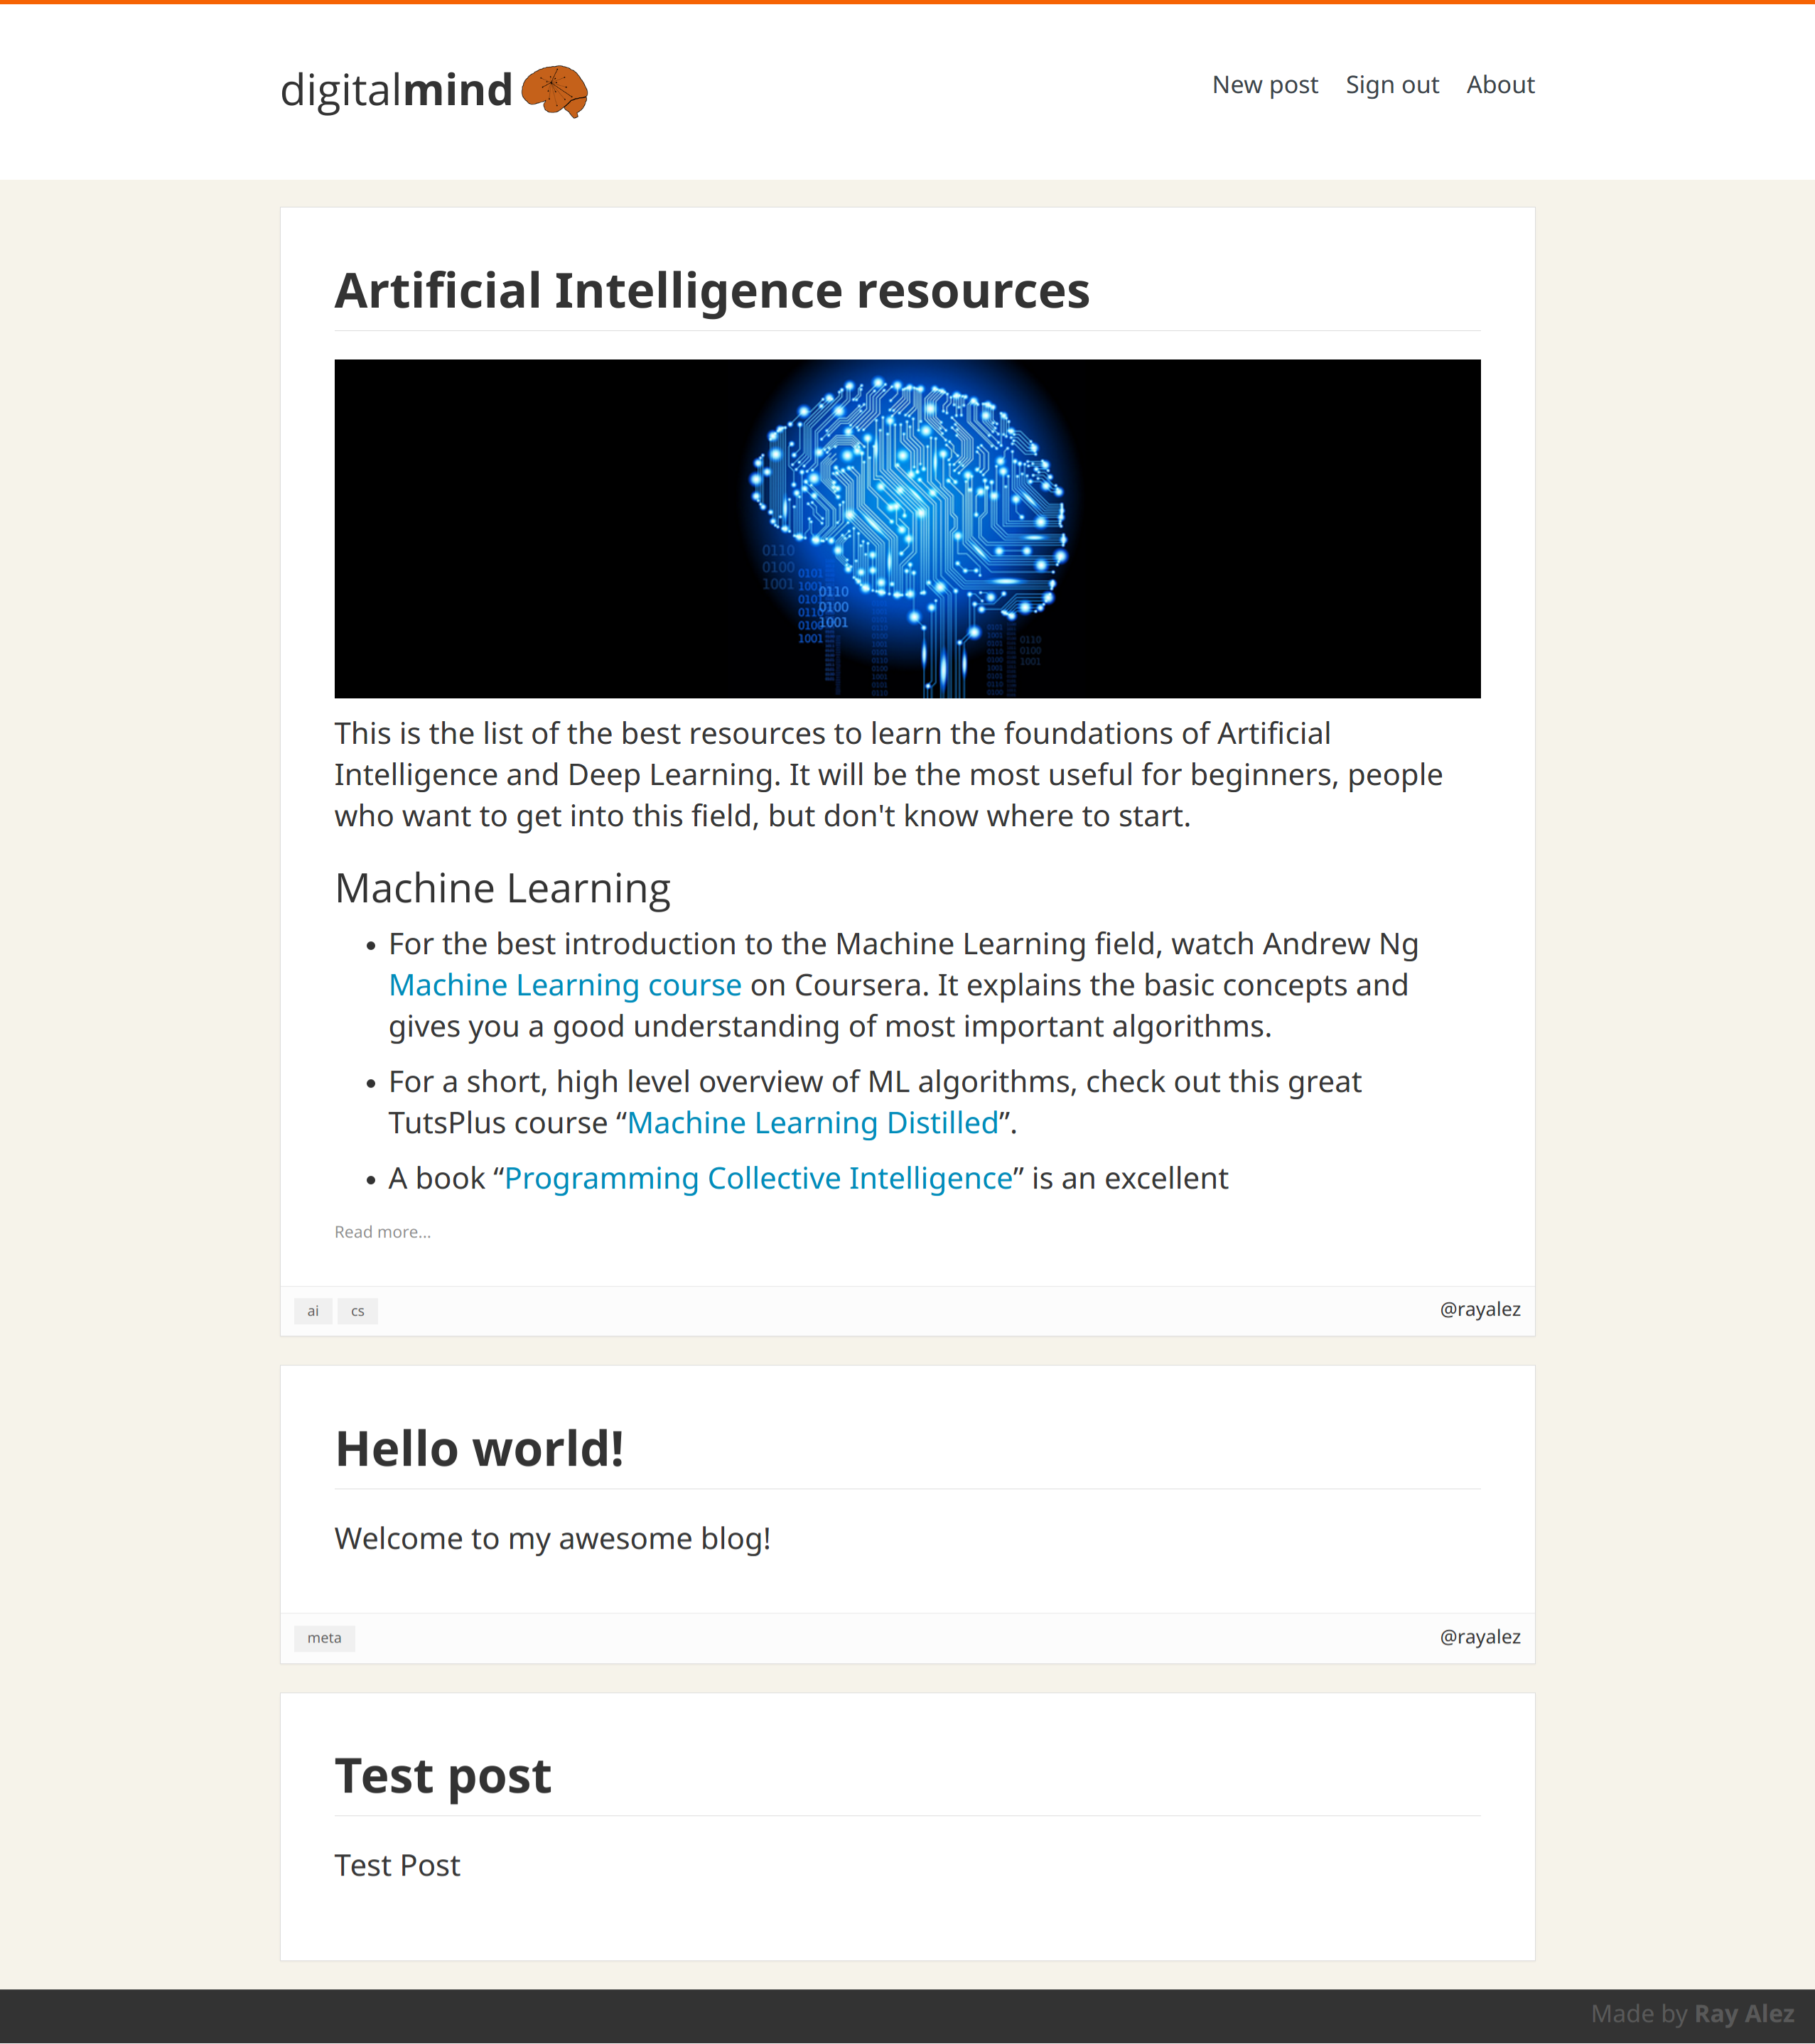
This is a very simple blog built with Django, Django REST Framework, React/Redux, and Bootstrap, deployed with Docker, and served with nginx-uwsgi. It can be useful as an example of integrating Django with React, as a starter project, or as a beautiful and simple blogging tool =)
I have built this project by following these two awesome React courses, I highly recommend them to anybody who wants to learn React! This Django REST Framework course really helped me to build the backend, and this course was incredibly helpful for learning Docker.
I have tried to extensively comment the code, so you could easily understand what's going on, and apply it to your own projects.
This is my first project built with all this tech, so if you have suggestions on how to improve it - I'd really appreciate them. I will keep gradually improving this blog and adding more features. Feel free to contribute to this project, report bugs, or fork it and use it for your purposes. I hope you will find it useful!
You can always contact me at [email protected], and you can check out the other stuff I'm working on over here.
Installing and running this blog is very simple. Clone this repo, and then simply run:
docker-compose up
(use -d flag to run it in the background)
After that, the blog will be running on the localhost. Isn't Docker amazing? =)
You will also need to attach to the container by running this:
docker exec -i -t backend /bin/bash
run migrations:
python3.5 manage.py migrate
and create an admin user with:
python3.5 manage.py createsuperuser
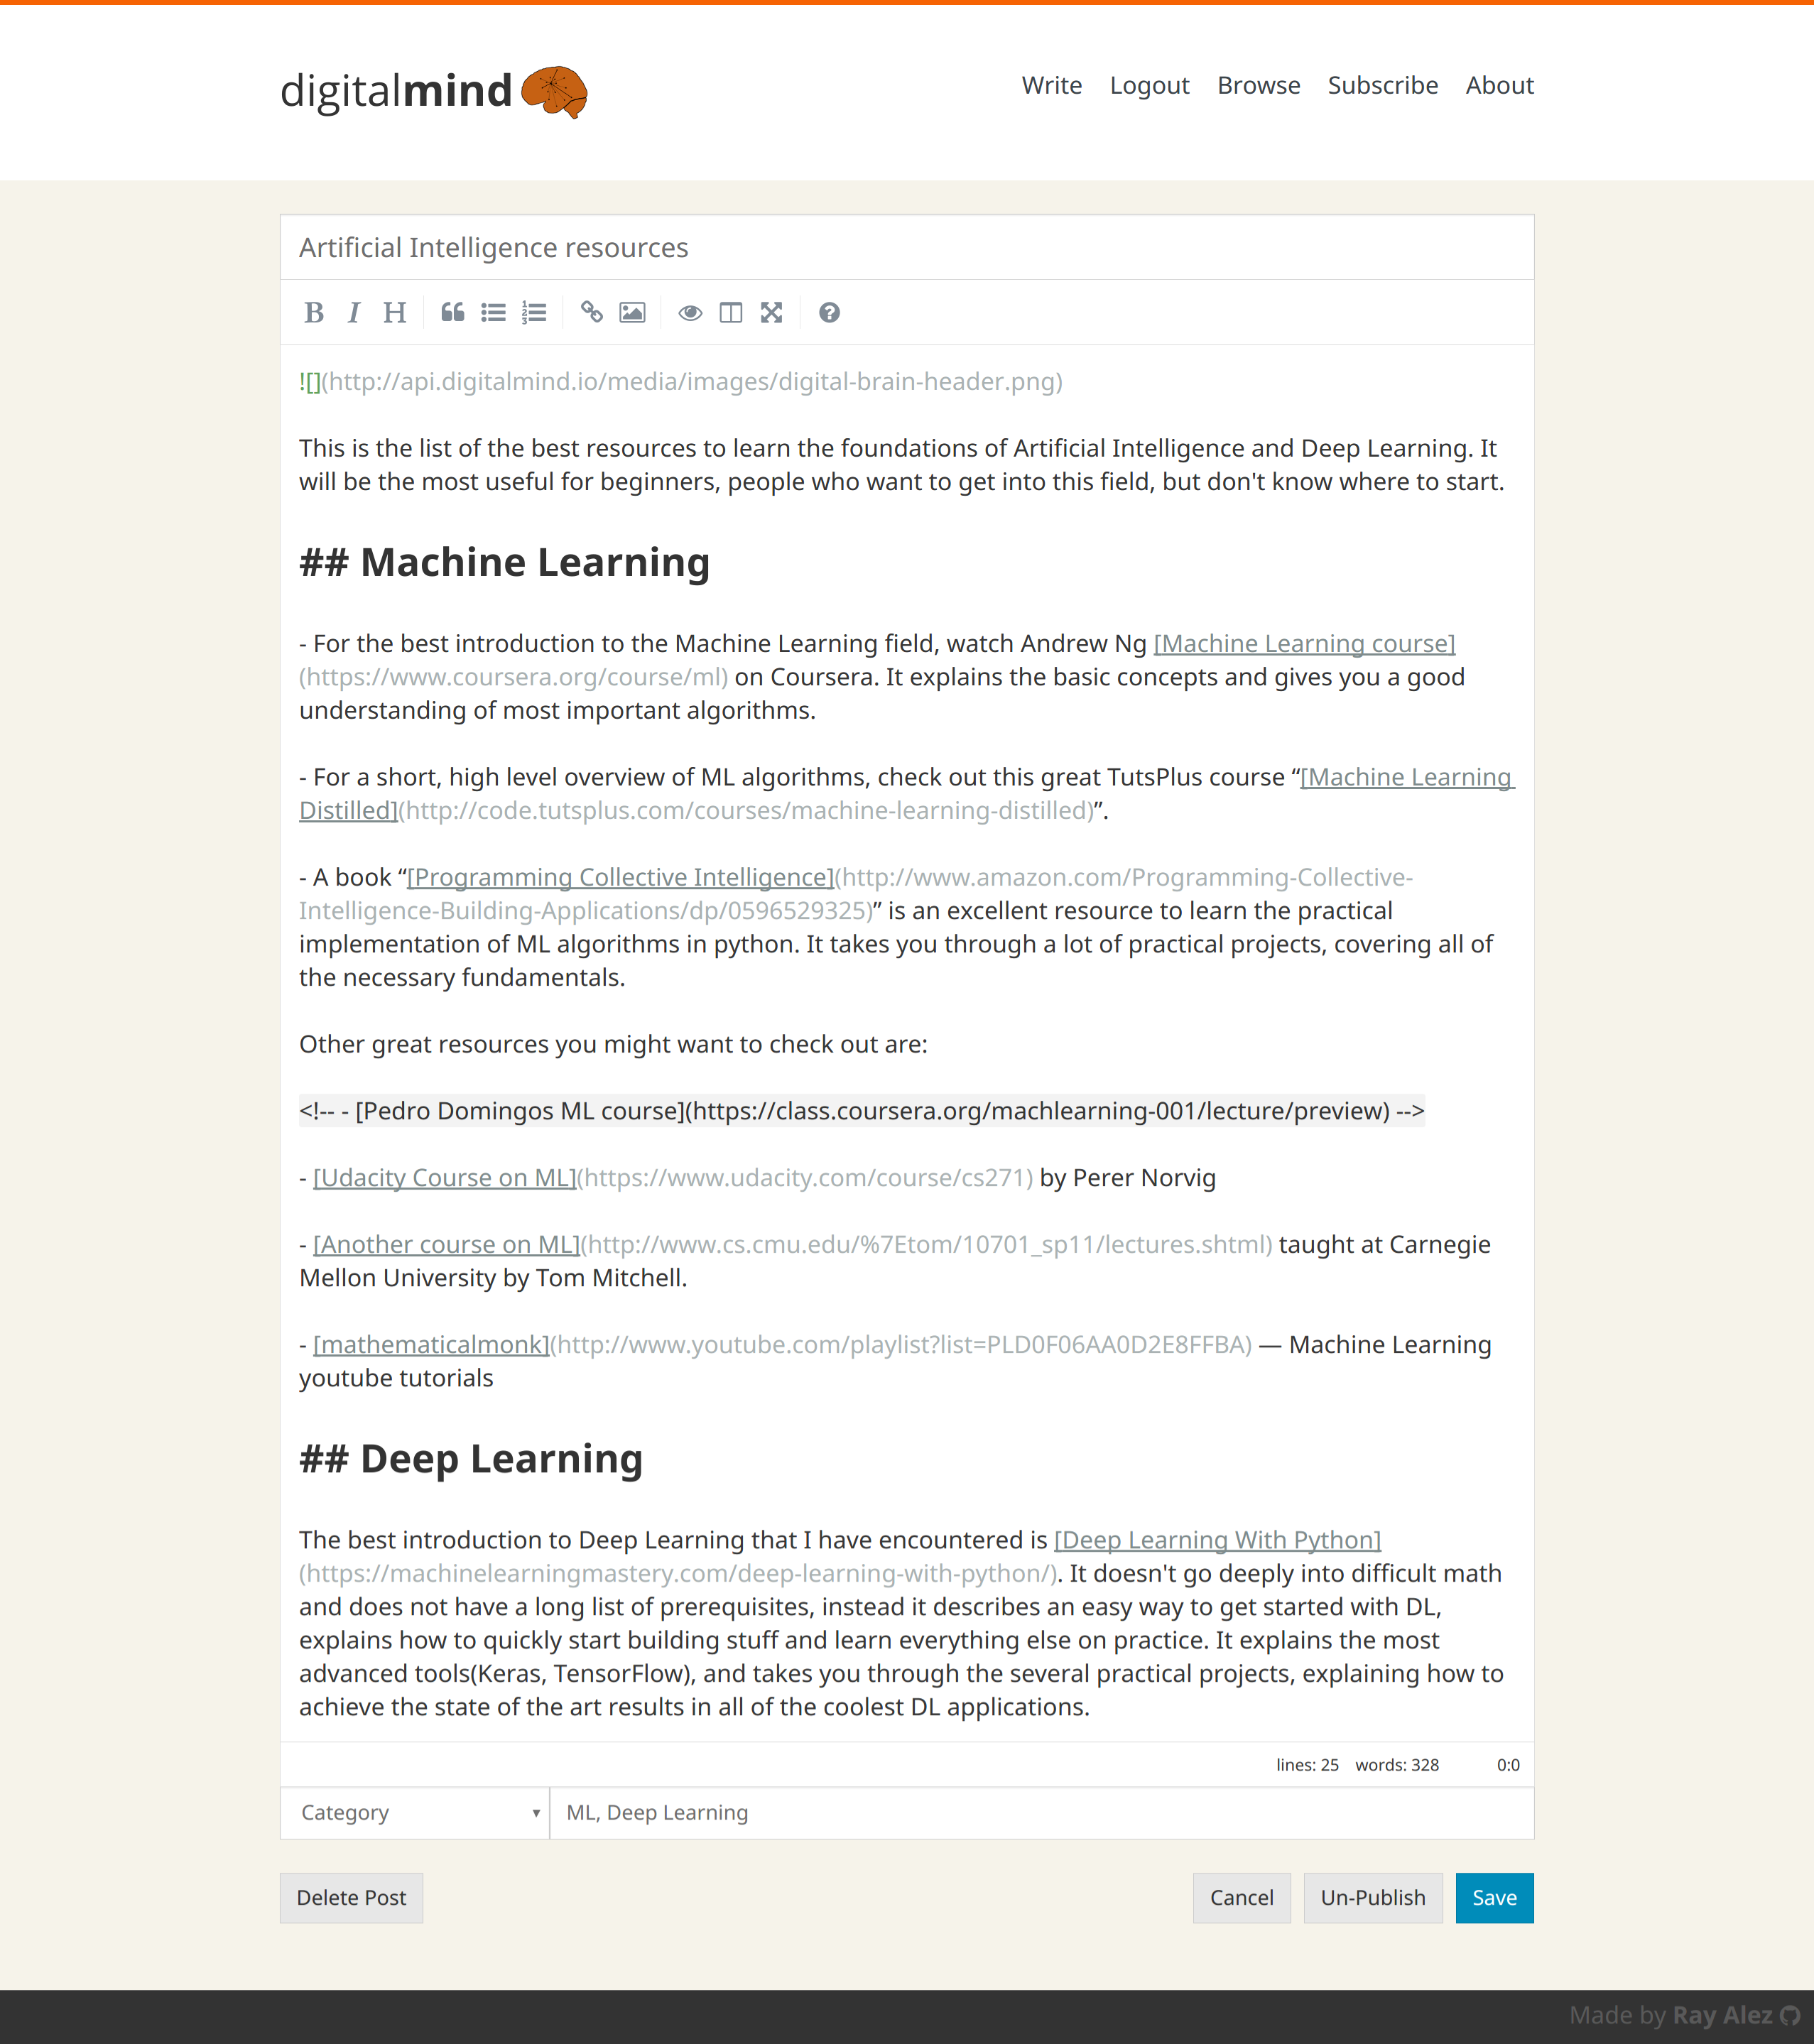
Now you can go to localhost/login url, login and begin blogging!
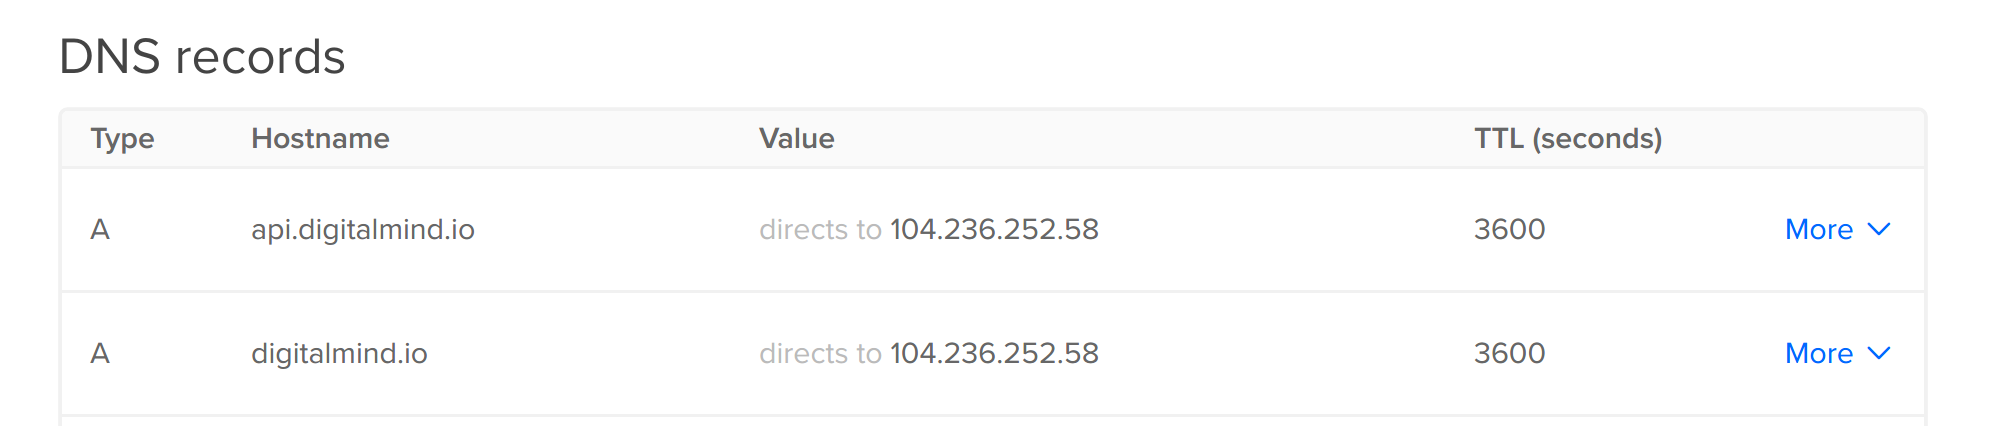
To deploy it online, go to Digital Ocean, create a Docker droplet, and repeat the same commands. Then you will need to go to the networking tab, and create two A records pointing to the droplet:
yourawesomeblog.com
api.yourawesomeblog.com
Like so:
You can also go to:
api.yourawesomeblog.com/admin
to access the admin panel. You can add categories there, if you want to better organize your posts, and you can create a settings object where you can add an about page and fill in the meta info(site title, keywords, etc).
- Core settings. Meta info, analytics, about page.
- Categories
- Drafts
- Email subscriptions.
- Server side rendering.
- Proper form validation.
- Filter by tags.
- Pagination.
- RSS
- Sometimes post editor toolbar is yellow
- Auto Saving.
- Docker Volume API. Properly backup DB.
- Decentralization(federated wordpress/medium).
Add ActivityPub stream of recent posts.
Fetched by nexy, used as community. - Export/Import data.
- Add nested comments.
- Image upload?
- Code syntax highlighting? IPython? MathJax?
- Pass all the speed tests.
https://developers.google.com/speed/pagespeed/insights/
https://tools.pingdom.com/
https://gtmetrix.com/ - Pass all mobile tests
https://search.google.com/search-console/mobile-friendly - Pass all SEO tests
https://seositecheckup.com - Write tests
- Migrate automatically. entrypoint.sh?