Chit Chat is a mobile-responsive, social media platform on which users can post messages and pictures - known as "Shout Outs". Anyone can view Shout Outs, including unregistered users, but only registered users can create, update, and delete them. Additionally, registered users can add comments & rate content shared by others.
- Deployed Application URL: https://chitchat2022.herokuapp.com/
- Project Repository URL: https://github.com/mssjhu9/social-junk
The following resources were used in the development of this project.
- Bcrypt (version 5.0.1);
- Bootstrap (version 5.1.3);
- Cloudinary (https://cloudinary.com/)
- Connect Session Sequelize (version 7.1.2);
- Dotenv (version 16.0.0);
- Express (version 4.17.3);
- Express Handlebars (version 6.0.2);
- Express Session (version 1.17.2);
- Handlebars (version 4.7.7);
- MySQL Server (version 8.0.28);
- MySQL2 (version 2.3.3); and
- Sequelize (version 6.17.0)
- Handlebars
- JavaScript
- CSS
The following steps are required to execute the Chit Chat code.
- Clone the repository located at: https://github.com/mssjhu9/social-junk.
- Install Node.js. You can download the latest version of Node.js at https://nodejs.org/en/.
- Rename the EXAMPLE_env project file to .env. Next open the .env file and enter the the MySQL user and password with sufficient credentials to create, read, update, and delete database tables and data. The default database is name is socialjunk_db, but you can change it in the .env without affecting the application.
- Open the project in a terminal application, such as git bash, and install NPM. To install the dependency packages listed in Packages & Libraries, simply type npm install and press enter.
- The application utilizes MYSQL a database named .env file, which can be deployed by opening the project in a terminal application, such as git bash, and typing npm run db and pressing enter. Image below illustrates this function.
NOTE: If you do not have MYSQL, you can download it at https://www.mysql.com/downloads/.
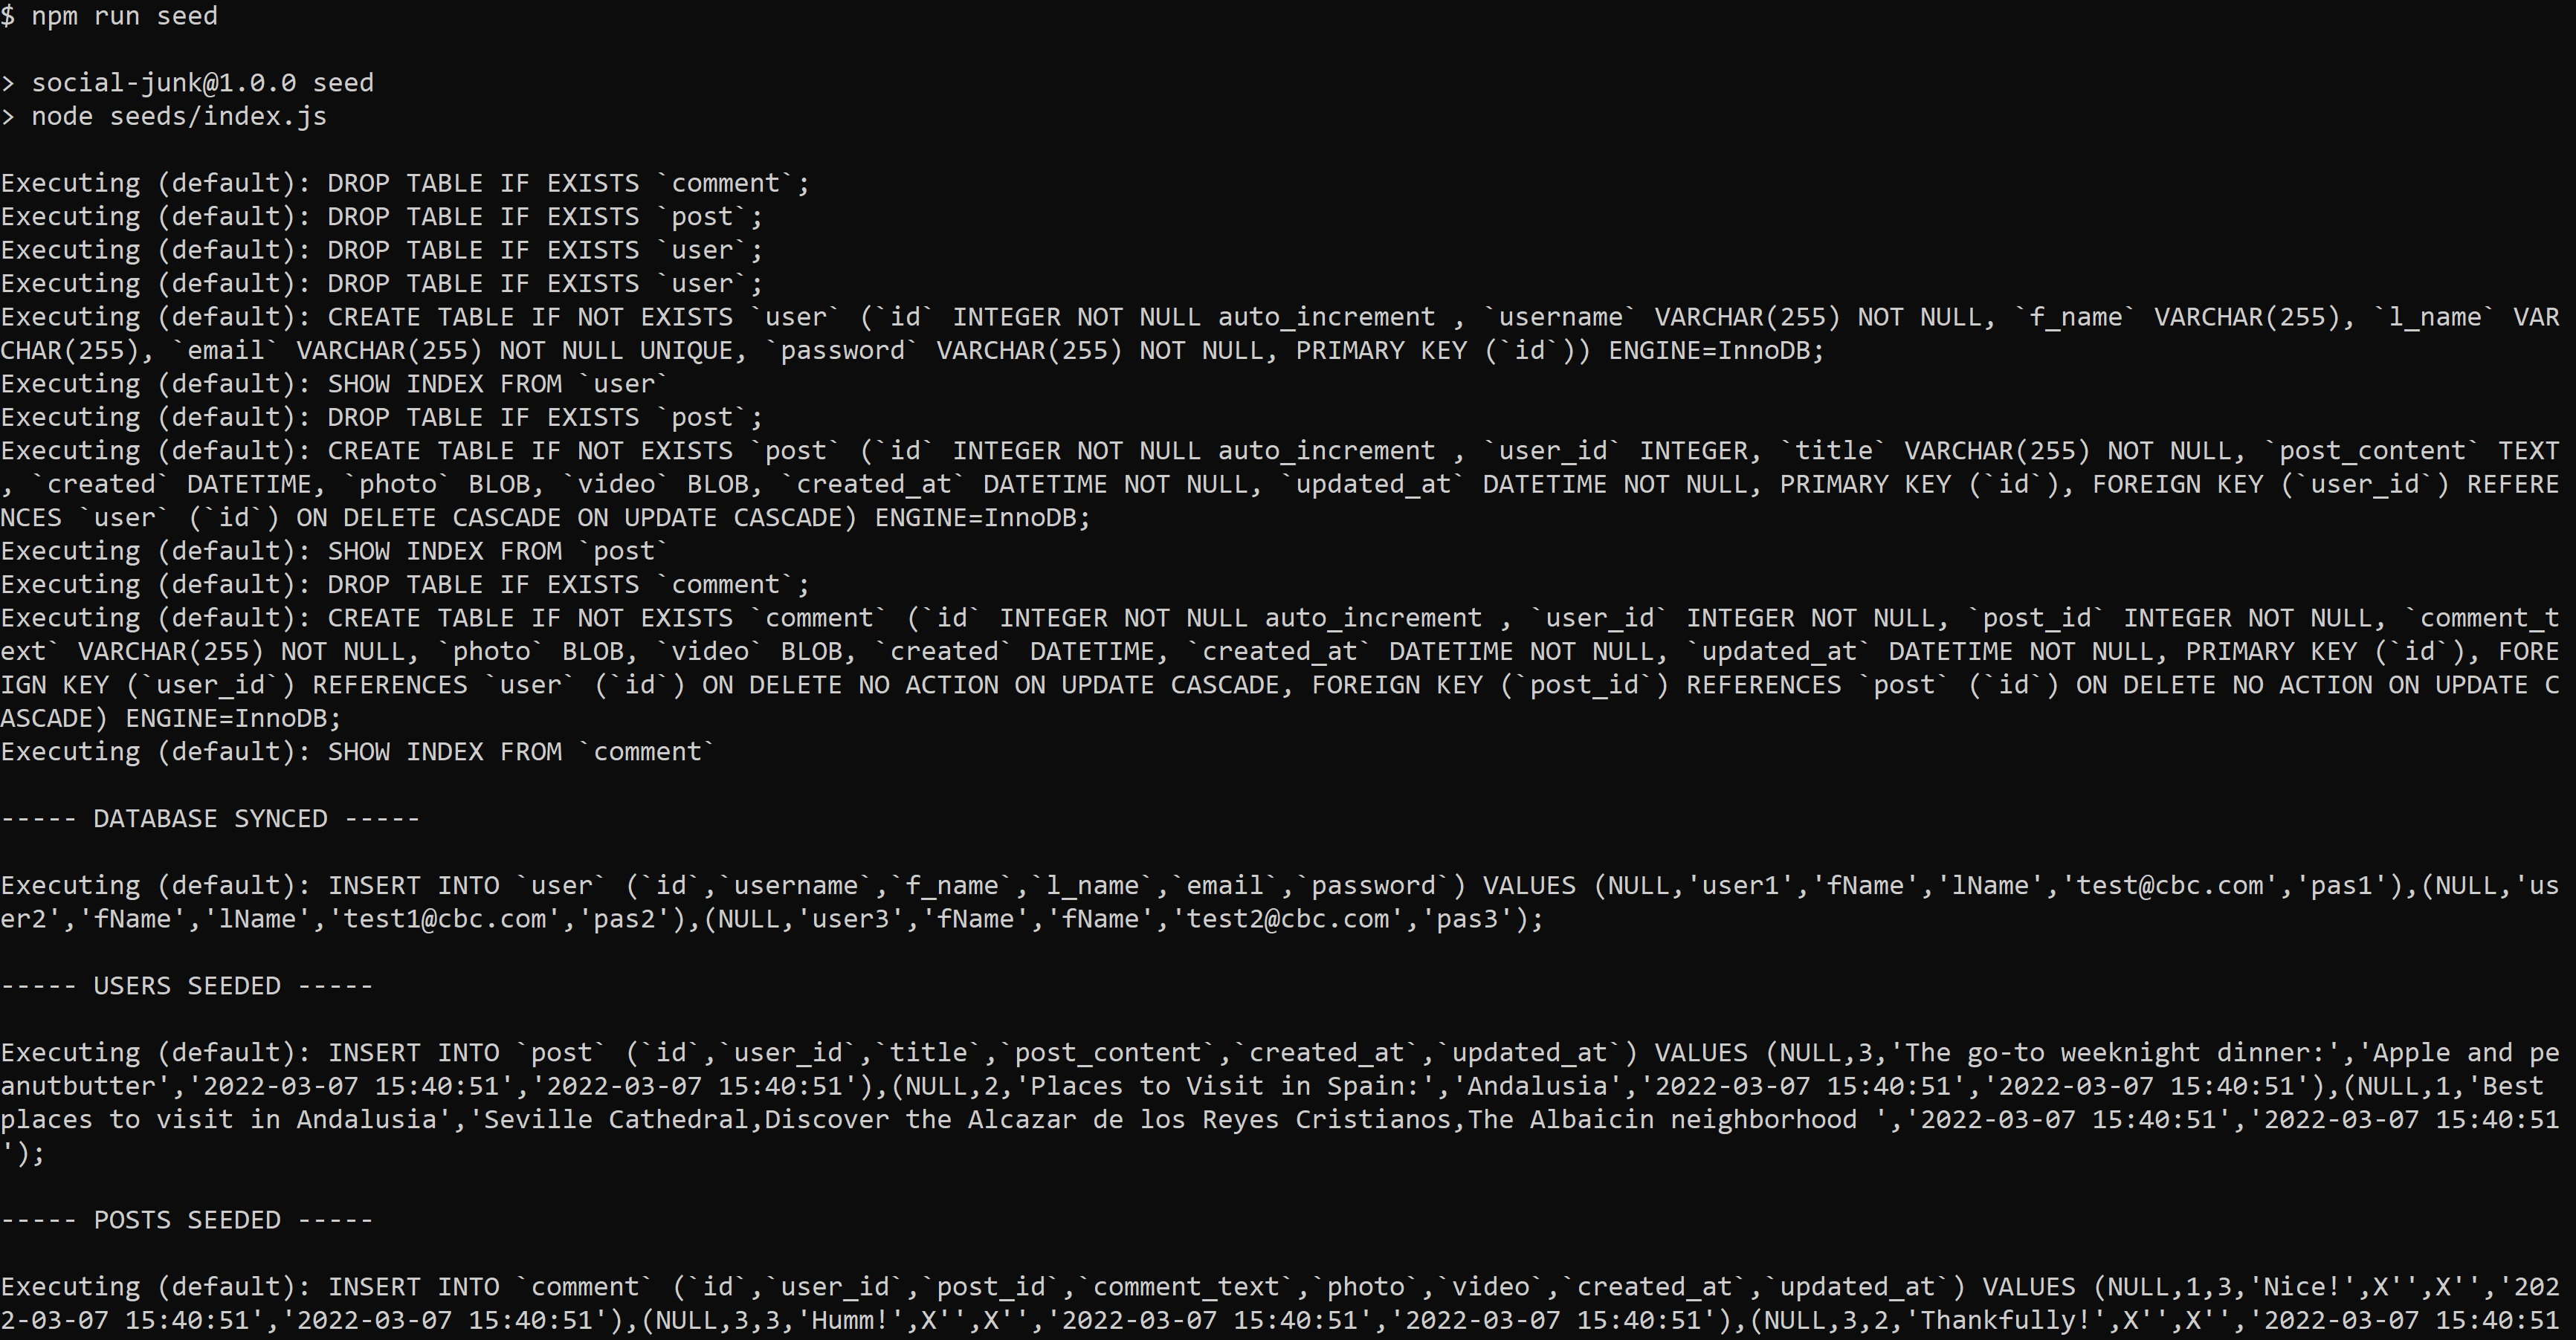
NOTE: You can populate the database with test data by opening the project in a terminal application, such as git bash, and typing npm run seed and pressing enter.
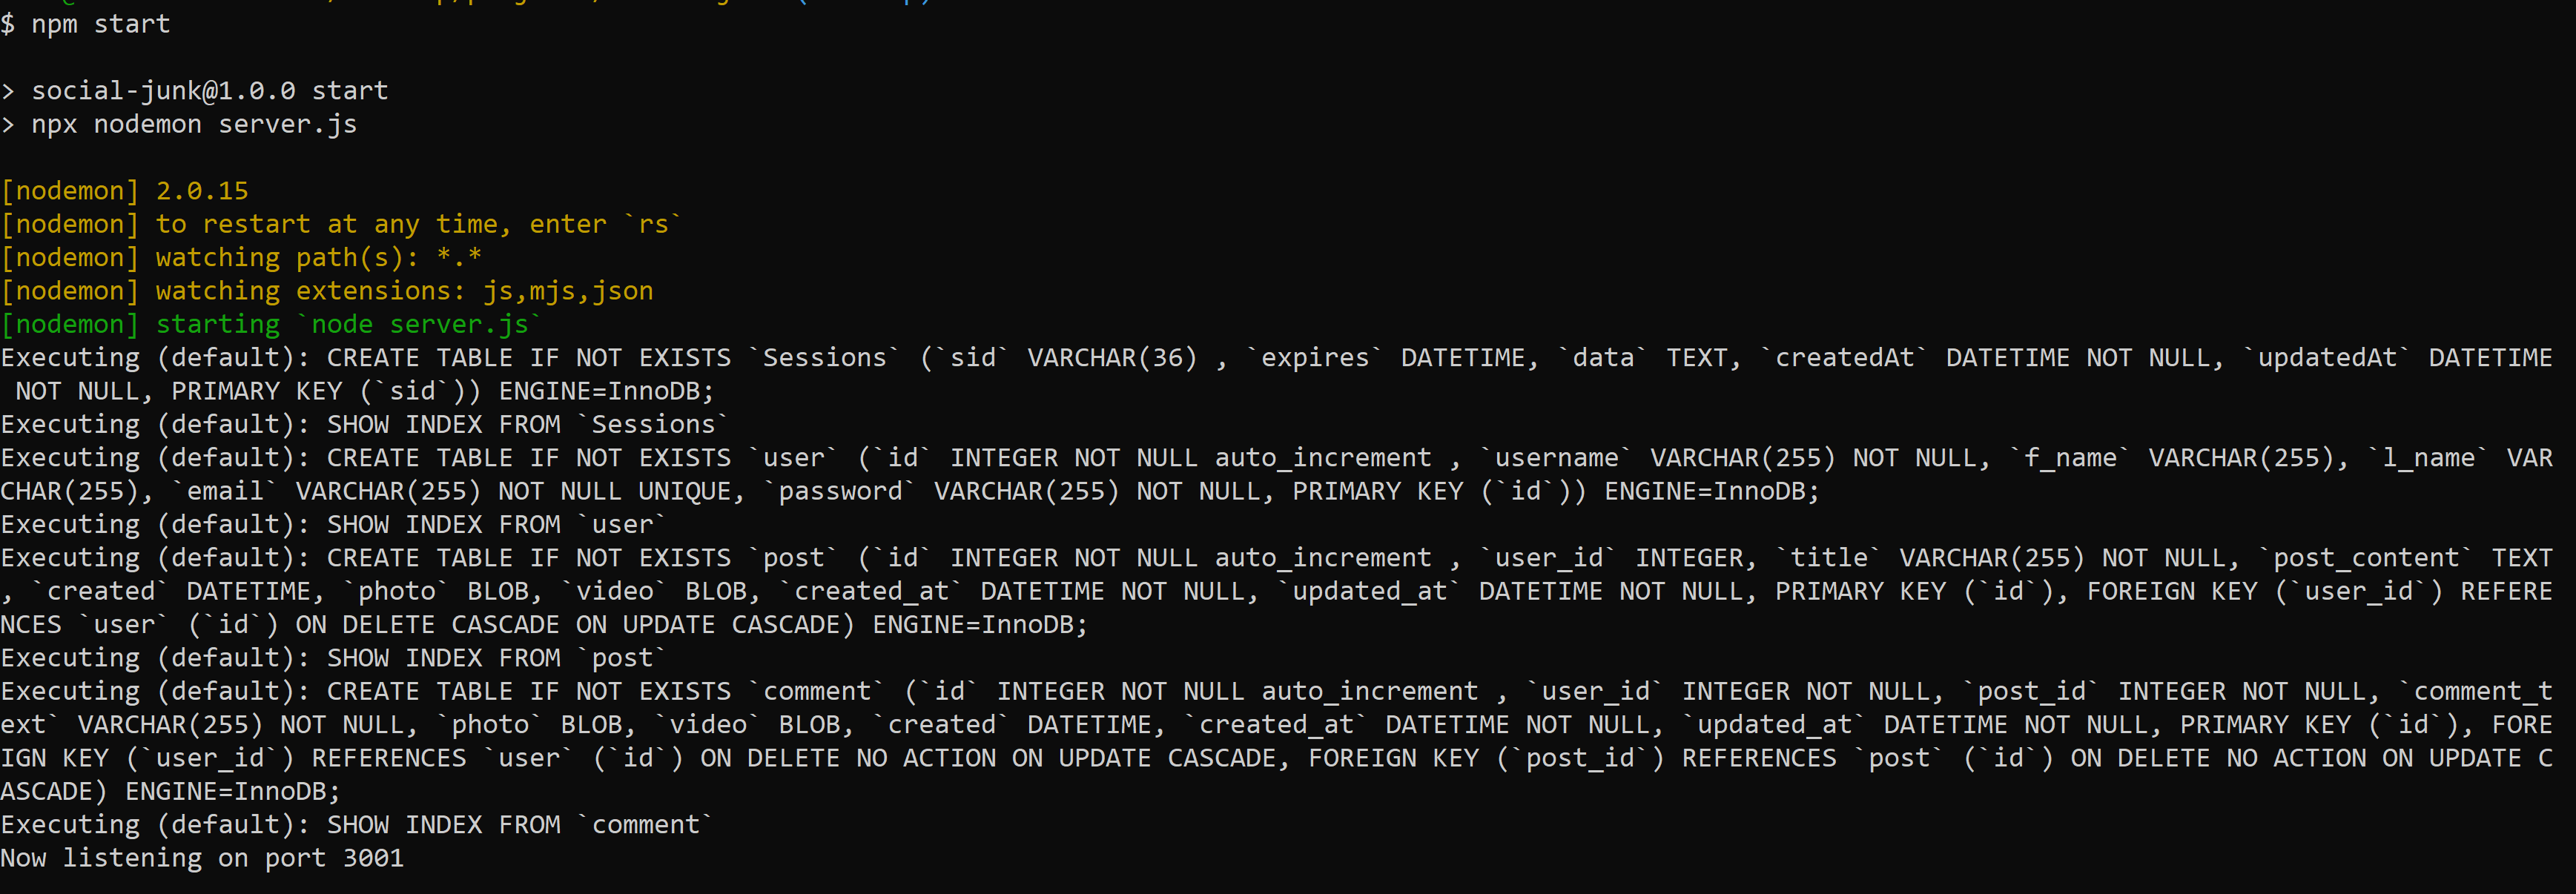
After the installation process, you will need to start the Express server. Just open the project in a terminal application, such as git bash, and type "npm start" and press enter. The image below illustrates the process of starting the Express server.
At this point the application is unstalled and running. If you have deployed the application locally, you can open url http://localhost:3001. The image below illustrates the application's homepage with the provided seed data. You will note that users are presented with blogs (title & message), username, and post data, as well a the number of comments and user rating (5-Star rating). This read-only view is available to the general public, but only authenticated users may create, update and delete content.
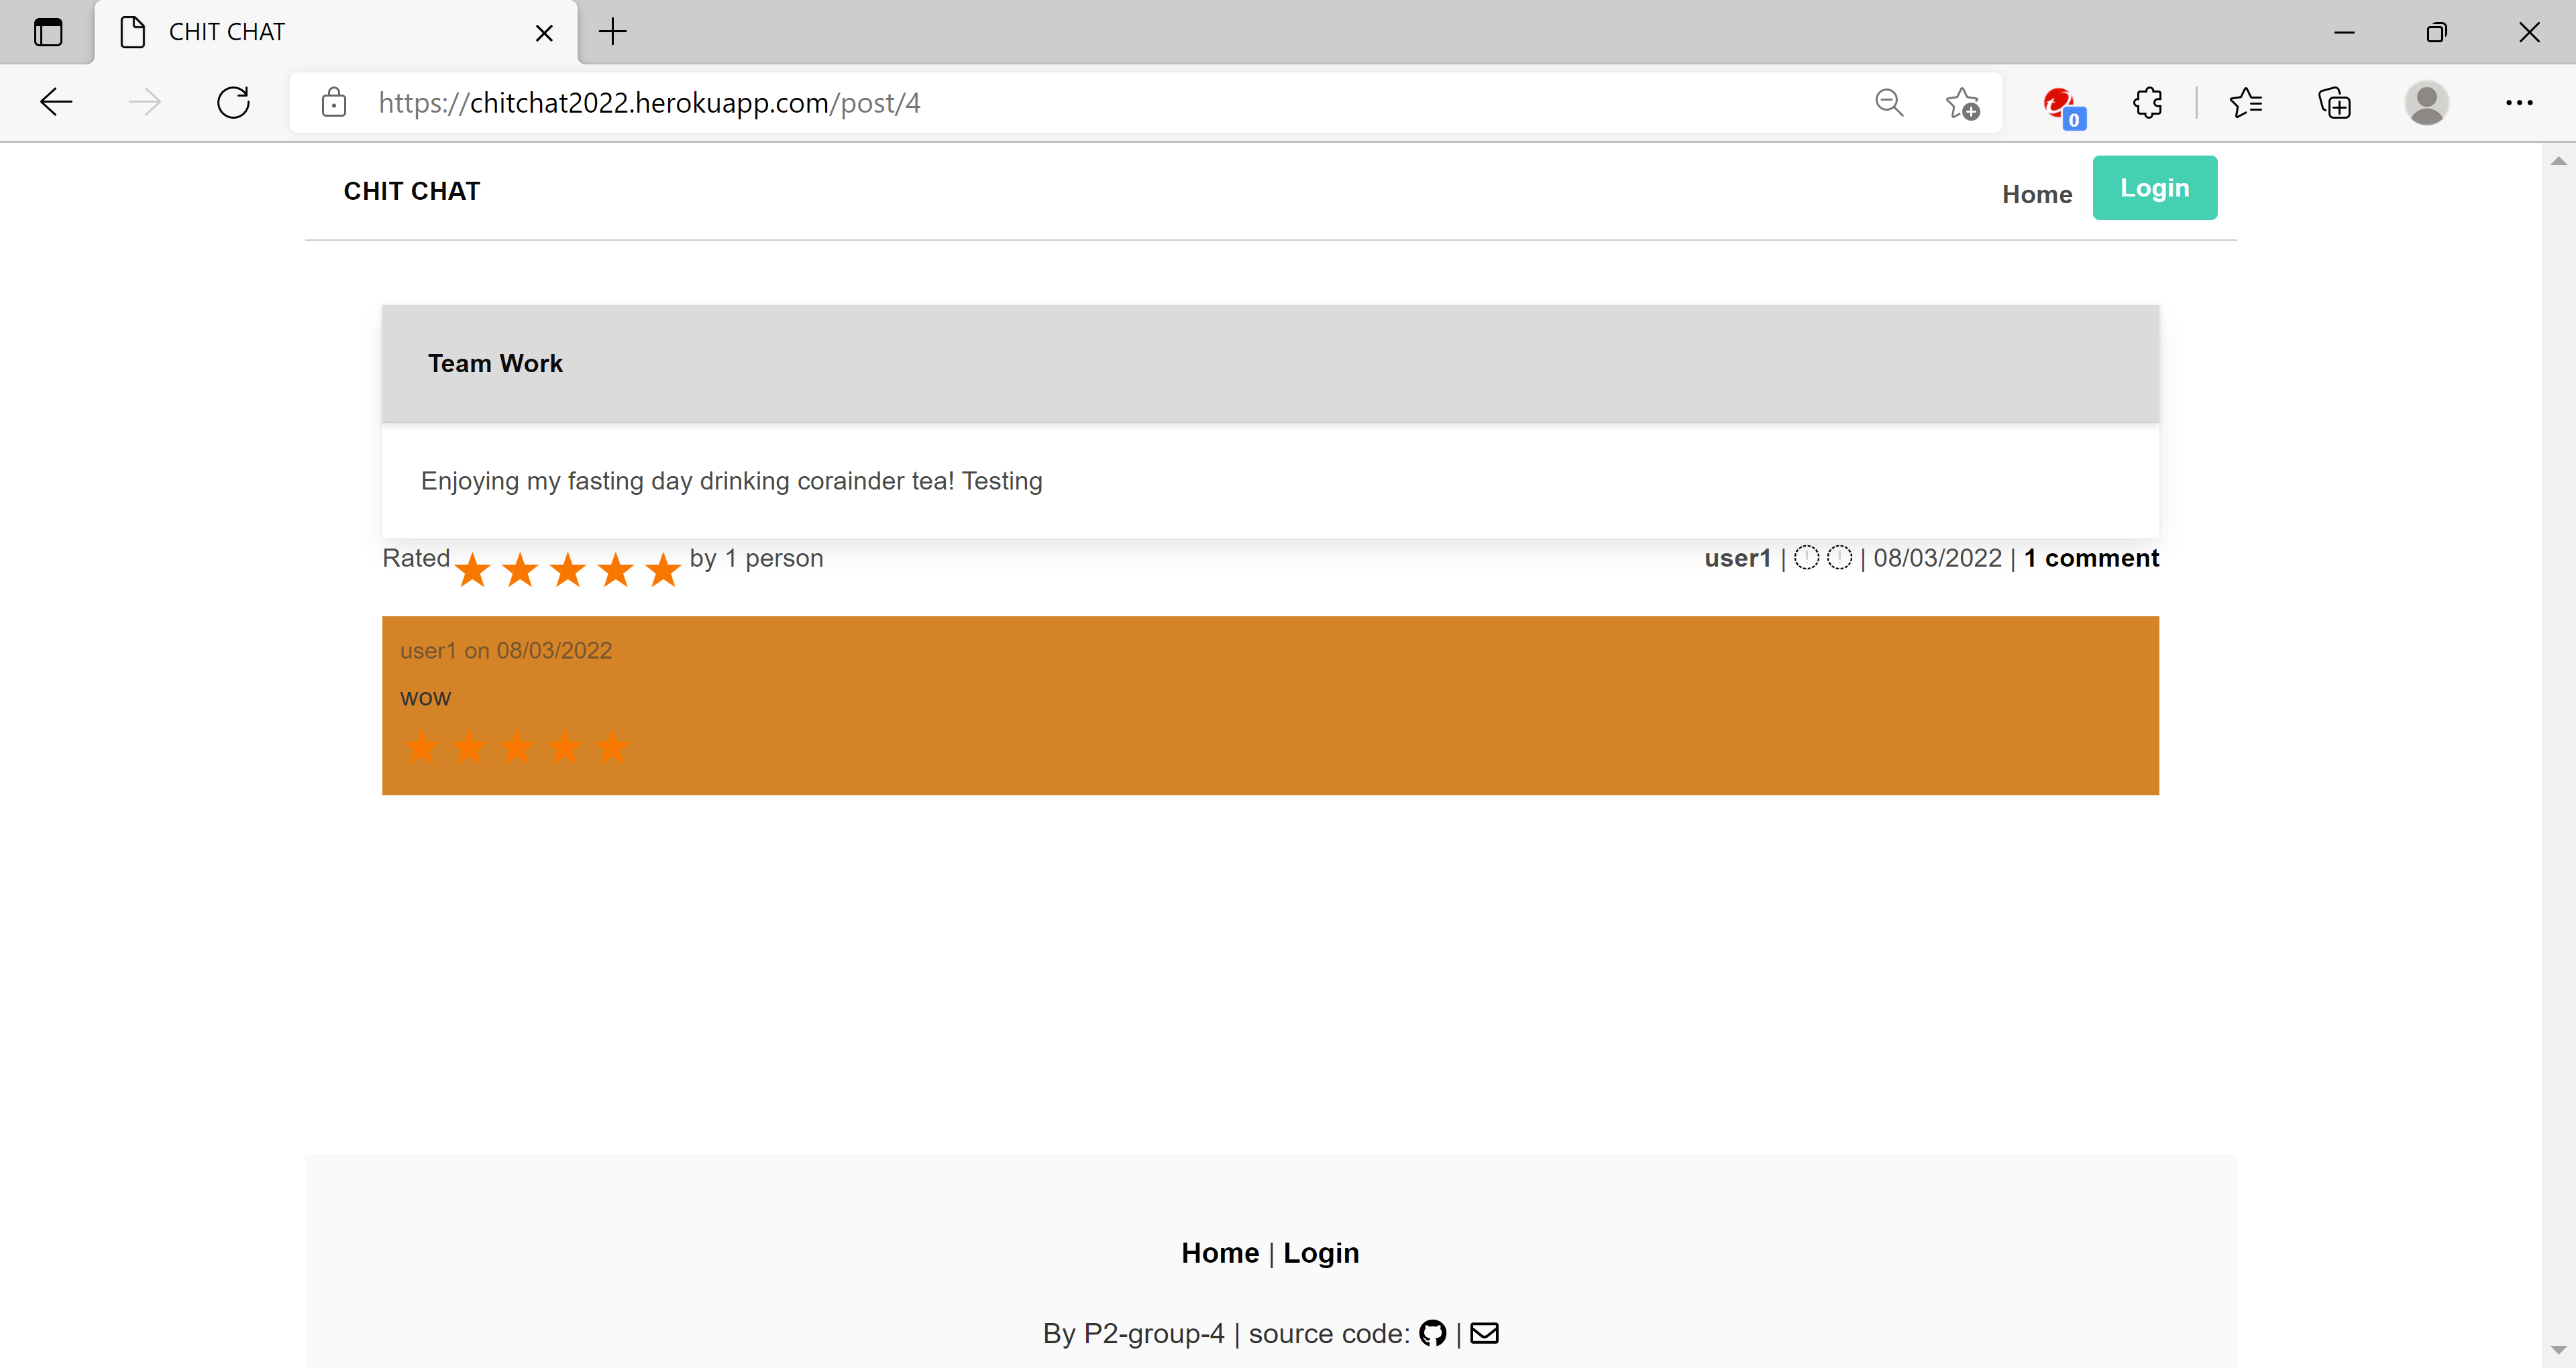
Unregistered users can also view comments by clicking on the comments link in the lower right-hand section of a post. The image below illustrates the read-only view of user comments for a single post.
A user can signup to become a user by clicking on the signup button in the upper right-hand corner. The user is then presented with the signup form illustrated below. After the user has successfully completed and submitted the signup form, the application will create a user session in the database (sessions table) and issue a cookie to the user's browser.
Subscribed users can login by clicking on the login button in the upper right-hand corner. The user is then presented with the signup form illustrated below. After the user has successfully enters their email address and password, the application will create a user session in the database (sessions table) and issue a cookie to the user's browser - previously illustrated.
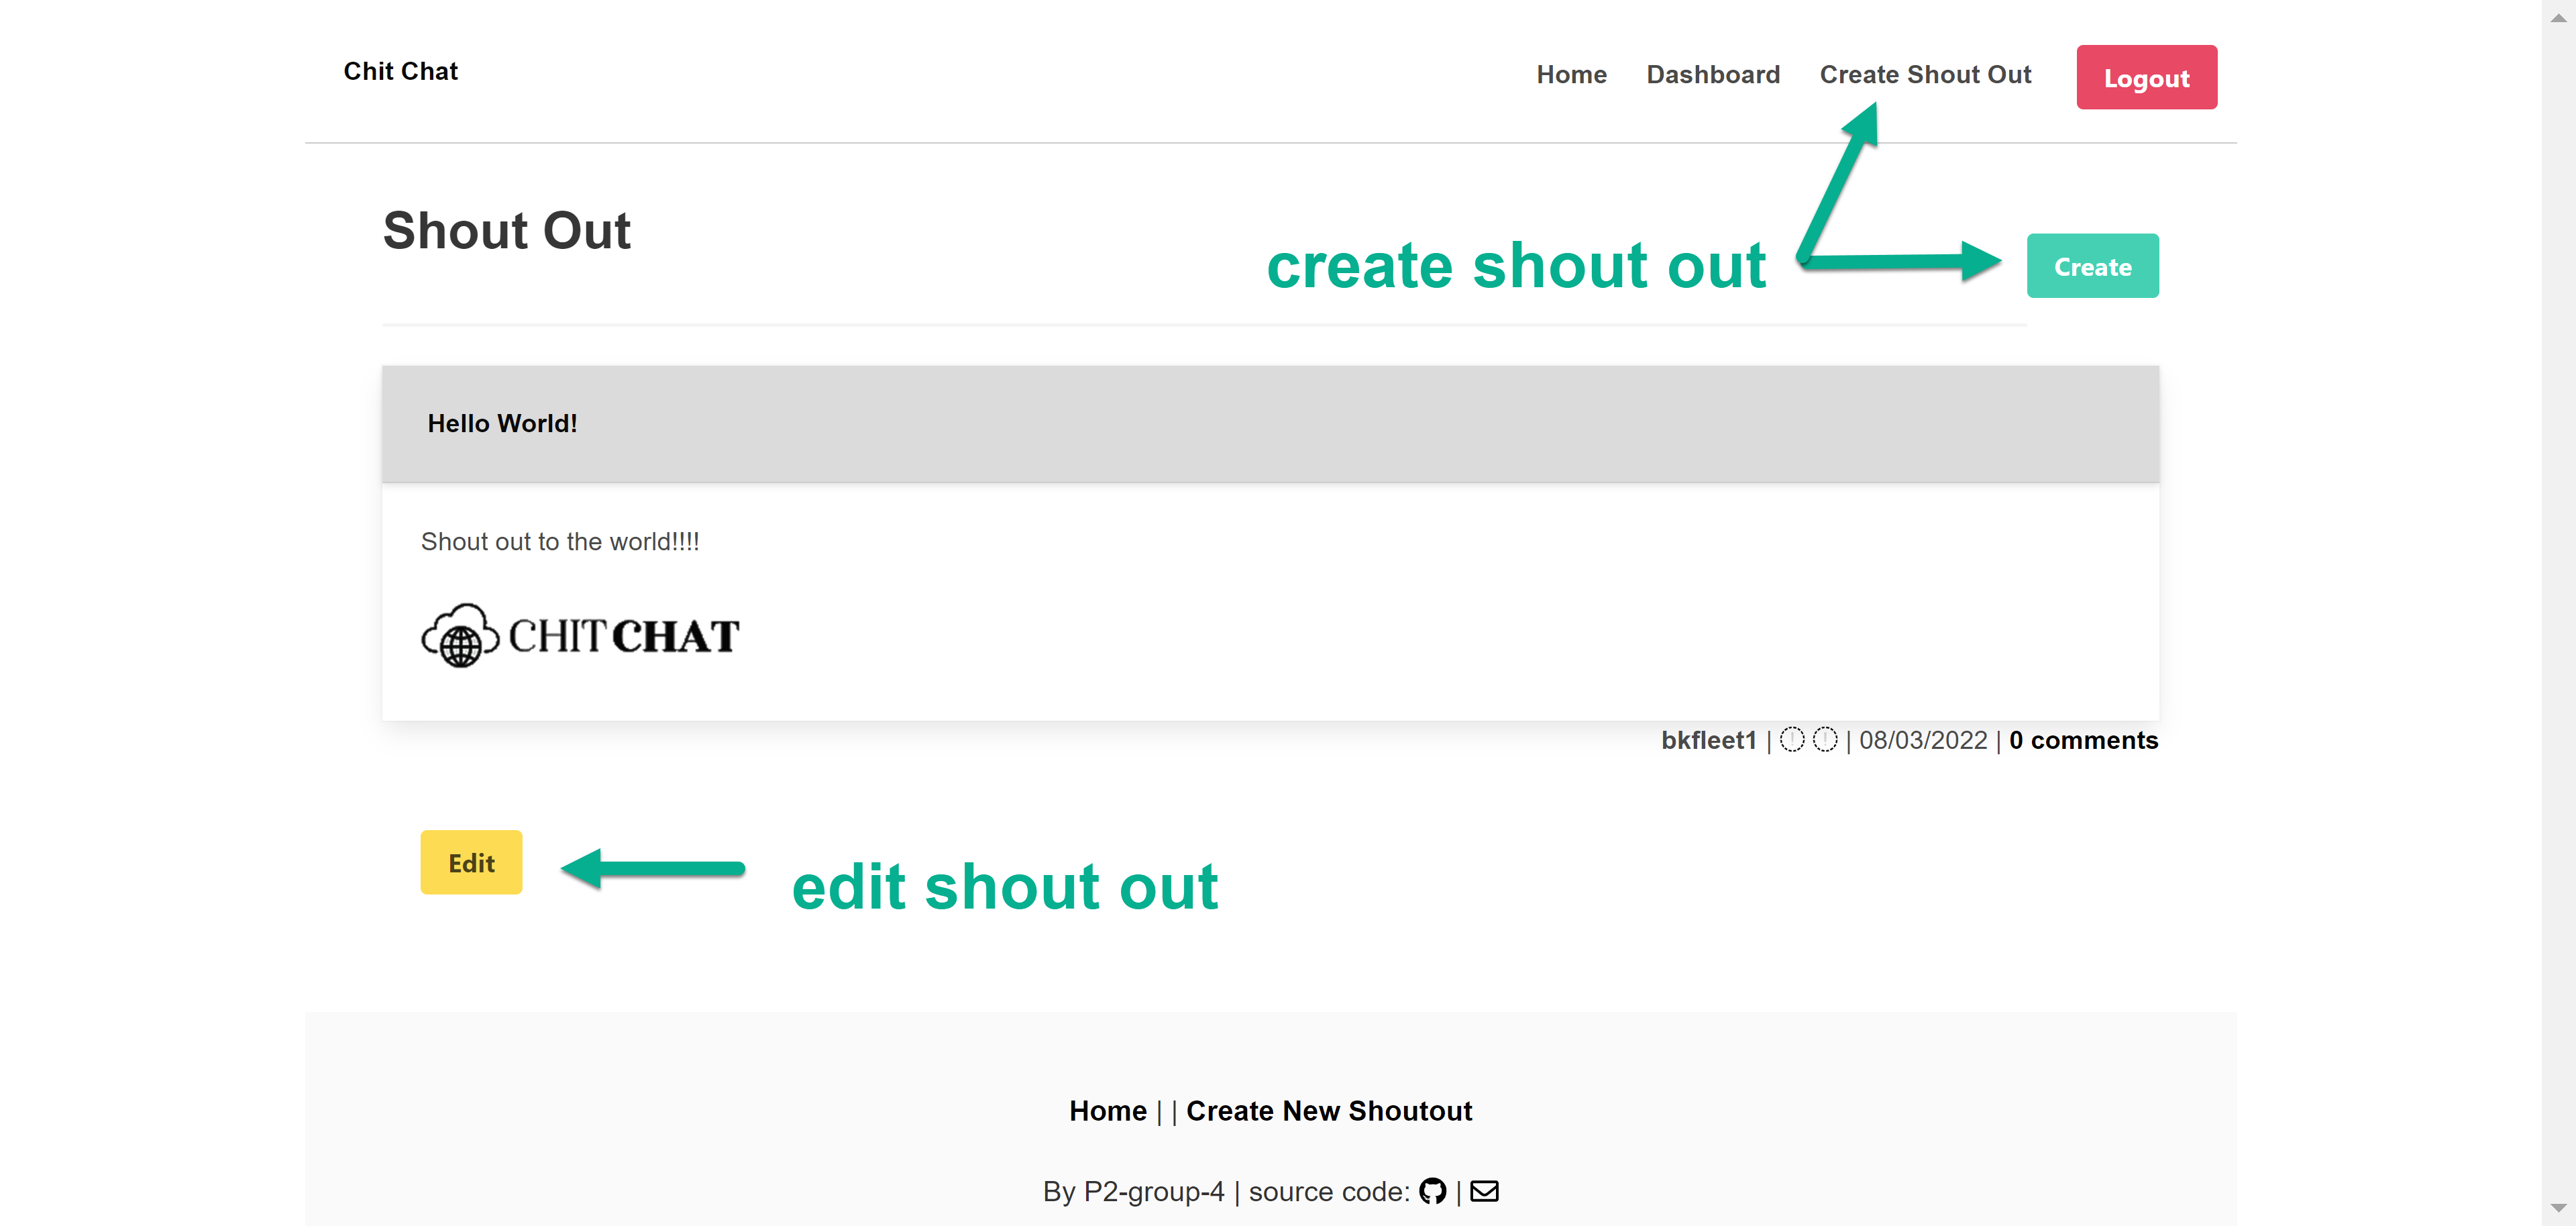
Once a user is authenticated, the application will present the 'dashboard' screen, which contains the user's previous Shout Outs as well as an function to create and edit Shout Outs. Image below illustrates this screen.
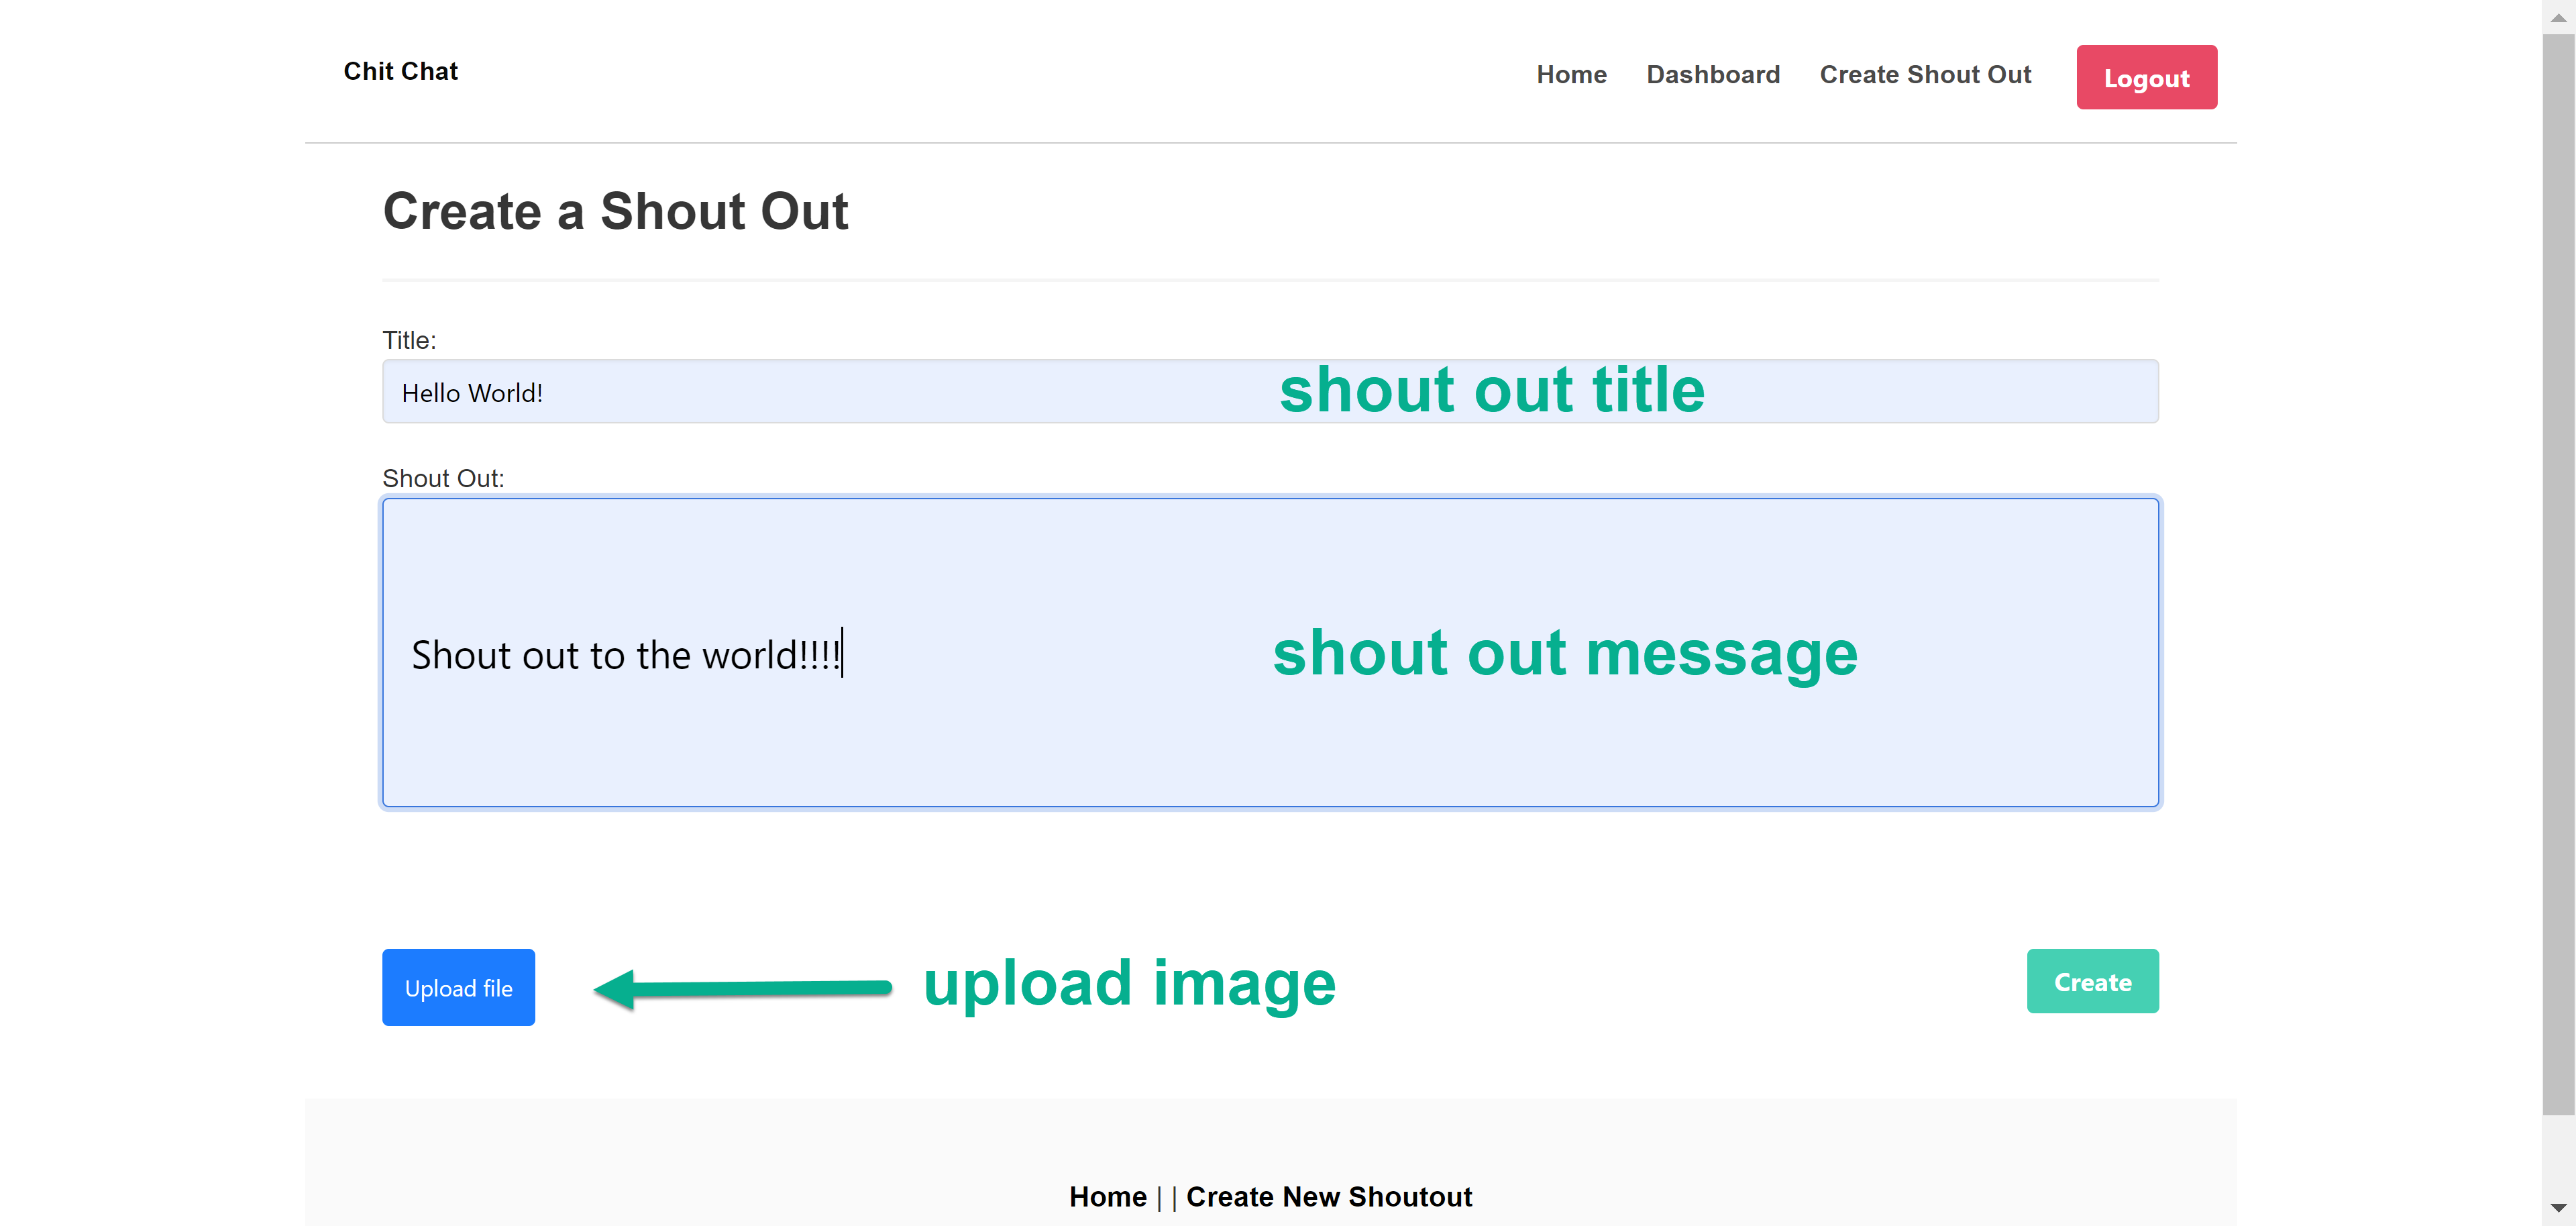
The user can create a new Shout Out by clicking on the create button or the create Shout Out link in the upper right-hand corner of the user's dashboard. The user can add a title, message, and upload image in their Shout Out and click the create button to post their message. The image below illustrates the Shout Out creation screen.
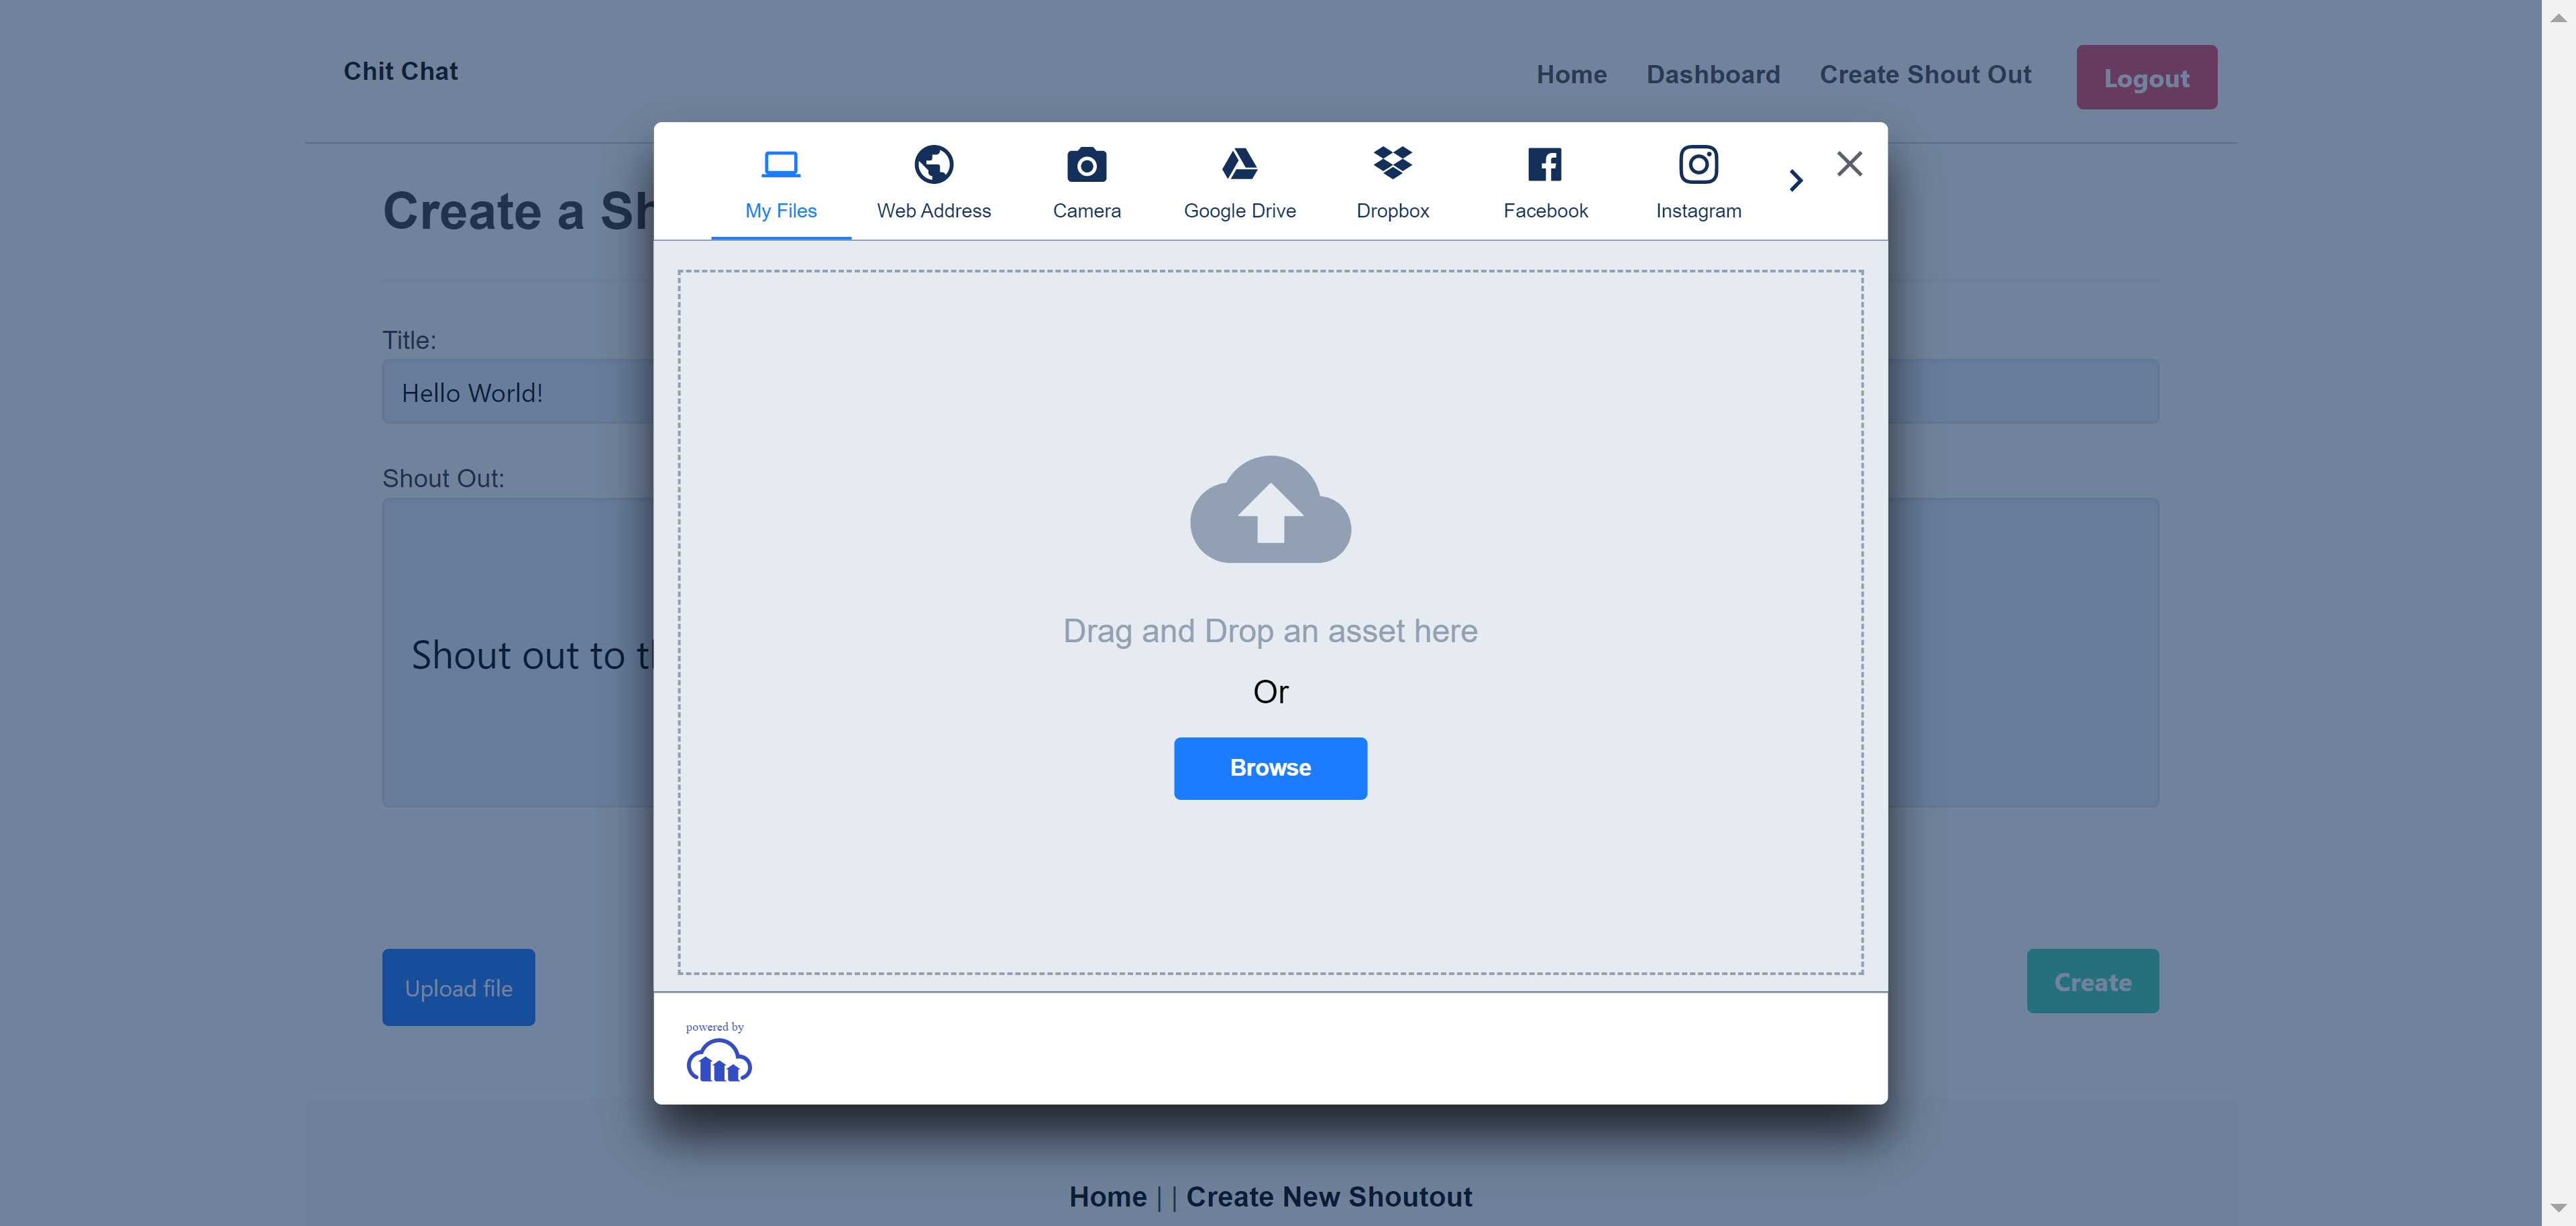
Click the upload image button to launch the image attachment function.
In the dashboard view, a user can edit and delete one of their shouts by clicking the edit button located below a post. The application present the user with their previous post in edit-mode. The user can chose to modify and save their post, delete the post, or exit the function by clicking the dashboard button in the upper right-hand corner of the screen.
The image below illustrates this screen.
Authenticated users can click on the home button, which will present the user with posts from all users as illustrated below. They can also click on comment in the lower right-hand corner of a post. The user can then add comments to a post, as well as rate a post (5-star rating) as illustrated below.
A user can logout by simply clicking the logout button in the upper right-hand corner of the screen. Additionally, the application will automatically log a user session out after 5 minutes of idle time (i.e., 300,000 milliseconds). The idle time setting can be found in the public/javascript/script.js file.
No formal testing is available. However, you can seed the database with test data by opening the project in a terminal application, such as git bash, and typing npm run seed and pressing enter.
NOTE: Your testing environment should be different from the production environment described in the Installation section. You can create a test environment following Installation instructions, but you will need to modify the database name in your .env file to use your desired test database name.
Please email one of the following developers with any questions.


