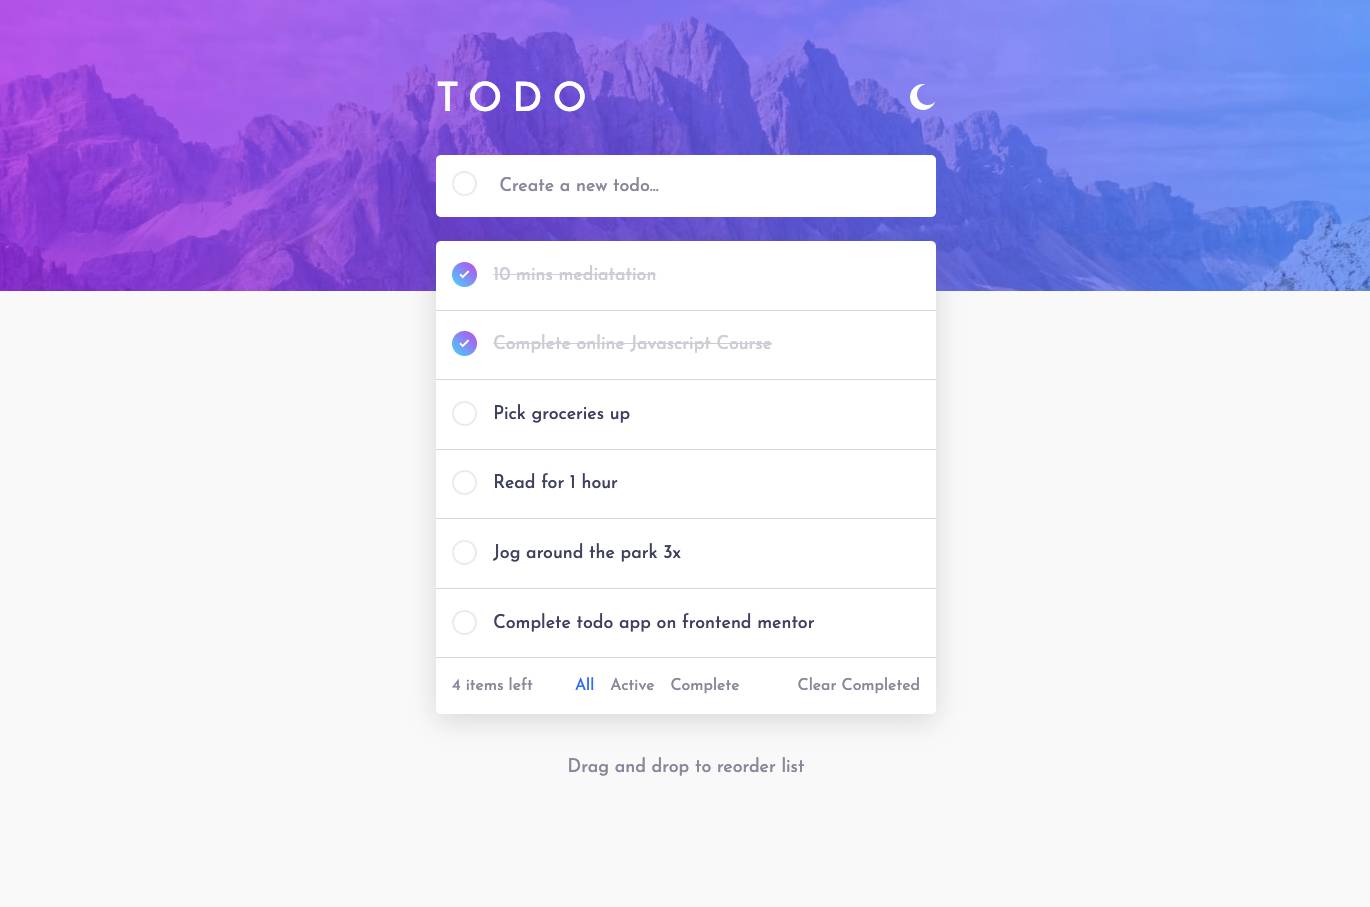
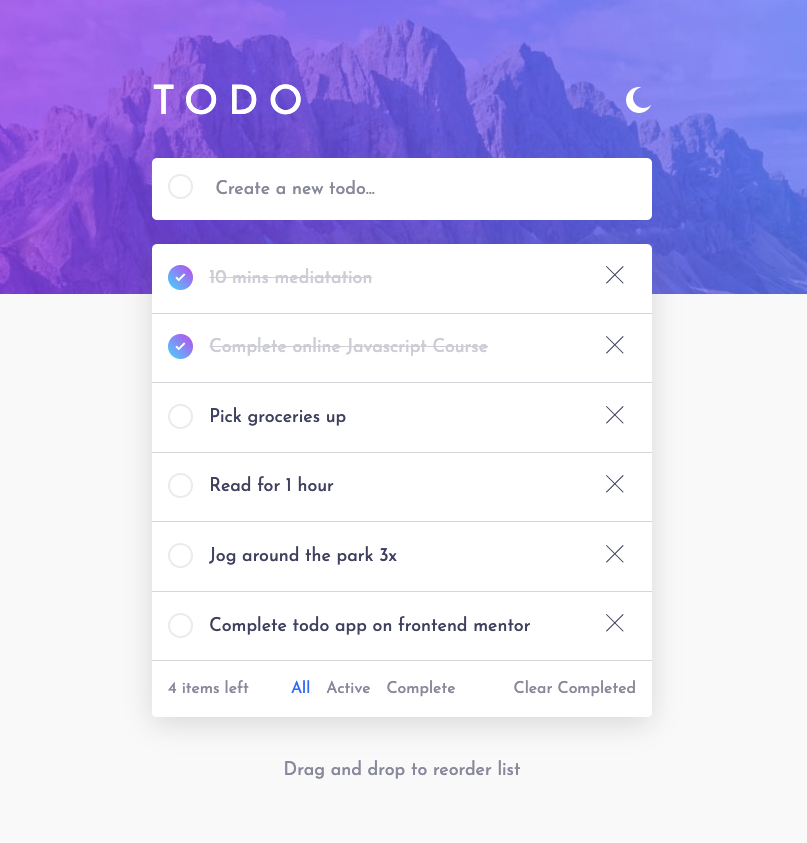
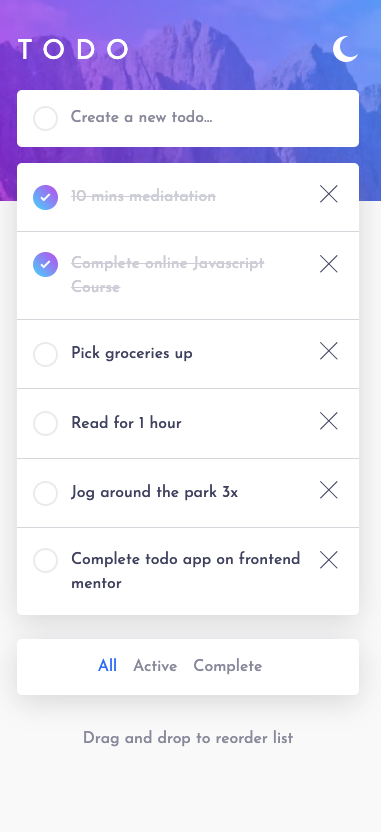
This is a solution to the Todo app challenge on Frontend Mentor. Frontend Mentor challenges help you improve your coding skills by building realistic projects.
Note: Delete this note and update the table of contents based on what sections you keep.
Users should be able to:
- View the optimal layout for the app depending on their device's screen size
- See hover states for all interactive elements on the page
- Add new todos to the list
- Mark todos as complete
- Delete todos from the list
- Filter by all/active/complete todos
- Clear all completed todos
- Toggle light and dark mode
- Bonus: Drag and drop to reorder items on the list
- Semantic HTML5 markup
- CSS custom properties
- Flexbox
- CSS Grid
- Next.js - React framework
- prisma
- mysql
- react-beautiful-dnd
For this project i used Nextjs and that was a big learning curve for me. The reason why i took so long to finish this project was because i made it a full stack project. Here are the topics that helped achieved this project:
- how to create circle with inner circle css [1]
- how to change parent background when hover on child [2]
- how to select Image nextjs in css [3]
- react-beautiful-dnd issue occured: SERVE != CLIENT ID ISSUE [4]
- Drag and drop sample code [5]
- Unable to find draggable with id 5 [6]
- Api routes in next js [7]
- prisma basics [8]
- Local storage persist on refresh [9]
- Prisma seeding [10]
- Grab and drop item db update logic [11]
- how to play with url without refreshing or changing page [12]
To see how you can add code snippets, see below:
<div className="task">
  <input type="checkbox" name="check" />
  <label className="task-label">
    <span className="custom-checkbox-border">
      <span className="custom-checkbox"></span>
    </span>
    <p>text</p>
  </label>
  <div className="image-Wrapper" onClick="{handleDelete}">
    <img src="{deletebtn}" alt="delete-icon" />
  </div>
</div>[type="checkbox"] {
opacity: 0;
position: absolute;
}
.custom-checkbox {
--size: 84%;
width: var(--size);
height: var(--size);
border-radius: 50%;
display: inline-block;
pointer-events: auto;
background: var(--checbox-bg);
}
.custom-checkbox-border {
pointer-events: none;
align-self: start;
--size: 25px;
display: flex;
align-items: center;
justify-content: center;
width: var(--size);
height: var(--size);
border-radius: 50%;
background: var(--checkbox-border);
}I still need to further develop my skill in nextjs by using it in my future projects.
- 1 - This helped me to center a circle within a circle to act as a border for my custom checkbox. I read and tried that it is not possible to set ordinary border field to have linear gradient. This is why this solution helped.
- 2 - This helped me with my custom checkbox to achieve the hover effect and style i need.
- 3 - This helped me to learn more about the image component in nextjs because nextjs doesnt use normal img for some reason.
- 4 - This helped solve some issues with react-beautiful-dnd. for me the solution was not the recommened one but another,which is to create state for browser and set "setIsBrowser(process.browser);" and wrap DragDropContext with isBroswer, but process.browser is deprecated. the solution was to use "typeof window === 'undefined'" but that didnt work. what worked for me was "typeof window !== 'undefined'". This is all to distinguish between server environment and client environment in nextjs.
- 5 - This is tutorial that helped me achieve the drag and drop in my project.
- 6 - This helped solve some issues with react-beautiful-dnd. for me the solution was not the recommened one but another, which is to set strict mode to false then reset the server.
- 7 - This helped me understand how to create api routes in nextjs.
- 8 - This helped me understand prisma better.
- 9 - This helped me understand how to handle local storage in nextjs
- 10 - This helped me seed my database by using javascript instead of typescript.
- 11 - This helped me understand the concept of array structure scheme which is essential inorder to update Db when list with grab and drop has been altered.
- 12 - This introduces shallow routing which will help to play with url without directing to another page refresh getserversideprops and more
- Website - Basma Tebe
- Frontend Mentor - @btebe
I would like to give my gratitude to all the people above that are mentioned in my useful resources section. Also, i would like to give appreciation to the whole wide web for making alot of resources available.


