Hi!.
So, I've been using flutter for some time now to develop a side project of mine. Like a lot of people, and like you probably will too, I found myself unhappy with some of the default widgets that flutter provides. In this particular case, the AppBar widget.
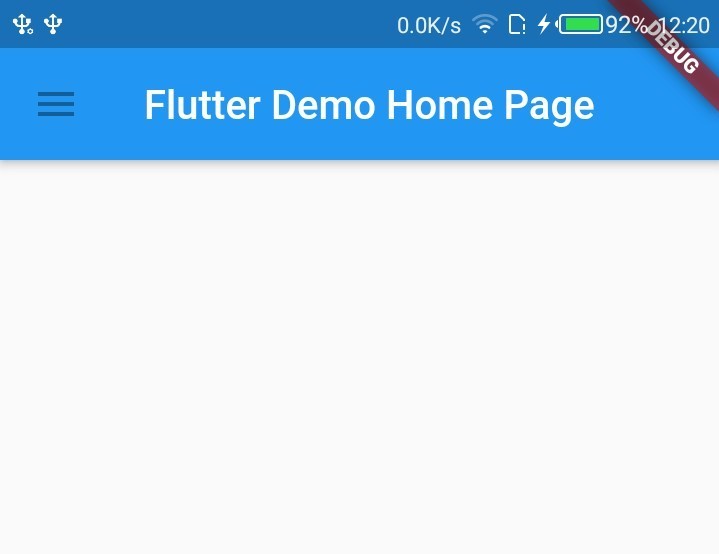
If you don't know, the AppBar is a widget that sits on the top of screen and usually displays the page tittle, some common actions, and the back arrow or the drawer toggle.
This is what the default looks like.
I needed a custom AppBar widget that received the screen title as a parameter, had custom colors, custom leading icon, and size. I also didn't want to set these variables every single time I needed an appBar.
After some time reading through several articles on how to make a custom AppBar I was still unsatisfied with the approach that most of the tutorials were suggesting. Most of the articles I found suggested creating a custom widget, like the one below, and adding it to the top of your scaffold body.
class CustomAppBar extends StatelessWidget {
  final String title;

  const CustomAppBar(
    this.title, {
    Key key,
  }) : super(key: key);

  @override
  Widget build(BuildContext context) {
    MediaQueryData mediaQuery = MediaQuery.of(context);
    double height =
        (mediaQuery.size.height - mediaQuery.padding.top) * HEADER_HEIGHT;
    return Container(
      height: height,
      child: Row(
        children: <Widget>[
          IconButton(
            color: Colors.black,
            icon: Icon(Icons.chevron_left),
            onPressed: () => Navigator.pop(context),
          ),
          Text(title)
        ],
      ),
    );
  }
}
This approach works well (sort of) but I was unhappy with it because, by doing this, you forfeit a lot, if not all, of the intrinsic features and functions of the default AppBar. For example, using automaticallyImplyLeading (more info here).
Some articles also suggested adding one of the many available custom app bar libraries, but why have to manage another 3rd party library that attends to just a single use case?
The principle is: inherit all the default AppBar and override the ones you want to customize. Simple, right?
This was my approach:
-
Create a
CustomAppBarstateless widget, that return the default AppBar, like so:class CustomAppBar extends StatelessWidget { @override Widget build(BuildContext context) { return AppBar( ); } }
This will allow us to add our
CustomAppBarto the Scaffold in the correct way, which is:Scaffold( appBar: CustomAppBar(SCREEN_TITLE), body: //your body here )
-
Add your customization to the AppBar, like for example:
return AppBar(
    title: Text(
        title,
        style: TextStyle(color: Colors.black),
    ),
    backgroundColor: Colors.white,
    leading: IconButton(
        icon: Icon(Icons.chevron_left),
        onPressed: () => Navigator.pop(context),
        color: Colors.black,
    ),
);
If you wanted to, you could also set
automaticallyImplyLeadinghere. In this case you would have something that looks like this:return AppBar( title: Text( title, style: TextStyle(color: Colors.black), ), backgroundColor: Colors.white, automaticallyImplyLeading: true, );
Theoretically, this should be enough but there is one more step. If you go on your Scaffold and add the CustomAppBar we just created you'll get an error
argument_type_not_assignable -> The argument type 'CustomAppBar' can't be assigned to the parameter type 'PreferredSizeWidget'This is because Scaffold doesn't actually receive AppBar in its appBar property. Instead in takes in
PreferredSizeWidget. So we need an extra step. -
Extend
PreferredSizeWidget. This is where you set the custom height of yourCustomAppBar.
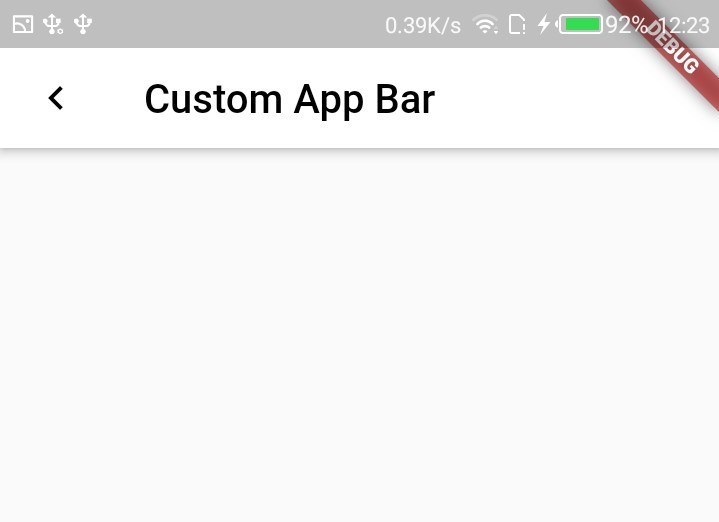
You will have to edit your constructor to account for this change. In the end, you should have something similar to this:class CustomAppBar extends StatelessWidget with PreferredSizeWidget { @override final Size preferredSize; final String title; CustomAppBar( this.title, { Key key,}) : preferredSize = Size.fromHeight(50.0), super(key: key); @override Widget build(BuildContext context) { return AppBar( title: Text( title, style: TextStyle(color: Colors.black), ), backgroundColor: Colors.white, automaticallyImplyLeading: true, ); } }
By doing this I got my custom AppBar with all the customization I wanted without adding any 3rd party library. :) and this is what the end product looks like.
Let me know if you have a better way to do this.
Hug