🏠 Homepage
✨ Demo
A watch-list app built with Flask using the TMDB API with CRUD and user authentication. The application makes use of the movie database API (tmdb).
Here are the features in summary:
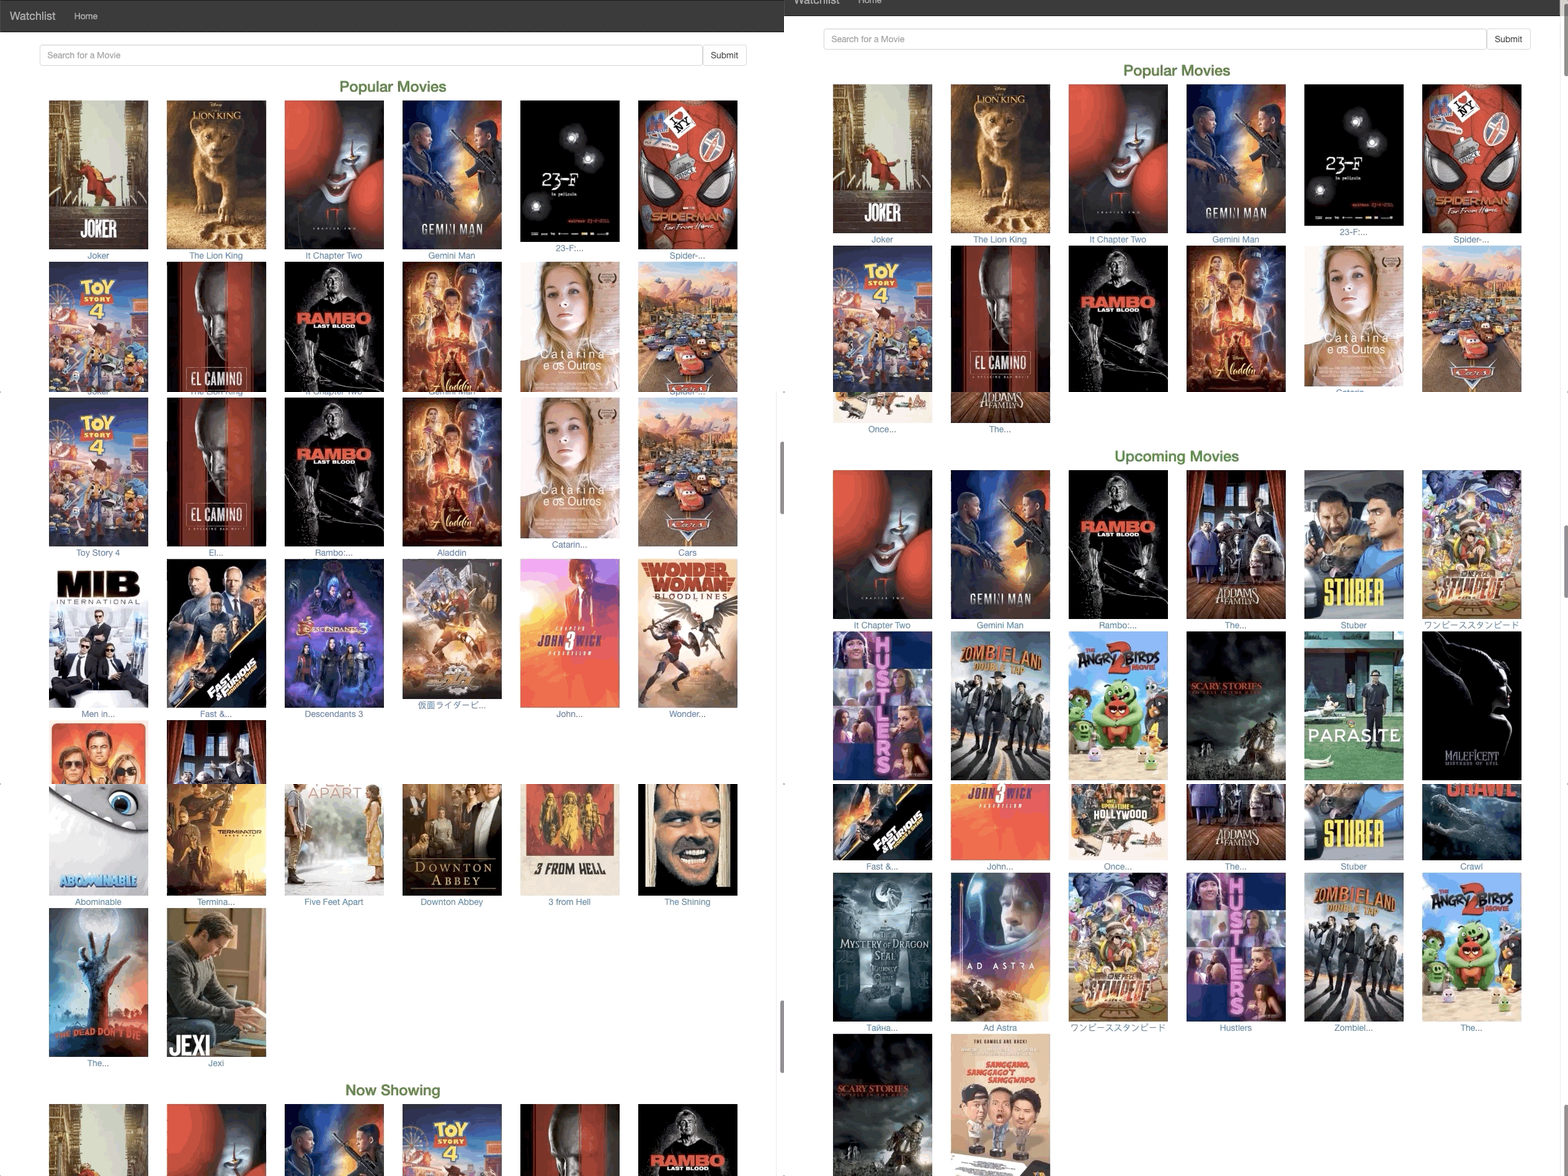
- App displays popular movies, upcoming movies and latest movies
- User can search and review any movie.
- This program requires python3.+ (and pip) installed, a guide on how to install python on various platforms can be found here
- PostgresSQL was used in this project as the database client, however fell free to use whichever cliet you prefer (this documentaion is based on Postgres)
- To download postgres, follow this link
To view the app, open the live site link provided below on the README. Here is a run through of how to set up the application:
- Step 1 : Clone this repository using
git clone https://github.com/collinsmuriuki/flask-movie-app.git, or downloading a ZIP file of the code. - Step 2 : The repository, if downloaded as a .zip file will need to be extracted to your preferred location and opened
- Step 3 : Go to the project root directory and install the virtualenv library using pip an afterwards create a virtual environment. Run the following commands respectively:
pip install virtualenvvirtualenv virtualsource virtual/bin/activate- Note that you can exit the virtual environment by running the command
deactivate
- Note that you can exit the virtual environment by running the command
- Step 4 : Download the all dependencies in the requirements.txt using
pip install -r requirements.txt - Step 5 : Go to the the movie database (TMDB) API WEBSITE, sign up for a free account and generate an API key.
- Create a .sh (shell)file in your root directory called start.sh and store the API key like so
export API_KEY="<your-key>" - On the same file write down the command
python3 manage.py server - This project uses flask-mail to send emails on account creation; therefore you can export your email and password for SMTP authentication
export MAIL_USERNAME="<your-gmail-address>"andexport MAIL_PASSWORD="<your-gmail-password>" - You should have something like this:
export MOVIE_API_KEY="<your-api-key>" export SECRET_KEY="<your-secret-key>" export MAIL_USERNAME="<your-gmail-address>" export MAIL_PASSWORD="<your-gmail-password>" python3 manage.py server - Create a .sh (shell)file in your root directory called start.sh and store the API key like so
- Step 6 : If you are using postgresql, run the server on a separate terminal tab/window using postgres
- Then on another terminal tab/window, run the command psql to enter the postgresql shell
- Create a database called 'watchlist' by typing the command
CREATE DATABASE watchlist; - Set a password for your database by running this command
ALTER USER <username> WITH PASSWORD "<new_password>"; - Now go back to the project directory, in the config.py file, set your SQLALCHEMY_DATABASE_URI in the Config class following the following format:
SQLALCHEMY_DATABASE_URI="postgresql+psycopg2://<username>:<password>@localhost/watchlist" - Side note: you will notice that on the TestConfig class, the database uri is linked to a test database, you can create one for testing purposes, otherwise, ignore.
- Step 7 : Run the following command to upgrade your database to current schema:
python manage.py db upgrade
- Step 8 : On your terminal, run the following command,
chmod +x start.shto make the shell file from step 5 executable- You can now launch the application locally by running the command
./start.sh - Open your preferred browser and view the app by opening the link http://127.0.0.1:5000/.
- You can now launch the application locally by running the command
- NOTE: For deployment purposes, on the manage.py file, be sure to change from "development" config options to "production" like so:
app = create_app("production") - NOTE: If you cloned this project before 17/11/2019, the default config options in the manage.py file were set to "production", be sure to switch to "development" like so:
app = create_app("development") - NOTE: This project uses flask-migrate to keep track of changes made to the schema; therefore, any time you make changes to the schema in the models.py module; make sure you run the following command:
python manage.py db migrate -m "<migration message>"
- You can read more about flask-migrate by checking out their documentation
If you wish to deploy your app on heroku, you can follow the steps on this gist
- Styling bug: There seems to be an inconsistent arrangement of movie thumbnails on landing page as well as search results page.
- Python 3.7.4
- Flask 1.1.1
- HTML
- CSS
- PostgreSQL
- Bootstrap 3.3.7
👤 Collins Muriuki
- Website: https://muriuki.dev
- Email: [email protected]
- Twitter: @collinsmuriuki_
- Github: @collinsmuriuki
- LinkedIn: @collinsmuriuki
Give a ⭐️ if this project helped you!
Copyright © 2020 Collins Muriuki.
This project is GNU GENERAL PUBLIC LICENSE licensed.


