You know this? Your home server won't ping anymore and now you gotta get a monitor and a keyboard to fix it, but can't find anywhere to put them?
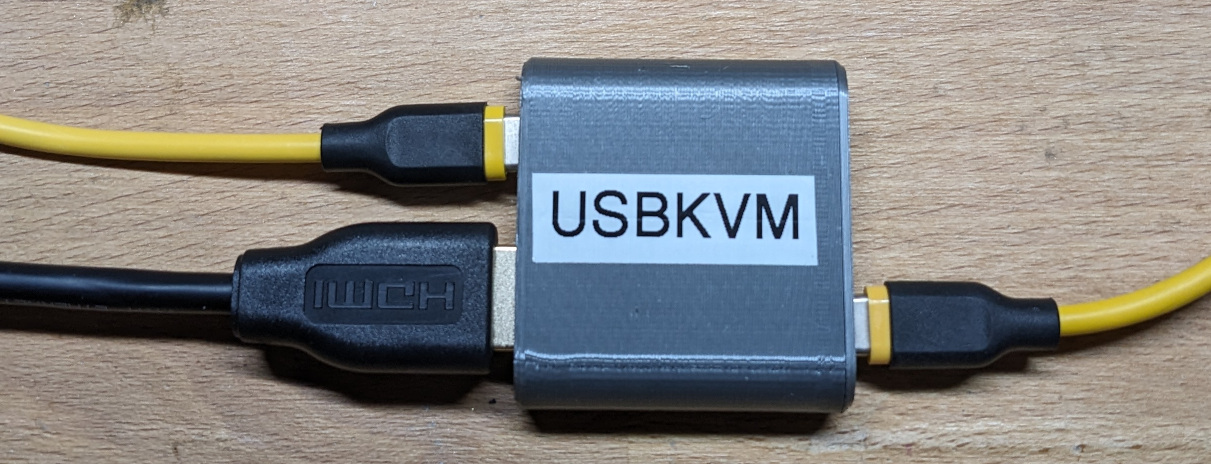
Introducing USBKVM, a matchbox-sized keyboard, video monitor and mouse that you can use from the comfort of the screen and input devices you already have. It's just like a KVM over IP console you may find in a server rack, but without the network in between.
So you just your got your hands on a USBKVM and want to use it? See the app's README for how to install the client app.
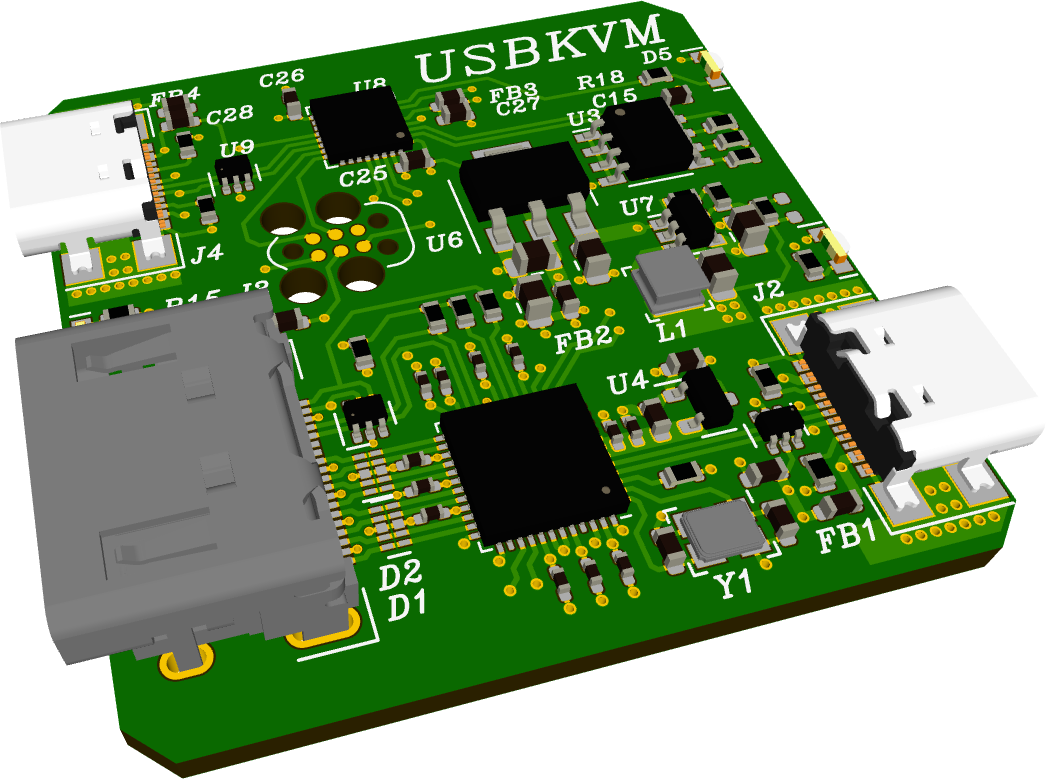
USBKVM is built around the MS2109 HDMI to USB capture IC that's found on virtually all cheap USB 2.0 HDMI capture sticks. It's not stocked by any of the usual distributors, I got mine from klayers.net. They came with the marking lasered off, which made me a bit suspicious that I've been scammed, but they work just like the original. So I either got the real deal or a perfect clone.
Turns out that this chip has an I²C controller builtin and people reverse engineered to the point that it can be used to communicate with arbitrary I²C devices.
This I²C side channel is used to talk to an STM32F042 MCU that emulates USB keyboard and mouse.
Apart from these two chips, there's not much else on the board other than some voltage regulators, ESD protection diodes and an I²C EEPROM that holds configuration data for the MS2109.
The differential pairs for HDMI and USB are designed for JLCPCB's 7628 stackup.
As usual, this board is made with Horizon EDA. Schematics
The modwire is there because I forgot to order the voltage regulator for the 3.3V USB supply.
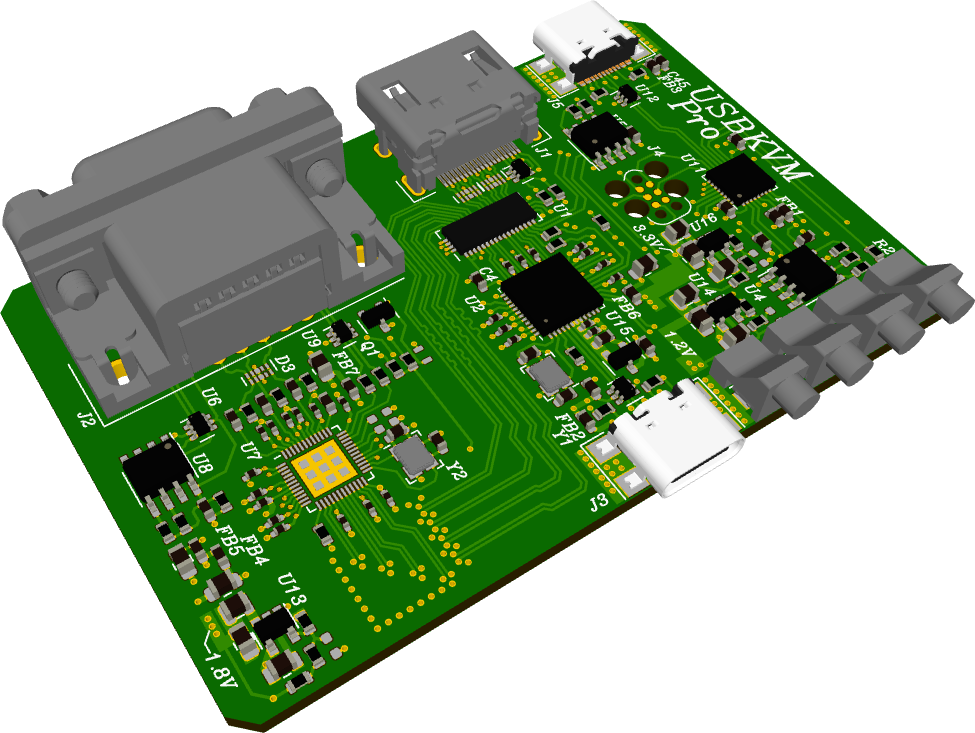
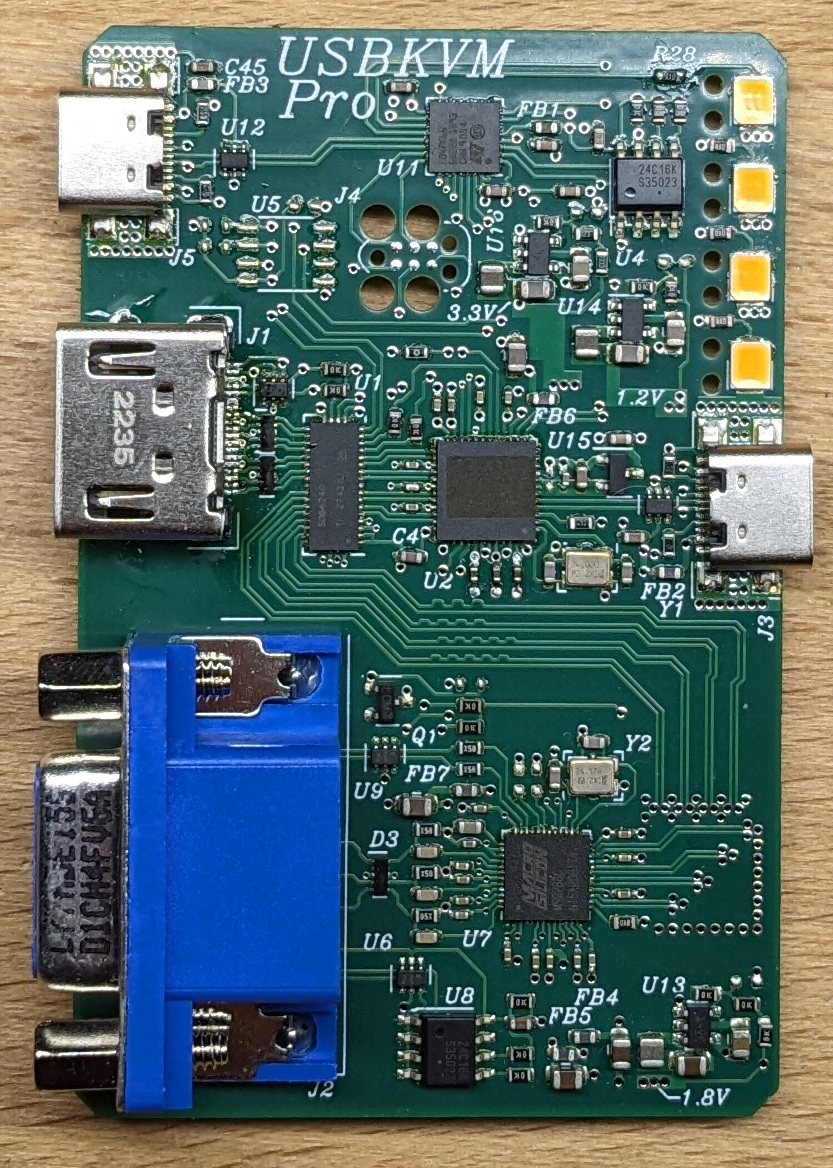
USBKVM Pro adds a VGA input since many servers still only provide VGA video output. To accomplish this, the board includes the MS9288C VGA to HDMI converter and an HDMI mux to switch between HDMI and VGA input. Same as the MS2109, the MS9288C is available from klayers.net. The board has provision for connecting an I²C EEPROM to it, but so far I haven't found any documentation on how to make use of it. Anyhow, the chip works just fine without the EEPROM.
For automatically switching between HDMI and VGA input, the MCU senses the +5V applied to the VGA connector with an N-channel MOSFET. It's not directly connected to the MCU since it could reverse-power the MCU if host power isn't connected. For the same reason the I²C lines for the EDID EEPROM aren't connected to the MCU either.
USBKVM Pro uses warm white status LEDs since that's an indicator LED color I'd like to see more often among the sea of cold white and colored LEDs. Unfortunately though there are no decent warm white indicator LEDs, much less side view variants. So I went with LEDs intended for lighting applications running at much lower current and light pipes.
To be recognized by the client app and show color bars rather than a
black screen for no input signal, the EEPROM attached to the MS2109
needs to be programmed. This is done with the cli included in
ms-tools: ./cli write-file EEPROM 0 progdata/ms2109.bin. The EEPROM
content is based on the one of a capture stick, modified with
the "MS21XX&91XXDownloadTool_1.7.0" to set the device string to "USBKVM".
For the Pro variant, there's also the VGA EDID EEPROM that requires
programming. I cobbled together its contents by combining the EDID
data from an LCD monitor with the one from the MS2109 using the AW
EDID
Editor.
It's intended to be programmed using the VGA connector. To do so, load
the i2c-dev kernel module and use the converter
script to convert the EDID EEPROM
contents
to a set of i2ctransfer commands. You probably need to adjust the I²C
bus number to the right one for your system.
Apart from the firmware, the MCU needs the BOOT_SEL option bit cleared so that it can jump to the ROM bootloader. Unfortunately, openocd doesn't support this bit(?), so it has to be modified using the STM32Cube Programmer or via DFU.
Conceptually, the client is pretty simple as it only has to do these two jobs:
- Display the captured video feed. The MS2109 implements the USB video device class, just like a webcam.
- Send keyboard and mouse input the the MCU via the aforementioned I²C interface
To get some video on the screen quickly, the client started out as a GStreamer Gtk example, first part done!
The second part however required some more work as the code that makes use of the MS2109's I²C interface is written in Go. After realizing that it's a surprisingly substantial amount code, I quickly scrapped the idea of reimplementing it in C++ and instead figured out how to compile it as a static library that I can integrate into my C++ project.
The protocol layer used for communicating with the MCU firmware is defined in a header file that's both included by the client an the firmware. Some care has to be taken to get the same struct packing on both platforms.
To keep the firmware simple, the client has to send USB HID scan codes, so it has to generate them from the key codes it receives from Gtk. Not wanting to reinvent the wheel, I looked into the sources of software that has has to accomplish a similar task, in particular the SPICE Gtk client, and discovered the keycodemap project. It provides a mapping table from the X11 keycodes used by Gtk to HID scancodes among some other codes used by different platforms.
Since I was too lazy to figure out how to properly capture the mouse to emit relative movements, USBKVM emulates an absolute pointing device. While this works perfectly on Windows and Linux, it's completely broken in less sophisticated environments such as UEFI setup utilities or option ROMs.
See the app's README for how to build it.
The firmware uses the excellent USB stack tinyusb to emulate the aforementioned absolute pointing devices as well as a standard USB HID keyboard. After having used the USB device stack included in the STM32 HAL in some previous projects, I can't recommend tinyusb enough. It's really good as far as anything involving USB goes.
On the other end, it implements an I²C peripheral to receive commands from the MS2109. After some fiddling, I got it to work reliably without clock stretching since I don't think the MS2109 supports that. One side-effect of that is that the first byte the MCU has to send in a read transaction has to be loaded into the transmit data register even before the address is received since the time between the SCL edge that latches the last address bit and the first edge that clocks out the first data bye isn't long enough to prepare the data to be sent.
USBKVM and USBKVM Pro hardware variants are supported by one single firmware image. To tell them apart, pin PB8 is grounded on USBKVM Pro and floating on USBKVM.
TL;DR: Don't worry about it, the client app automatically does the right thing.
The first 8k of the 32kByte flash are reserved for the bootloader that can re-program the application image as directed via the I²C interface. The application image is prefixed by a header that contains its length and CRC checksum that the bootloader verifies before jumping to it. To make USBKVM brick-proof under normal usage, the bootloader doesn't immediately jump to the application on its own, but has to be told so by the client app. That way even an application image that passes the CRC check, but can't jump back to the bootloader doesn't result in a bricked USBKVM.
There are two firmware projects in the fw/boot and fw/usbkvm subdirectories. They share some code in fw/common/. Building them requires the usual arm-none-eabi toolchain, GNU make and python.
As usual, the case is of the 3D-printed kind. It consists of the obround main housing and a lid to close it up. The lid attaches with two M2 screws that go into nuts located in the main housing.
The case was designed in Dune 3D.
Good question, given that at least three people independently asked the same thing. All of the key components are available off the shelf and USBKVM wasn't exactly hard to put together, so I guess it's mostly a question of time until someone else would have figured it out as well.
While writing this README, I stumbled upon openinterface.com which appears to be pretty much the same thing as USBKVM. Zooming into one of their PCB photos, they're also using the MS2109, what a coincidence! Looking at their subreddit they just went live less than two months ago.
I thought about how USBKVM would look like if I had to make it from parts I could get from Digikey. The best solution I could come up with would be using a large MCU with camera input and High-Speed USB and then somehow connecting an HDMI to parallel RGB converter to its camera interface. While this could also have eliminated the MCU used for HID emulation, it's much more complex and expensive than the single QFN-48 IC that is the MS2109.
I have no plans to commercially offer USBKVM since I don't want to deal with the hurdles of manufacturing and selling hardware products.
If you're in the business of manufacturing and selling hardware, feel free to take the design files and turn USBKVM into a product people can buy! Just keep in mind that the firmware and client app are under GPL when making modifications to it.
Right now, the client app builds and runs on Linux. Windows support is experimental.
Right now, no. You're more than welcome to implement a client for your favourite platform based on the client included in this repo.
While there's not much to improve on the hardware as it is right now, the client app still has a lot of room for improvement.
- Make sure that it handles non-US keyboard layouts on both ends
- Relative mouse emulation, requires firmware support
- Screen recording, should be easy to add to the GStreamer pipeline
- Instant replay to show screen content that just scrolled by
- Key macros for repeatedly pressing keys
- OCR for copying text from the video feed
- Hardware mod: Wire up CEC from the HDMI connector to the MCU
- Firmware and client: GPLv3
- Hardware and Case: CERN Open Hardware Licence Version 2 - Permissive


