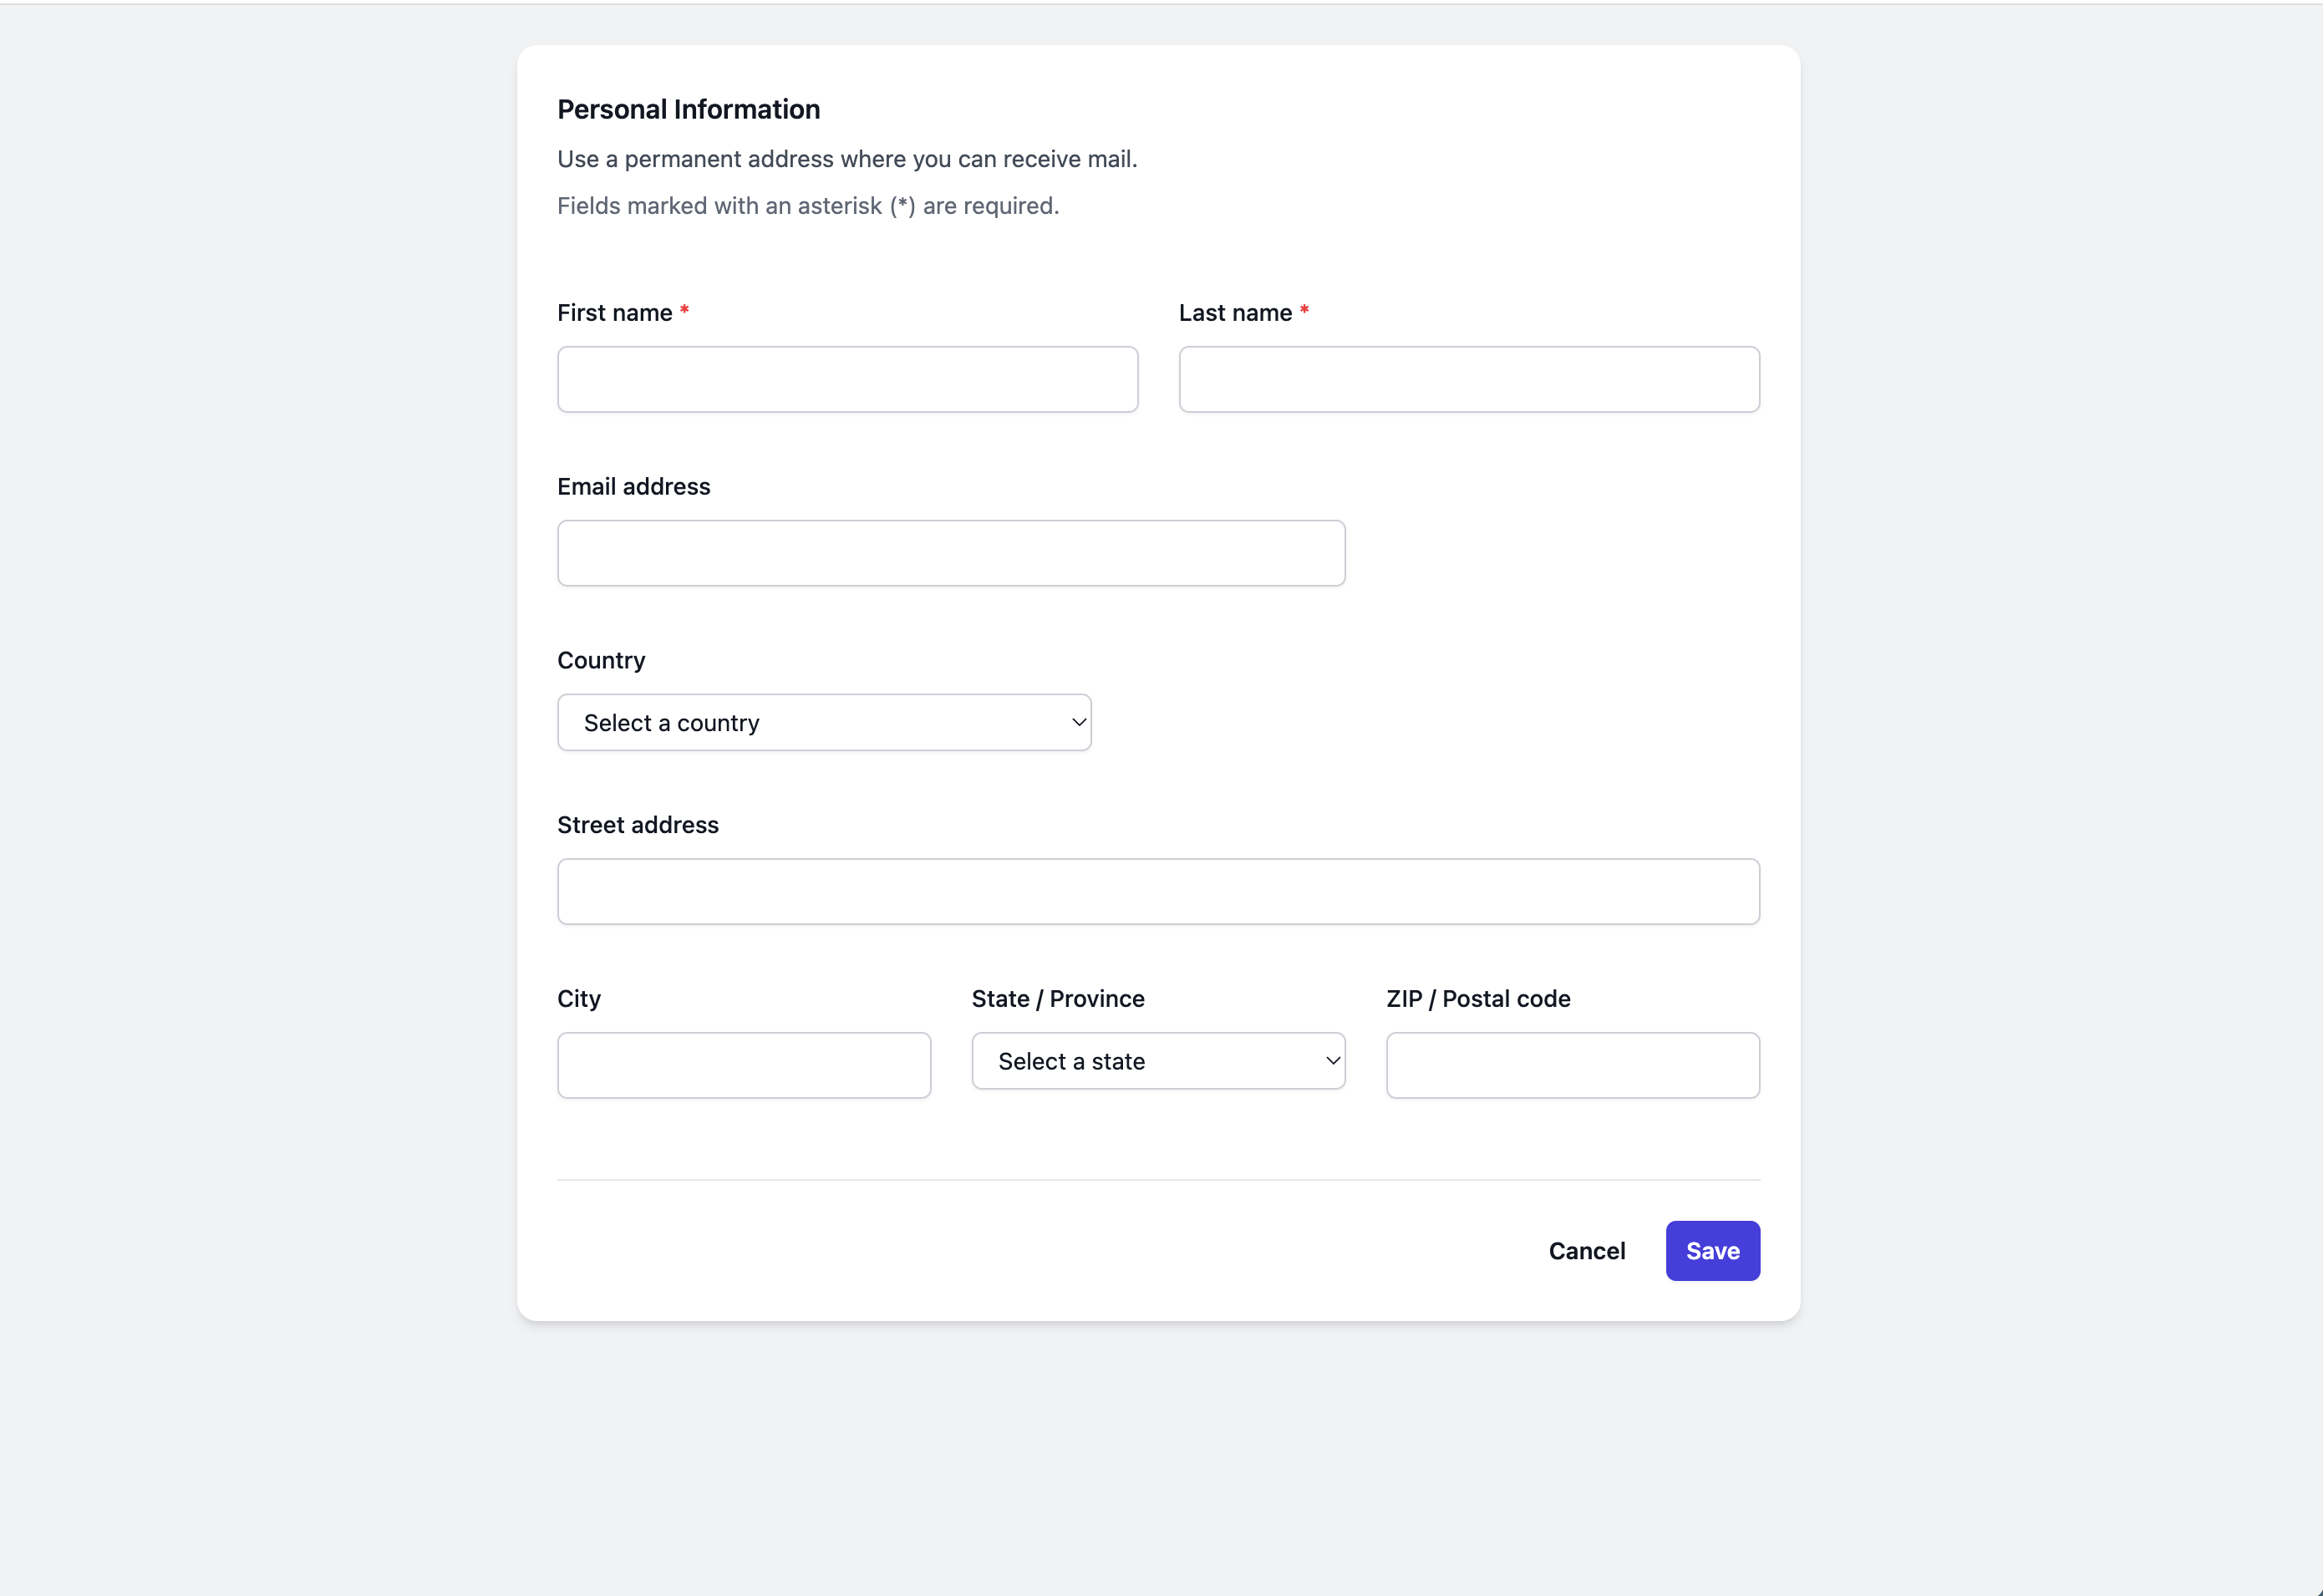
Welcome to the JTE + Forms project! This Spring Boot application showcases the integration of JTE (Java Template Engine) with form handling, providing a robust foundation for building web applications with server-side rendering.
This project demonstrates how to:
- Set up a Spring Boot application with JTE
- Handle form submissions
- Perform data validation
- Interact with a PostgreSQL database using Spring Data JDBC
- Java 23
- Maven
- Docker (for running PostgreSQL)
This project relies on the following main dependencies:
- Spring Boot 3.3.4
- Spring Web
- Spring Data JDBC
- JTE (Java Template Engine) 3.1.12
- PostgreSQL
- Spring Boot Docker Compose
- Spring Boot Validation
- Spring Initializr
To get started with this project, follow these steps:
- Ensure you have Java 23 and Maven installed on your system.
- Make sure Docker is running on your machine (for PostgreSQL).
- Clone the repository (if you haven't already).
- Navigate to the project root directory.
- Run the following command to start the application:
./mvnw spring-boot:runThis command will:
- Download all necessary dependencies
- Compile the project
- Start a PostgreSQL container using Docker Compose
- Run the Spring Boot application
Once started, you can access the application by opening a web browser and navigating to http://localhost:8080.
Let's look at some key parts of the application:
The User class represents the data model for user information:
@Table("users")
public class User {
    @Id
    private Long id;
    @NotBlank(message = "The First Name field should not be blank.")
    private String firstName;
    @NotBlank(message = "The Last Name field should not be blank.")
    private String lastName;
    private String email;
    // ... other fields and methods
}
This class uses annotations for database mapping (@Table) and validation (@NotBlank).
The UserController handles HTTP requests for user operations:
@Controller
public class UserController {
    private final UserRepository repository;

    @GetMapping("/")
    public String index(Model model) {
        model.addAttribute("user", new User());
        return "index";
    }

    @PostMapping("/save")
    public String saveUser(@Valid User user, Model model) {
        repository.save(user);
        model.addAttribute("message", "User information saved successfully!");
        return "index";
    }

    // ... error handling methods
}
This controller demonstrates how to handle GET and POST requests, perform validation, and interact with the database.
The main (and only) JTE template for this application is located at src/main/jte/index.jte. This template is responsible for rendering the user form and displaying messages.
Here's an overview of what the index.jte does:
- It displays a form for user input, including fields for first name, last name, email, and address information.
- The form is set up to submit to the "/save" endpoint using the POST method.
- If there's an error message (e.g., validation errors), it's displayed at the top of the form.
- If there's a success message (after successful form submission), it's also displayed.
- The template uses JTE syntax to handle conditional rendering and to populate form fields with existing user data (if any).
This single template handles both the initial form display and the form redisplay after submission, whether successful or not. It's a great example of how JTE can be used to create dynamic, server-rendered pages in a Spring Boot application.
The JTE + Forms project provides a solid starting point for building web applications with Spring Boot and JTE. It showcases form handling, data validation, and database interactions, all while leveraging the power of server-side rendering.
Feel free to explore the code, experiment with the form submission, and extend the application to suit your needs. Pay special attention to the index.jte file to see how JTE templates work with Spring Boot. If you have any questions or run into issues, please don't hesitate to open an issue in the repository.
Happy coding!
