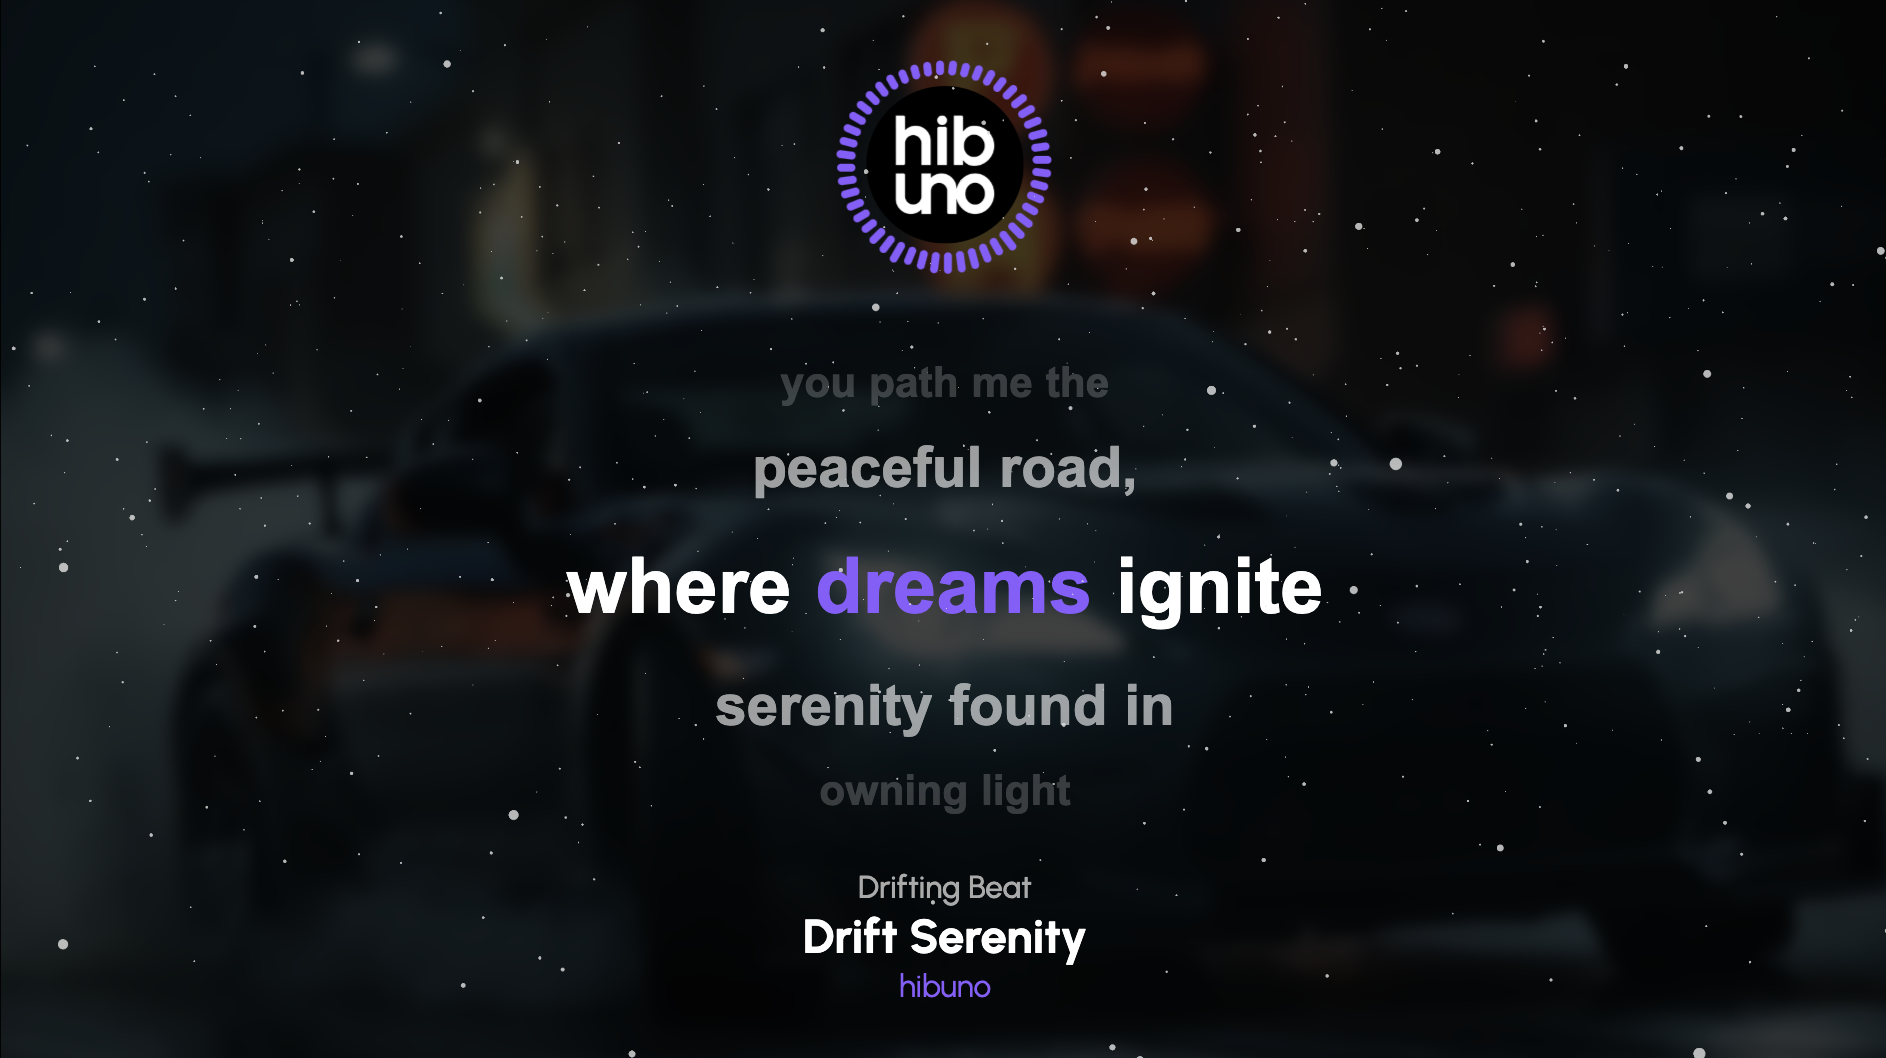
A powerful Remotion-based video visualizer for creating stunning music visualizations with dynamic effects, captions, and customizable animations. Perfect for creating lyric videos, music visualizations, or any audio-driven visual content.
This project powers the music visualizations on Hibuno's YouTube Channel, where you can find examples of the visualizer in action.
Here are some examples of visualizations created with this project:
| Landscape Mode | Lyric Video |
|---|---|
 |
 |
| Vertical Mode | Portrait Mode |
|---|---|
 |
 |
| Square Format | |
|---|---|
 |
The visualizer supports various aspect ratios and formats:
- 16:9 Landscape (1920x1080) - Perfect for YouTube videos
- 9:16 Portrait/Vertical (1080x1920) - Ideal for Instagram Stories and TikTok
- 1:1 Square (1080x1080) - Great for Instagram posts
- Custom formats with dynamic text positioning
- Dynamic audio visualization with multiple effect types
- Customizable visual effects (particles & rain)
- Automatic subtitle generation using whisper.cpp
- High-quality video rendering with Remotion
- Flexible configuration system
- Support for custom background images and videos
- Built with modern technologies (React, TypeScript, Three.js)
- Bun - Fast all-in-one JavaScript runtime & package manager
- FFmpeg - Required for audio/video processing
- whisper.cpp - For generating accurate transcriptions
- Clone the repository:
git clone https://github.com/hibuno/visualizer
cd visualizer- Install dependencies:
bun install- Verify installation:
bun run dev- Start Remotion Studio:
bun run dev-
Prepare Your Media:
- Create a
public/mediadirectory if it doesn't exist - Add your audio files (supported formats: mp3, wav, m4a)
- Add background images/videos (optional)
- Create a
-
Generate Subtitles (Optional):
bun run subtitle-
Configure Your Visualization:
- Edit
src/Root.tsxto customize your visualization - Adjust effects, timing, and styling through the configuration options
- Edit
-
Preview and Export:
- Use Remotion Studio to preview your visualization in real-time
- Export your video using the Remotion interface
The visualizer uses a type-safe configuration system powered by Zod. Here's a comprehensive guide to all available options:
{
  width: 1920,          // Video width in pixels
  height: 1080,         // Video height in pixels
  audio: [{
    path: "audio.mp3",  // Supported formats: .mp3, .wav
    transcript: "lyrics.srt" // Optional subtitle file
  }],
  background: ["bg1.jpg", "bg2.jpg"], // Background images/videos
}{
effect: {
type: "particles" | "rain" | "none",
options: {
intensity: 5, // Effect intensity (0-10)
motion: true // Enable motion effects
}
}
}{
visualization: {
type: "hills" | "wave" | "bars" | "radial",
colors: ["#ff0000", "#00ff00"], // Array of colors
options: {
smoothing: 0.4, // Waveform smoothing (0-1)
sensitivity: 1, // Audio sensitivity (0-2)
spacing: 2, // Space between elements (0-50)
rotation: 0, // Rotation in degrees (0-360)
mirror: false, // Mirror the visualization
amplitude: 1, // Wave amplitude (0-2)
frequency: 1, // Wave frequency (0-2)
barWidth: 4, // Width of bars (1-50)
responsive: true, // Responsive sizing
// Radial-specific options
diameter: 400, // Outer diameter
innerRadius: 100, // Inner radius
// Bars-specific options
placement: "middle" // "over" | "under" | "middle"
}
}
}{
metadata: [{
album: "Album Name",
title: "Song Title",
author: "Artist Name"
}],
credits: {
style: {
layout: "centered", // "centered" | "stacked" | "album"
fontSize: {
title: 24,
album: 18,
author: 16
},
colors: {
title: "#ffffff",
album: "rgba(255,255,255,0.8)",
author: "rgba(255,255,255,0.7)"
},
spacing: {
title: 16,
album: 8,
author: 8
},
fontWeight: {
title: 700,
album: 400,
author: 400
}
}
}
}{
subtitle: {
style: {
fontSize: 64,
activeColor: "#FFFFFF",
inactiveColor: "#AAAAAA",
backgroundColor: "rgba(0,0,0,0.5)", // Optional
maxGroupLines: 5,
fontWeight: 400, // 100-900
fontFamily: "Arial, sans-serif",
lineHeight: 1.5,
letterSpacing: 0
},
position: {
x: 0, // Horizontal position
y: 0 // Vertical position
},
container: {
width: 1920, // Optional container width
height: 1080, // Optional container height
padding: 16,
margin: 0,
borderRadius: 0
}
}
}{
animation: {
size: 0.8, // Size factor (0-1)
opacity: 1.0, // Opacity (0-1)
type: "ring", // "ring" | "vinyl"
colors: ["#ff0000"], // Optional animation colors
speed: 1.0, // Animation speed
position: {
x: 960, // Center X position
y: 540 // Center Y position
}
},
logo: {
path: "logo.png",
position: {
x: 960,
y: 540
},
size: 100,
circular: true,
transformOrigin: "center"
}
}- FFmpeg Issues: Ensure FFmpeg is properly installed and accessible in your PATH
- Subtitle Generation Fails: Verify whisper.cpp installation and check audio file format
- Performance Issues: Try reducing effect intensity or video resolution
This project uses Remotion entirely for the project, see more detail about Remotion License here.
Contributions are welcome! Please feel free to submit a Pull Request.
- Fork the repository
- Create your feature branch (
git checkout -b feature/AmazingFeature) - Commit your changes (
git commit -m 'Add some AmazingFeature') - Push to the branch (
git push origin feature/AmazingFeature) - Open a Pull Request