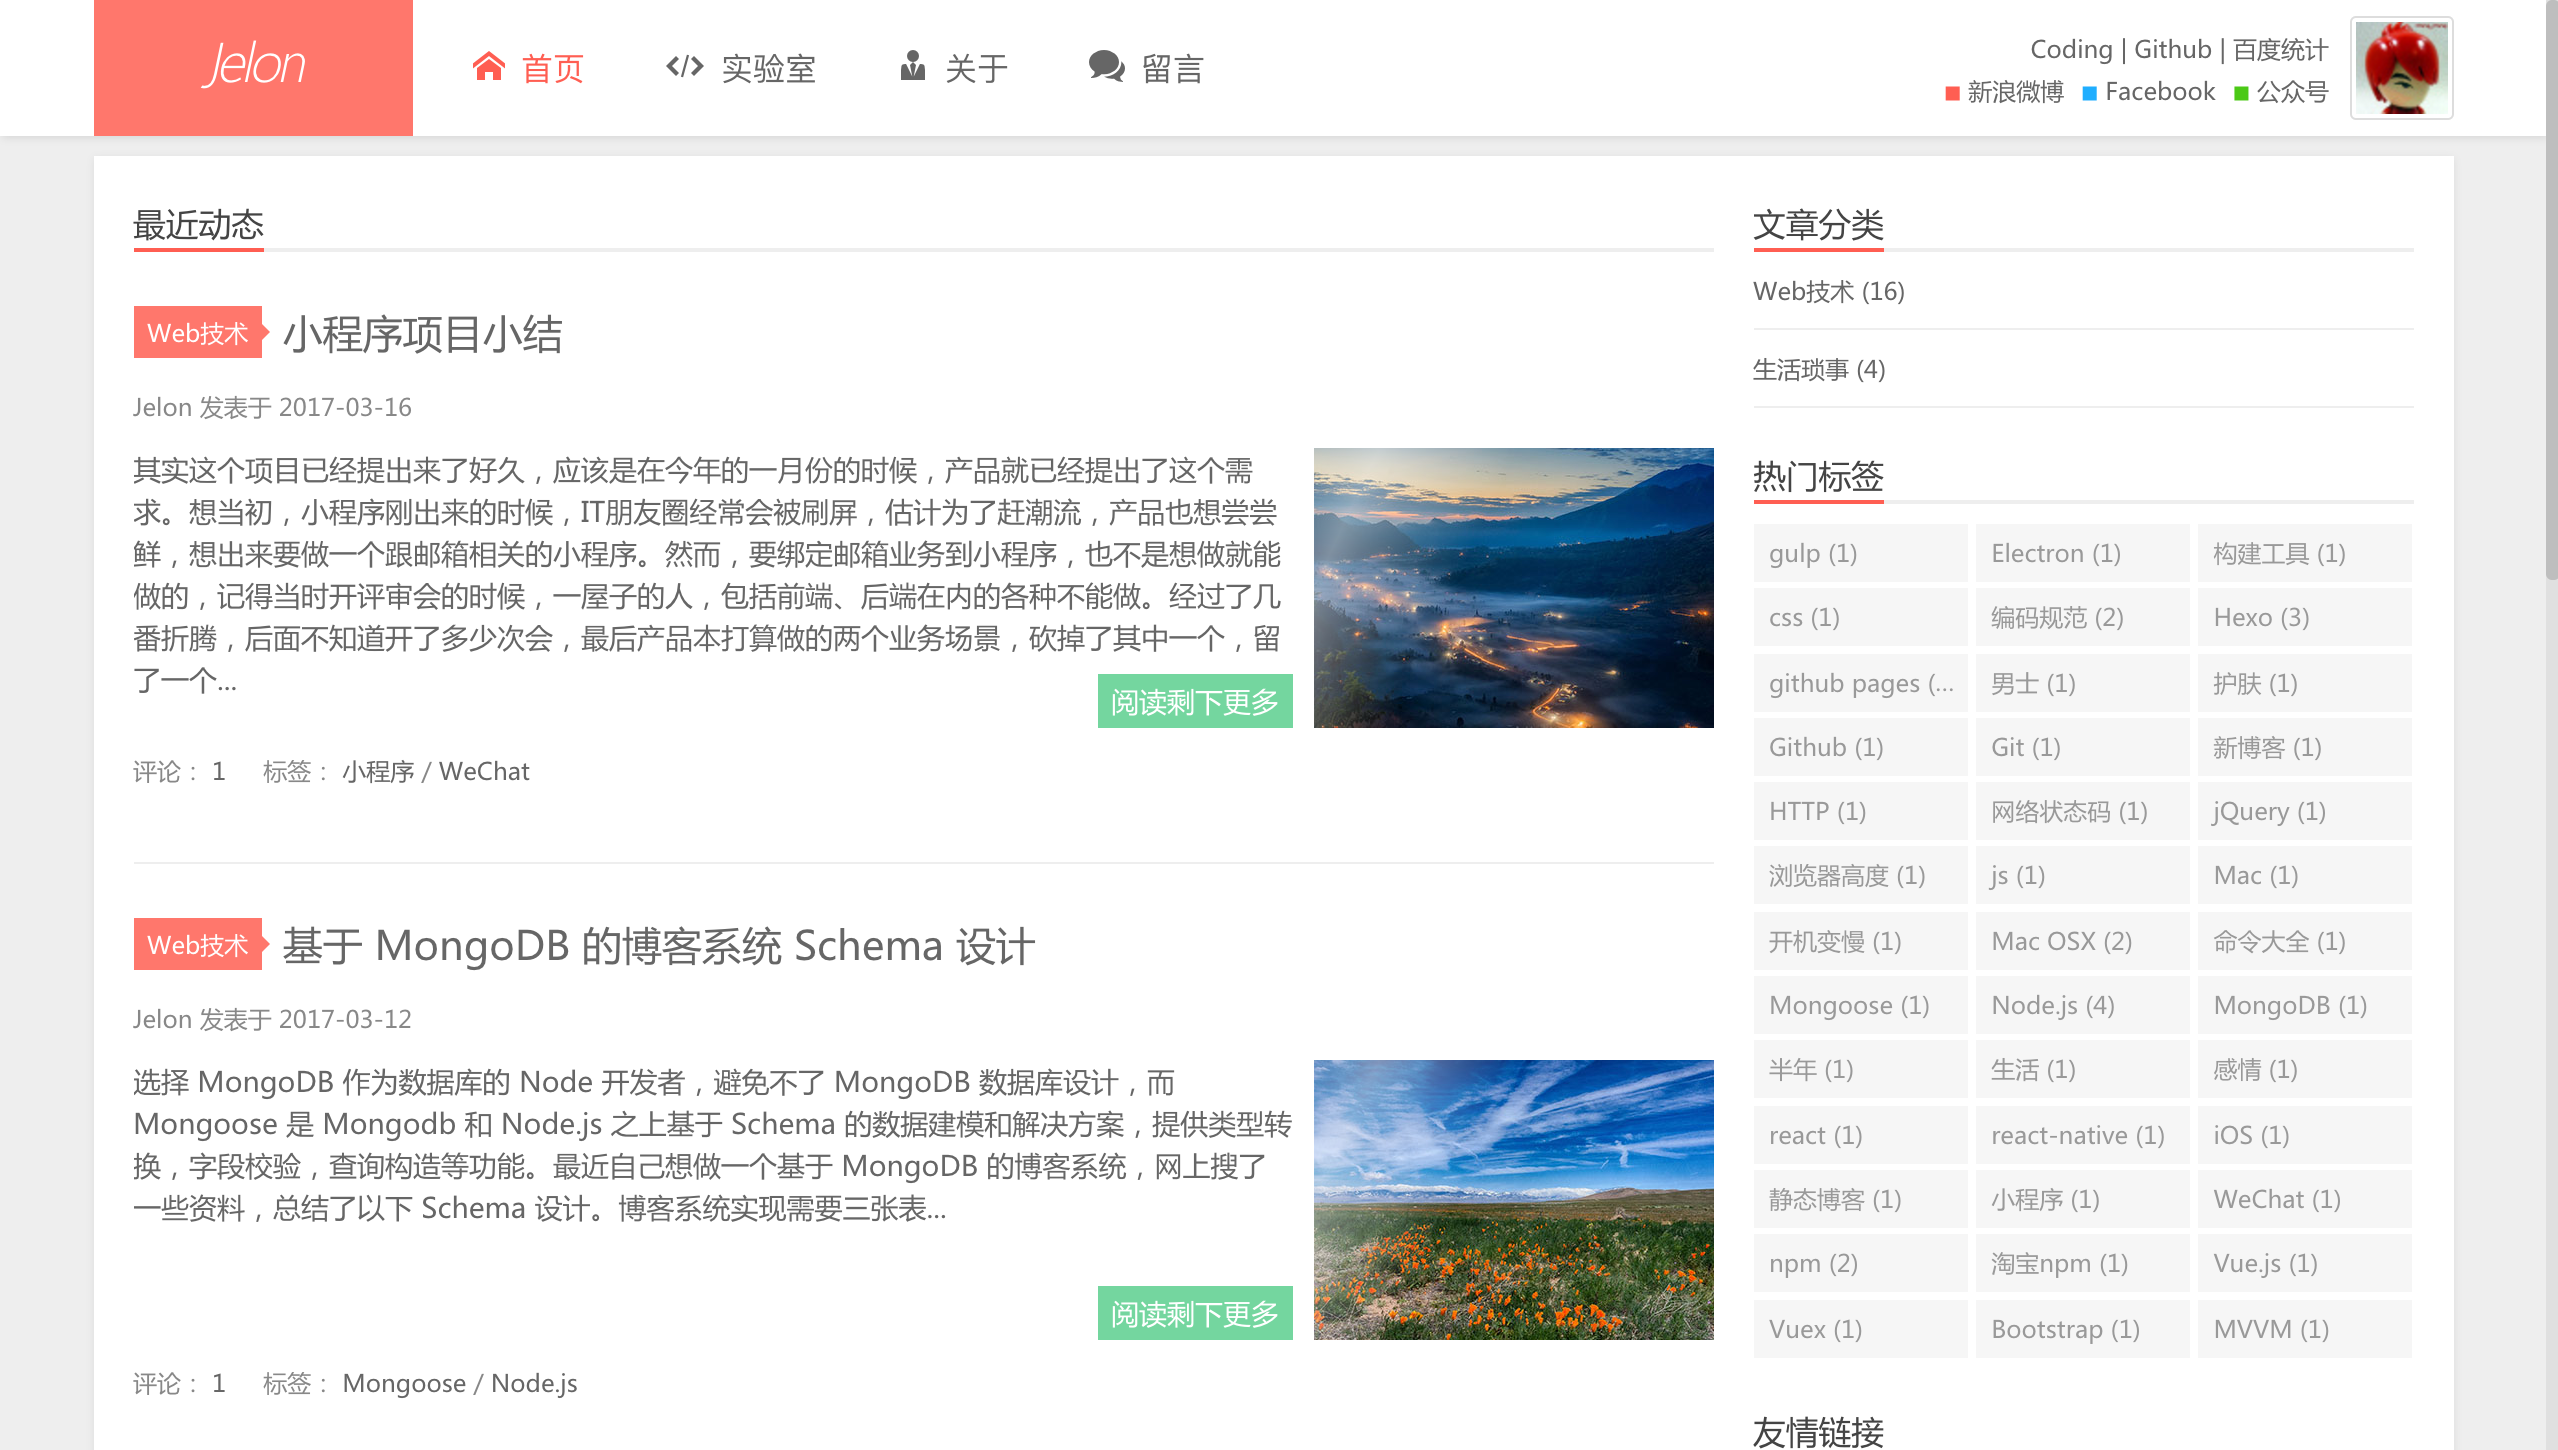
- 扁平。思路源于大前端 WordPress 主题。
- 自带博客评论系统。博客主题自带评论系统,基于 github issues 实现,了解更多请点击基于 github issues实现的评论框。
-
安装hexo
npm i hexo-cli -g hexo init blog cd blog npm install -
将主题拉到本地,并解压
cd themes
git clone https://github.com/jangdelong/hexo-theme-xups.git
下载完之后,将
_config.example.yml文件改成_config.yml -
配置 _config.yml 的 theme 配置
theme: hexo-theme-xups -
运行
hexo s --watchcd .. hexo generate # 或者 hexo g hexo s --watch运行上述命令后,浏览器打开 http://localhost:4000 即可本地访问我们的网站
有两种方法创建文章,可任选其一:
注意:文件名不要出现中文!!!
-
使用
hexo new命令$ hexo new "My New Post" -
拷贝现有的文章进行修改
hexo使用markdown来编辑文章,在source目录下,拷贝任意md文件进行创建新的文章。具体可参考下hexo的官方说明
-
使用markdown写博文
-
建议图片进行单独 cdn 存储
-
标准配图
- xups主题现默认有0-9共10张博客配图
- 博客封面配图:200x140,命名:xxx_thumbnail
-
指明文章的标题、作者信息、封面图片地址、博客摘要
---
title: {{ title }}
date: {{ date }}
author:
tags:
categories:
    - Web技术
    - 生活琐事
thumbnail:
blogexcerpt:

---
另外, 如果您需保留原主题的关于页(about)、留言页面(comment)、实验室页(lab)的话, 请将 __source/ 目录下的 about/、comment/、lab/ 三个目录及里面的页面放到您的 Hexo 程序的 source 目录下(注意不是theme主题下的目录);将 __scaffolds 目录下的 draft.md、page.md、post.md 放到 Hexo 程序的 scaffolds 目录(注意不是theme主题下的目录)。
-
利用
<!-- more -->或者post.blogexcerpt设置文章的摘要示例:
---
title: 文章标题
blogexcerpt: 这里是自定义文章摘要
...
---

这里是文章正文内容
...
这部分是文章摘要,这部分是文章摘要。在hexo模版里可通过
<%- post.blogexcerpt || post.excerpt || post.content %>来引用。- post.blogexcerpt:自定义摘要
- post.excerpt:通过
<!-- more -->分隔符来获取的文章摘要 - post.content:如不设置摘要情况,则直接输出文章全部内容
-
创建 Github Application
-
创建仓库
-
主题 _config.yml 配置
#----------------------------
# 是否开启评论
#----------------------------
comment:
  enable: false      # 是否开启配置
  owner: jangdelong  # 你的 github 账户名
  repo: blog_comments # github repository
  client_id: xxxxxxxxxx # github application client id
  client_secret: xxxxxxxxxxxxxxxxxxxxxxxxxxxxxxxxx # github application secret
-
评论框使用
<div id="comments" class="comment">
</div>
<script>
JELON.Comment({
  container: 'comments', // 评论框容器id或对象,留空是默认为 comments
  label: '<%- post.slug %>' || '<%- post.path %>',  // 文章标签
  owner: '<%- theme.comment.owner %>', // GitHub application 创建者
  repo: '<%- theme.comment.repo %>', // issue 所在仓库名
  clientId: '<%- theme.comment.client_id %>', // GitHub application client_id
  clientSecret: '<%- theme.comment.client_secret %>' // GitHub application client_secret
});
</script>
The MIT License (MIT)
