
An inside look at how the GitHub team uses Infrastructure as Code (IaC) to power a successful unified DevOps platform.
We will demonstrate how we use the principles of shared ownership and rapid feedback, empowered by automation, to deploy GitHub safely and reliably at scale

This repository contains the code to build a Terraform based, Hubot supported, self-services IaC setup, on multiple cloud environments (Azure, AWS).
It is meant as an example of what we do in GitHub (at a larger scale).
See the picture below for the workflow overview.

The IaC declaration(s) in this Repository stand up a basic (minimal) GitHub Enterprise Server, of any version that is currently available as an Appliance.

Make sure you have Terraform installed on your localhost
Install NPM/Node
This is required for Hubot Code.
You should have an Azure account and setup the local AZ CLI environment, see the Azure reference for Terraform details.
You should have an AWS account and setup the local AWS CLI environment, see the AWS reference for Terraform details.
Some useful information on Hubot.
The Repository already contains a Hubot project, so there should be no need to setup a new project, but this information can provide a better understanding.
(Slack)
Make sure you have a Slack account, since we are using Slack and the Hubot Slack adapter for this demo (other Hubot adapters are available)
Here are some notes on how to install a Slack Bot (this is a classic app). If you follow the "install a Slack Bot" link it will allow you to install it with some simple steps. Make sure to copy the API Token (eg. "xoxb-12345...")

For simplicity let's assume you cloned it into your Home-Folder (~/)
Note: Make sure you completed the ChatOps requirements and you now have a Bot API Token, as well as seeing a Hubot App in your Slack site.
-
Set the Bot API Token as an environment variable
export HUBOT_SLACK_TOKEN=xoxb-12345... -
Set the Hubot Logfile as an environment variable
export HUBOT_LOG_FILE=~/demo-days-21_IaC-in-github/hubot.log
export HUBOT_LOG_LEVEL=debug
-
Connect the Hubot App with the Slack Bot
cd ~/demo-days-21_IaC-in-github
./bin/hubot -a slack
-
The running Hubot App will remain in the forground.
-
Go to your Slack page and check the connectivity by going to the hubot App and typing
ping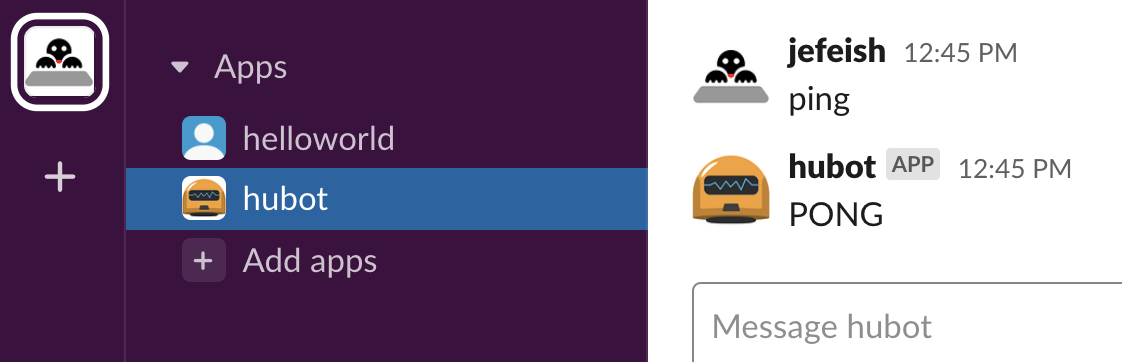

Note: For this Demo we are "managing" the statefiles locally, in side the Repository. The next step shows the locations of the state-files
-
Make sure there are no old State-Files in the IaC folders, there should not be, but just in case.
-
~/demo-days-21_IaC-in-github/IaC/terraform/ghes/aws/state -
~/demo-days-21_IaC-in-github/IaC/terraform/ghes/azure/state...these folders should be empty or don't exist.
-
-
Provide connectivity with your cloud provider. For this Demo we use the simple way
- for AWS provide the credentials (~/.aws)
- for Azure use the
az login
Note: this is only for demo purposes and not meant for prodcution!
Note: for good measure let's "tail" the Hubot logs, in a separate console.
tail -f ~/demo-days-21_IaC-in-github/hubot/hubot.log-
Tell hubot (in Slack) to run this command
hubot demo stack build ghes -v 3.1.0 -c azure
Note: since we are directly communicating with Hubot, the initial 'hubot' statement is optional, as soon as you install the Bot in Slack channels you will have to address the Bot by it's name 😄
This command triggers the IaC and have Hubot respond with...

-
This is wat you should expect from hubot (in Slack)...


-
Some details on the State File(s)
Have a look at the state folder
ls -la ~/demo-days-21_IaC-in-github/IaC/terraform/ghes/azure/stateWe store each IaC run-state under it's user id (eg
jefeish).Note: if you want your users to create stacks for specific version, just add the "version" to the state-file path.
state
└── jefeish
  └── terraform.tfstate
- We can destroy the full stack, with all its resources and recreate it at any time
- We do not create multiple instances of the same version when we re-run the same IaC
