This fork is for compatibility with the new extension system introduced in Blender 4.2. This new system allows to bundle dependencies, like debugpy, into the extension to simplify the installation process.
Inspired by Blender-VScode-Debugger which was itself inspired by this remote_debugger for pycharm as explained in this Blender Developer's Blog post.
Since the VSCode one wasn't really well documented and it looked kind of dead, once I figured it out, I was just going to add the documentation, but then I ended up rewriting the whole thing.
Now it can:
- Tell you when the debugger has actually attached.

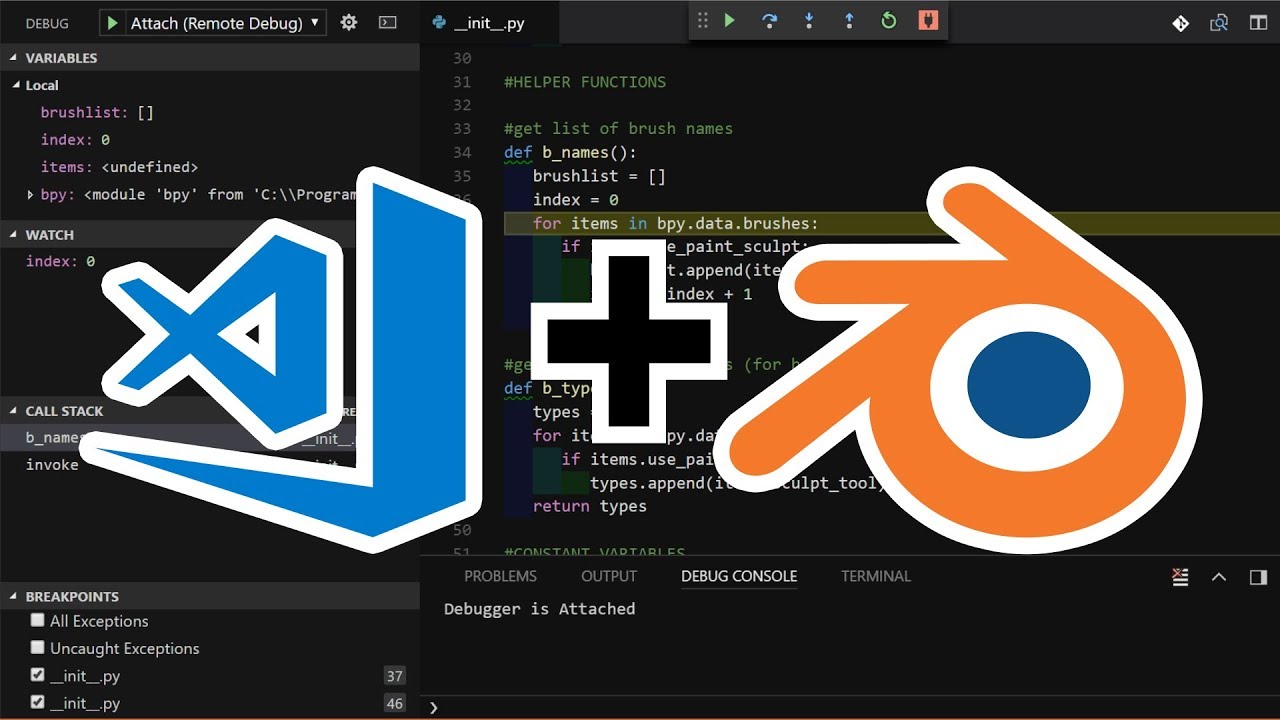
I have made a video (click the image below) for those who just started messing with python in Blender or programming in general, but if you're semi-familiar with Python, VSCode, and the command line the following should make sense. If you have any questions or suggestions, don't hesitate to file an issue.
- This video was done with blender 2.79, but everything still works mostly the same. Only changes are:
- It can be installed from the Addons or the Extensions menus.
- Blender changed the default shortcut to the search menu.
- ptvsd has been replaced by debugpy
- Blender now requires you enable
Settings => Interface => Developer Extrasbefore you can see the commands.
You must down it with the the green Code button above. DO NOT download it from releases!
This is because blender has a problem with the periods in the name from the version number. It used to be you could rename the zip, but this no longer works, you'll get an error when you try to enable the addon. The onyl fix is to go where the addon was installed and rename the folder there.
Blender currentle has to systems to extend its functionality: Addons (legacy) and Extensions (new system). Addons and Extensions need to be edited in the location where they are installed in blender.
The default folder for addons is:
C:\Users\<USER>\AppData\Roaming\Blender Foundation\Blender\4.X\scripts\addons
In Blender go to: Edit > Preferences > File Paths > Script Directories and add the path to the folder you're going to develop your addon in (e.g: "C:\Code\Blender Stuff").
The folder structure must be the same than in the default addon folder. In this example:
...
└── Blender Stuff
    └── addons
        ├── your-addon-folder
            ├── __init__.py
            ├── ...etc
        ├── another-addon
        ├── ...
See [Blender Docs => Installing Add-ons => User-Defined Add-on Path](https://docs.blender.org/manual/en/latest/editors/preferences/addons.html#:~:text=Add%20a%20subdirectory%20under%20my_scripts%20called%20addons%20(it%20must%20have%20this%20name%20for%20Blender%20to%20recognize%20it) for details.
You can install from blender or copy the addon folder to the new location.
The default folder for extensions is:
C:\Users\<USER>\AppData\Roaming\Blender Foundation\Blender\4.X\extensions\<repo>
Edit > Preferences > Get Extensions > Repositories > + > Add Local Repository
Set a name for the new repository "MyExtensions", check custom folder and set the new path (e.g: "C:\Code\Blender Stuff\extensions") The folder structure must be the same than in the default local extension repository. In this example:
...
└── Blender Stuff
    └── extensions
        ├── your-extension-folder
            ├── __init__.py
            ├── blender_manifest.toml
            ├── ...etc
        ├── another-addon
        ├── ...
https://docs.blender.org/manual/en/latest/editors/preferences/extensions.html#installing-extensions
Blender does not support duplicated addons/extensions. If you have multiple copies installed in different folders uninstall them until only one is left.
One thing to keep in mind is that if the extension has a bundled dependency (using wheels), the dependency is not installed when copiying the folder or enabling the extension. Only when the extension is installed the dependency is also installed.
Install the addon.
In Blender you must enable Developer Extras (Preferences => Interface => Developer Extras) if you haven't already, otherwise the addon's commands won't turn up in the search.
If you want, increase the timeout for the confirmation. It'll print "Waiting..." in the console every second until it prints it's timedout. This does not mean the server has timedout just the confirmation listener.
Open up Blender's search (default shortcut: F3), type "Debug".
Click Debug: Start Debug Server for VSCode.
Note: you can only start the server once. You cannot stop it, at least from what I understand. If you run it again it'll just tell you it's already running and start the timer again to check for a confirmation.
Install Python. No additional packages are necesary. Works with virtual enviroments (venv or virtualenv)
Install VSCode
Install the Python extension for VSCode if you haven't already. For Visual Studio see Installing Python Support.
In the lower left (see #3 here), VSCode should have auto detected your Python install and set it as the interpreter. For Visual Studio see Managing Python Environments.
In VSCode open your addon folder (e.g. "C:\Code\Blender Stuff\addons\myaddon").
Go to the Debugging tab and select create a lauch.json file. Pick Python Debugger then Remote Attach. You'll want the configuration that looks like this, no need to change the defaults, you can delete the rest.
        {
            "name": "Python Debugger: Remote Attach",
            "type": "debugpy",
            "request": "attach",
            "connect": {
                "host": "localhost",
                "port": 5678 //select the same port in blender addon preferences
            },
            "pathMappings": [
                {
                    "localRoot": "${workspaceFolder}",
                    "remoteRoot": "." //change "." for "${workspaceFolder}" like the line above
                }
            ]
}Open up Blender's search (default shortcut: F3), type "Debug".
Click Debug: Start Debug Server for VSCode.
Then go to VSCode Run > Start Debugging
VScode should open the "Debug Console" and print "Debugger is Attached". If it was still waiting (it should still attach even if it wasn't, it just won't tell you).
At this point you should be able to add a breakpoint and when in Blender the execution of the addond reaches that trigger, Blender should freeze and VSCode should pause on the breakpoint.
Note though that if you make changes to the addon files, Blender will not detect them. Have to open up Blender's search and type Reload Scripts when you make changes. If anyone knows any way to improve this I'd love to know.
The debugger can be made to wait for a client to connect (this will pause all execution). This can be useful for debugging the connection or when running blender headless / in background mode.
To do so, call the server connect command from the python console or from a script/addon like so:
bpy.ops.debug.connect_debugger_vscode(waitForClient=True)First make sure the addon is installed, enabled, and works when you run blender normally.
Blender can then be run in background mode with the -b/--background switch (e.g. blender --background, blender --background --python your_script.py).
See Blender Command Line.
You can detect when blender is run in background/headless mode and make the debugger pause and wait for a connection in your script/addon:
if bpy.app.background:
	bpy.ops.debug.connect_debugger_vscode(waitForClient=True)
This will wait for a connection to be made to the debugging server. Once this is established, the script will continue executing and VSCode should pause on breakpoints that have been triggered.
For addons, you will need to do this from a handler:
from bpy.app.handlers import persistent
#...
def register():
   bpy.app.handlers.load_post.append(load_handler)
#...
@persistent
def load_handler(dummy):
	# remove handler so it only runs once
   bpy.app.handlers.load_post.remove(load_handler)
   if bpy.app.background:
bpy.ops.debug.connect_debugger_vscode(waitForClient=True)It is possible to edit the Blender source code but it can be a bit tricky to get it to detect changes (nevermind live editing is buggy anyways).
From blender you can right click just about anything and click "Edit Source" to get it in the text editor. Then to find the path of the file, go to Text > Save As and copy it from there.
Open the file in VSCode, connect to the debugging server, make a change and save it.
Now in Blender the text editor will show this little red button in the top left. Click that and reload the file. Then in Text Editor > Properties turn on Live Edit if you haven't already. Now to actually get Blender to detect any changes you made just type a single character (like add a space anywhere) and then it will detect your changes.
- To determine whether the problem is on Blender's side or your editor's: Close Blender and install debugpy this test script, you can copy/download it or run it from the addon folder. Run it with Python
python test.py, and then try to connect to the server with your editor. If you're still getting problems then the problem is with VSCode, try:- Check your detected your Python install, or set it manually.
- For VSCode try reinstalling the VSCode Python extension.
- If you've been using this addon for a while and it's suddenly giving you a connection error, it might be because the default port has changed. VSCode's Python extension (vscode-python) has changed their default remote attach port from 3000 to 5678, so I have changed the default accordingly. I've made it configurable now though, so just check the port the addon is set to matches the one in your
launch.jsonin VSCode.
Otherwise, if none of that helped, don't hesitate to file an issue.