1.1. Rent a virtual private server (VPS). In the rest of this tutorial, we will use the example of a VPS whose IP address is 123.45.67.89.
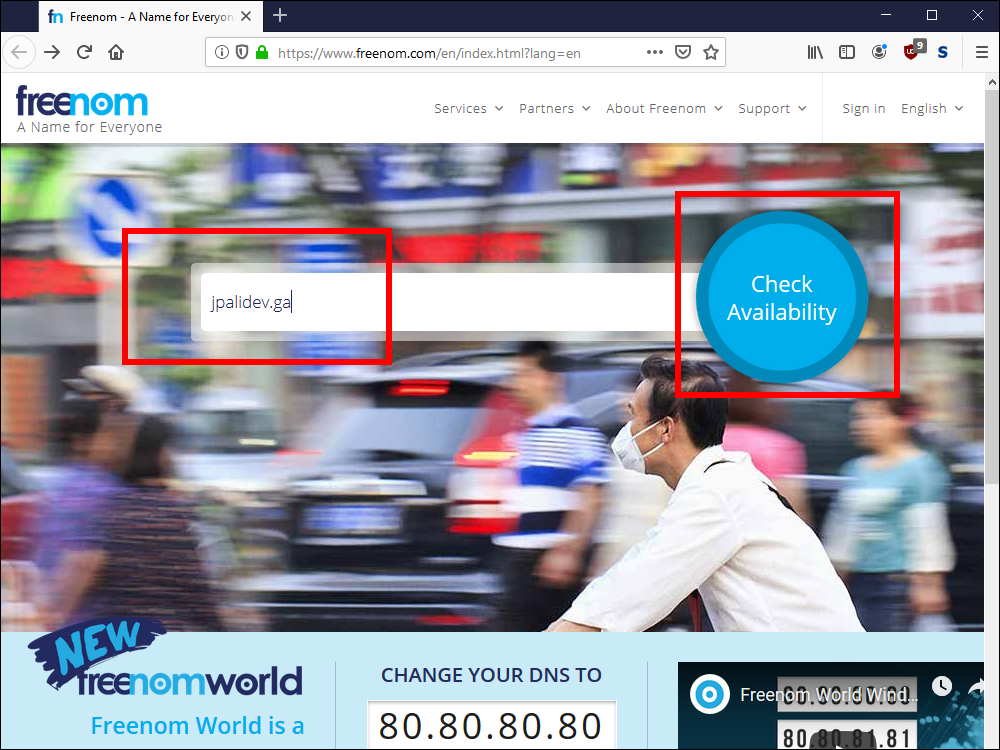
2.1. Open a browser and visit https://www.freenom.com.
2.2. Enter your chosen domain name and click Check Availability.
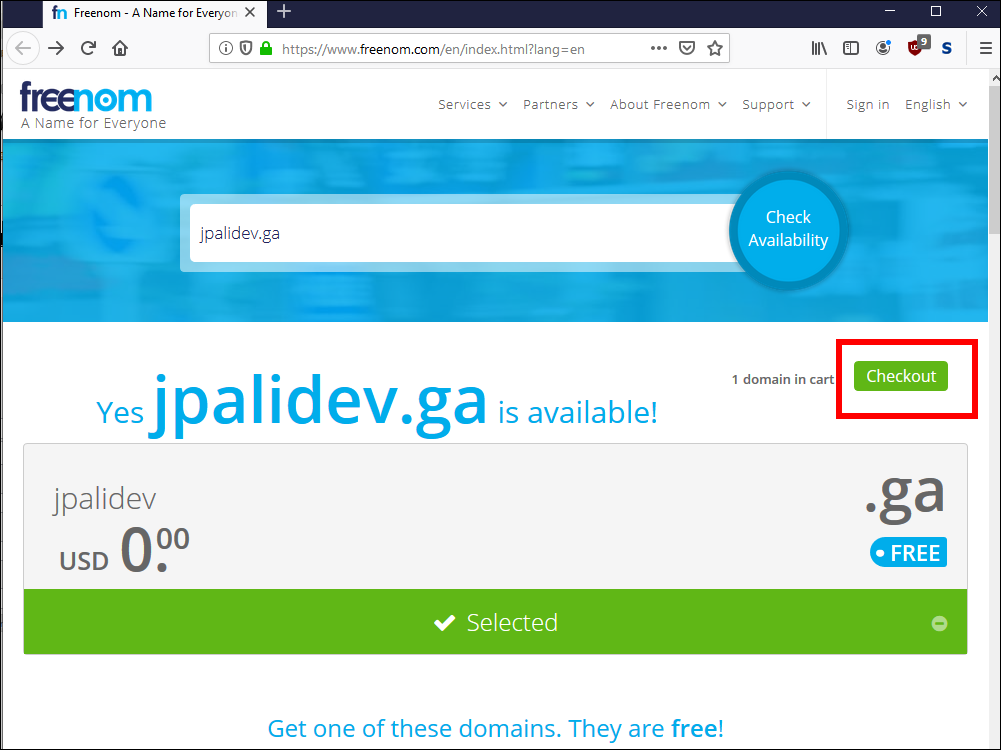
2.3. If your name is available, click Checkout.
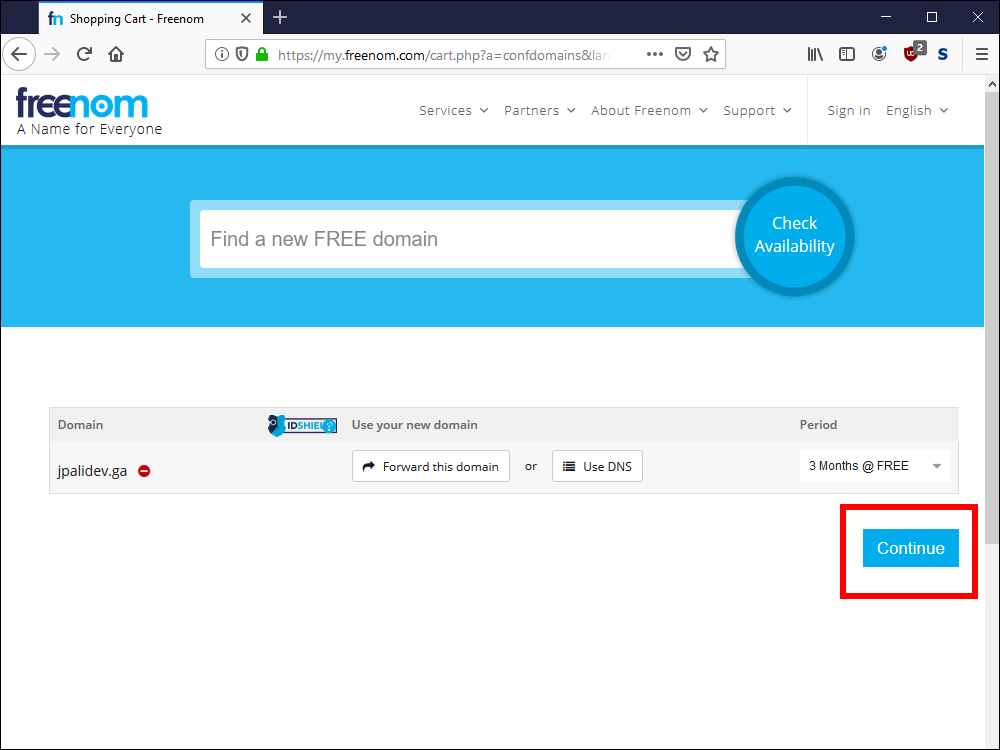
2.4. Click Continue.
2.5. A message is displayed to tell you to check your email for a link to click.
2.6. Open your email, and click the link from Freenom.
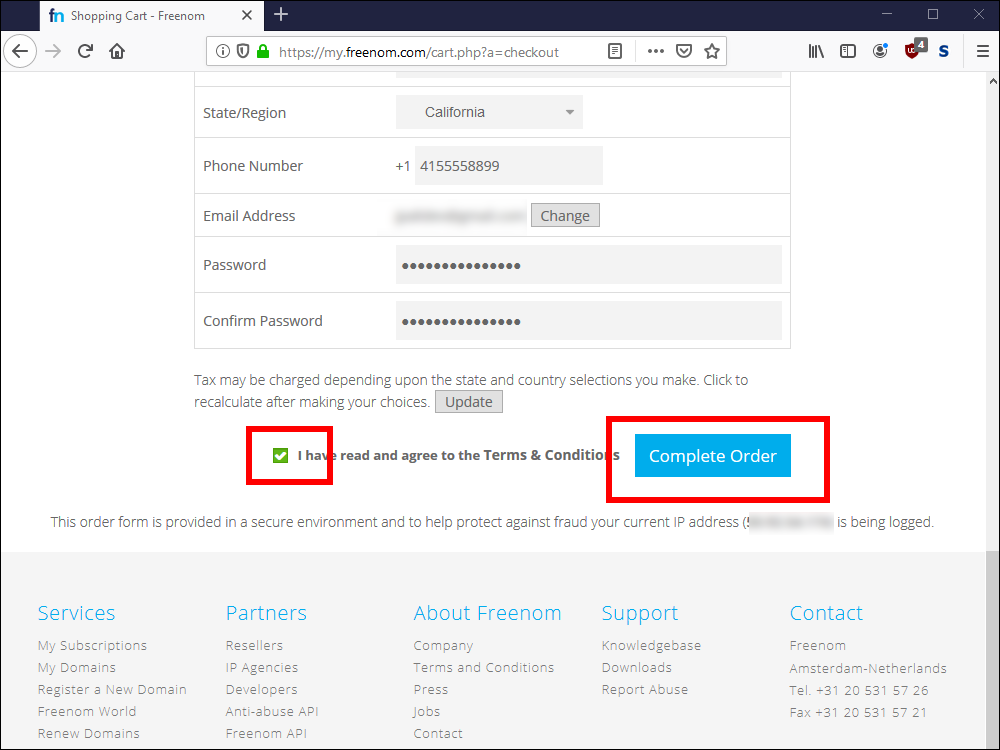
2.7. Fill in your details:
- First Name
- Last Name
- Company Name (optional)
- Address
- City
- State/Region
- Zip Code
- Country
- Phone Number
- Email Address
- Password
- Confirm Password
2.8. Check the box for I have read and agree to the Terms and Conditions. Click Complete Order.
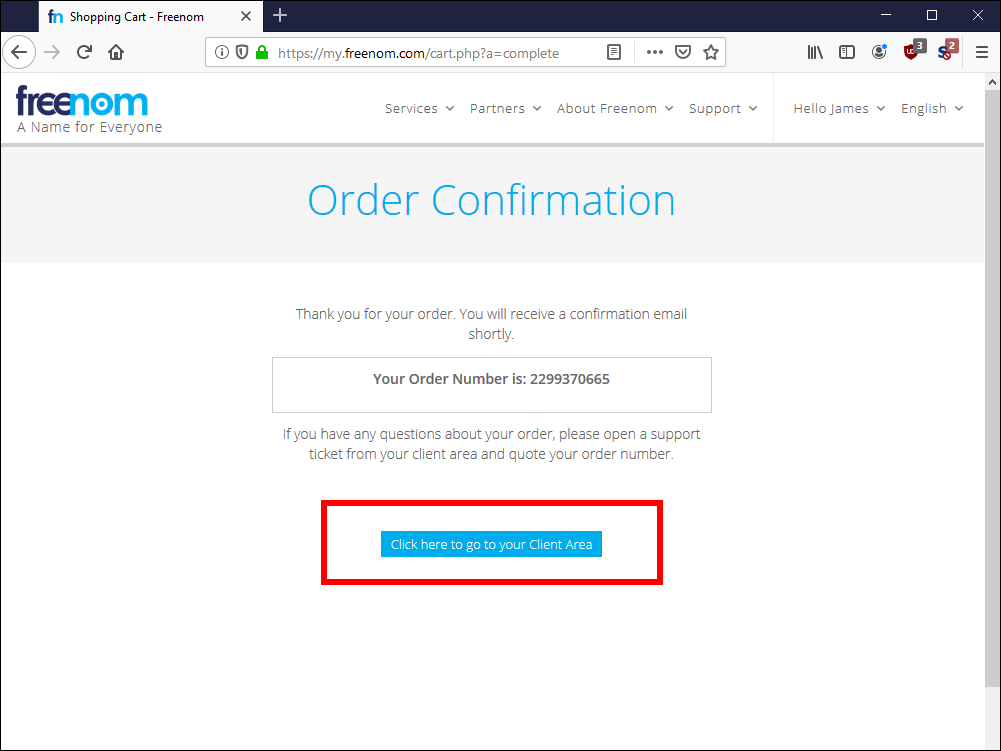
2.9. An order number is displayed. Click Click here to go to your Client Area.
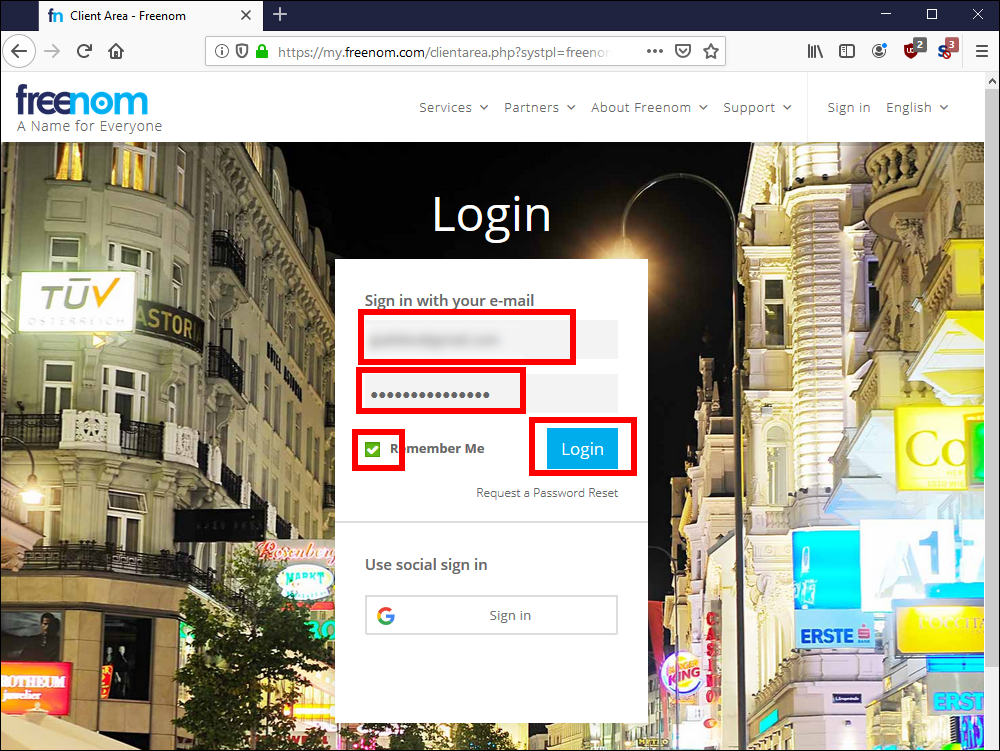
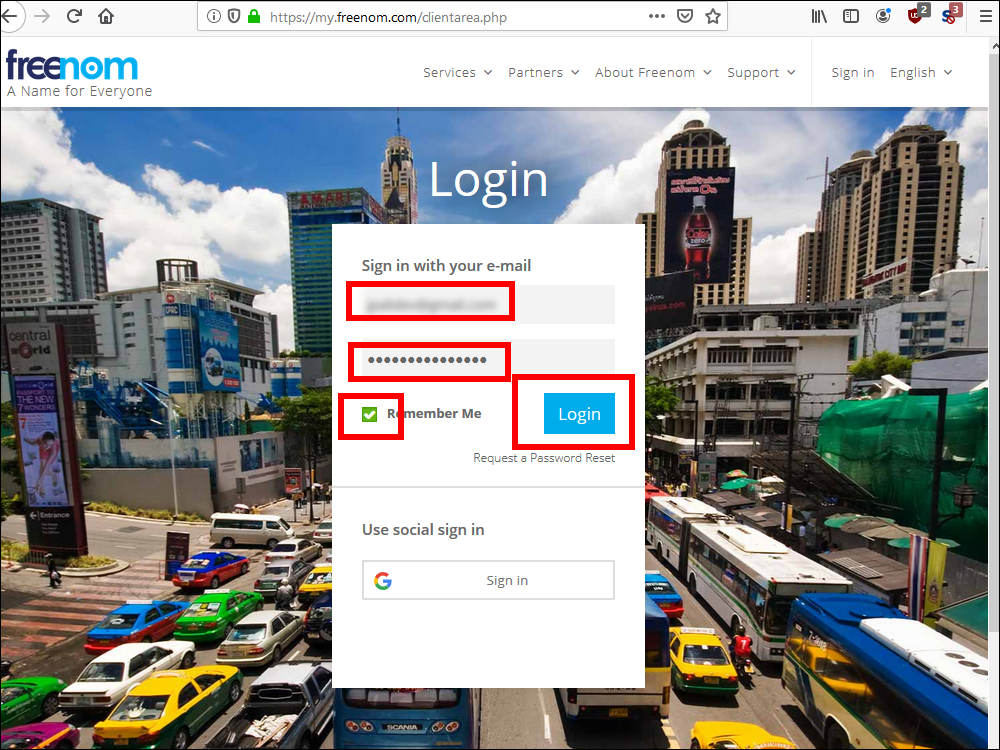
2.10 Sign in with your email and password. Check the box for Remember Me. Click Login.
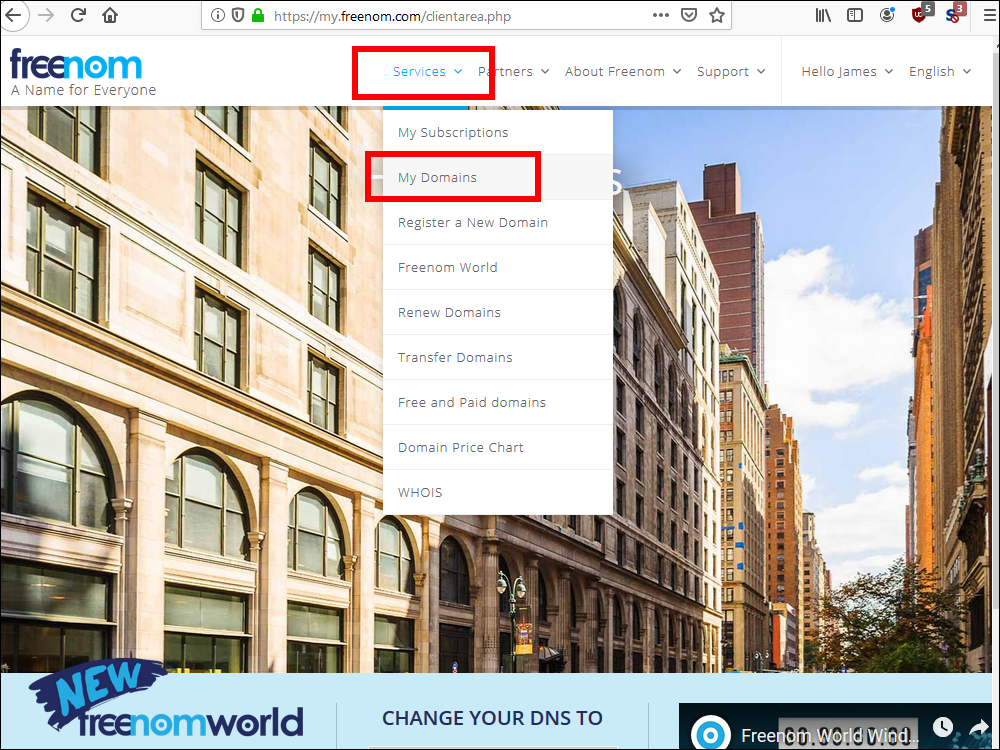
2.11. Under Services, select My Domains.
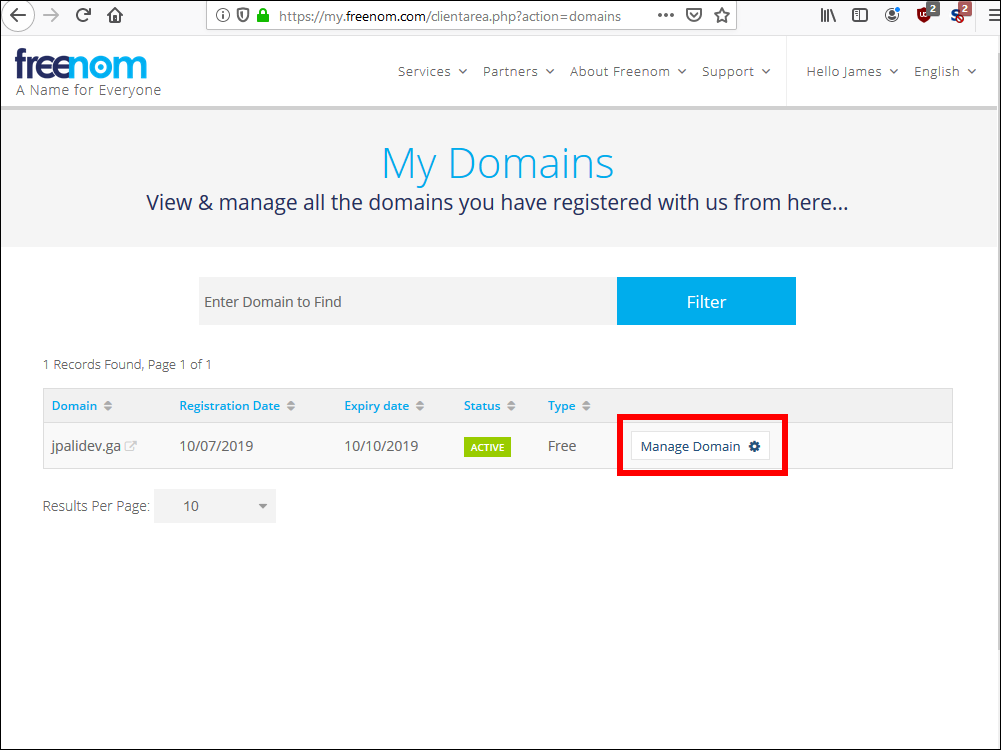
2.12. Select your domain and click Manage Domains.
2.13 Click Manage Freenom DNS.
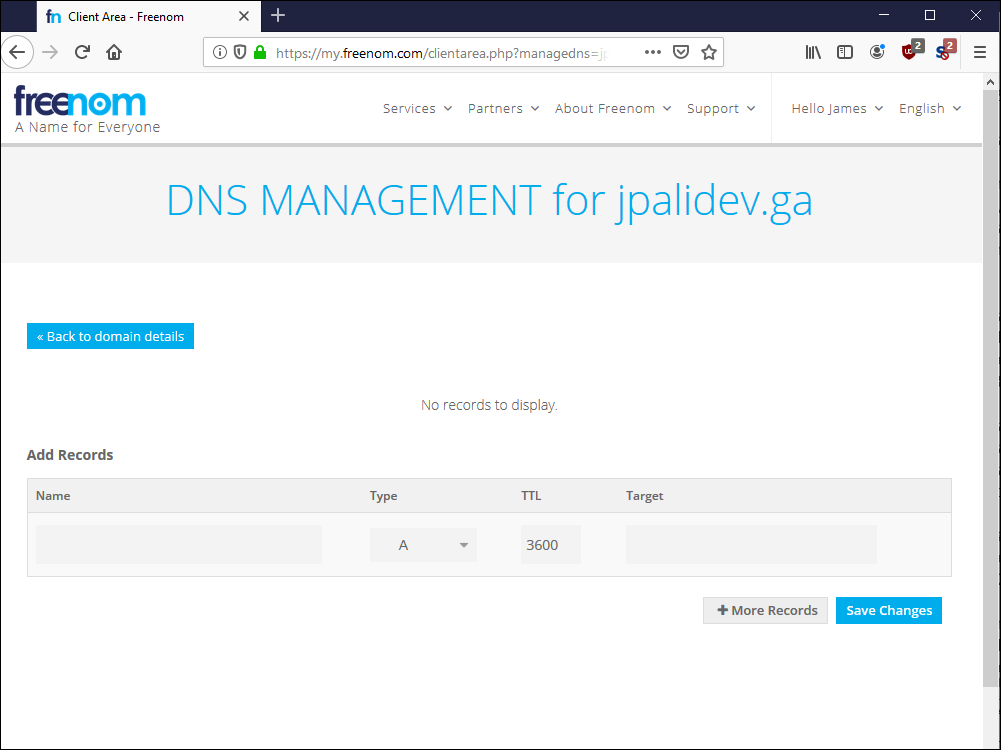
2.14. At first there are no DNS records to display.
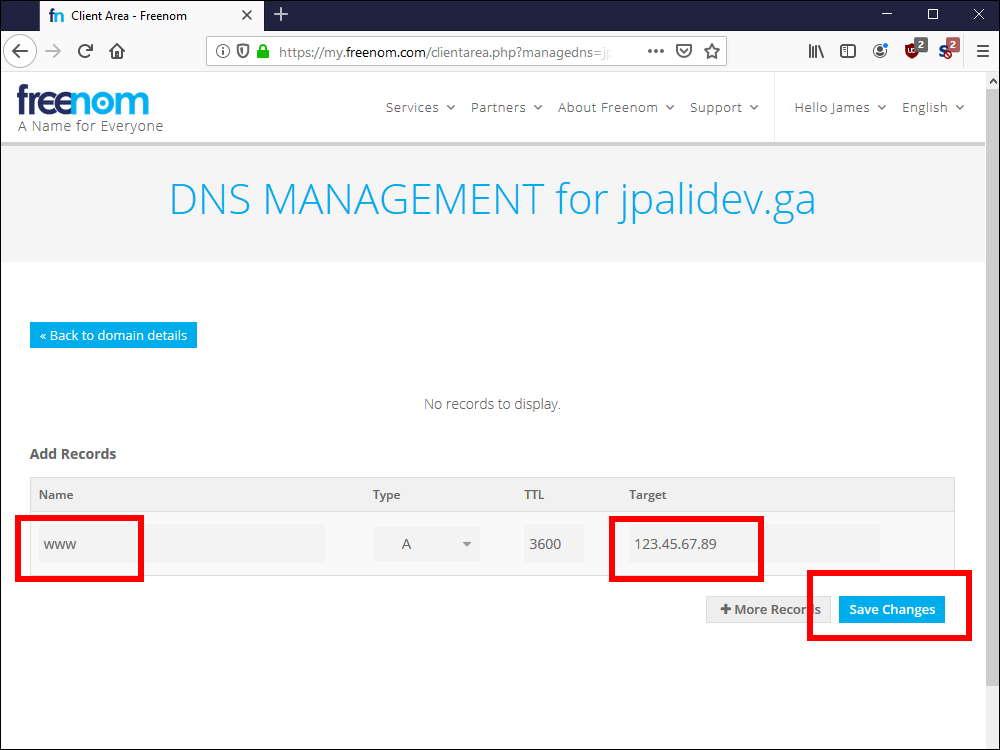
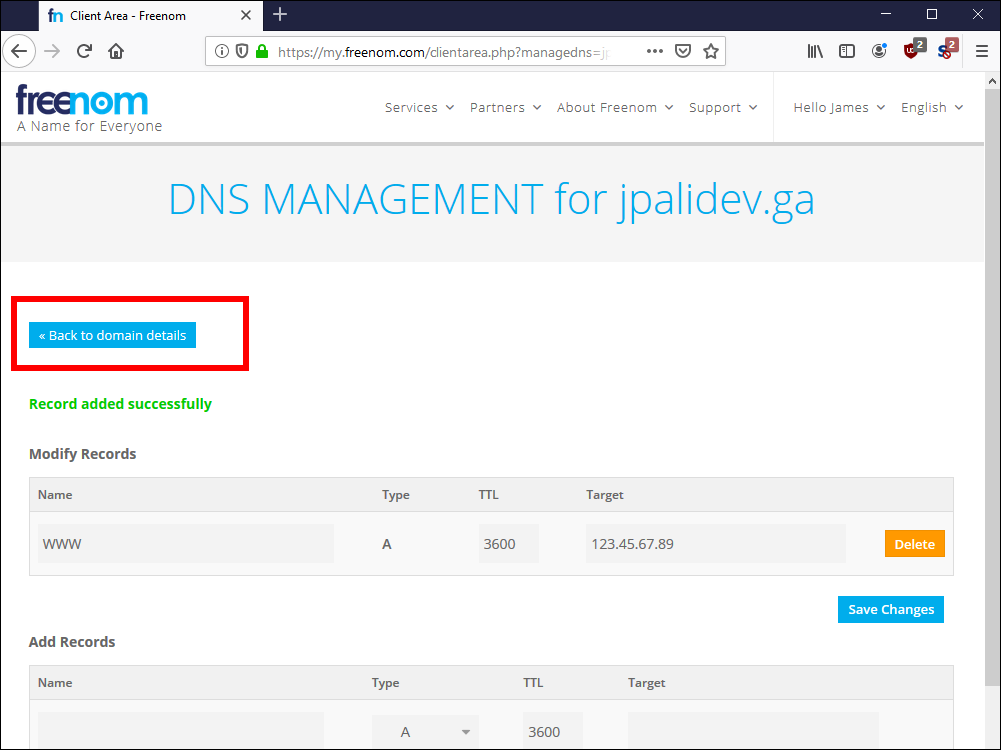
2.15. Enter www for your DNS record name, type A, TTL 3600, and the Target IP address of your VPS. In our example, this is 123.45.67.89. Click Save Changes.
2.16. Click Back to Domain Details.
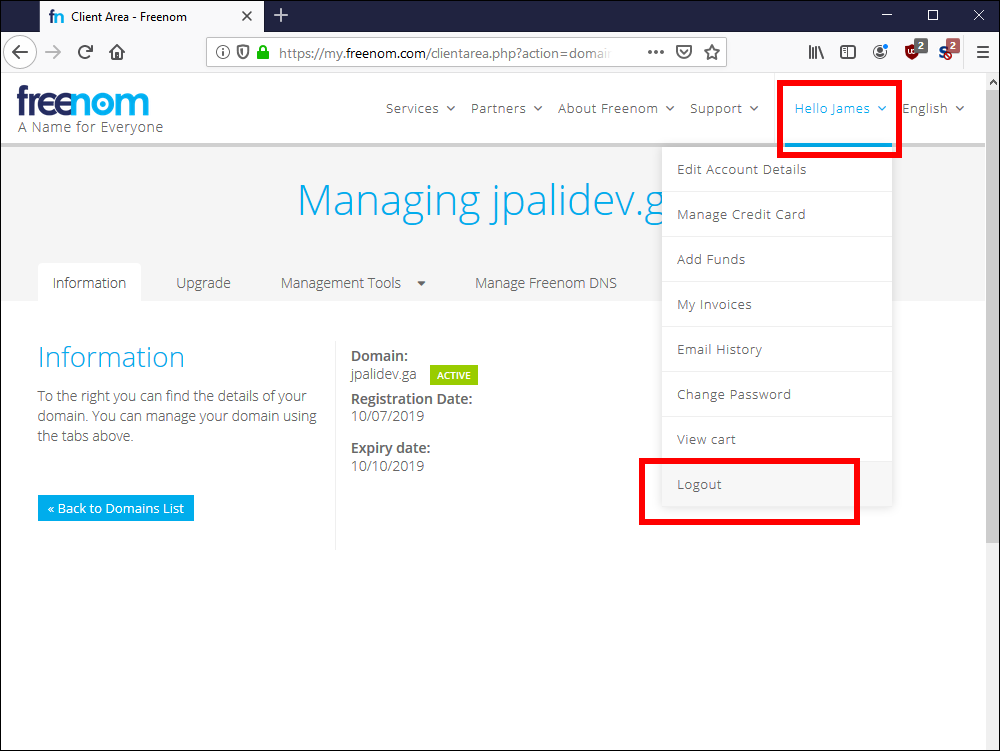
2.17. Under your account name, select Logout.
3.1. If your PC runs Linux or macOS, you already have a built-in terminal emulator. There is no need to download extra software.
3.2. If your PC runs Windows, download and install PuTTY from https://www.chiark.greenend.org.uk/~sgtatham/putty/latest.html.
4.1. If your PC runs Linux or macOS, you will SSH into your server with a command such as:
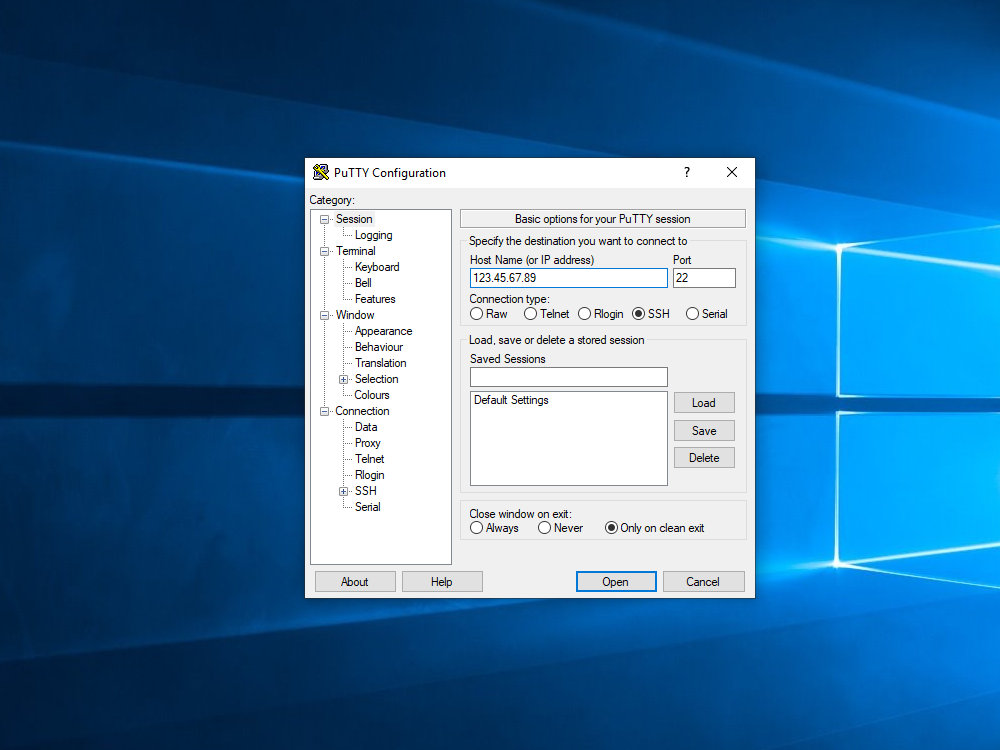
4.2 If your PC runs Windows, set up PuTTY to SSH into your server.
5.1. After you log in, get your system up to date by issuing the command:
yum update
5.2. When you are asked if it is okay to continue, enter y for yes.
6.1. Install and start the firewall by issuing the commands:
yum install firewalld
systemctl enable firewalld
systemctl start firewalld
6.2. Use the trusted zone to whitelist your own IP address for access to SSH. You will need to substitute in the actual public IP address of your workstation. You can get your workstation's public IP address by opening a browser and visiting site such as https://whatismyipaddress.com. The commands below use an example workstation IP address of 11.22.33.44.
firewall-cmd --permanent --zone=trusted --add-service=ssh
firewall-cmd --permanent --zone=trusted --add-source=11.22.33.44/32
firewall-cmd --reload
firewall-cmd --zone=trusted --list-all
6.3. We now prevent the public from reaching port 22 (the SSH port):
firewall-cmd --permanent --zone=public --remove-service=ssh
firewall-cmd --reload
firewall-cmd --zone=public --list-all
7.1. To add the EPEL repository from the Fedora project, issue the command:
yum install epel-release
When asked if this is okay, put y for yes.
8.1. Start by opening the firewall for public access to your website on port 80 (the HTTP port) and port 443 (the HTTPS port).
firewall-cmd --permanent --zone=public --add-service=http
firewall-cmd --permanent --zone=public --add-service=https
firewall-cmd --reload
firewall-cmd --zone=public --list-all
8.2. Install the Nginx web server:
yum install nginx
systemctl enable nginx
systemctl start nginx
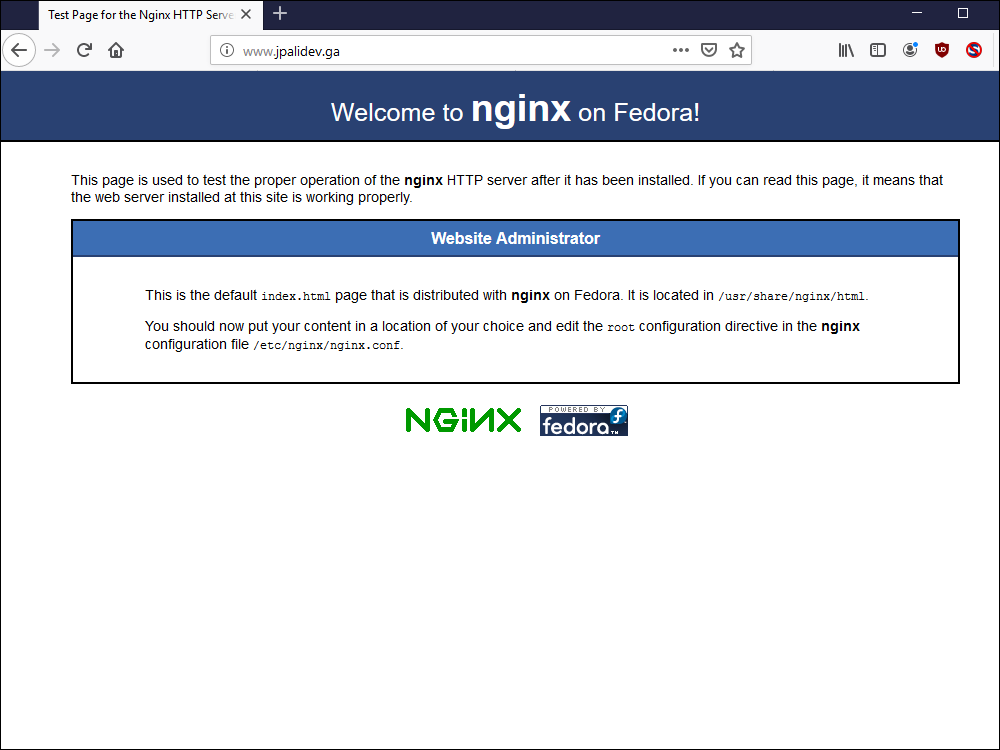
8.3. At this point, you can test your basic set up by opening a browser and visiting your server. You should see the Fedora EPEL Nginx test page.
8.4. You can add your content now. If you do not have content of your own, you can use some sample content. To use the sample content, issue the following commands on your server:
yum install wget zip unzip

wget https://github.com/jpalidev/jpalidev.github.io/archive/master.zip

unzip master.zip

cp -rf jpalidev.github.io-master/* /usr/share/nginx/html
If you are asked if you want to override the existing index.html, put y for yes and press Enter.
8.5. Now when you open a browser and visit your server, you will see the content you added.
9.1. Edit the main Nginx configuration file with the command:
vi /etc/nginx/nginx.conf
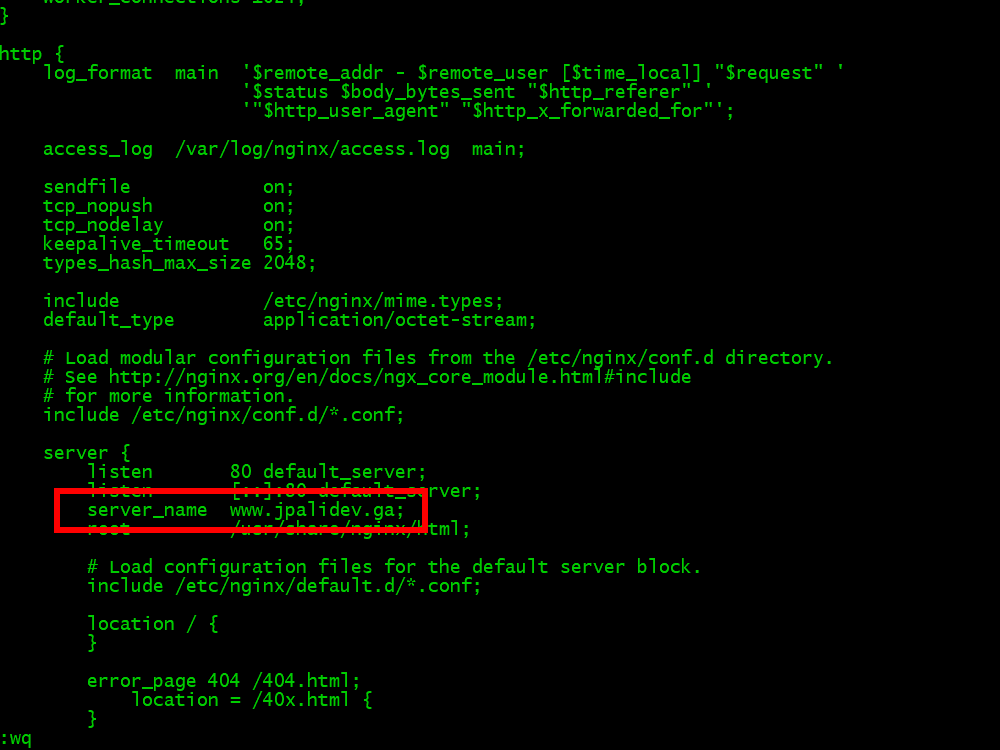
9.2. Press the i key on your keyboard for insert mode. Change the server_name field to your actual server name. Press the Esc key on your keyboard to escape from insert mode. Type :wq to write to disk and quit the editor.
9.3. Restart nginx to pick up this configuration change.
systemctl restart nginx
9.4. Install Certbot for Nginx:
yum install certbot python2-certbot-nginx
9.5. Run Certbot for Nginx:
certbot --nginx
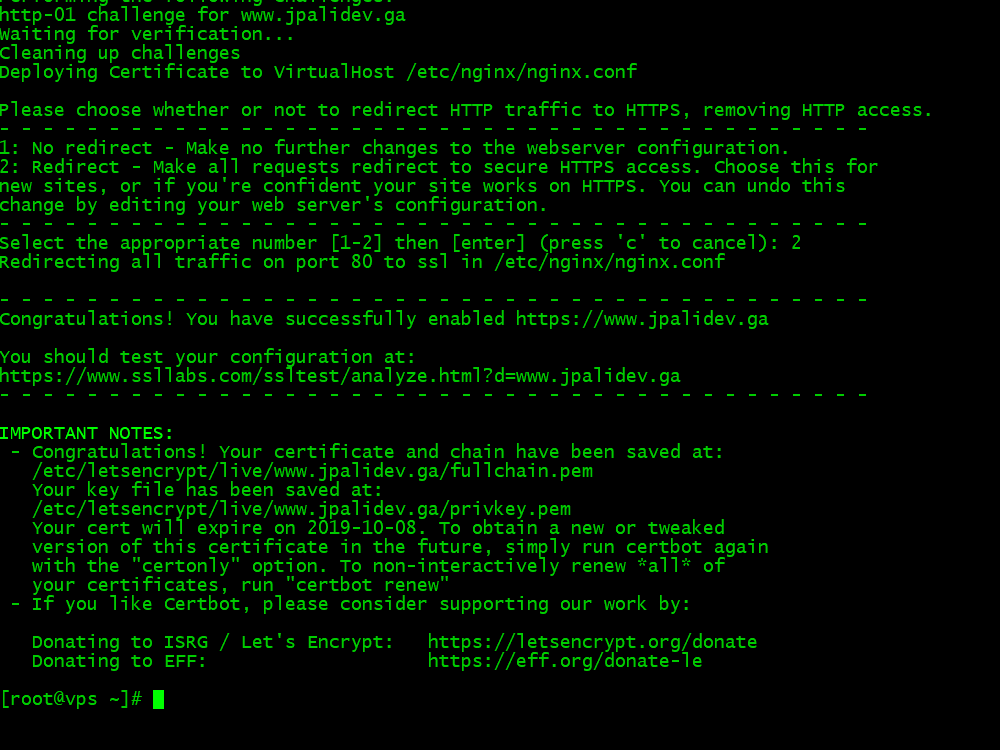
9.6. Enter your email address, a for agreee, and n for no, followed by Enter in each case.
9.7. Enter 1 for your server name. Press Enter on your computer keyboard.
9.8. Enter 2 for redirect HTTP to HTTPS. Press Enter on your computer keyboard.
9.9. You should see the congratulations screen, which indicates success.
9.10. Test your TLS certificate by visiting the HTTPS version of your website.
9.11. Set up automatic renewal by running the command below, which will add a cron job to your server's default crontab:
echo "0 0,12 * * * root python -c 'import random; import time; time.sleep(random.random() * 3600)' && certbot renew" | tee -a /etc/crontab > /dev/null
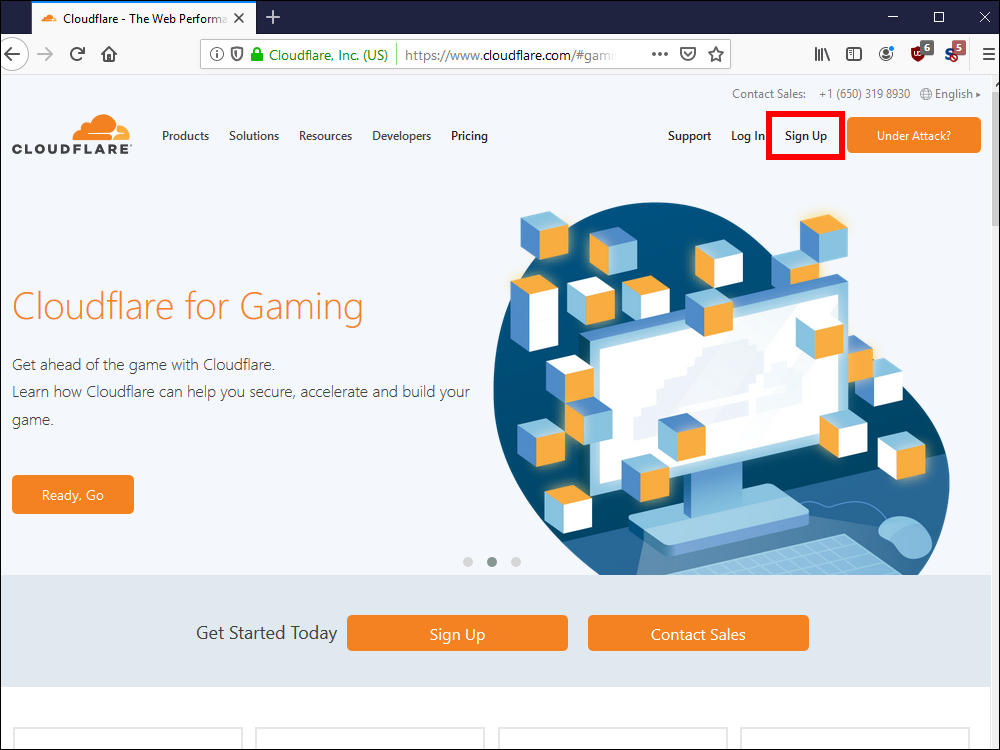
10.1. Now you can add your domain to a Content Distribution Network (CDN). We will use Cloudflare in this example. Open a browser and visit https://www.cloudflare.com.
10.2. Click Sign Up.
10.3. Enter your email, choose a password, uncheck the occasional emails box, and click Create Account.
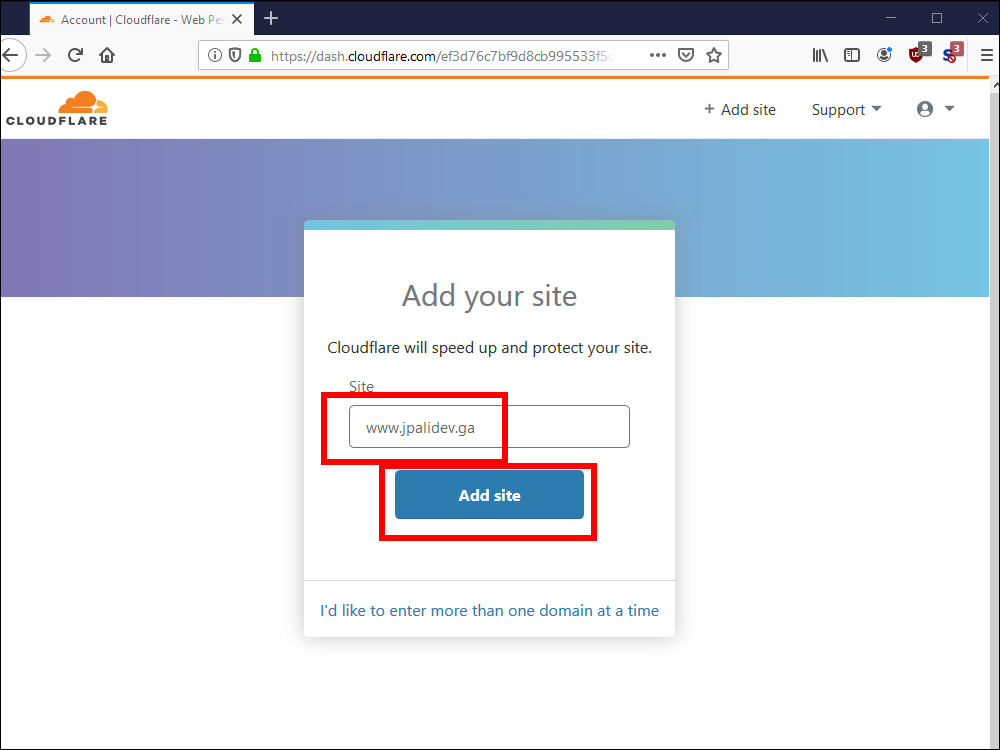
10.4. Add your site, and click Add site.
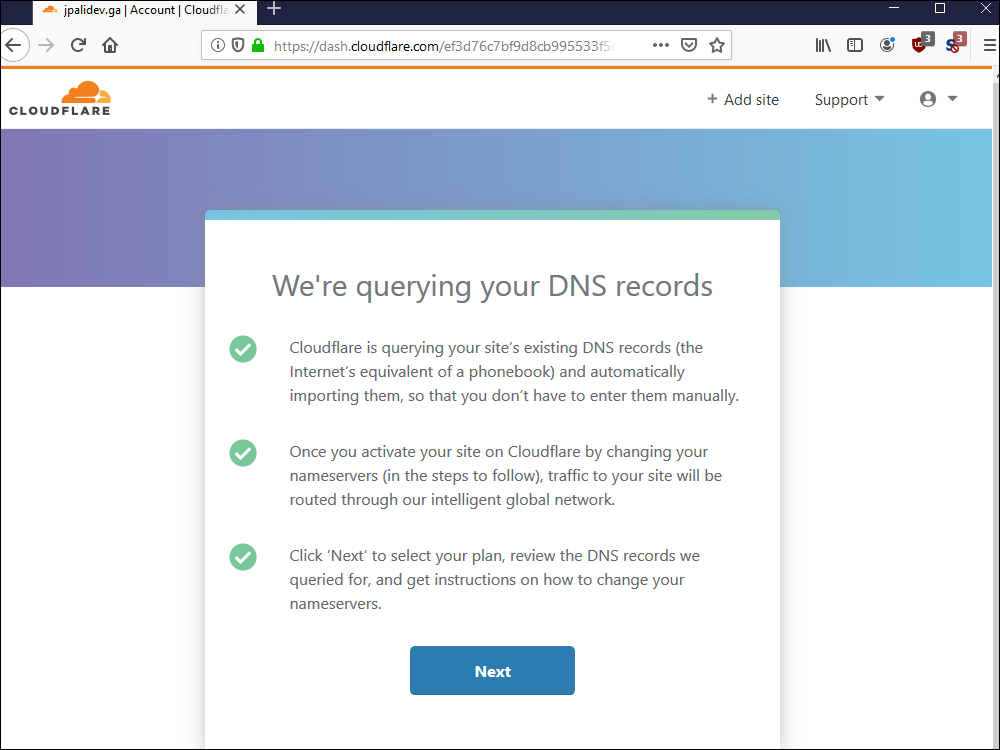
10.5. Cloudflare queries your existing DNS records at your registrar.
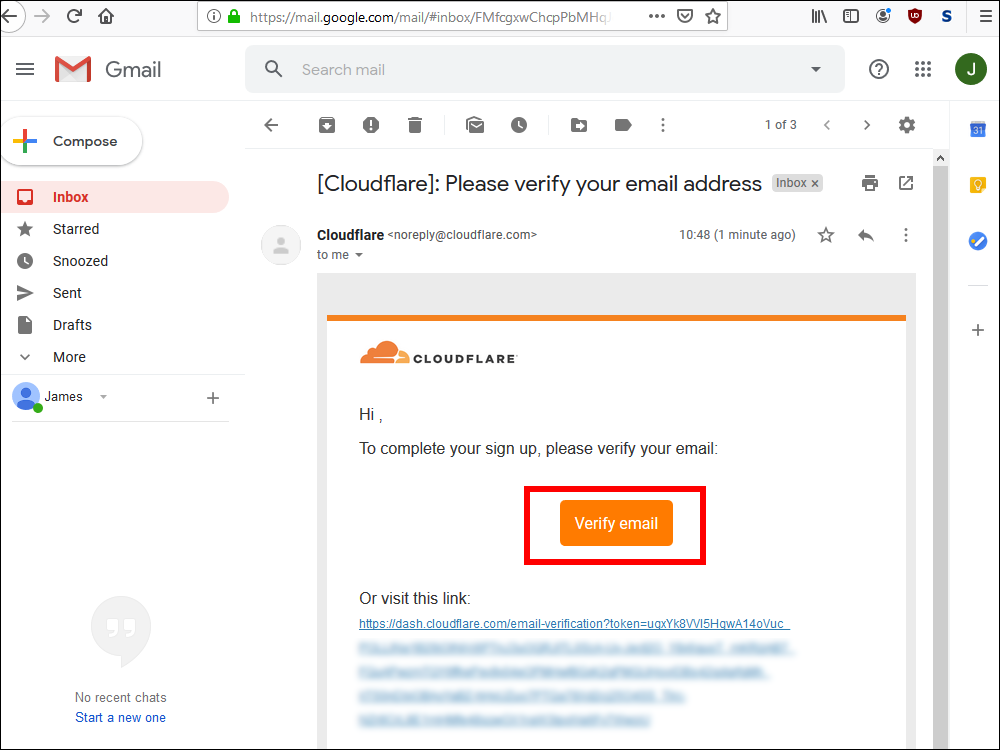
10.6. At this point, look for a verification email, and click Verify email.
10.7. You can now continue to the Cloudflare dashboard.
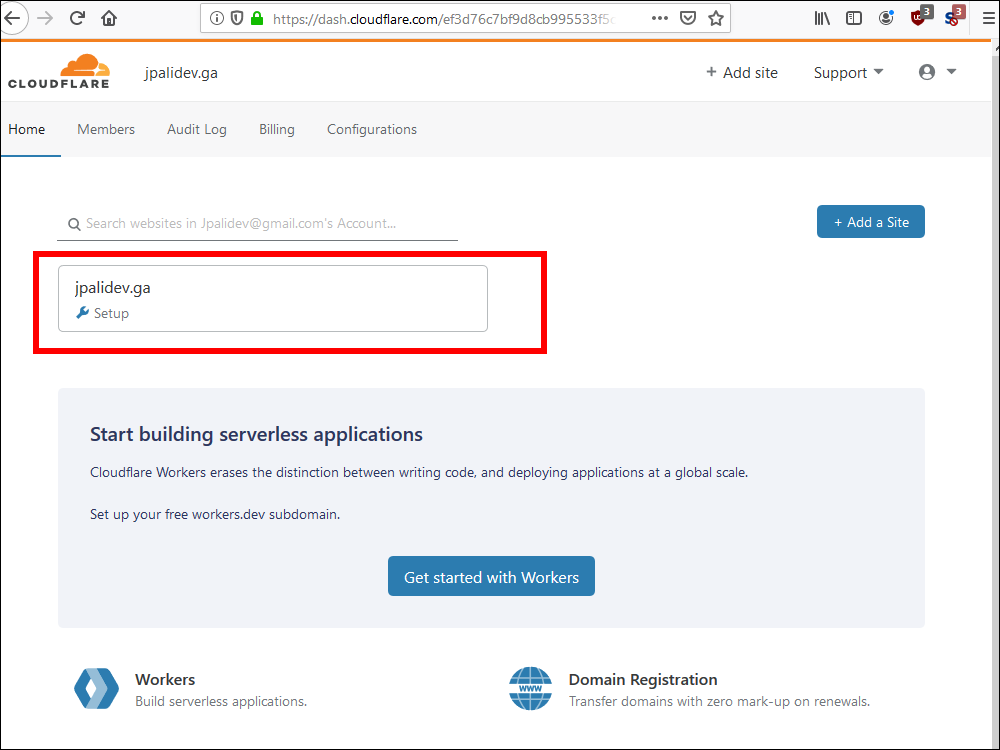
10.8. Select your site.
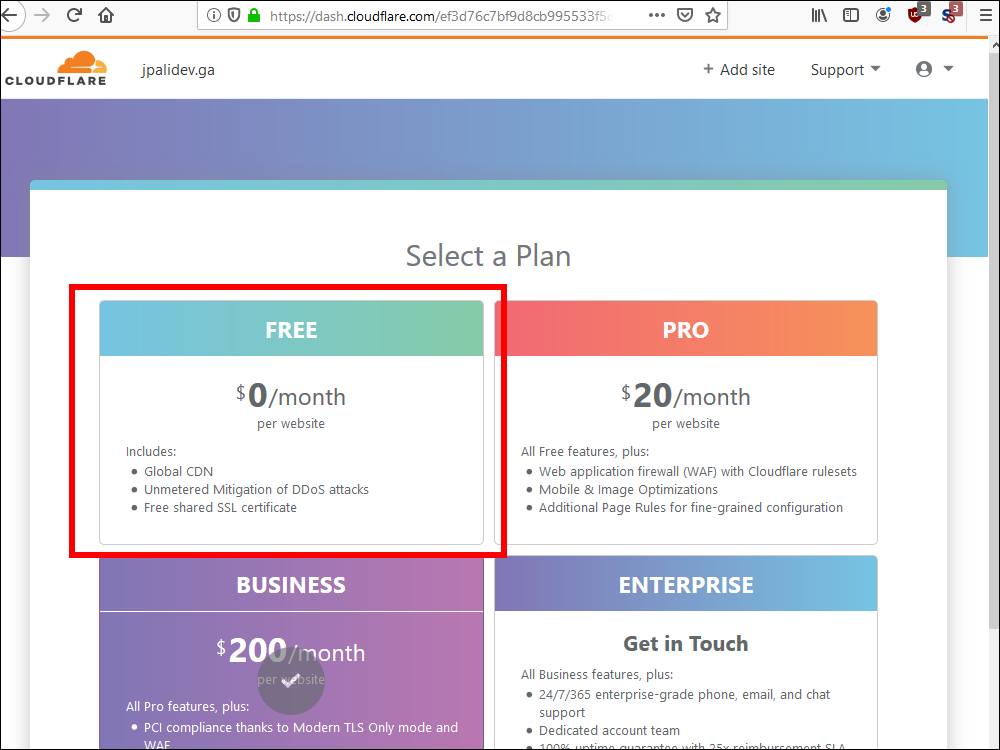
10.9. Select the FREE plan.
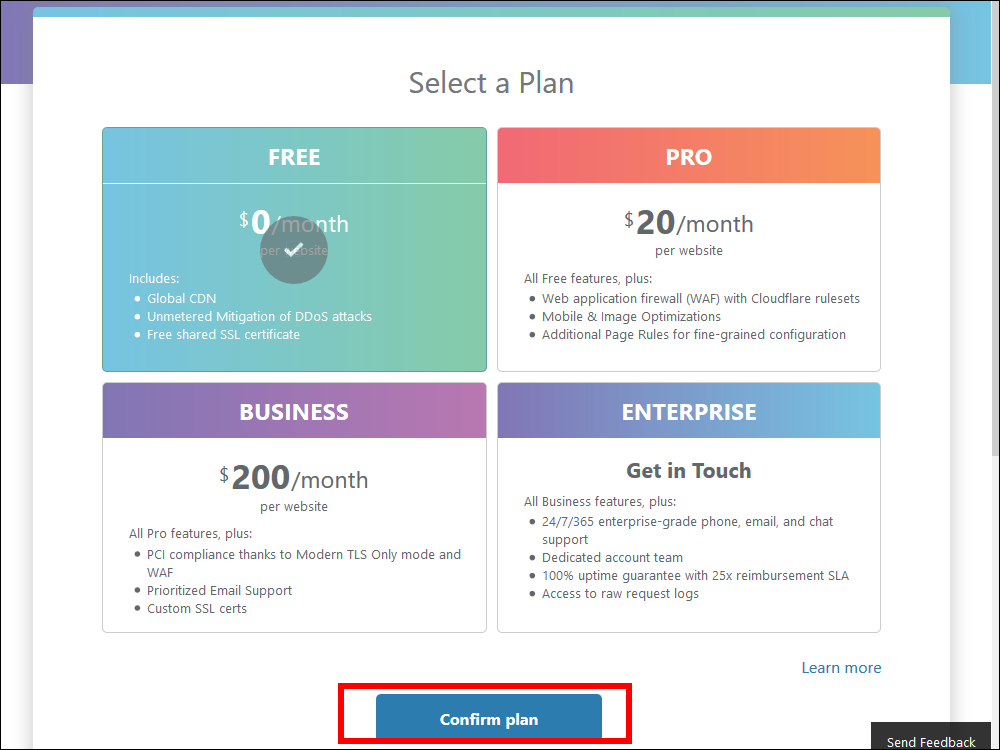
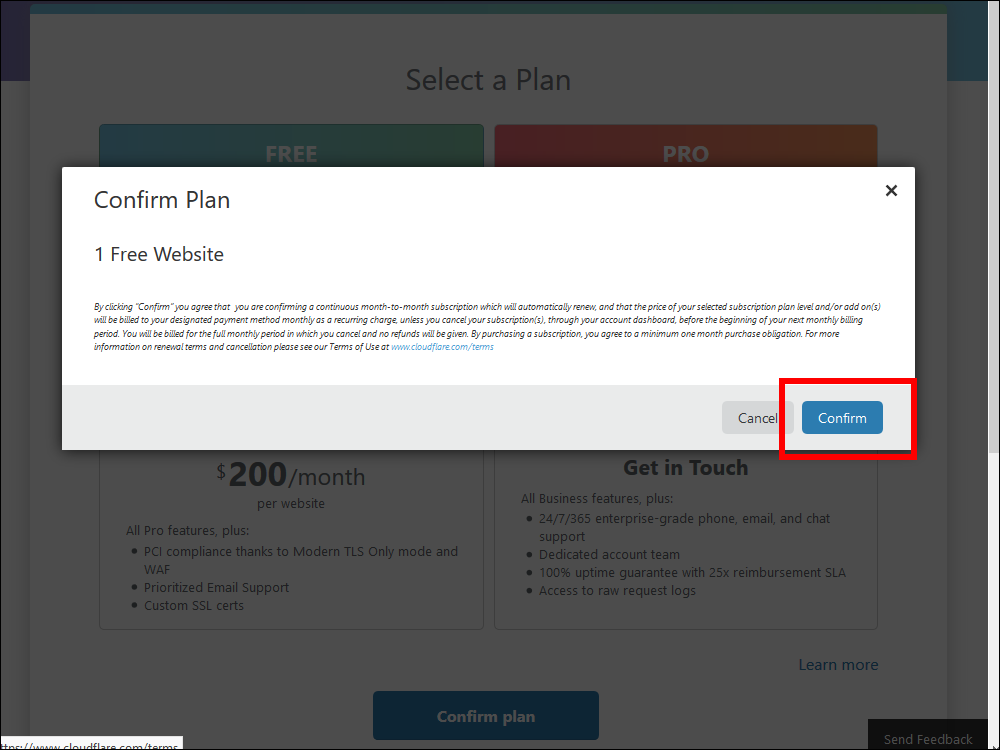
10.10. Confirm that your want the FREE plan. Click Confirm plan.
10.11. Click Confirm.
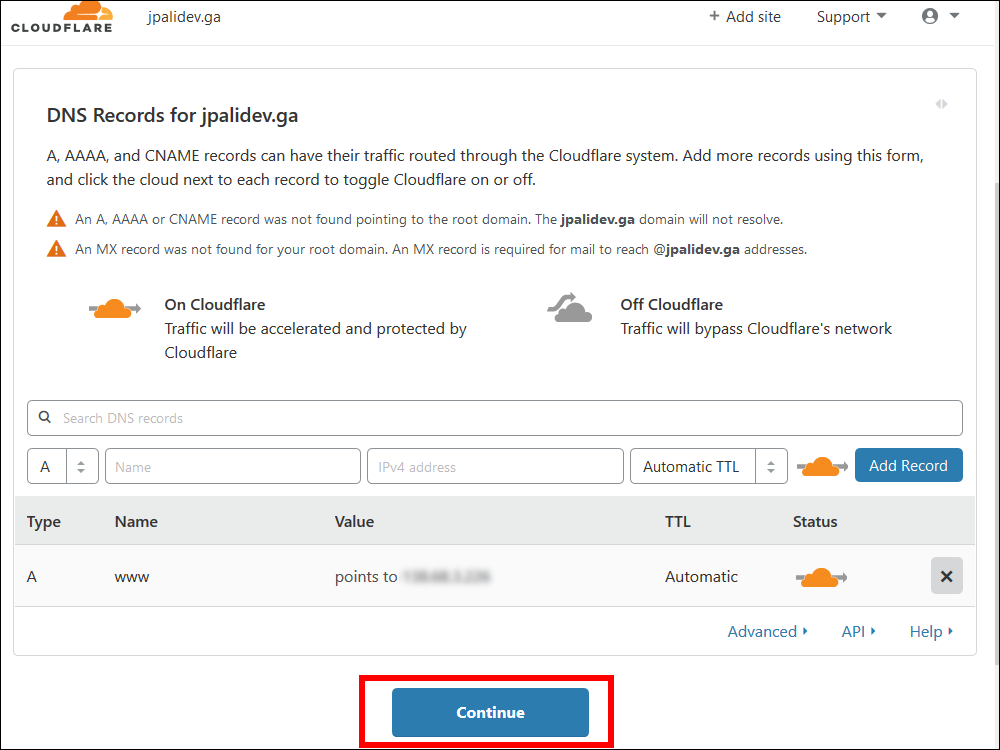
10.12. The existing DNS records are retrieved from your registrar. Click Continue.
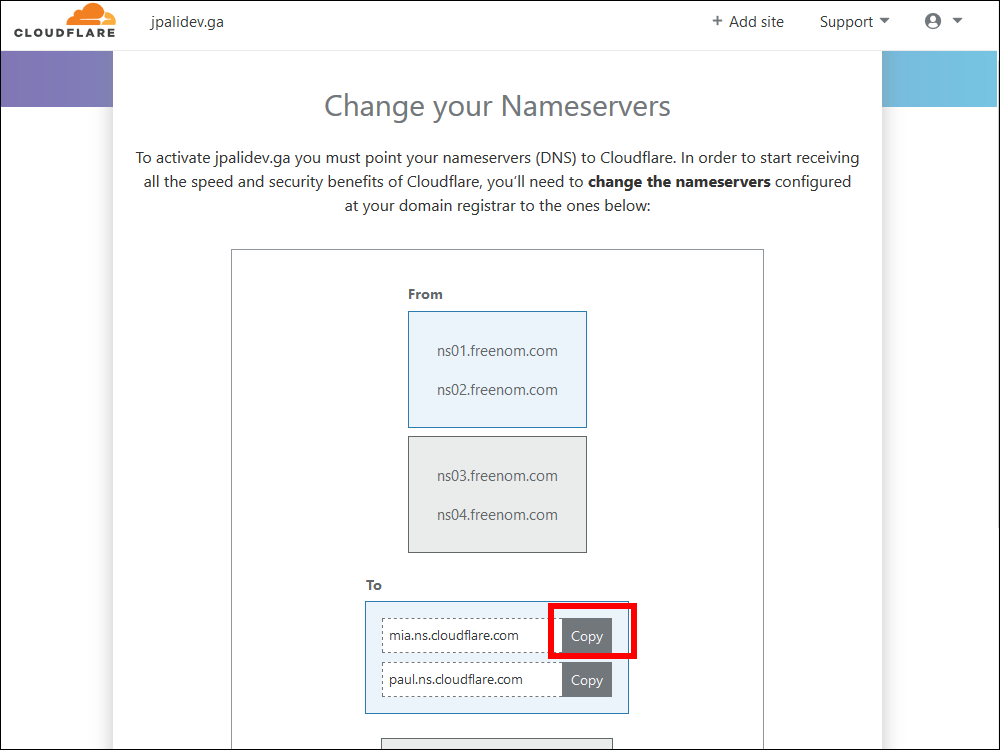
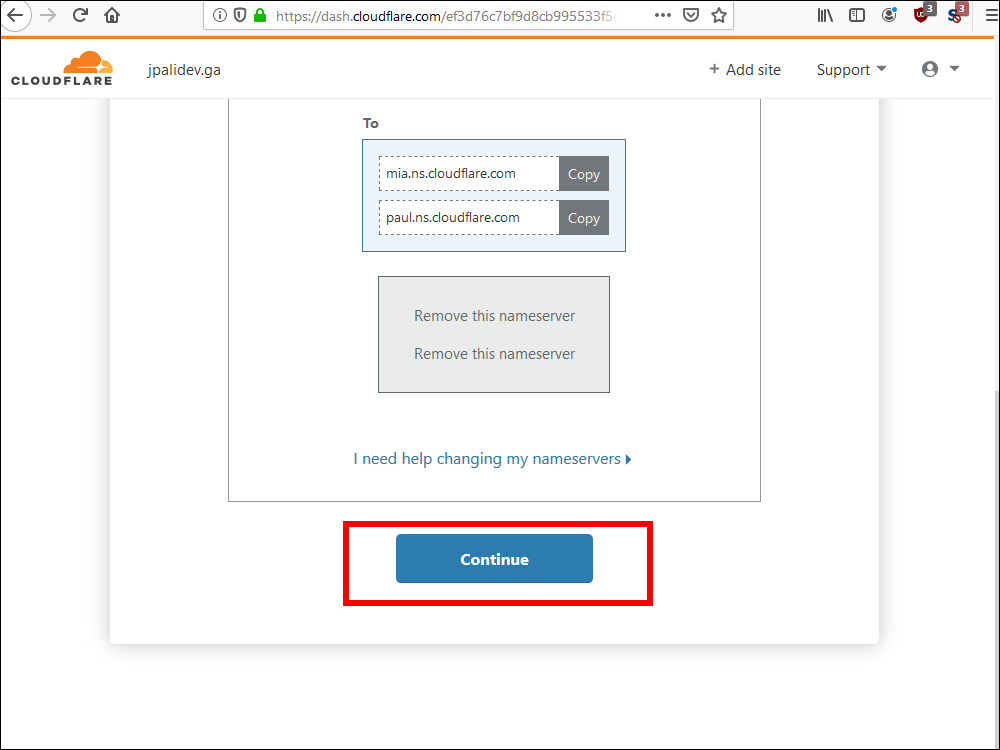
10.13. Cloudflare displays your new nameservers. There are two of them. Copy each one in turn, one at a time.
10.14. Enter the email and password to log on to your registrar.
10.15. Under Services, select My Domains.
10.16. Click Manage Domain.
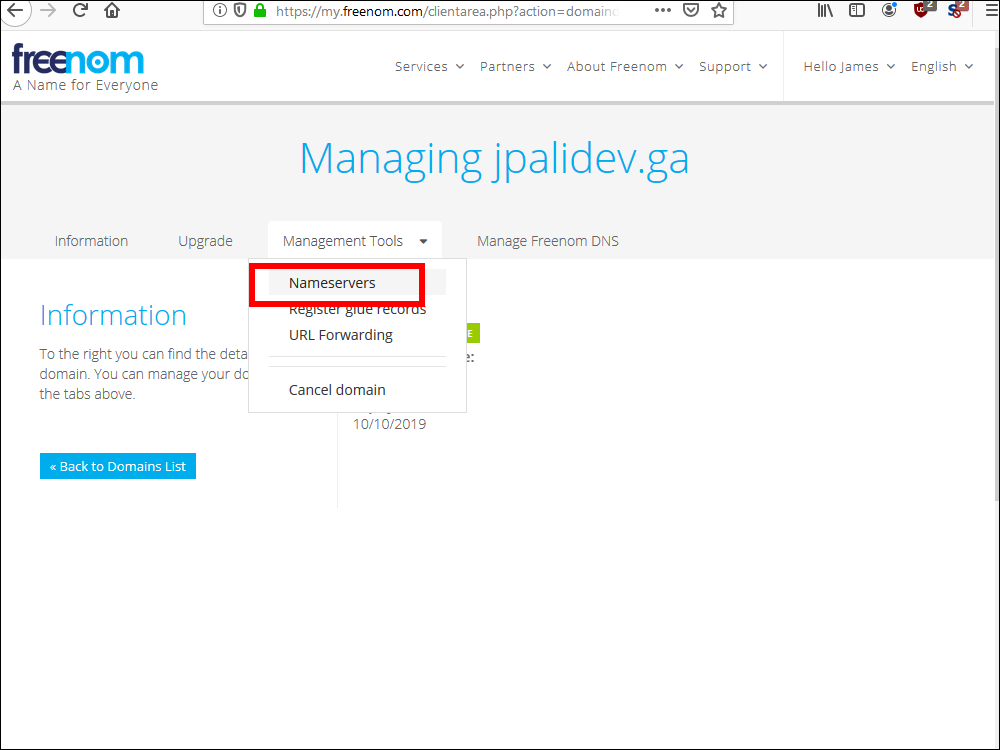
10.17. Under Management Tools, select Nameservers.
10.18. Select Use custom nameservers. Enter the two nameservers you were given by Cloudflare. Click Change nameservers.
10.19. You see a message to say nameservers were successfully changed.
10.20. Back on the Cloudflare site, click Continue. You will see a message telling you to wait until your changes have propagated.
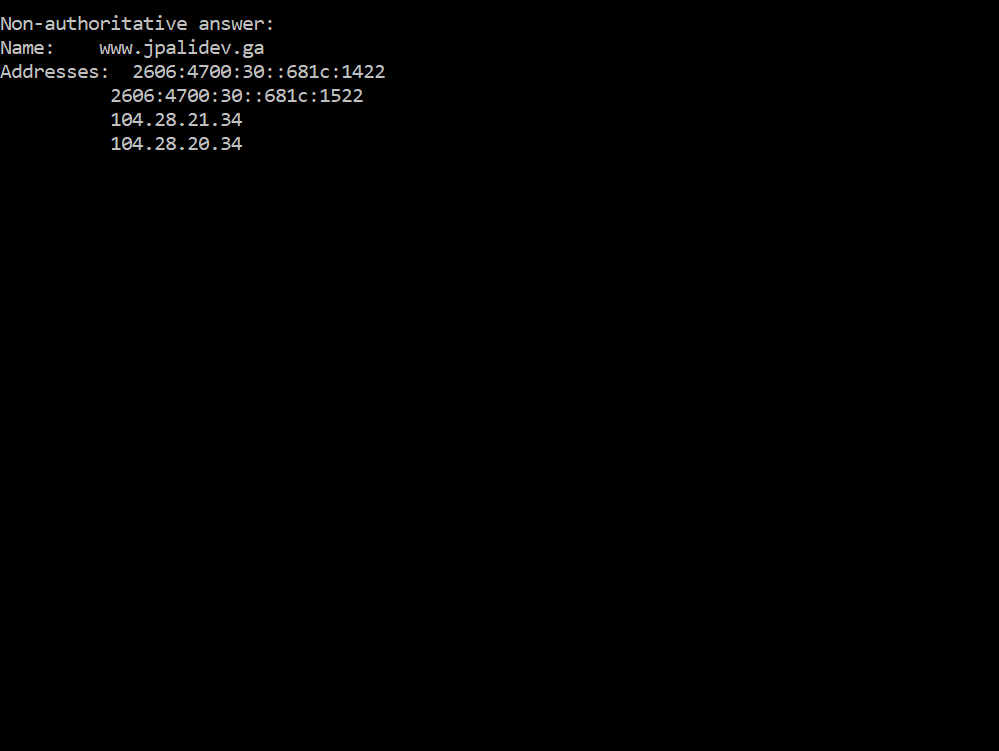
10.21. Once you have waited the required length of time, open a command prompt, and check your IP address by issuing the command:
nslookup www.example.com
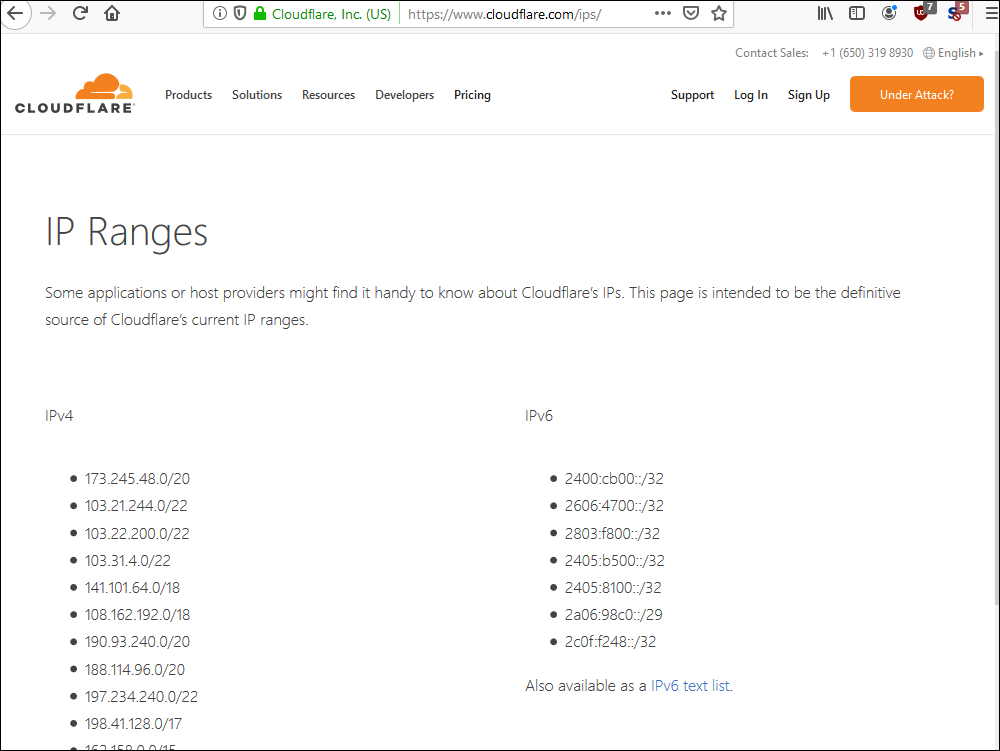
10.22. It should show Cloudflare IP addresses, as listed at https://www.cloudflare.com/ips/.
11.1. From now on, to avoid going through Cloudflare, you must SSH into your server by its actual IP address. For example:
11.2 Similarly, if your PC runs Windows, set up PuTTY to SSH into your server by IP address rather than by hostname.
11.3. If you have not already done so, install the prerequisites for V2Ray:
yum install zip unzip wget
11.4. Download the V2Ray installation script:
wget https://install.direct/go.sh
11.5. Execute the V2Ray installation script:
bash go.sh
11.6. A default PORT and UUID are displayed toward the end of the install. The UUID is effectively a password, and will need to be known by the client(s). The relevant lines will look something like this:
PORT:40607
UUID:19d630a0-aa15-43a7-814c-ed8bcabcc6b2
12.1 To configure WebSocket (WS) in V2Ray, edit the V2Ray configuration file:
vi /etc/v2ray/config.json
12.2. Press the i key on your keyboard for insert mode.
12.3. In the inbound specification, instead of the port number generated by go.sh, put in the port number you intend to use internally for Nginx to send the stream to V2Ray, and also specify that V2Ray should listen on localhost:
    "port": 8080,
    "listen": "127.0.0.1",
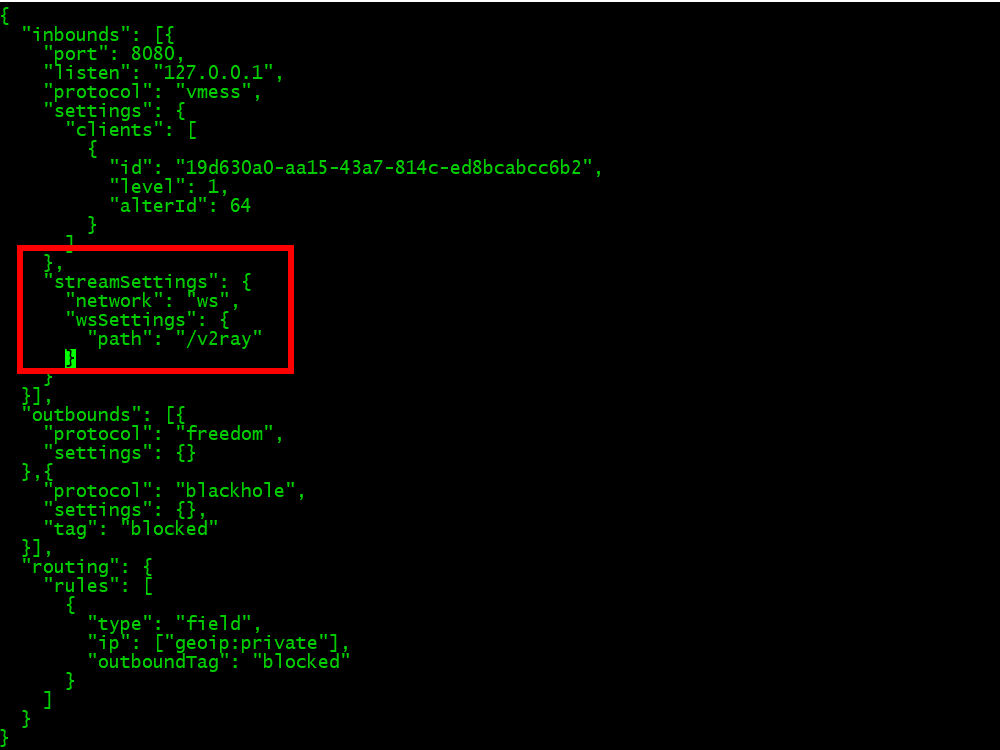
12.4. After the end of the existing inbound settings section, add a comma after the existing curly brace, then add a new section for streamSettings for WebSocket (WS):
    },
    "streamSettings": {
      "network": "ws",
      "wsSettings": {
        "path": "/v2ray"
      }
    }
12.5 Your final V2Ray configuration file will look like this:
{
  "inbounds": [{
    "port": 8080,
    "listen": "127.0.0.1",
    "protocol": "vmess",
    "settings": {
      "clients": [
        {
          "id": "19d630a0-aa15-43a7-814c-ed8bcabcc6b2",
          "level": 1,
          "alterId": 64
        }
      ]
    },
    "streamSettings": {
      "network": "ws",
      "wsSettings": {
        "path": "/v2ray"
      }
    }
  }],
  "outbounds": [{
    "protocol": "freedom",
    "settings": {}
  },{
    "protocol": "blackhole",
    "settings": {},
    "tag": "blocked"
  }],
  "routing": {
    "rules": [
      {
        "type": "field",
        "ip": ["geoip:private"],
        "outboundTag": "blocked"
      }
    ]
  }
}
12.6. Press the Esc key on your keyboard to escape from insert mode. Type :wq to write to disk and quit the editor.
12.7. Configure WebSocket (WS) in Nginx:
vi /etc/nginx/nginx.conf
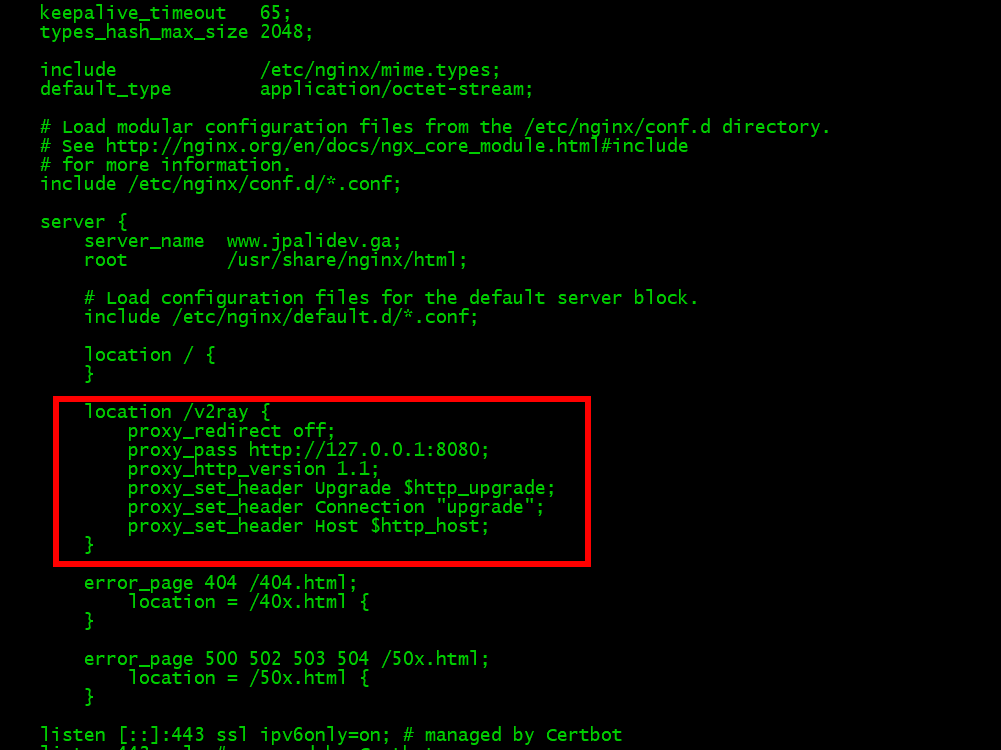
12.8. Inside the main server block, but after the existing location block, press the i key on your keyboard for insert mode.
12.9. Add a new location block to proxy WebSocket traffic to V2Ray, which is listening on localhost port 8080:
        location /v2ray {
            proxy_redirect off;
            proxy_pass http://127.0.0.1:8080;
            proxy_http_version 1.1;
            proxy_set_header Upgrade $http_upgrade;
            proxy_set_header Connection "upgrade";
            proxy_set_header Host $http_host;
        }
12.10. Press the Esc key on your keyboard to escape from insert mode. Type :wq to write to disk and quit the editor.
12.11. Adjust SELinux permisions to allow Nginx to pass to the V2Ray proxy server:
setsebool -P httpd_can_network_connect 1
12.12 Start V2Ray and restart Nginx with your revised configuration files:
systemctl start v2ray
systemctl restart nginx
12.13. Your work on setting up your server is now complete, so exit your SSH or PuTTY session:
exit
12.14. You can now test your server from a client. For example, you could install and configure V2RayN Windows GUI client from https://github.com/2dust/v2rayN/releases.

