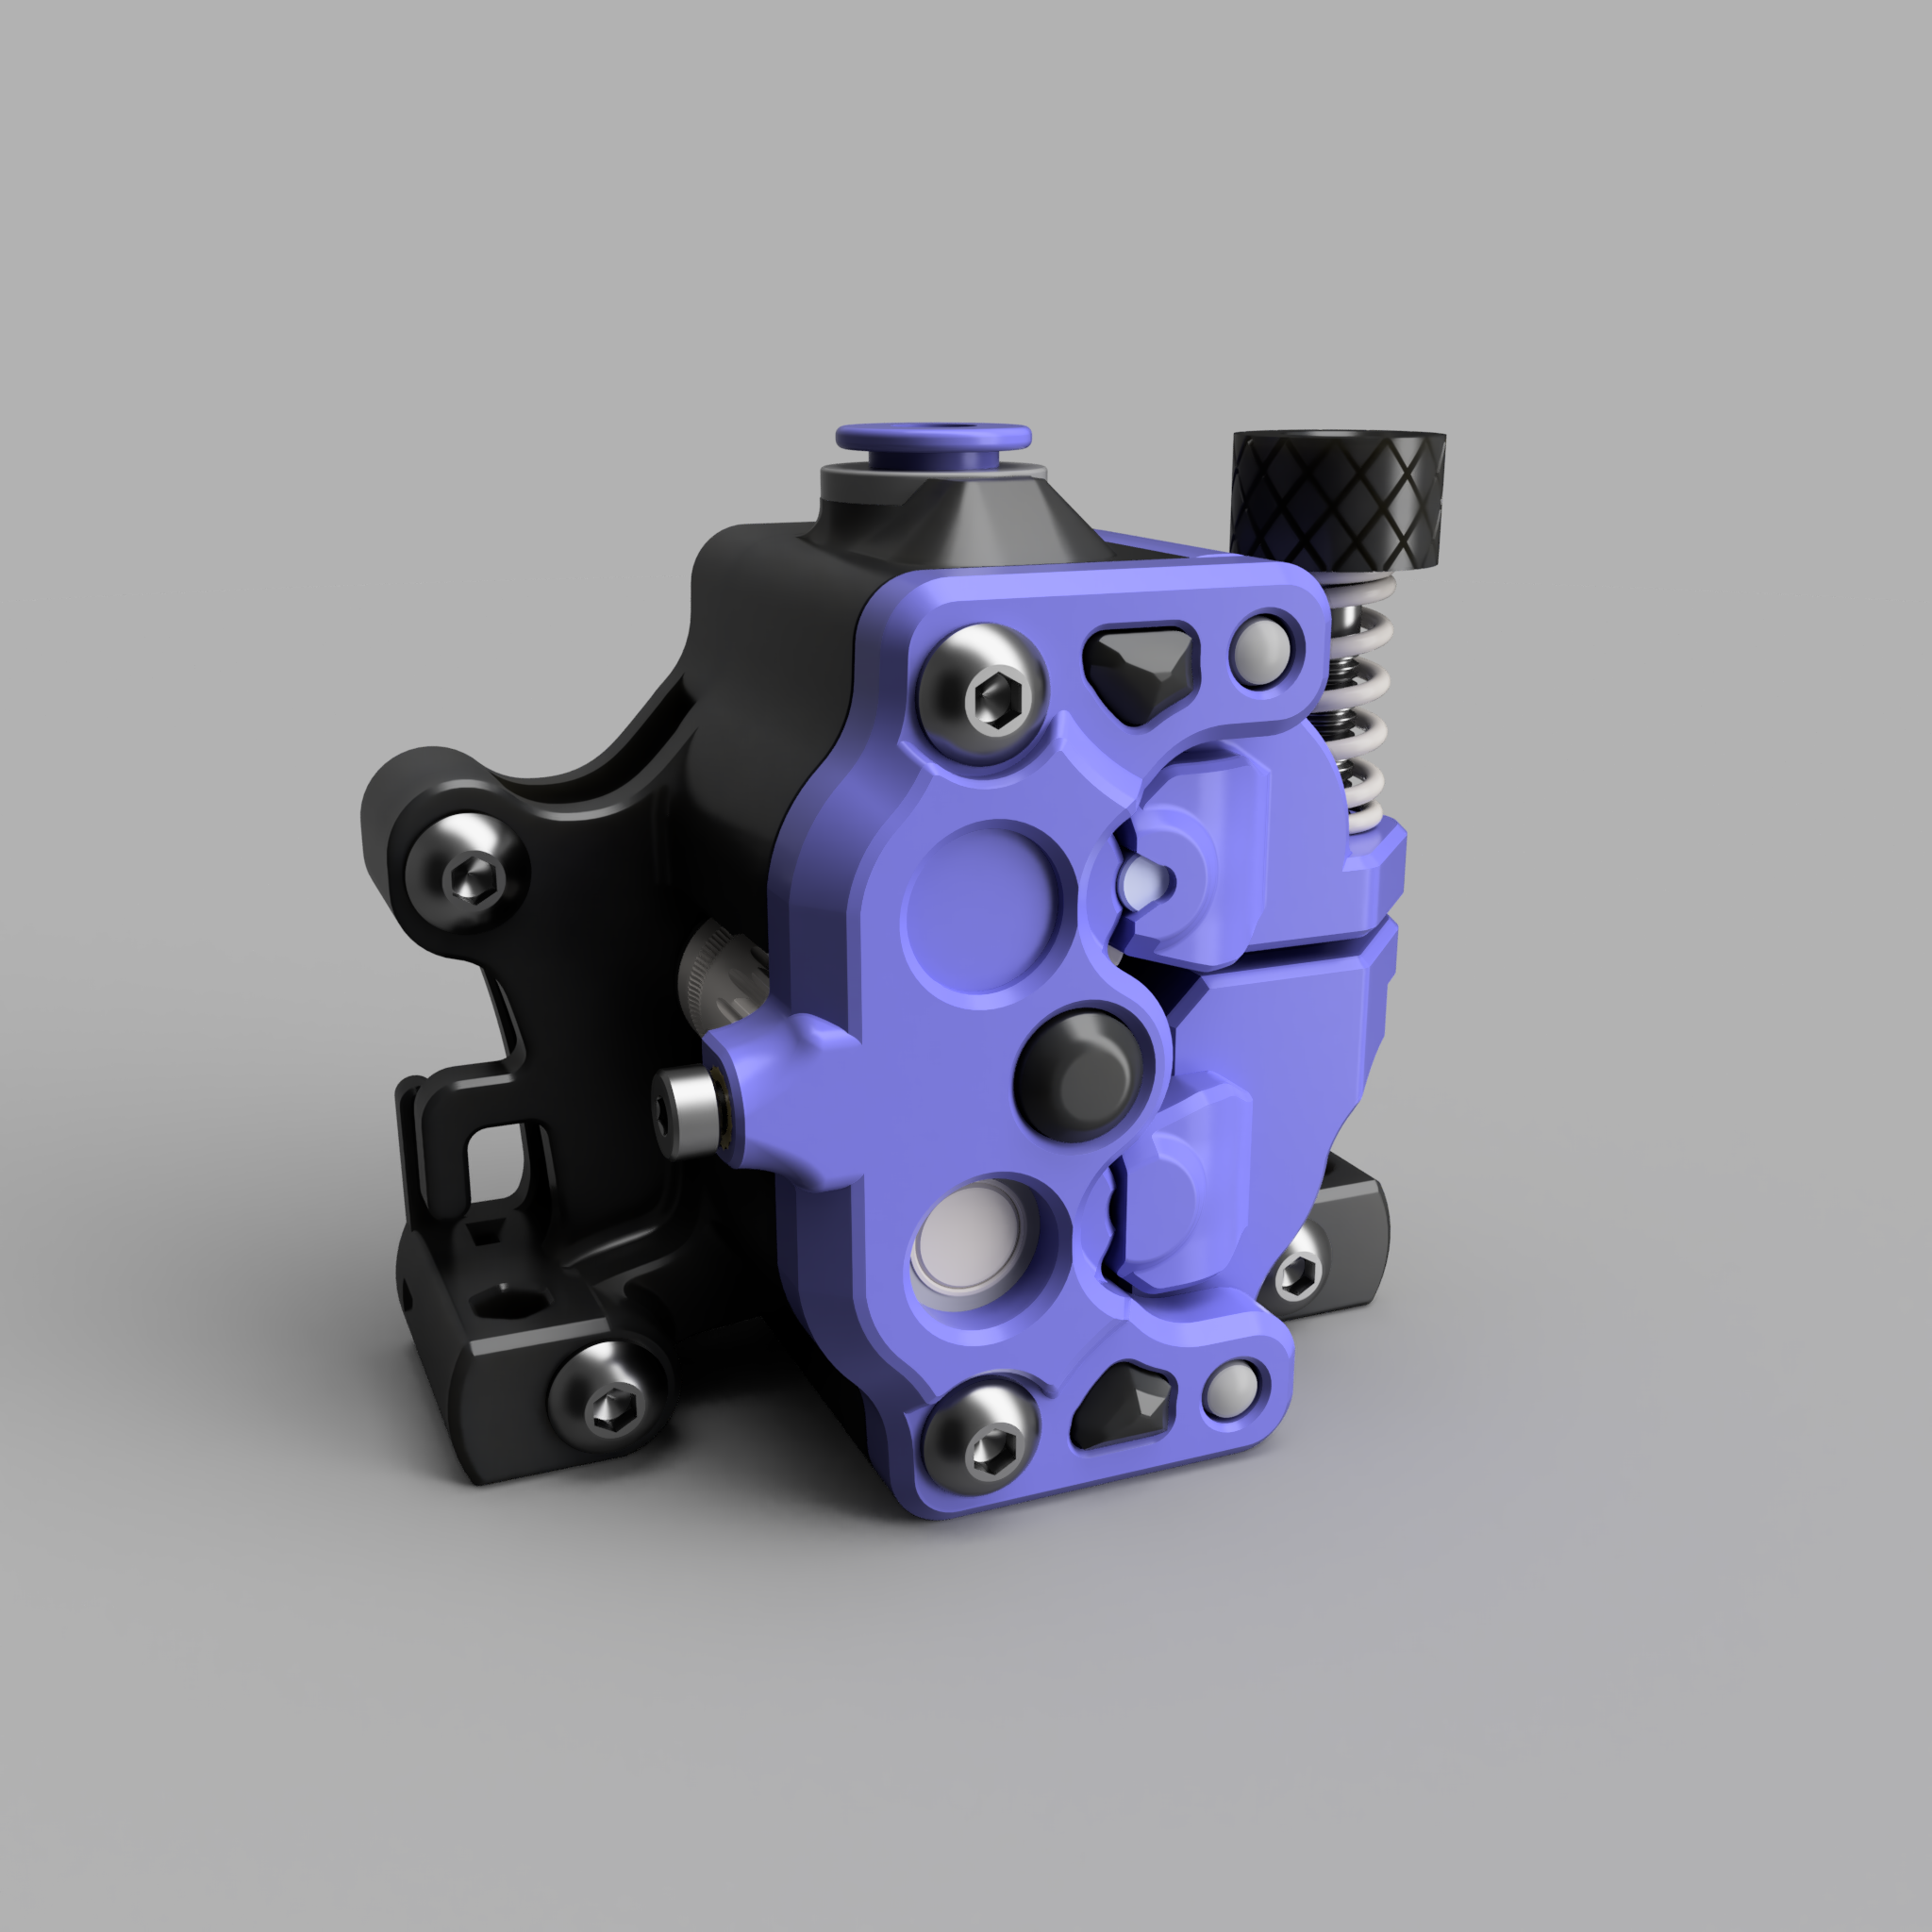
The Miró Extruder is a high-performance, dual-drive 3D printer extruder, engineered to provide precise and reliable filament control using two sets of dual-drive gears. It features a compact design and is fully compatible with the Sherpa Mini extruder's bolt pattern.
Unlike my previous Sherpa Mini Crew design, the Miró is a completely new creation with no work derived from Annex Engineering. While it was inspired by the Sherpa Mini, the Miró is an entirely independent design, not a derivative of the Sherpa Mini extruder.
This extruder is the result of a collaboration between knight_rad.iant and wick69 in Discord, with notable testers such as Meelis (Discord).
For any questions, feedback, or suggestions, please use the GitHub Issues page. We appreciate your support and hope the Miró Extruder enhances your 3D printing experience!
Note: Only STL files are provided in this repository.
| Part Name | Quantity | Notes |
|---|---|---|
| 5mm OD x 8mm Length Shaft | 1 | |
| 5mm OD x 20mm Length Shaft | 1 | |
| MR85ZZ Bearing | 3 | |
| Bondtech EXT-KIT-100 | 1 | |
| Bondtech EXT-KIT33 | 1 | |
| ECAS04 Collet | 1 | |
| 3mm OD x 28mm Length Shaft | 2 | |
| M3 Nut | 1 | |
| NEMA 14 Pancake Stepper Motor | 1 | |
| M2 Heat Set Insert | 1 | 3.6mm OD x 4mm length |
| M2 x 6mm Screw | 1 | Use Loctite to ensure alignment |
| M2 x 8mm Screw | 1 | Optionally if using the built-in filament runout sensor |
| Small gauge wire (26AWG or 28AWG) (black and red) | enough to reach toolhead board | Optionally if using the built-in filament runout sensor |
Print one of each of the following parts:
For the front cover, choose one of the following options:
miró_front[a].stlstandard front covermiró_front_k[a].stlextended cover with a third attachment point
Optionally, you can print miró_thumbscrew.stl if you prefer a printed thumbscrew over a standard M3 thumbscrew. You will also need an M3 x 25mm screw, which should be inserted into the printed part using a soldering iron with an appropriate tip.
- Material: ABS
- Nozzle Size: 0.4mm
- Layer Height: 0.2mm
- Perimeters: 4
- Top/Bottom Layers: 5
- Infill: 40% or higher
Only the guider parts require supports (touching build plate only). Ensure that the parts are oriented for printing as shown in the provided STLs.
It’s essential to calibrate the extrusion multiplier (EM) on your printer. These parts are designed to fit tightly, and incorrect EM settings will result in improper alignment. If the main body or rear body feels too tight, reduce your EM until the parts fit comfortably.
No written assembly instructions are provided, but a video guide is available:
Assembly Video
Check it out also on YouTube
- The right M3 button head screw the main body, rear body, and NEMA 14 motor mount is difficult to access when the extruder is fully assembled. It is recommended to install this screw before assembling the guilders and the front cover. The video guide demonstrates this process.
- The upper drive gear should be installed without the set screw.
- The 5mm x 20mm shaft should be lubricated with EP2 grease.
When assembly is complete, use Loctite on the M2 x 6mm screw that pushes the 3mm shaft for the middle idler. This screw is crucial for maintaining proper gear meshing, and the extruder will not function correctly without it.
- Completely loosen the tensioner.
- Apply Loctite to the M2 x 6mm screw.
- Tighten the screw until you feel medium resistance.
- Manually rotate the POM 50T gear and check for any binding.
- If binding occurs, loosen the screw in 1/8 turn increments, repeating the process until the binding is resolved.
Alternatively, you can tighten the tenionser screw until it very lightly starts to bind, and then back off the screw 1/8 of a turn, this should set the correct distance, as the this the M2 screw has a pitch of 0.4mm per turn, hence a 45° turn gives a linear distance 0.05mm
If you find the the screw bottoming and the gears are not binding, that means your gear set combination has the magic design alignment distance of 8.6mm between the gears. You can then leave the screw fully tightened and you are done.
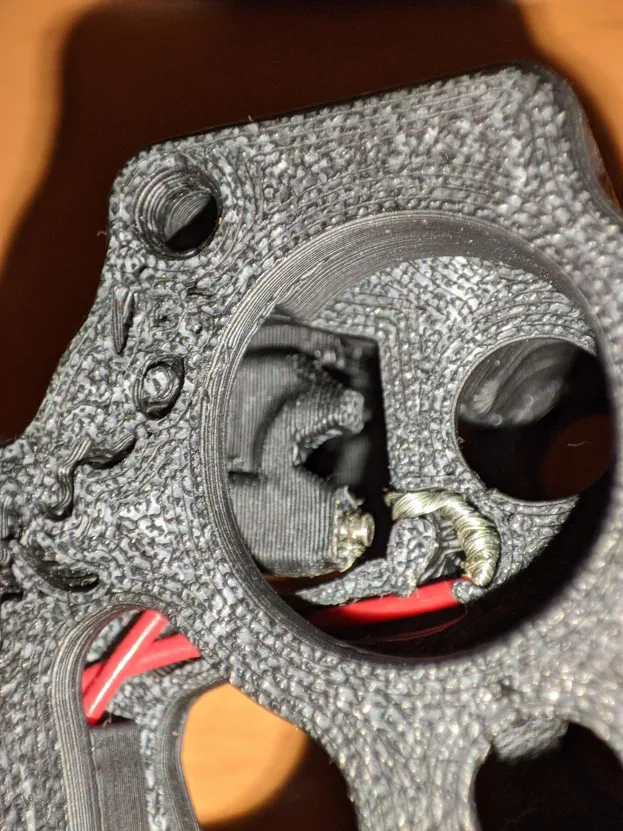
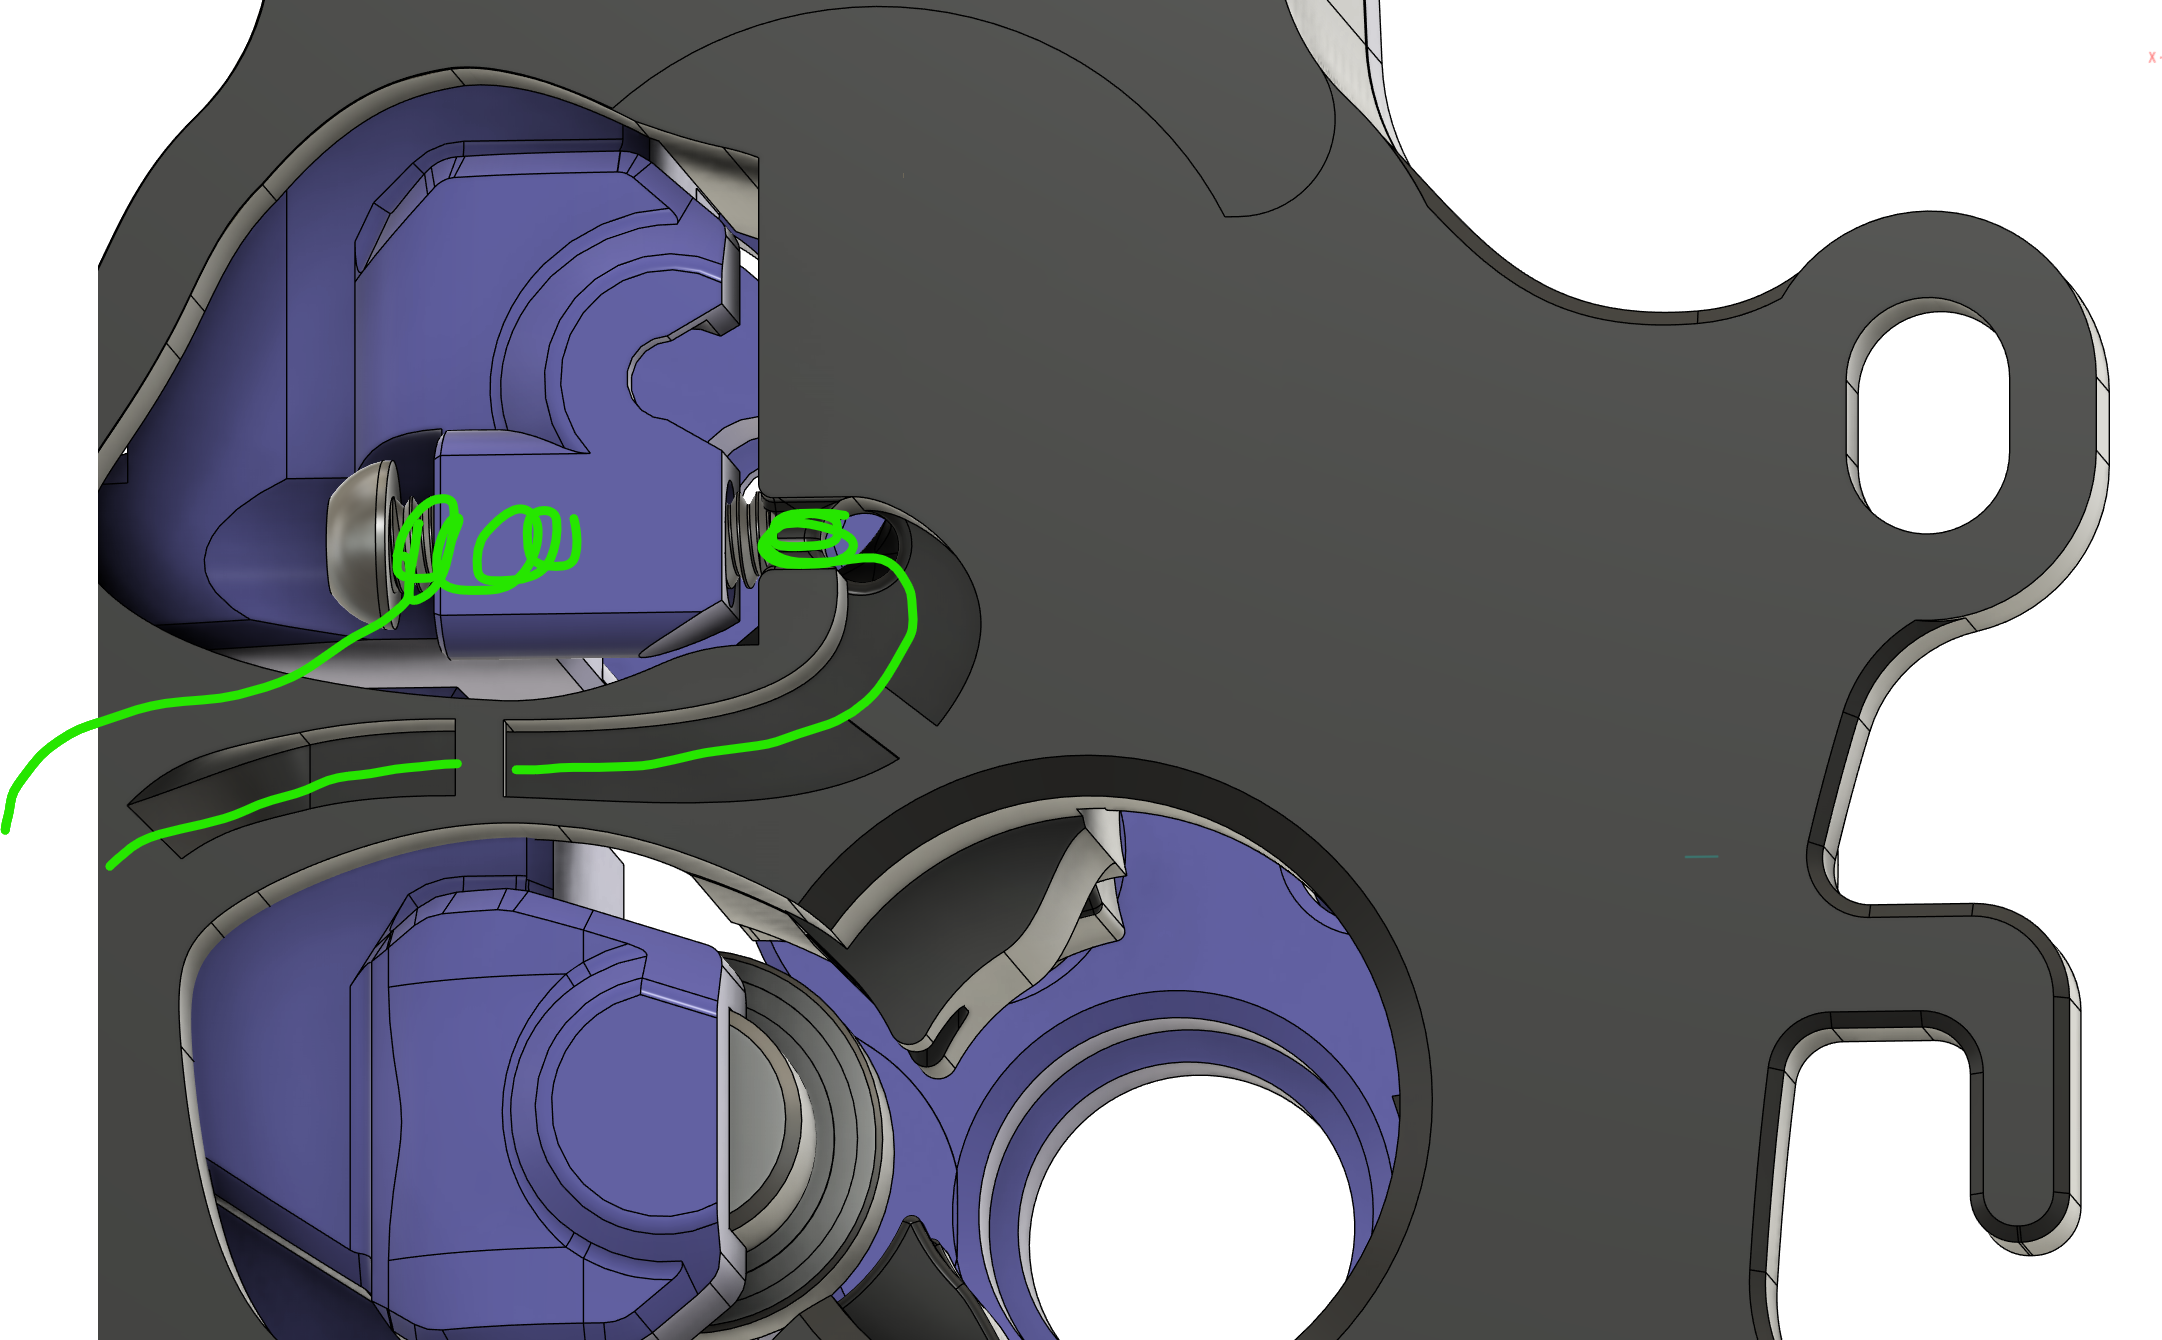
The Miró Extruder includes a built-in filament runout sensor of the "unklicky" type. The sensor is created using just two pieces of wire and an M2 screw. The upper guide arm has an M2 hole that fits an M2 x 8mm screw. To set it up, wrap a small-gauge wire around the screw and insert it into the hole, positioning it at the right distance to make contact with another set of wires wrapped around the main body of the extruder.
The unklicky sensor is normally closed when no filament is present. Once the filament is inserted, the upper guide expands, breaking the contact. You can adjust the M2 screw to fine-tune the contact distance. Additionally, thanks to the extruder’s dual set of gears, it's possible to detect filament runout and still retract the remaining filament easily, ensuring smooth operation even during filament changes.
The other ends of the wires can be crimped to a JST connector and plugged into your printer’s filament sensor input. One wire should be connected to GND, and the other to a port configured with an internal pull-up resistor. In Klipper firmware, you can do this by adding a ^ before the pin number in the filament_sensor section of the printer.cfg file.
Here's an example configuration for a sensor connected to the PC2 pin:
[filament_switch_sensor RunoutSensor]
pause_on_runout: False
runout_gcode: PAUSE
insert_gcode: RESUME
switch_pin: ^!PC2
This is a picture of rear with the filament sensor assembled:

This project is licensed under the Creative Commons - Attribution - Non-Commercial - No Derivatives license.
For commercial use inquiries, please contact knight_rad.iant or wick69 on Discord.
This project is a collaboration between wick69 and knight_rad.iant on Discord.
© 2023-2024 by the authors. All rights reserved.


