We absolutely love our Flex radios! We just wish we had a Linux-native way to work with them so that Windows or Maestro isn't required.
nCAT enables you to present a hamlib interface to your Flex radio so that any hamlib-aware application can use it.
If you have a Maestro, an "M" model radio, or a copy of SmartSDR or another GUI running somewhere, and you want nCAT to control (and be controlled by) that session, find that client's "station" name, and run
./nCAT -station Whatever
This mode will be familiar to those who have used CAT for Windows.
If you would like to create a new "headless" session, independent of any GUI client, run
$ ./nCAT -headless
Headless mode connects to the radio as a "GUI client", which means that it has its own slices and panadapters (even if you can't really see them), and counts towards the limit of 2 clients per radio.
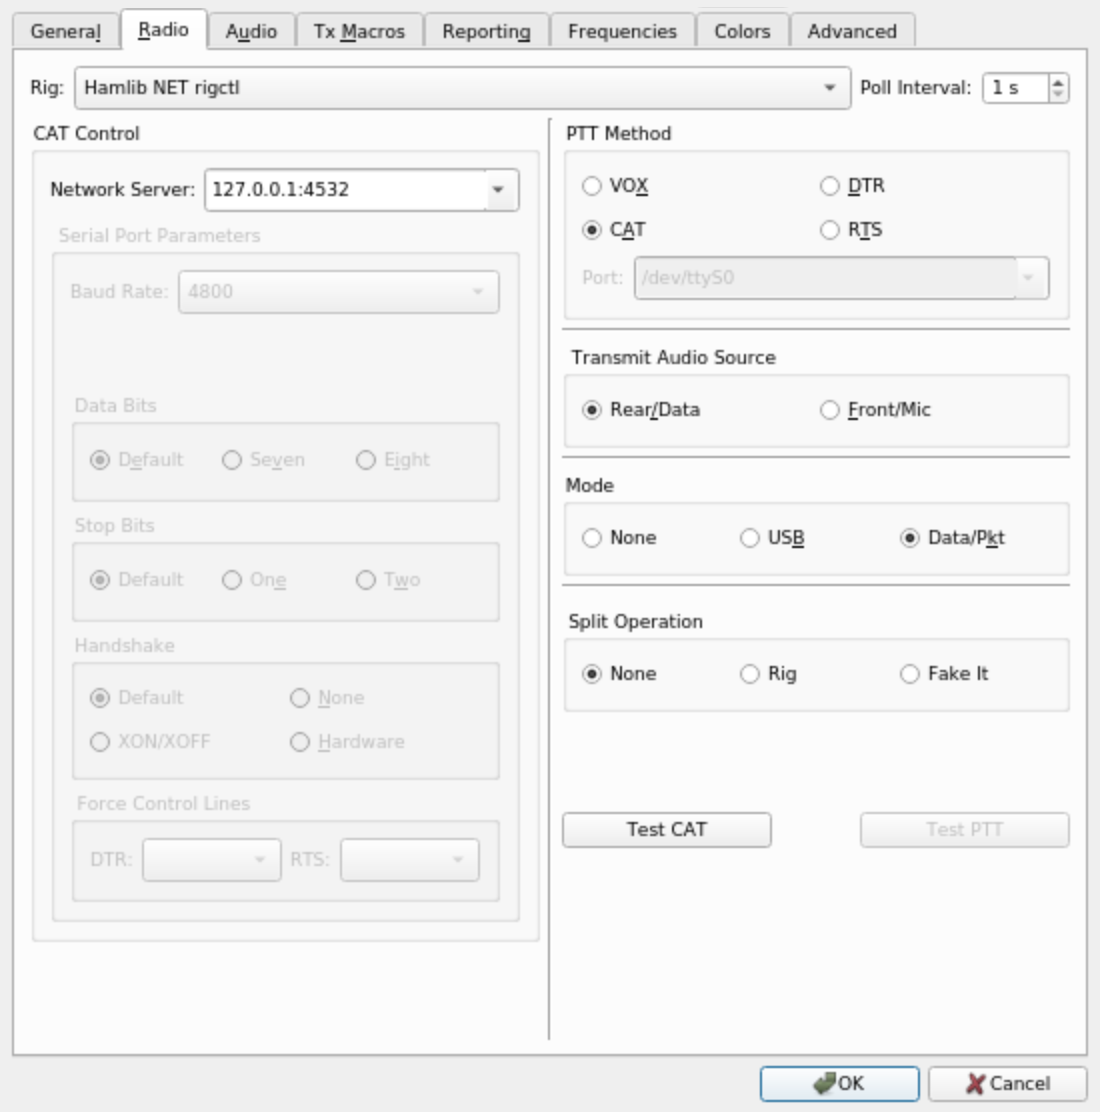
In either case, a hamlib net protocol (rigctld) server will start on TCP port 4532.
- Download the latest binary using the Releases icon above or Releases
- Make it executible:
chmod +x nCAT
$ ./nCAT -h
Usage of ./nCAT:
  -headless
        run in headless mode
  -listen string
        hamlib listen [address]:port (default ":4532")
  -profile string
        global profile to load on startup for -headless mode
  -radio string
        radio IP address or discovery spec (default ":discover:")
  -slice string
        slice letter to control (default "A")
  -station string
        station name to bind to or create (default "Flex")
To run multiple nCAT instances, see scripts/multislice_startup.sh.
To setup WSJT-X with nCAT and hamlib, use the following settings:
See the open issues for a list of proposed features (and known issues).
Contributions are what make the open source community such an amazing place to be learn, inspire, and create. Any contributions you make are greatly appreciated.
- Fork the Project
- Create your Feature Branch (
git checkout -b feature/AmazingFeature) - Commit your Changes (
git commit -m 'Add some AmazingFeature') - Push to the Branch (
git push origin feature/AmazingFeature) - Open a Pull Request
MIT License. See LICENSE file.