- Jenkins is a free tool that helps software developers work faster and more efficiently. It takes care of repetitive tasks like building, testing, and delivering code.
- It keeps an eye on code changes and automatically starts the necessary processes. 3.It supports a wide range of plugins, allowing seamless integration with various tools and technologies
- By using Jenkins, developers can save time, work together smoothly, and make sure their software works correctly before releasing it to users.
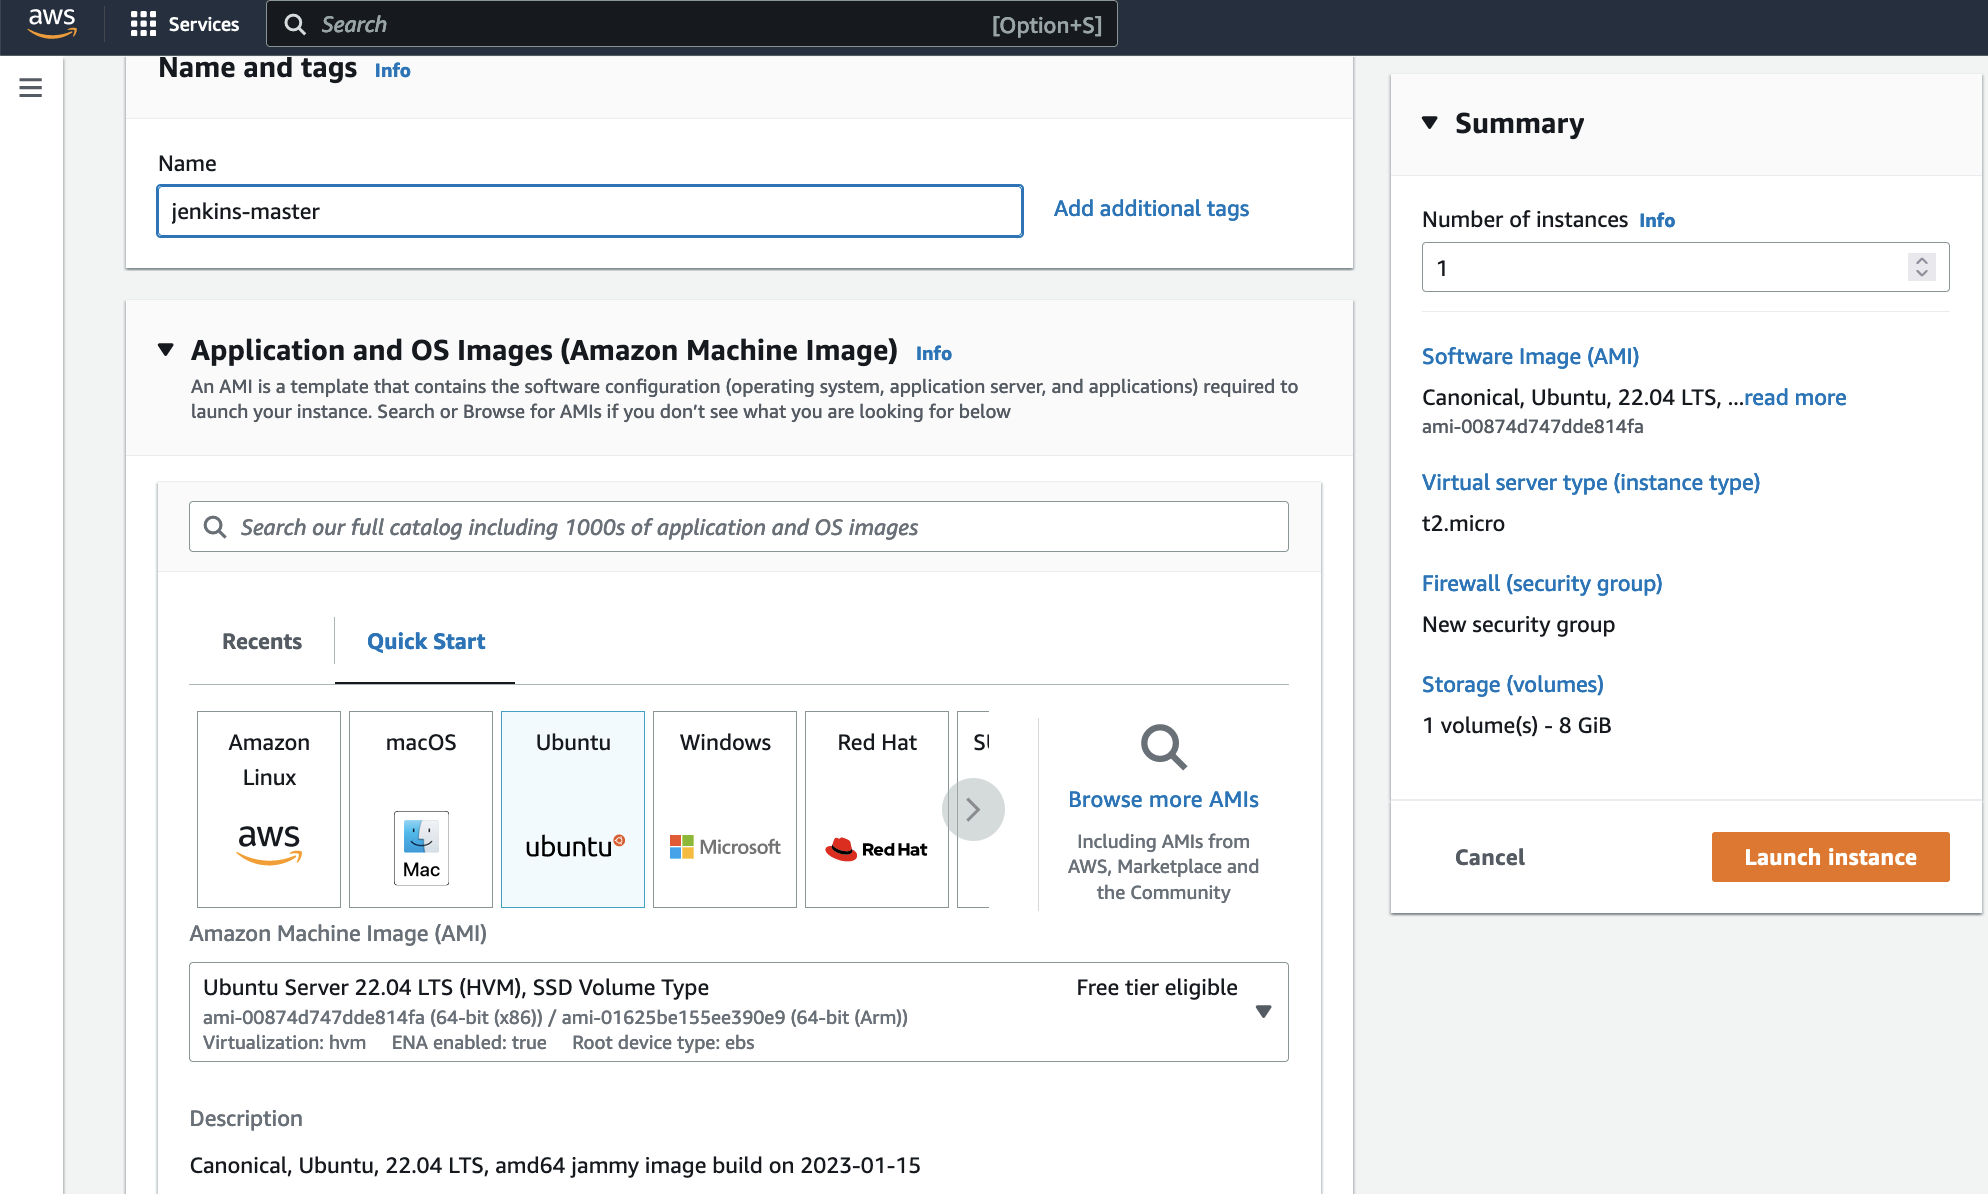
- Go to AWS Console
- Instances(running)
- Launch instances
Pre-Requisites:
- Java (JDK)
Install Java
sudo apt update
sudo apt install openjdk-11-jre
Verify Java is Installed
java -version
Now, you can proceed with installing Jenkins
curl -fsSL https://pkg.jenkins.io/debian/jenkins.io-2023.key | sudo tee \
  /usr/share/keyrings/jenkins-keyring.asc > /dev/null
echo deb [signed-by=/usr/share/keyrings/jenkins-keyring.asc] \
  https://pkg.jenkins.io/debian binary/ | sudo tee \
  /etc/apt/sources.list.d/jenkins.list > /dev/null
sudo apt-get update
sudo apt-get install jenkins
**Note: ** By default, Jenkins will not be accessible to the external world due to the inbound traffic restriction by AWS. Open port 8080 in the inbound traffic rules as show below.
- EC2 > Instances > Click on
- In the bottom tabs -> Click on Security
- Security groups
- Add inbound traffic rules as shown in the image (you can just allow TCP 8080 as well, in my case, I allowed
All traffic).

http://:8080 [You can get the ec2-instance-public-ip-address from your AWS EC2 console page]
Note: If you are not interested in allowing All Traffic to your EC2 instance
1. Delete the inbound traffic rule for your instance
2. Edit the inbound traffic rule to only allow custom TCP port 8080
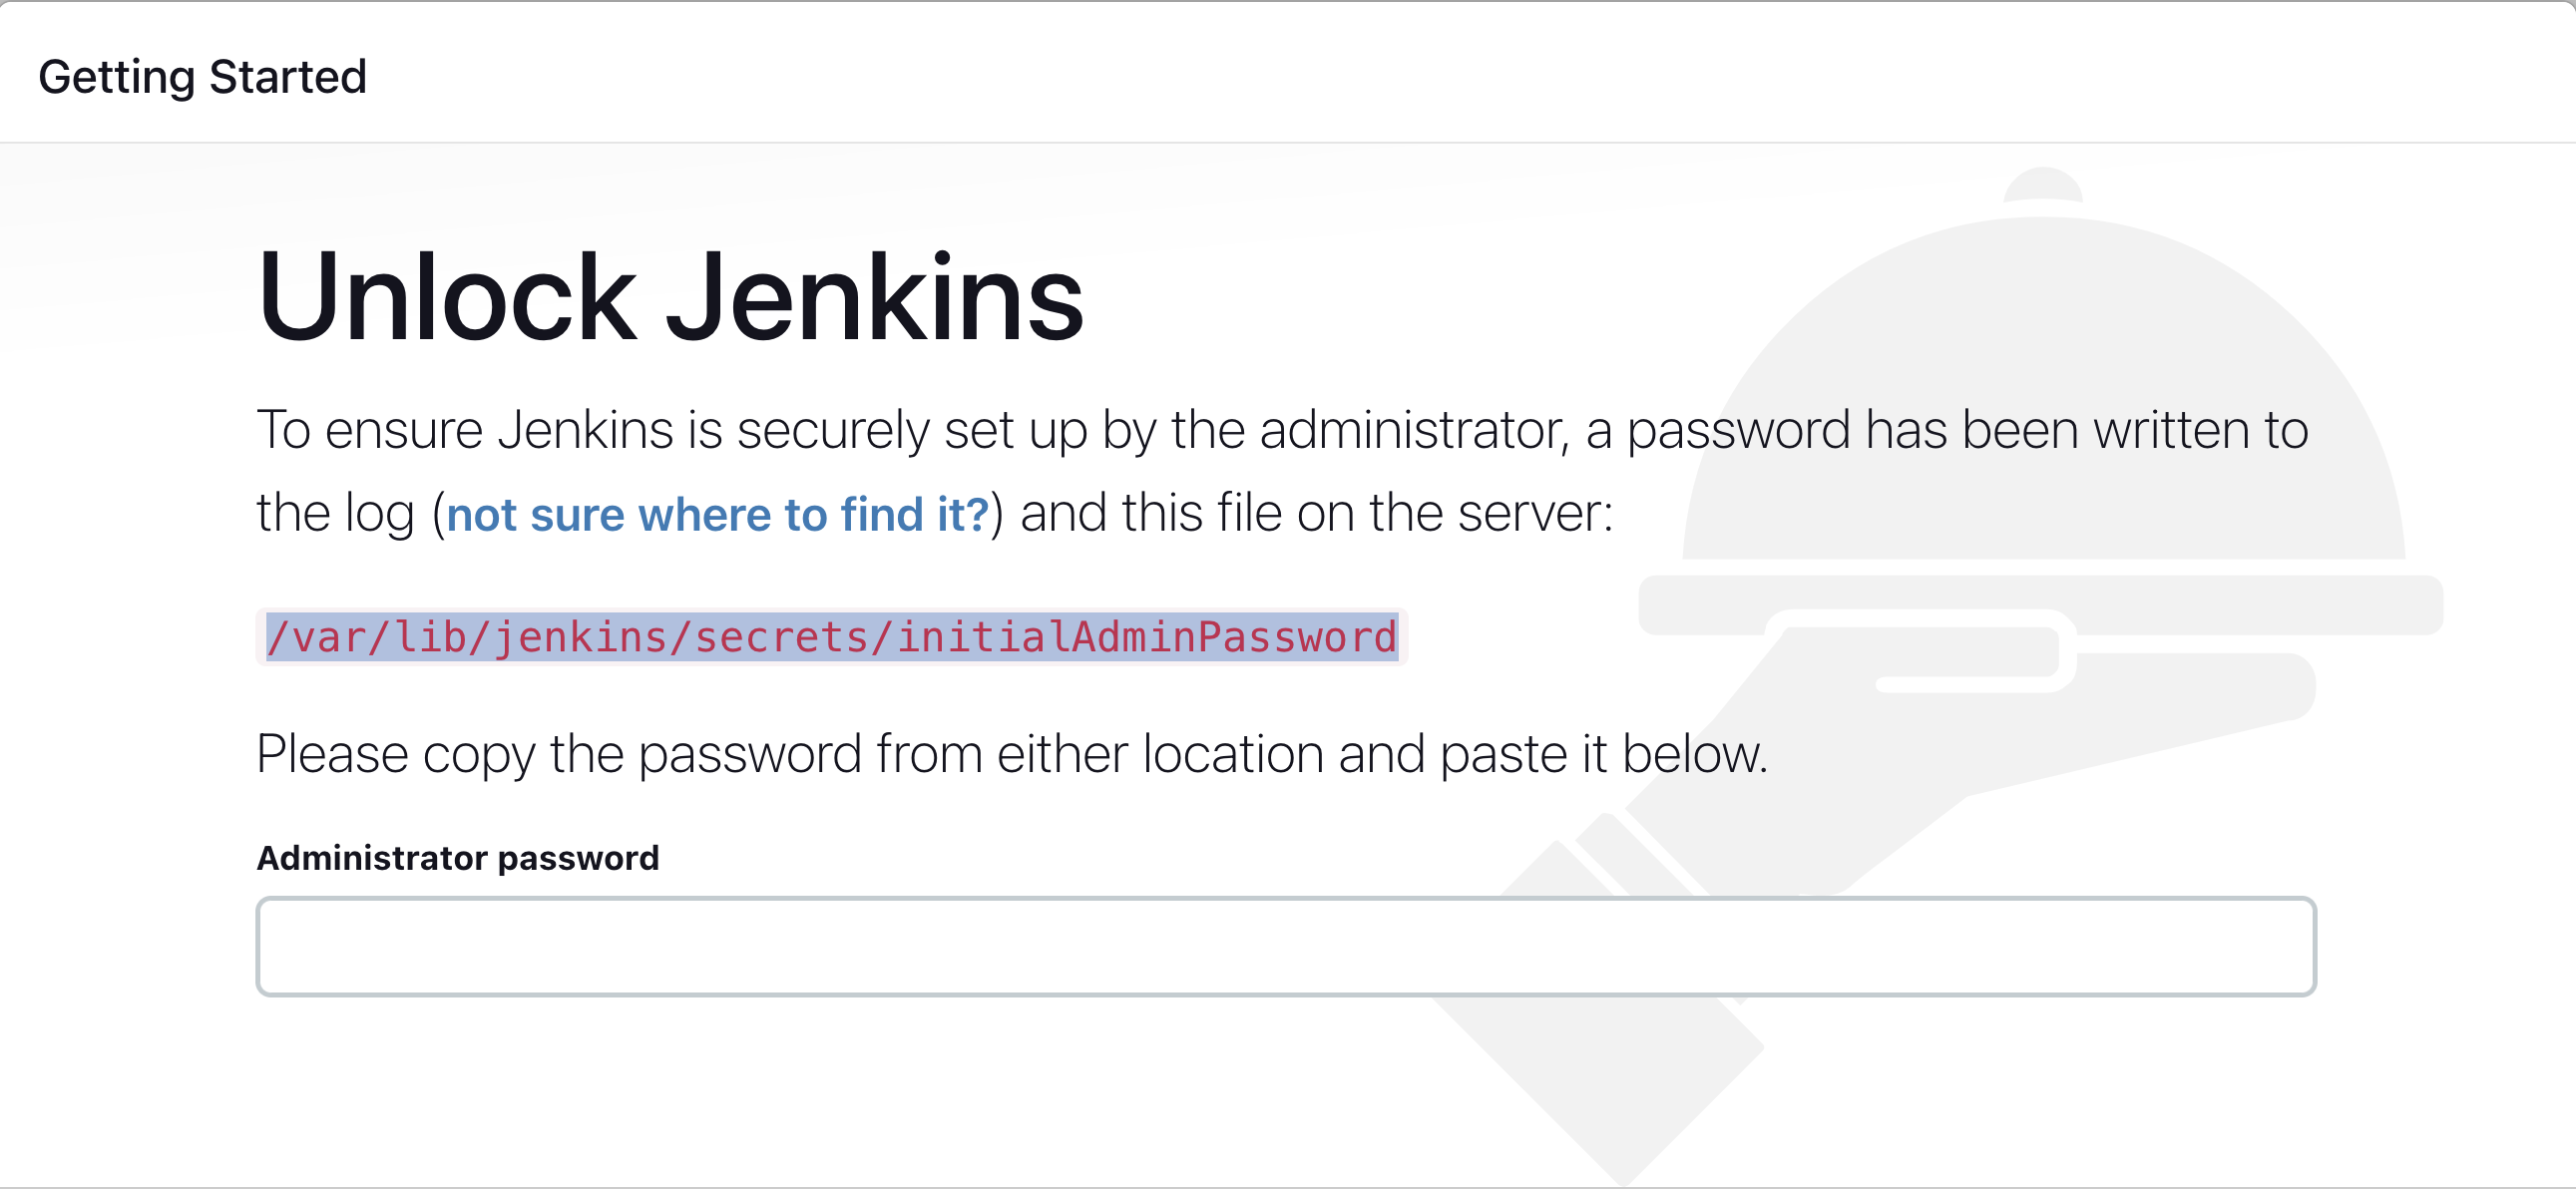
After you login to Jenkins,
- Run the command to copy the Jenkins Admin Password - sudo cat /var/lib/jenkins/secrets/initialAdminPassword
- Enter the Administrator password
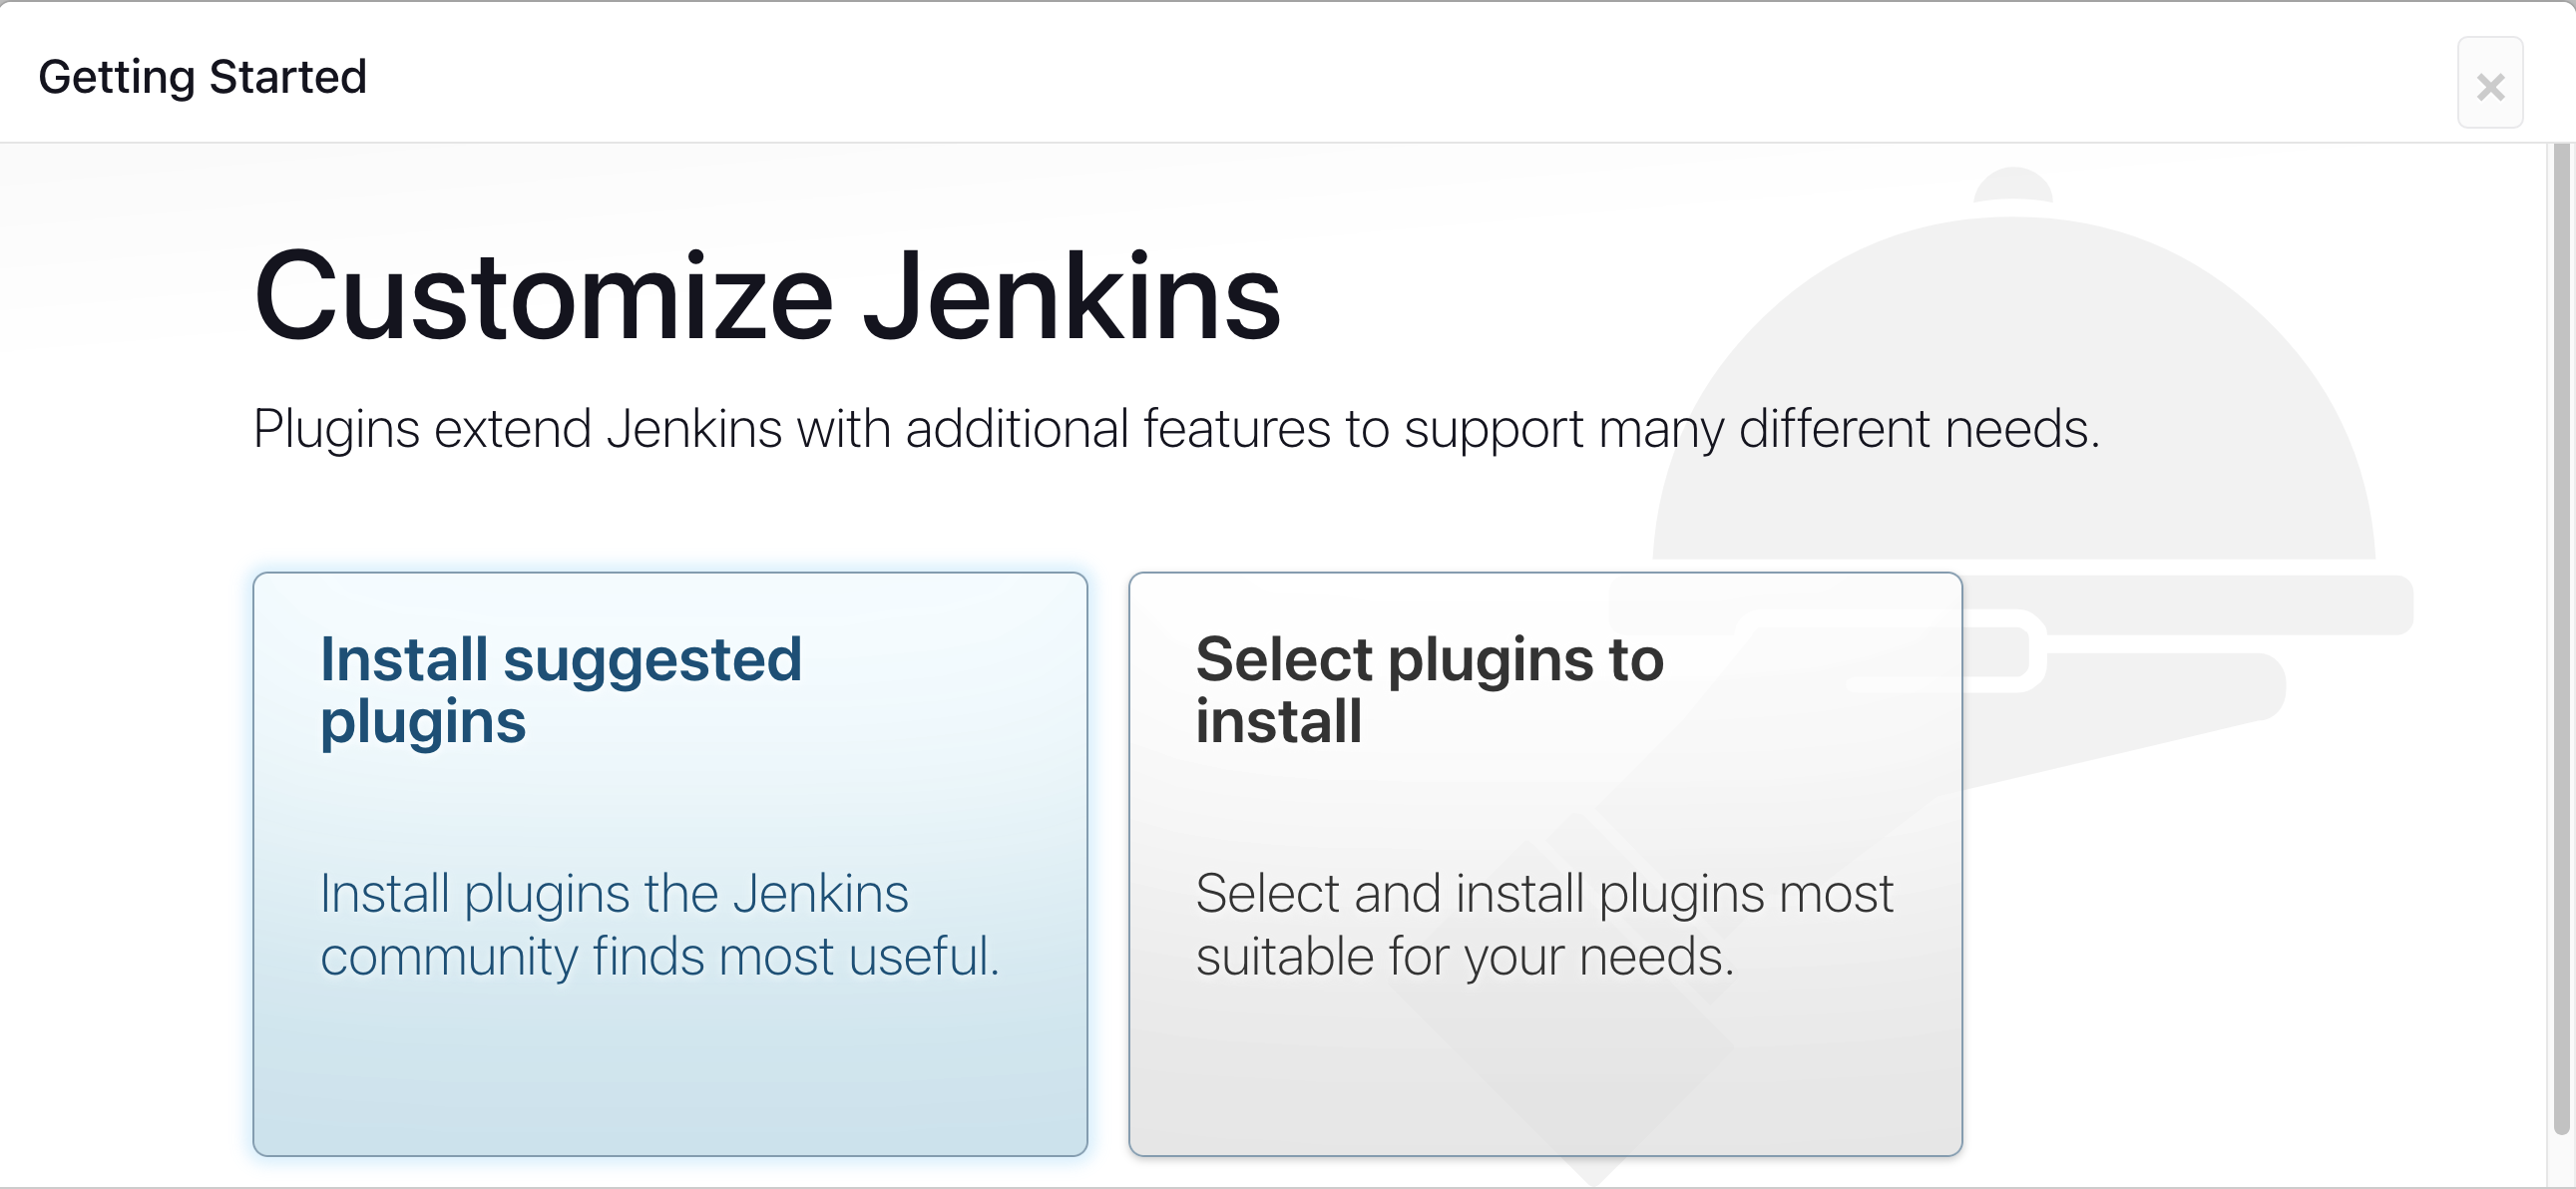
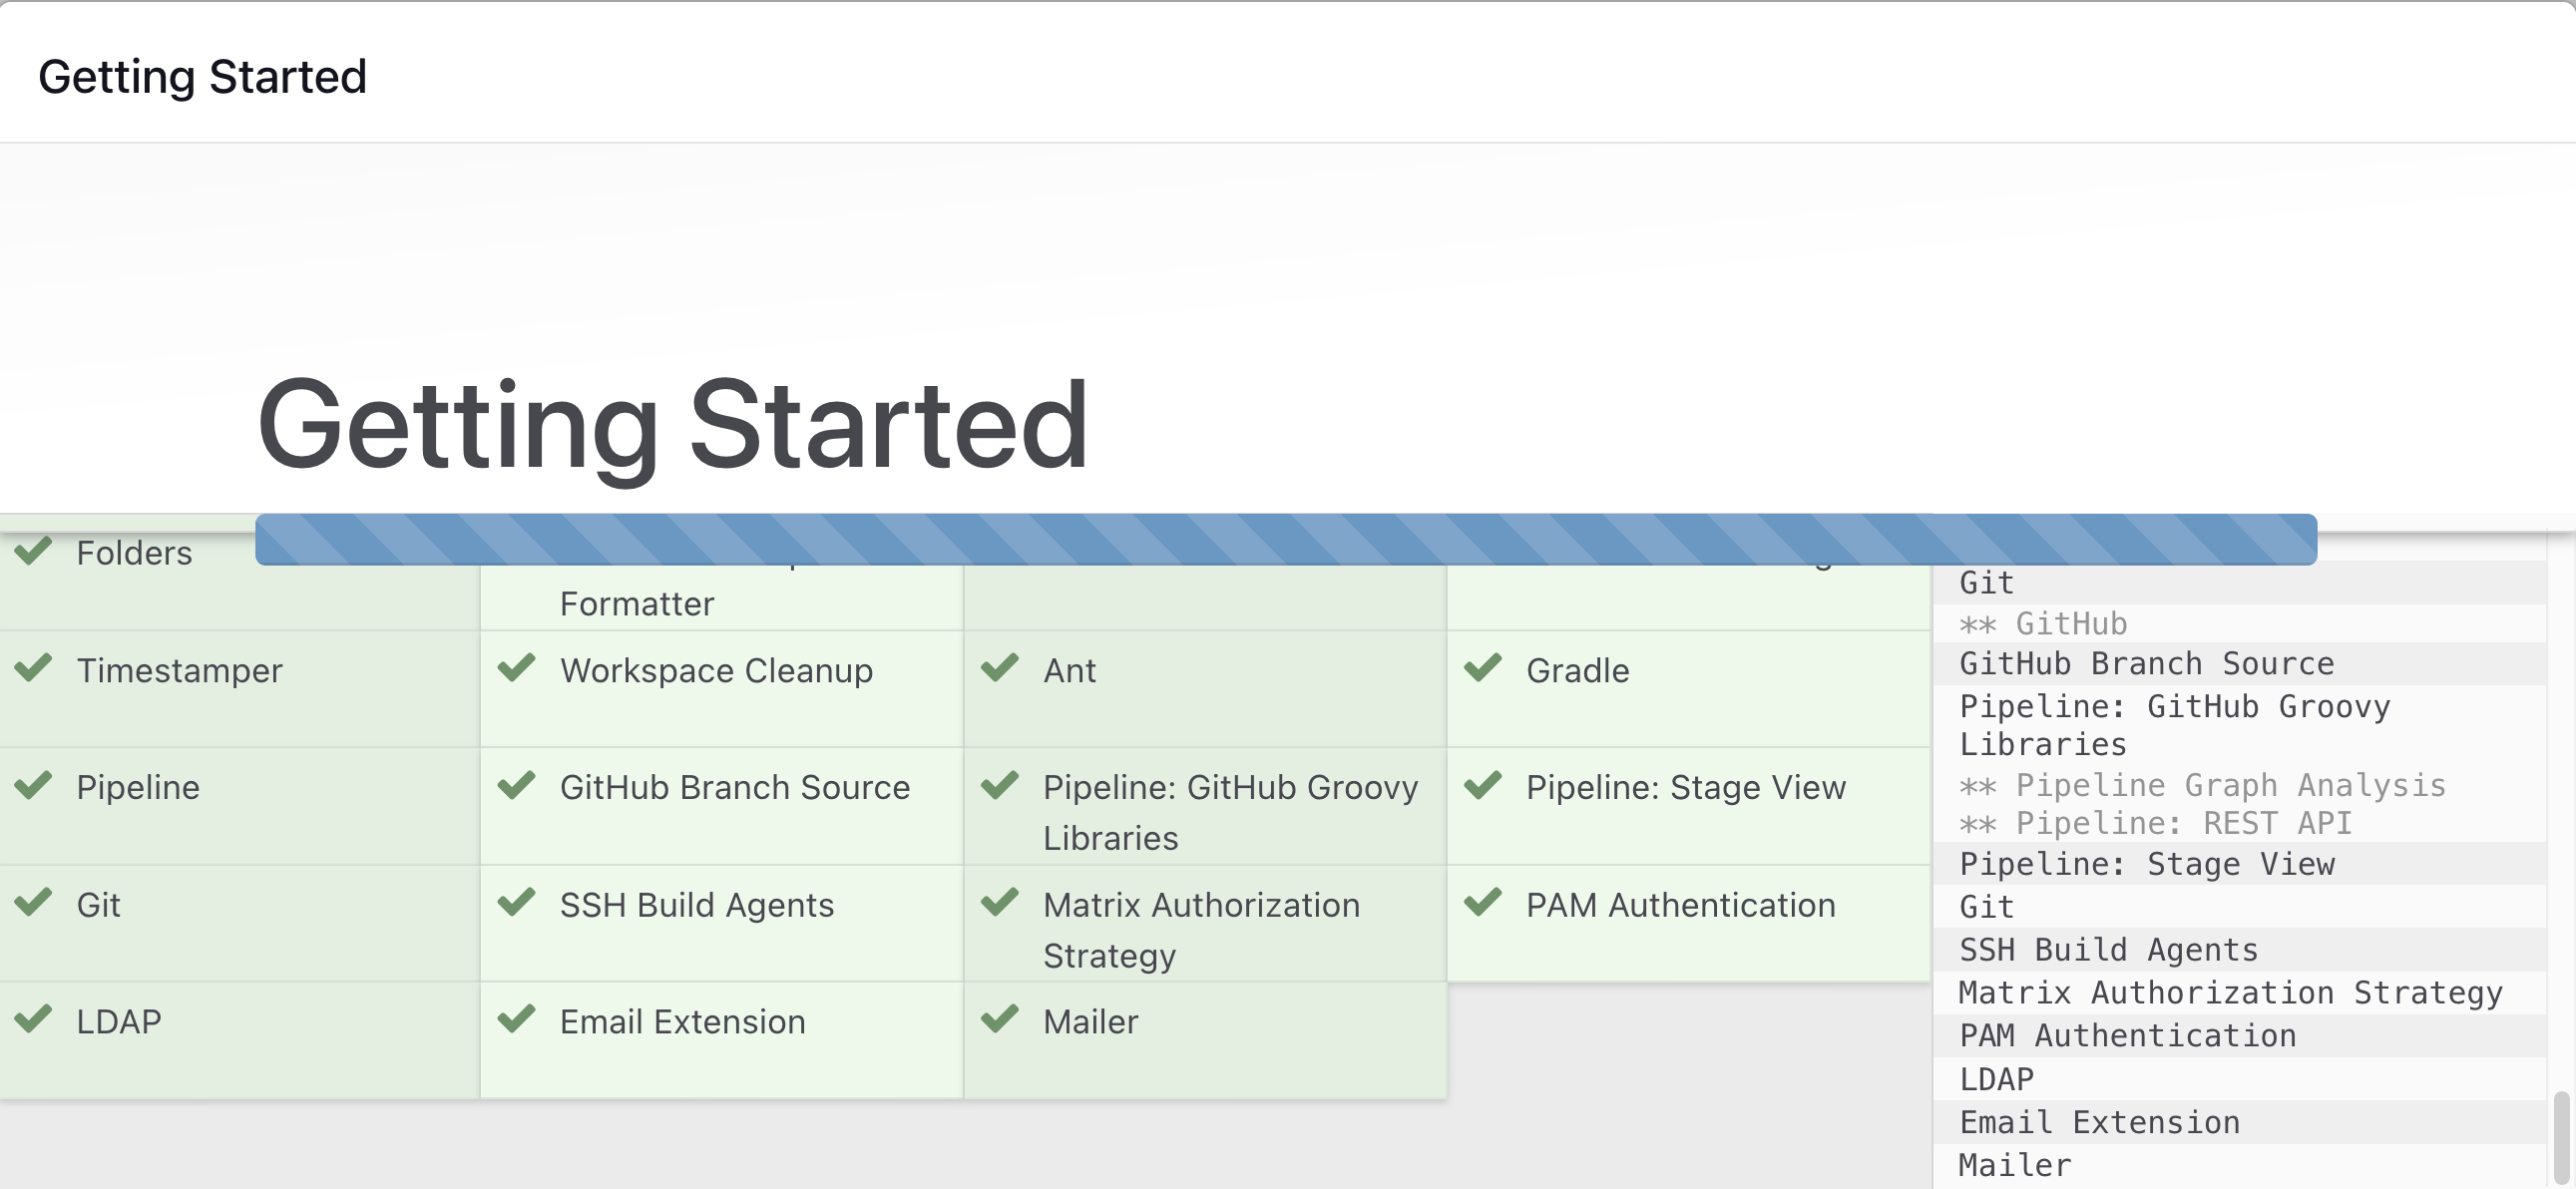
Wait for the Jenkins to Install suggested plugins
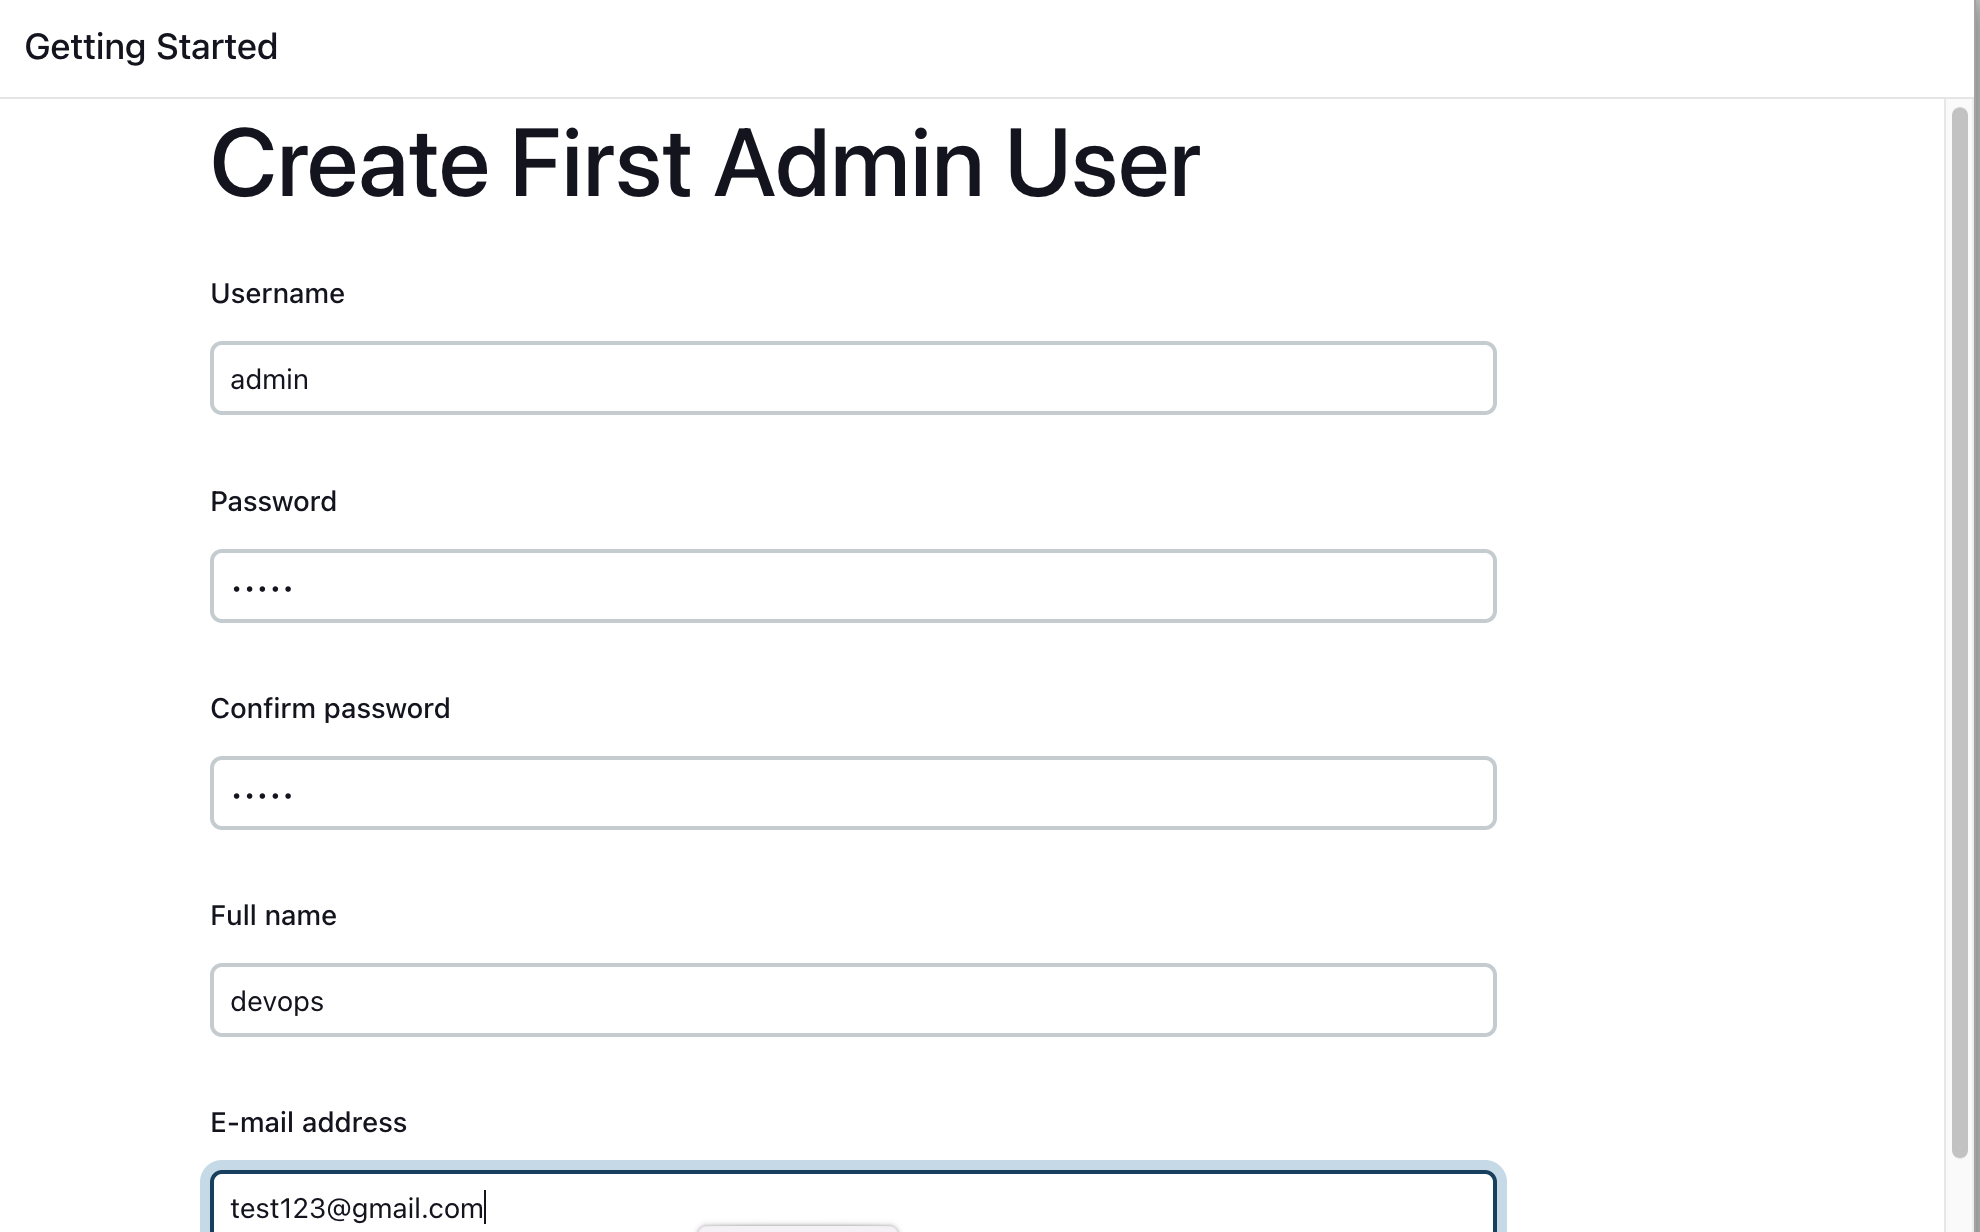
Create First Admin User or Skip the step [If you want to use this Jenkins instance for future use-cases as well, better to create admin user]
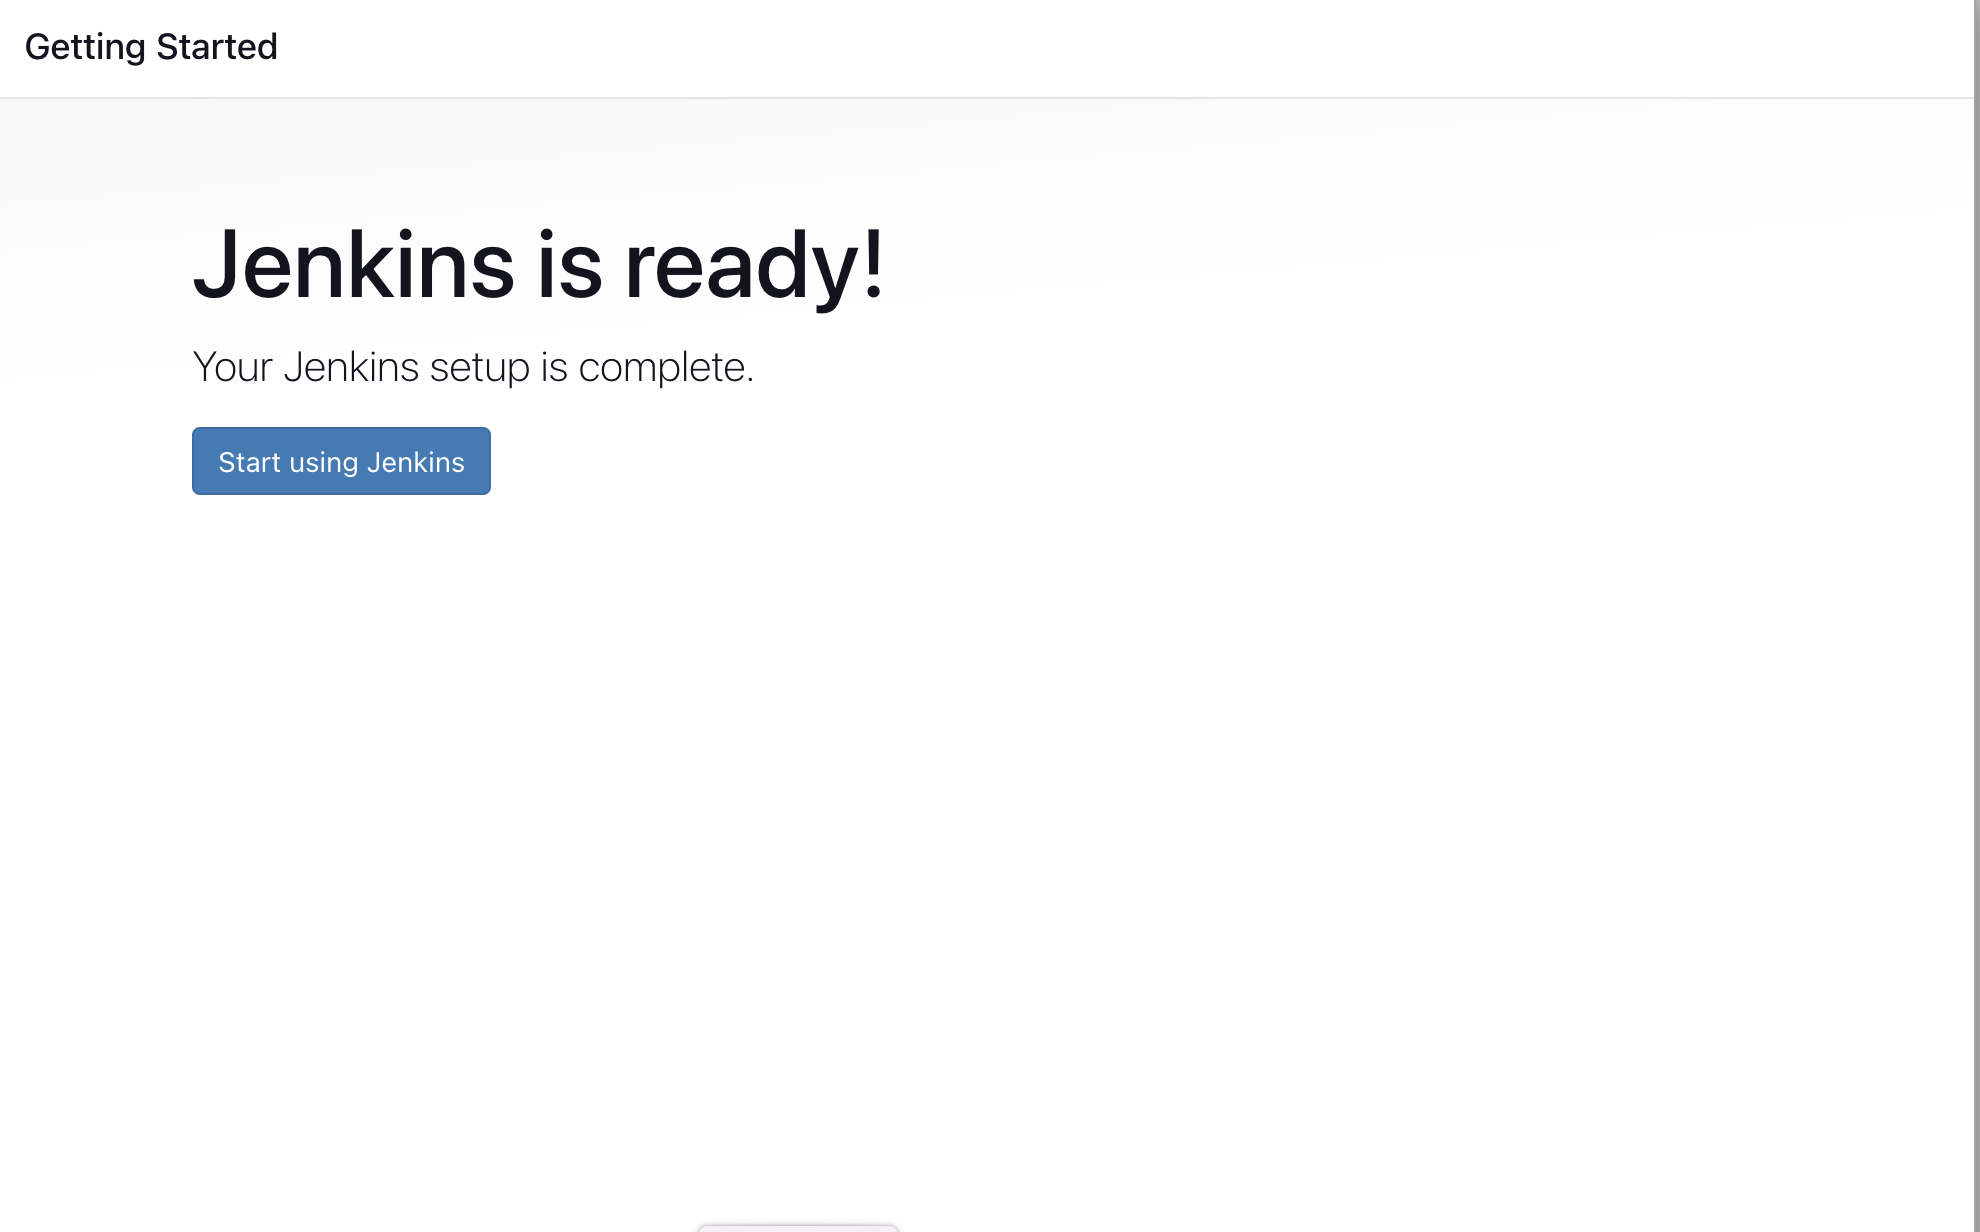
Jenkins Installation is Successful. You can now starting using the Jenkins
- Jenkins master-slave architecture is a way to distribute workloads in Jenkins.
- In simple terms, it’s like having a boss (master node) and assistants (slave nodes) in a company.
- The boss manages and coordinates tasks, while the assistants handle the actual work.
- It improves performance and scalability.
- The workload is divided among multiple machines, allowing tasks to be executed simultaneously.
- This speeds up the overall process and enables handling larger workloads.
- If the master node fails, the slave nodes can continue working independently. This ensures that the development and deployment processes are not disrupted.
- Different slave nodes can be configured with specific software, hardware, or operating systems to handle specific tasks.

- A permanent slave in Jenkins master-slave architecture is a dedicated machine that is always available to perform tasks assigned by the master node.
- Permanent slaves have fixed resources and are useful for consistent workloads or when specific hardware or software configurations are required.
- They are just like VM running on your HostOS, which consumes a lot of physical resources.
- Dynamic slaves are more like on-demand assistants.
- They are created when needed and released when the work is done.
- Dynamic slaves can be provisioned on different machines, including virtual machines or containers, depending on the workload.
- They provide flexibility and adaptability to handle varying workloads.
- Need multiple machine act as a worker nodes
- If there is no requirements for any worker node, then it would be idle
- Not handling multiple versions in single machine - nodejs 8,9,12
- Cost would be painful
- When there are no pending tasks, the resources are freed up, allowing other jobs or tasks to utilize them.
- Dynamic slaves enable scaling. If the workload increases, more slaves can be provisioned to handle the additional tasks.
- Once the workload decreases, the extra slaves can be terminated, saving resources and costs.
- Dynamic slaves support parallel execution. Multiple tasks can run concurrently on different slave nodes, significantly reducing the overall execution time
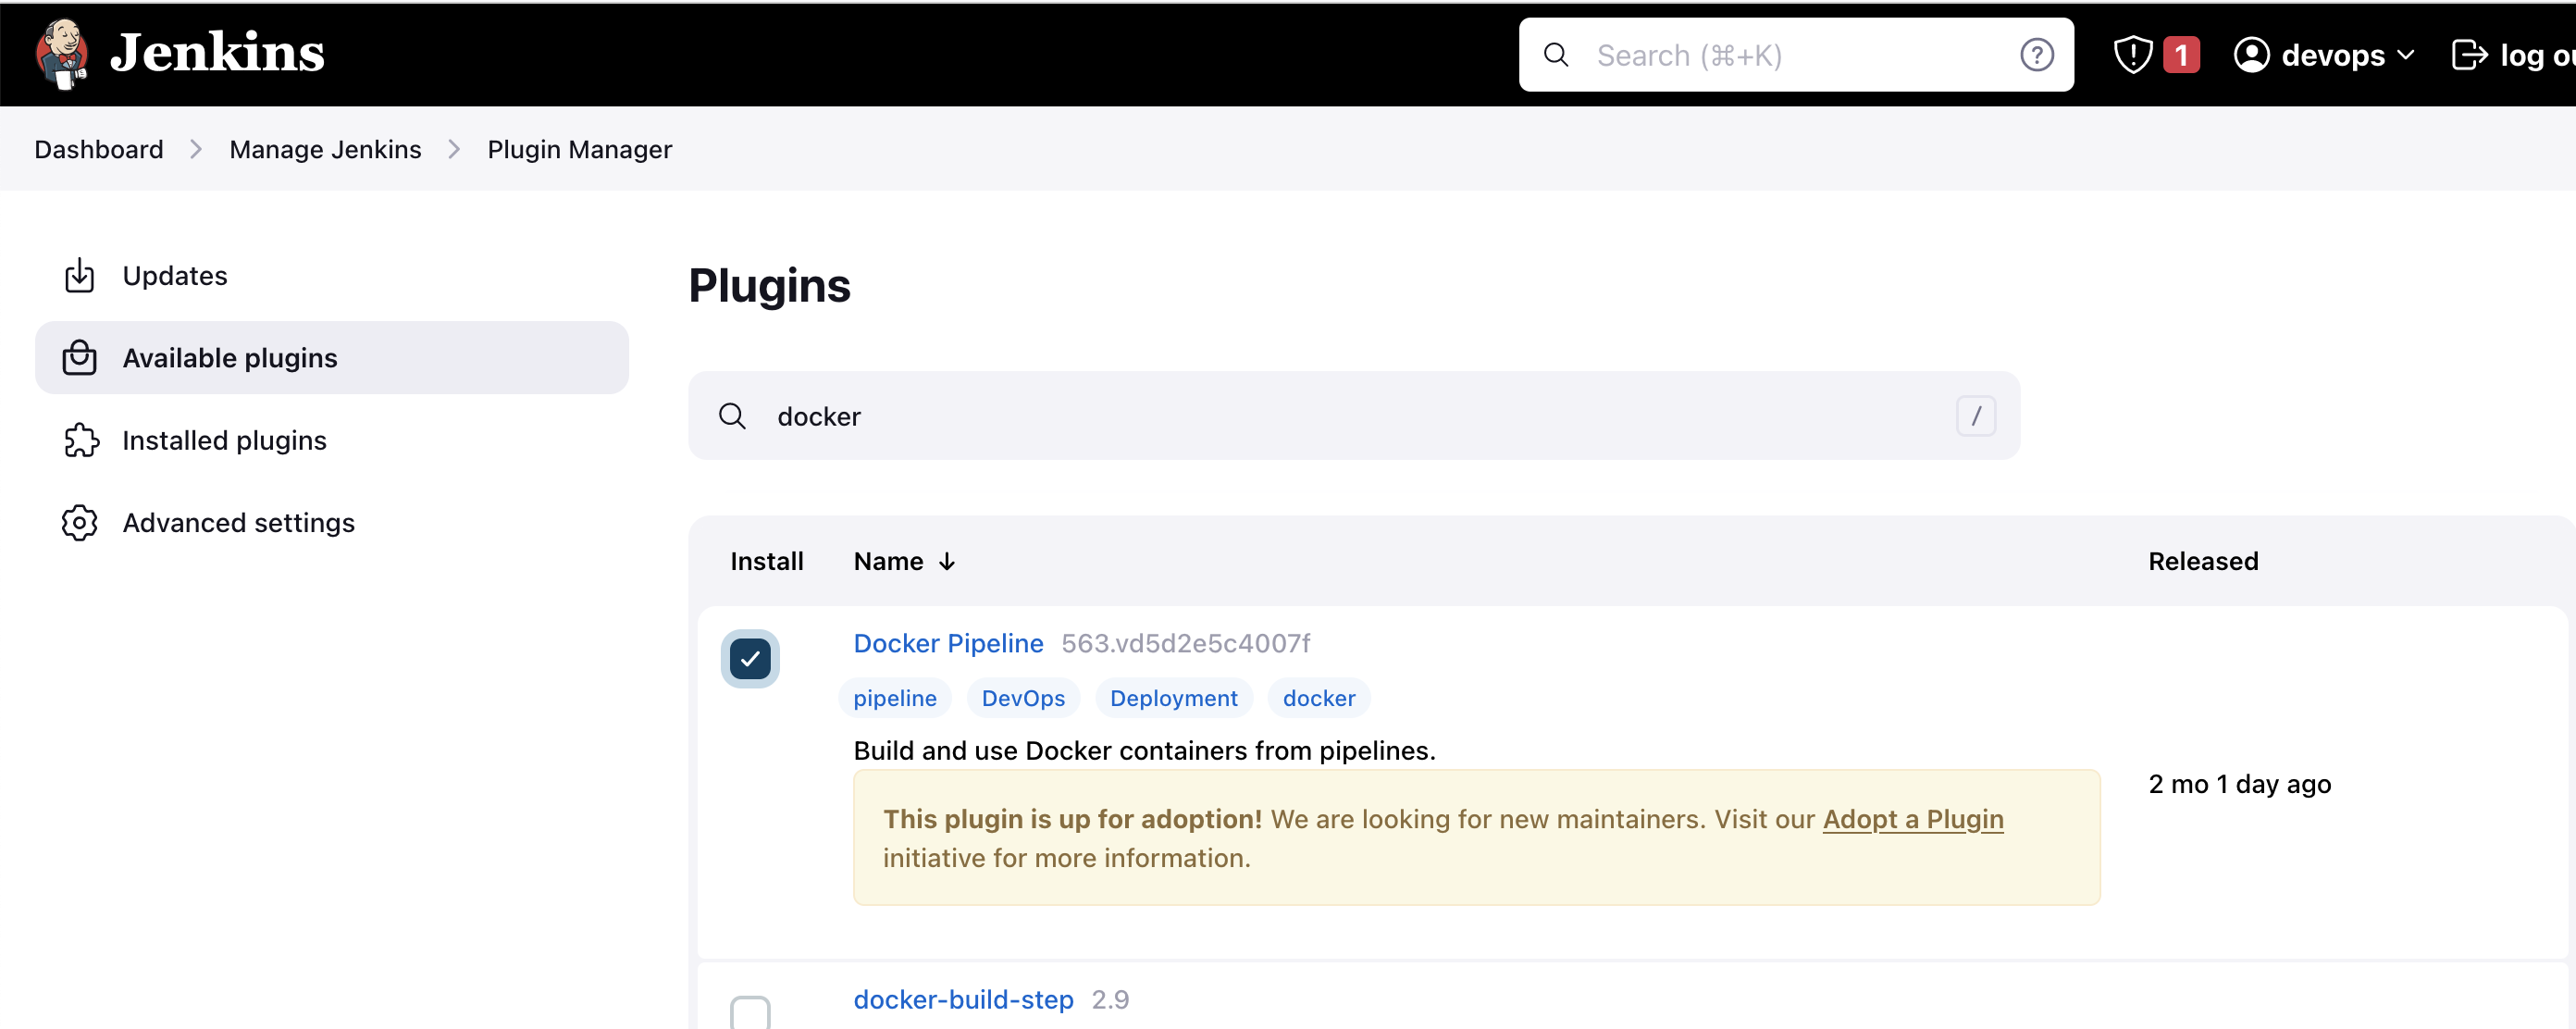
- Log in to Jenkins.
- Go to Manage Jenkins > Manage Plugins.
- In the Available tab, search for "Docker Pipeline".
- Select the plugin and click the Install button.
- Restart Jenkins after the plugin is installed.
Wait for the Jenkins to be restarted.
Run the below command to Install Docker
sudo apt update
sudo apt install docker.io
sudo su -
usermod -aG docker jenkins
usermod -aG docker ubuntu
systemctl restart docker
sudo chmod 777 /var/run/docker.sock
Once you are done with the above steps, it is better to restart Jenkins.
http://<ec2-instance-public-ip>:8080/restart
The docker agent configuration is now successful.
Switch to Jenkins user and run hello world container
su - jenkins
docker run hello-world
This tell you that your installation appears to be working properly


save and run the build

You can play with mutiple version of any programming language

Im using same Jenkins job and i change the scripted path in Jenkins job.

Then save and run the build.