Doc for workshop: https://docs.google.com/document/d/1bLA4k8b2edYvhiF6cDnpJ_F0O-wCoM_Gs3OKWa088uw/edit#heading=h.sy0bmshcit5
- Uikit (https://getuikit.com/docs/introduction) - Lots of useful components, lightweight and a better gridding system than material design
- Svelte
- Firebase
- src
- lib - each lib folder has index files to bulk export
- classes - reusable library classes that hold commonly needed information
- firebaseHelper.ts - accesses firestore data and adds to firestore
- components - generally for reusable components that limit copy/pasting the same code
- descriptionList.svelte - outputs list of posts entry descriptions
- descriptionListItem.svelte - outputs single post
- interfaces - data types
- descriptionListItem.interface.ts - descriptionListItem interface
- post.interface.ts - post interface
- routes - different pages
- blog.svelte - blog post page structure
- home.svelte - home page structure
- classes - reusable library classes that hold commonly needed information
- lib - each lib folder has index files to bulk export
- app.svelte - page with routes information and global styling
- Install npm https://nodejs.org/en/download/
- Run the following:
npm -g install vite
sudo !! # if first didnt work
npm init vite- Complete prompts from the last command to create your svelte app!
- Open the Terminal app on Mac or Linux; Powershell on Windows. Clone the repo and install packages with the workshop code with the following commands:
git clone https://github.com/nvurdien/git-workshop.git
cd git-workshop
npm install
If you run into errors running npm install please head over to https://nodejs.org/en/download/ and follow instructions on downloading Node / NPM.
For this workshop I will be using VS Code to run through the code.
- Similar to react if used before, there is no clear structure so I added a folder structure section in this guide to show how I structured the code for this workshop
- Hopefully this can be used as a template for your projects but I'll walk through some code written in this workshop and you can refer to the libraries used and file structure section for reference
-
Head to the firebase console to start adding firebase to your project https://firebase.corp.google.com/?pli=1
-
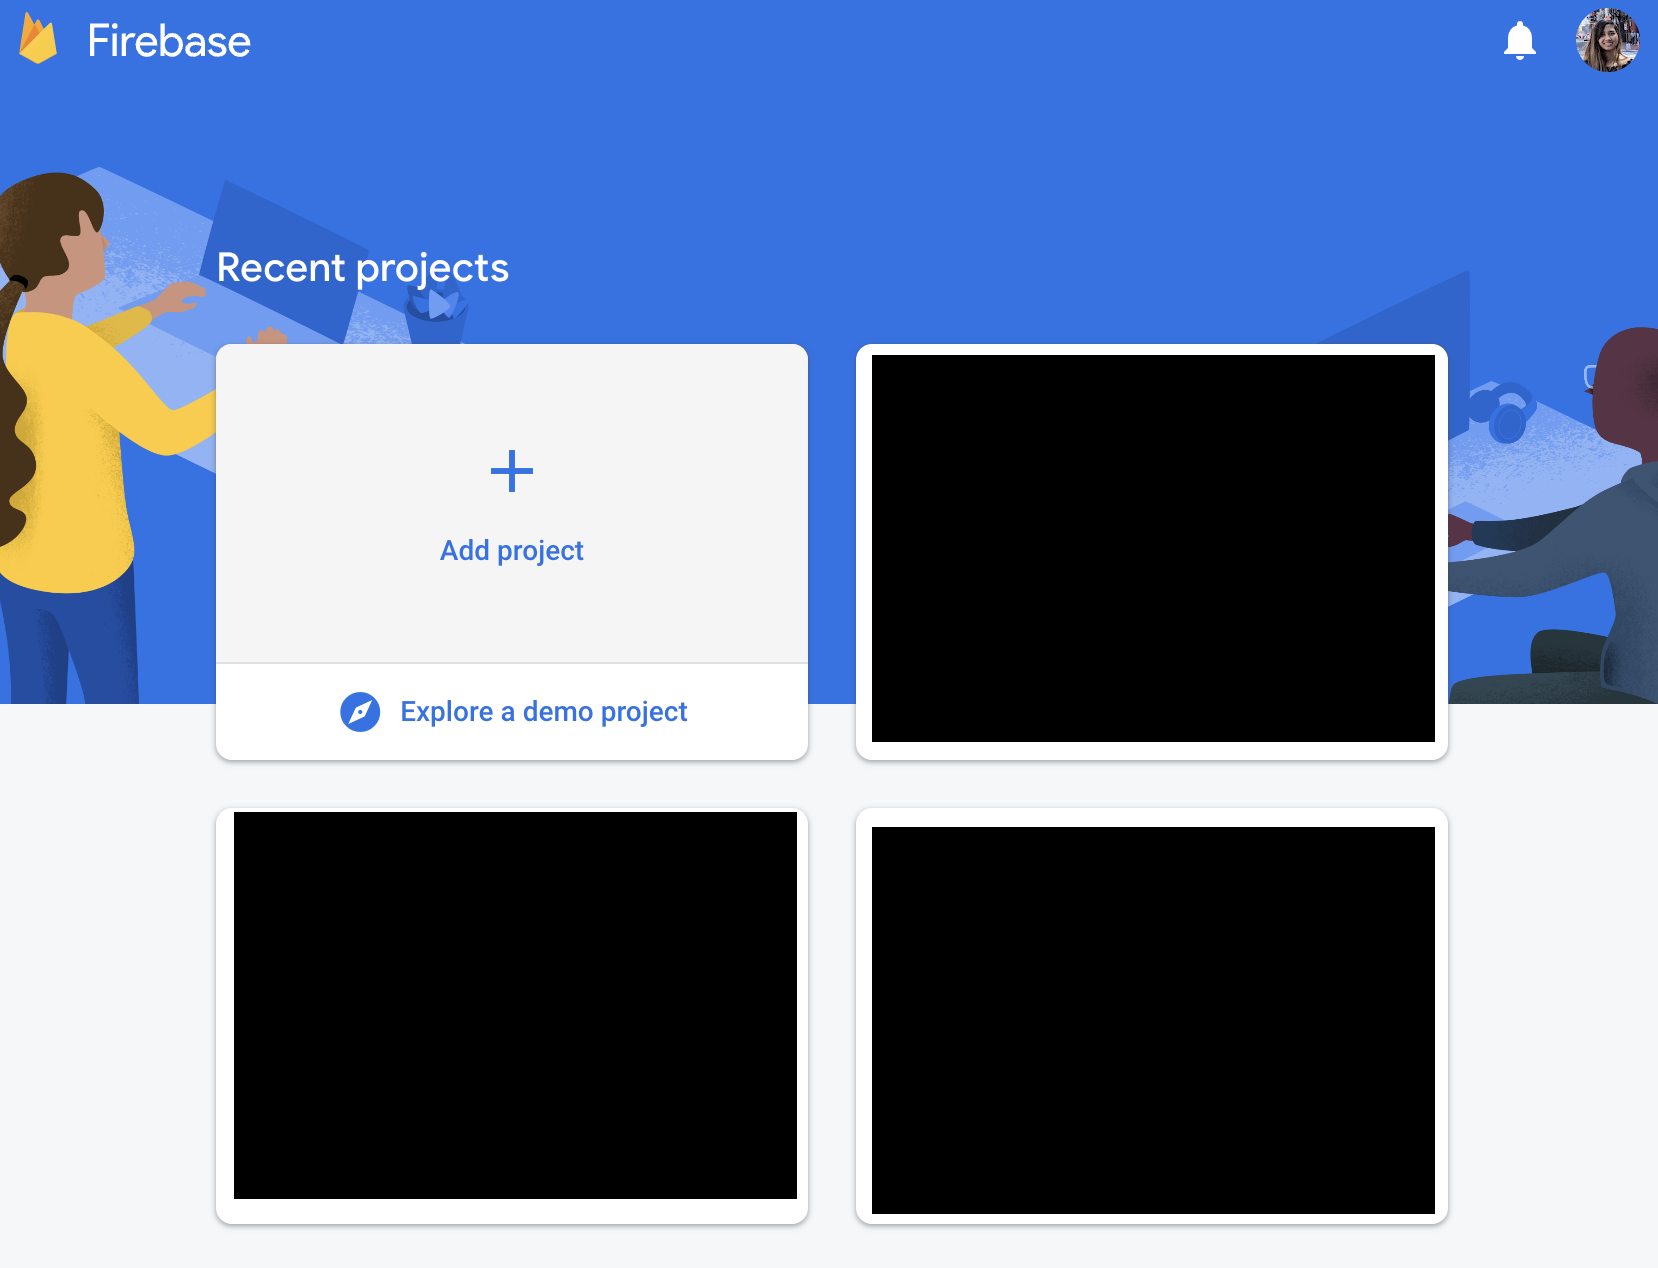
Start by clicking "Add project" with the + sign or you may use an existing project

-
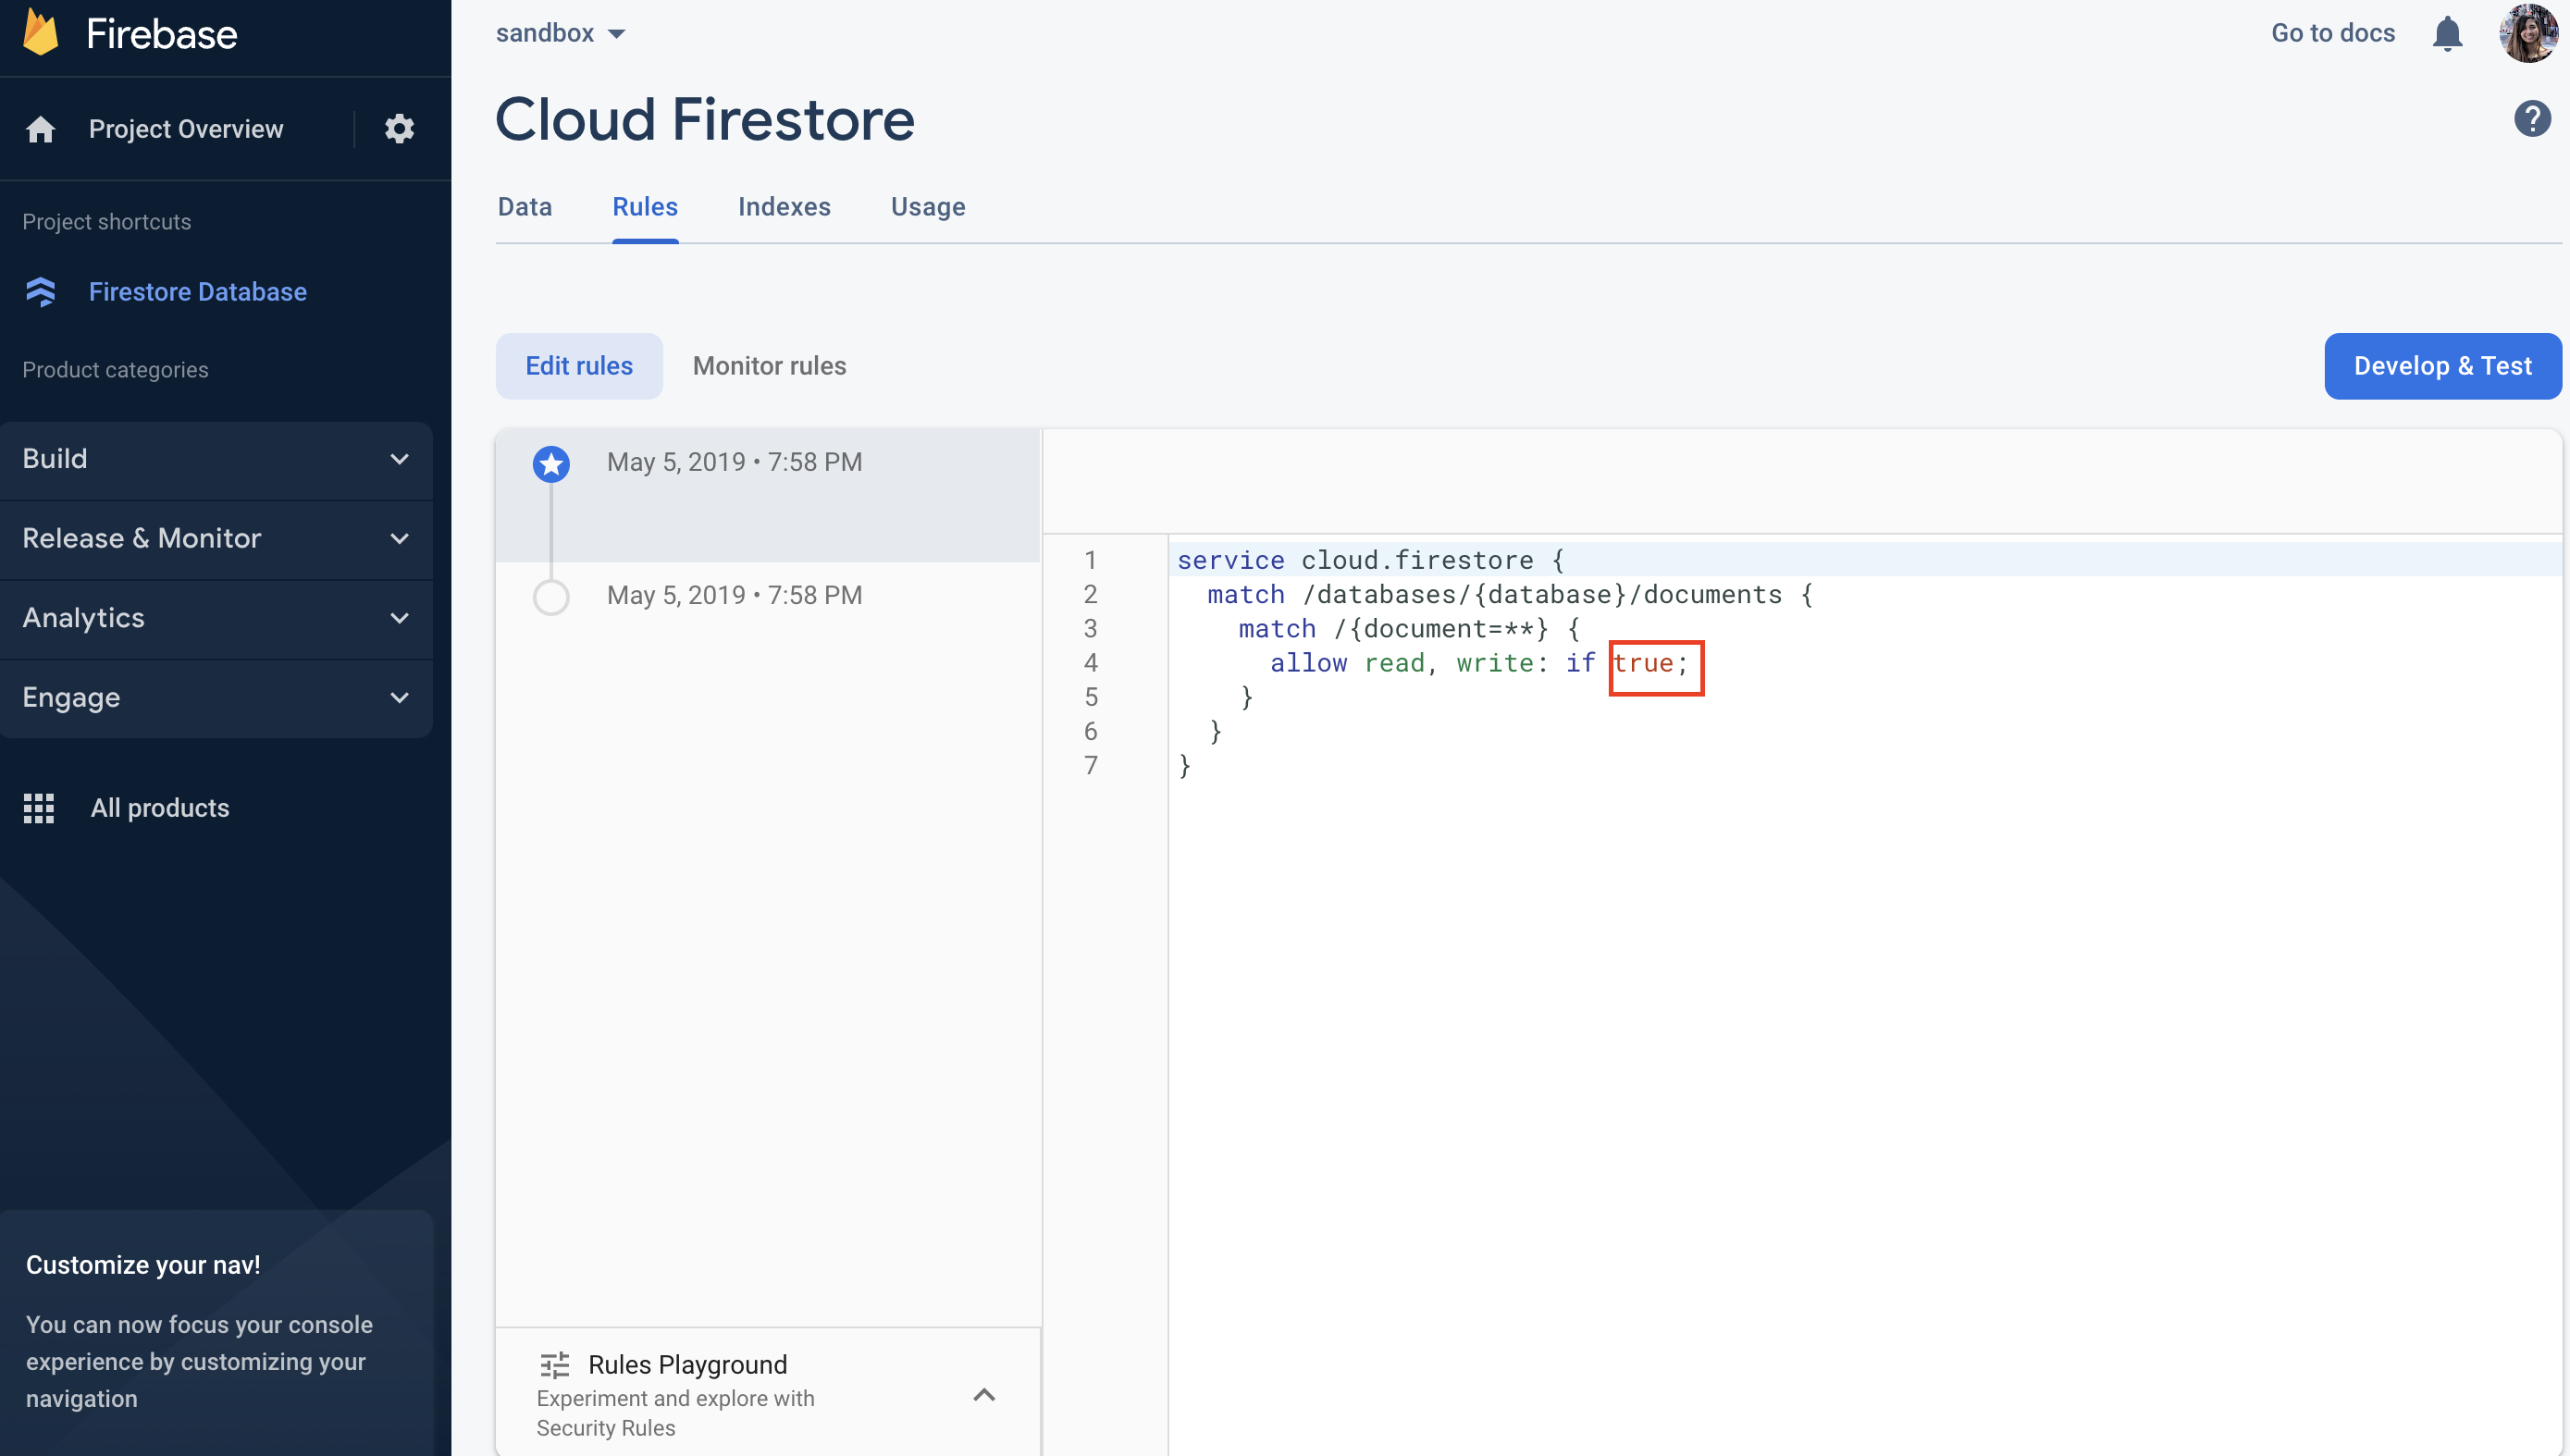
Then in the menu click "All products" and look for "Cloud Firestore"
-
By default, firestore disables all reads and writes so go under "Rules" and change read write to "true"

-
Then that should be most of what you need in order to start using/adding to your database. Please switch it back to false at the end of hackathon to prevent others from using your database.
-
In the following file:
git-workshop/src/lib/classes/firebaseHelper.ts
import { initializeApp } from "firebase/app";
import { getFirestore } from "firebase/firestore";
import { collection, addDoc, getDocs } from "firebase/firestore";
import { writable } from "svelte/store";
import type { _Post } from "../interfaces";

export default class FirebaseHelper {
    // Config information to use specific firebase project
    private firebaseConfig = {
        authDomain: "<PROJECT_ID>.firebaseapp.com",
        projectId: "<PROJECT_ID>",
    };

    // Initialize Firebase
    private app = initializeApp(this.firebaseConfig);

    // Initialize Cloud Firestore and get a reference to the service
    private db = getFirestore(this.app);

    // Use writable to add state which will help reload page on retrieval of posts
    posts = writable({}, );

    constructor() {
        const posts = {}
        // Get all docs and loop through the snapshots to update posts dictionary
        getDocs(collection(this.db, "post")).then(docSnap => {
            docSnap.forEach(doc => {
                posts[doc.id] = {id: doc.id, ...doc.data()};
                this.posts.set(posts);
            });
        });
    }

    addPost(post) {
        // Add a new document with a new generated id.
        return addDoc(collection(this.db, "post"), post).then(docRef => docRef.id);
    }
}
and
git-workshop/.firebaserc
{
  "projects": {
    "default": "<PROJECT-ID>"
  }
}
Update the fields that show <PROJECT_ID> to the project id shown in your project settings page click on the "gear" icon to get there

- Then you can run the project with
npm run dev - Go to the assigned localhost url shown on the screen once completed building
- Add a few blog posts and refresh the page or look on your firestore database page to see the results!
- Now I'll discuss some information on the FirebaseHelper class and you can again use the file structure section for reference
- Run the following command in your terminal to install/update firebase:
sudo npm install -g firebase-tools
firebase login
- Run through the commands in the firebase login prompts and then run the following commands:
npm run build
firebase deploy --only hosting