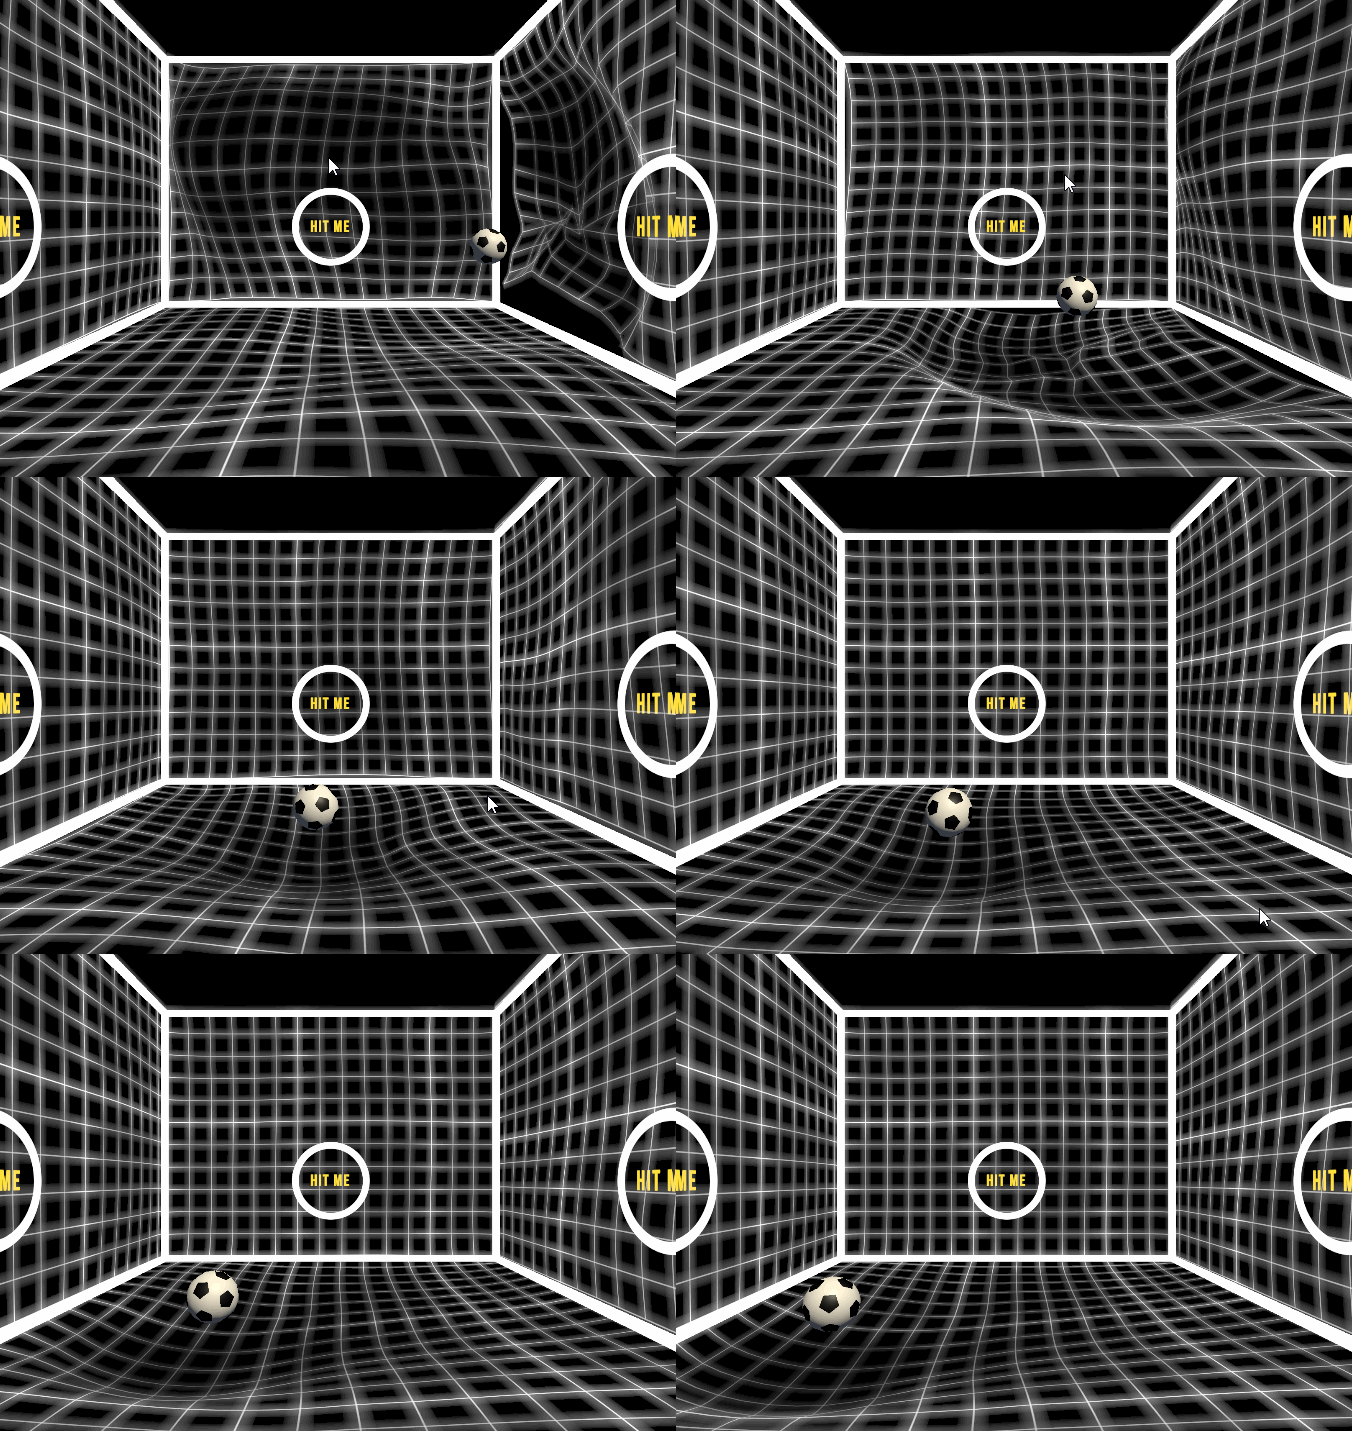
This program known as the Pitch is the main software component needed to run for the DreamCube's interactive virtual reality room. The main attraction is an arcade-style ball game using a physical ball tracked in three-dimensions. This repo contains two simple example scenes for modes of interaction.
This project relies on dreamcube.itp.pitch.core repo as a submodule. Fork this repo and build a new DreamCube experience.
WARNING: DO NOT make changes to any of the Base Scenes, or Main scene.
Those are critical for running your project in the DreamCube
DreamCube Boilerplate Documentation
- Video card with 4 outputs such as Geforce RTX 2060
- Dante multichannel soundcard
- Optitrack tracking system
- RTLS server
- 4 Projectors supporting 1920x1200 resolution
The following packages are used in compilation.
- JetBrains Rider Editor
- Cinemachine
- ProBuilder
- Test Framework
- TextMeshPro
- Timeline
- Unity Collaborate
- Unity Recorder
- Unity UI
- Universal RP
- Shader Graph
- Visual Effect Graph
- Version Control
- Visual Studio Code Editor
- Visual Studio Editor
The following applications are used in development.
The following libraries and their dependencies are included in the Plugins folder.
- Fork the repo
- Rename the repo (To your project name)
- Clone your fork
git clone [your forks name] - Load the core submodule
git submodule --init --recursive - Set the configuration file:
An external settings file is required. It's located at StreamingAssets\general_config.json.
If the file does not exist it will be created using the default values at first run.
DreamCube - Name of assigned DreamCube
Debug - Whether the app is in debug mode
RTLSLocalIP - IP of the computer's NIC running this software to which you want to bind RTLS
RTLSRemoteIP - IP of the RTLS Server
RTLSPort - Port of the RTLS
UseASIO- Audio output to the DSP
ASIODriverIndex- Audio output Index
AsioAutoDetectName - Audio output name
DSPBufferLength - DSP Buffer length
DSPBufferCount - DSP Buffer Count
{
  "DreamCube": "1",
  "Debug": false,
  "UseRTLS": true,
  "RTLSLocalIP": "192.168.x.x",
  "RTLSRemoteIP": "192.168.x.x",
  "RTLSPort": 8282,
  "UseASIO": true,
  "ASIODriverIndex" : 0,
  "AsioAutoDetectName" : "RedNet PCIe",
  "DSPBufferLength" :1024,
  "DSPBufferCount" :8,
}
-
Open the project with Unity Hub. It will prompt you to download the correct version of the Unity editor.
-
Open Assets/_DemoApp/Scenes/Main
-
Switch game view to Display 5 or 6
-
Hit play and click on the game view to kick the ball
-
Build the project according to Unity's documentation.
The program does not show on the correct displays.
In the Windows or GPU display manager, the displays should be tiled left to right with indices 1-4. Display 1 should set to the primary screen.
For more detail, you should refer to the Dreamcube Handbook
© Copyright 2020 Local Projects, Inc., All Rights Reserved.
See LICENSE for more information.
