tar -zxvf archiveName.tar.gzUse gdal_merge.py either throuh the command line (using the -separate switch), or via QGIS (Raster > Misc > Merge ...)
- Select your favourite band combination (4, 5, 3 on Landsat 5 and 7 works well for me)
- Make sure you have a good (colour) stretch (in Layer properties, select Extent: current, click on Load and Apply. Adjust if required by refocusing the area or playing with the way min/max is defined).
In QGIS there is a button Create a new vector layer, on the left tool bar.
- Select Polygon
- Add a new attribute named class, keep the type to text data
- Remove the ID attribute
- Click OK
- Chose a file name and save the layer
- right click on the polygon layer
- enable editing toggle editing
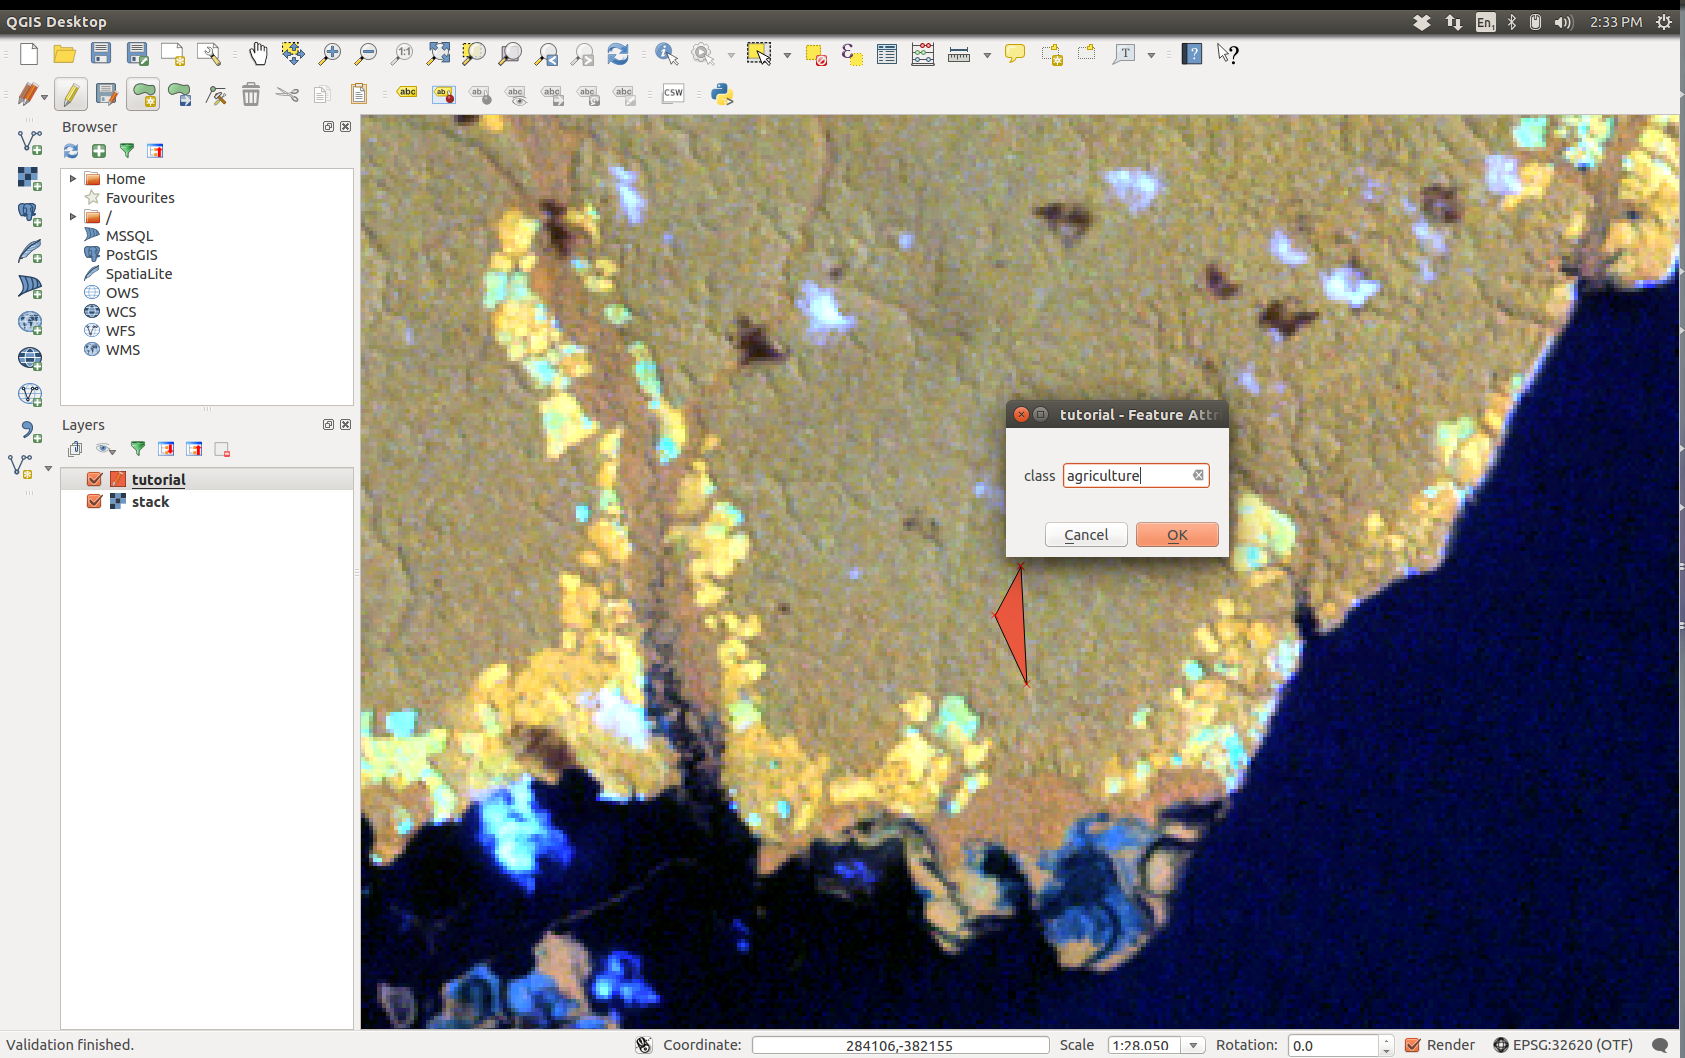
- Click on the add feature icon (editing toolbar on top)
- Left click to select the vertices of the polygon, then right click anywhere to finish the drawing of the polygon
- When prompted for class, write the land cover of the polygon you just drawn (e.g.
urban,water,agriculture, etc) (if you have several polygons for the same class, make sure you strictly spell them in the same way). - When you have enough polygons, untoggle editing
This step is done in R, you need to have dplyr, raster, sp, rgdal and randomForest installed. Then run the code below and you'll have your land cover map.
library(raster)
library(randomForest)
library(dplyr)

# Variables
shapePath <- 'path/to/shapefile.shp'
brickPath <- 'path/to/multilayerObject.tif'
lcPath <- 'path/to/lcMap.tif'

# Load objects
spdf <- shapefile(shapePath)
brick <- brick(brickPath)

# Get the vector of polygon class
classes <- spdf$class

# Extract training data from the brick
trainingDf <- extract(brick, spdf, df = TRUE) %>%
  mutate(class = classes[ID]) %>%
  dplyr::select(-ID) %>%
  mutate(class = as.factor(class))

# Train the classifier
rf <- randomForest(formula = class ~ ., data = trainingDf)

# Predict lc raster and write to file (eventually)
lc <- predict(brick, rf)
writeRaster(lc, lcPath, datatype = 'INT1U')
