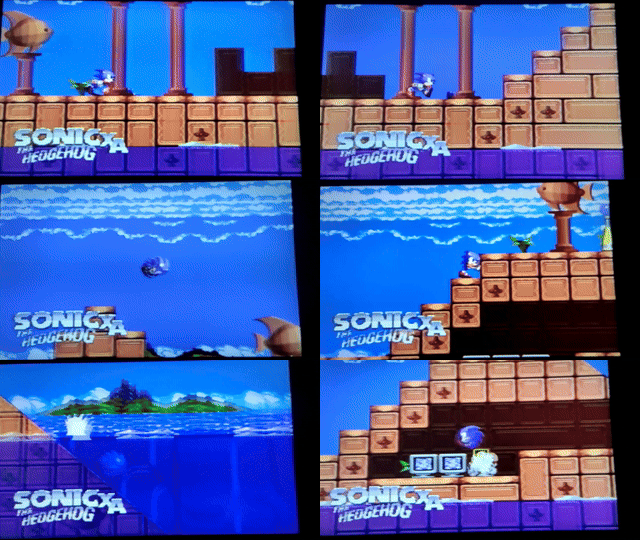
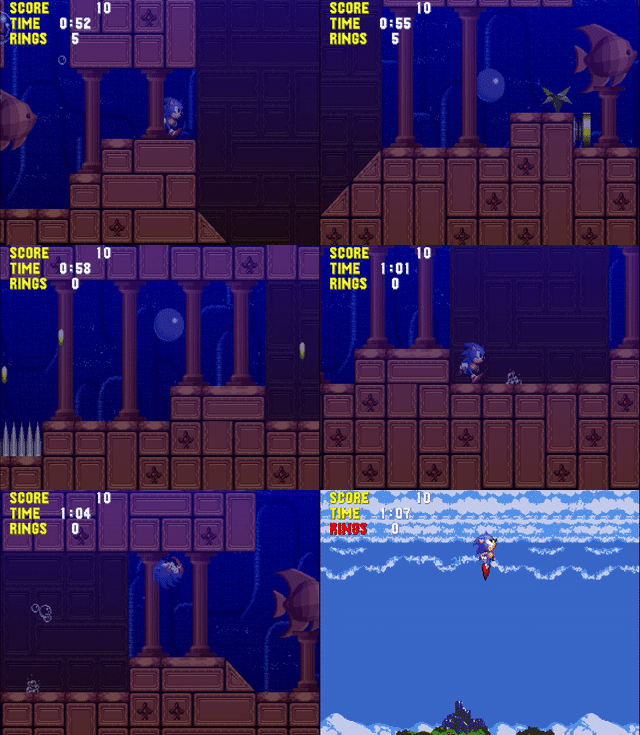
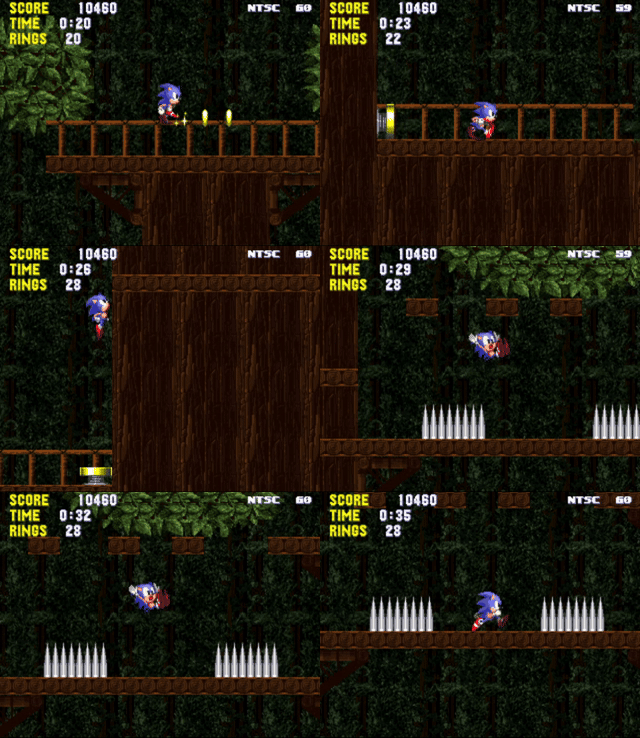
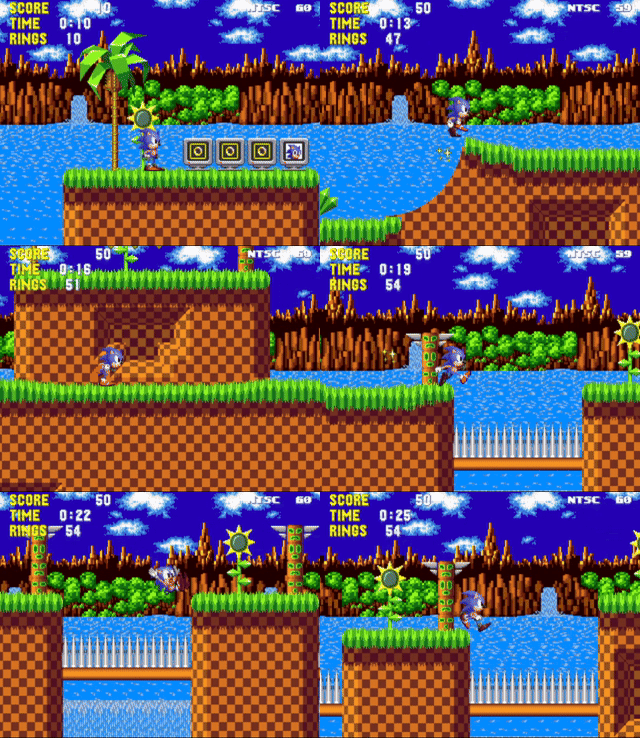
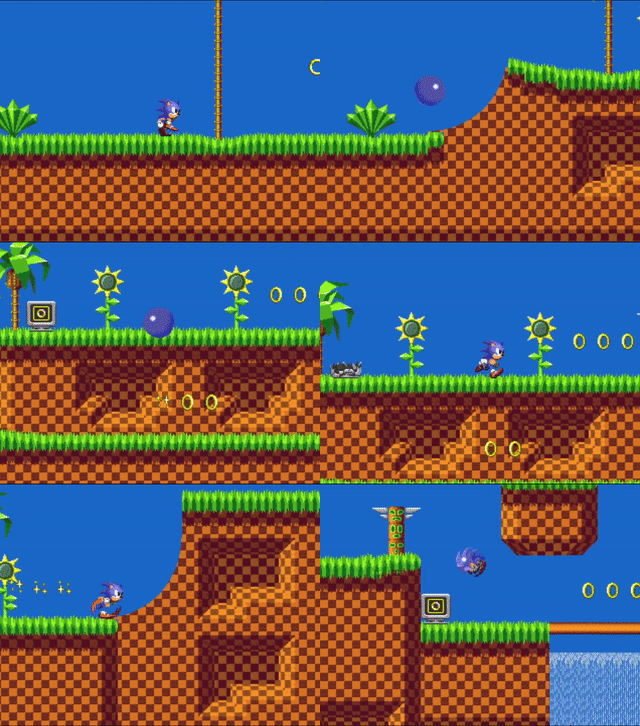
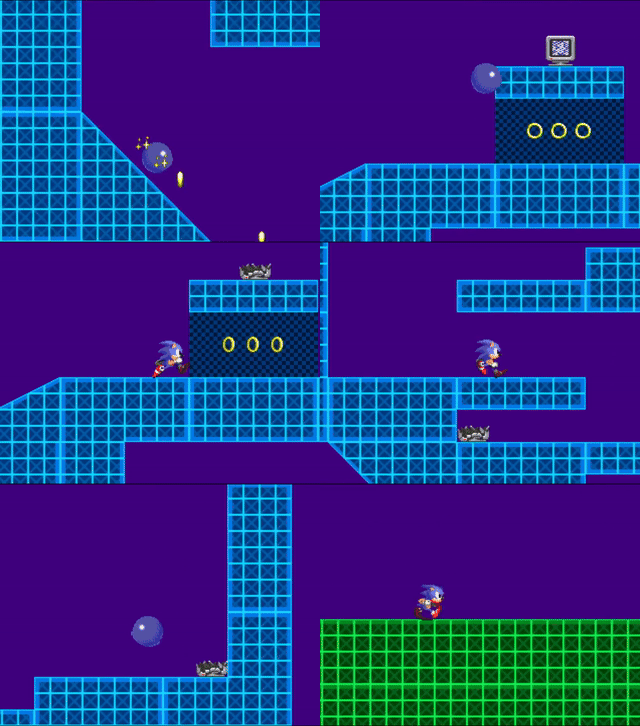
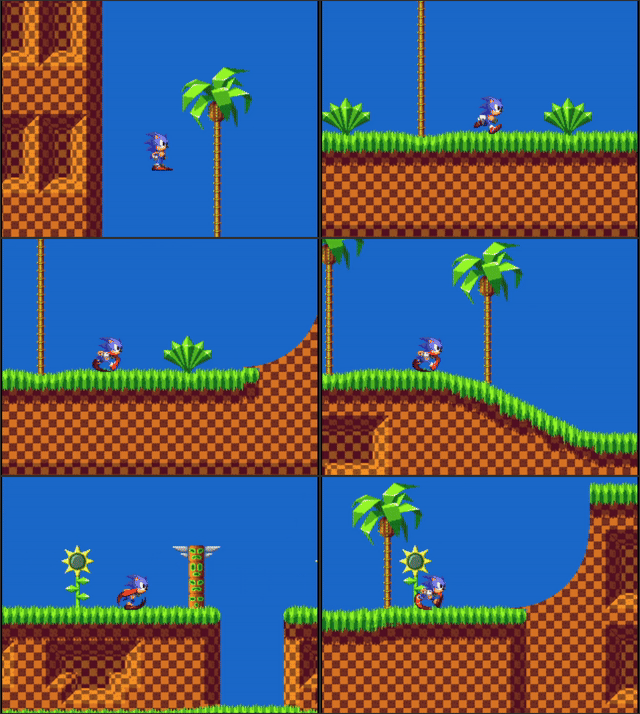
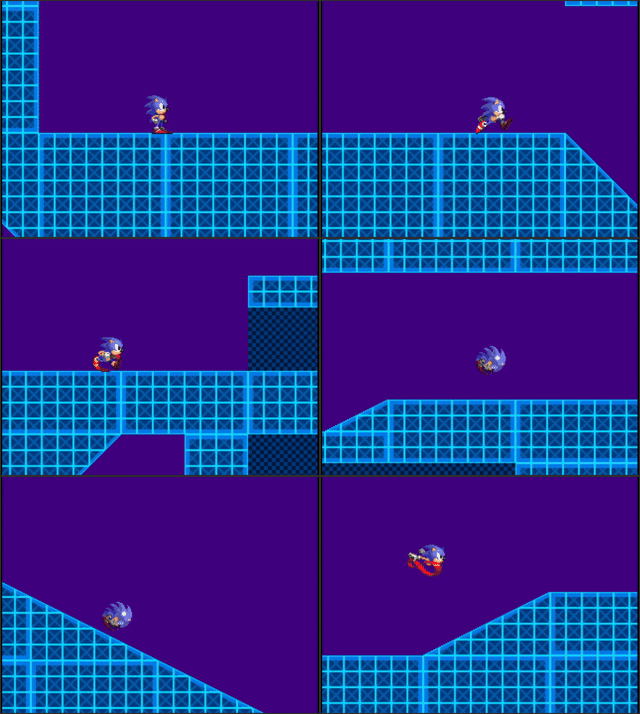
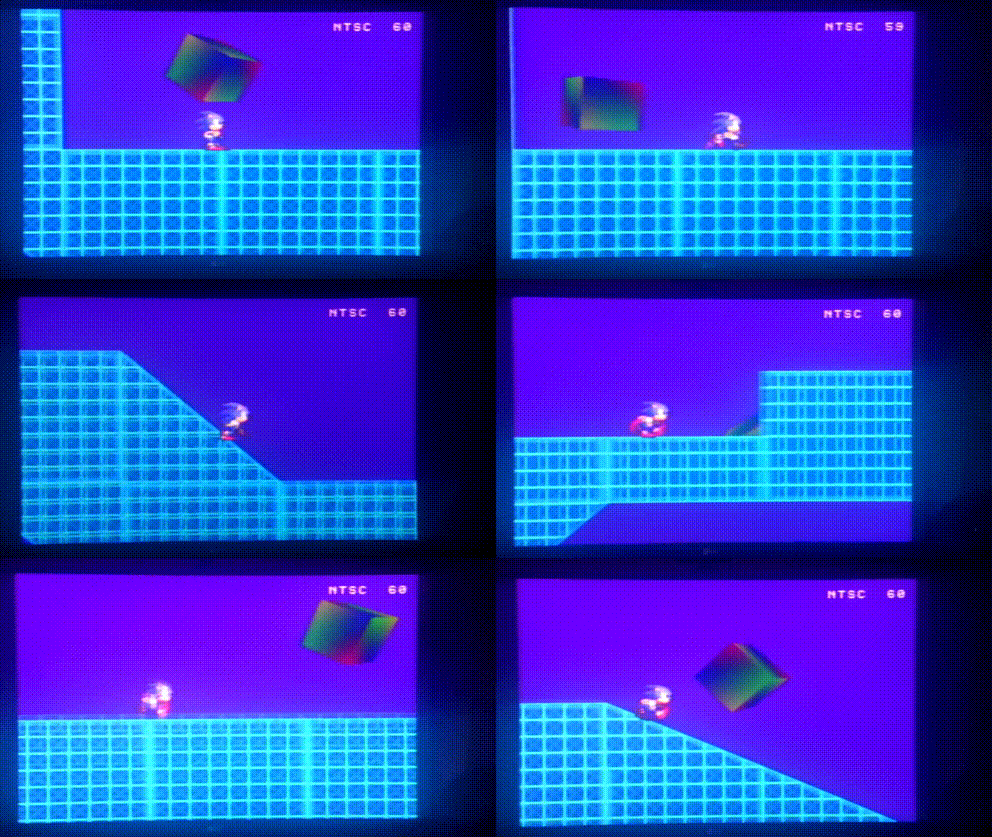
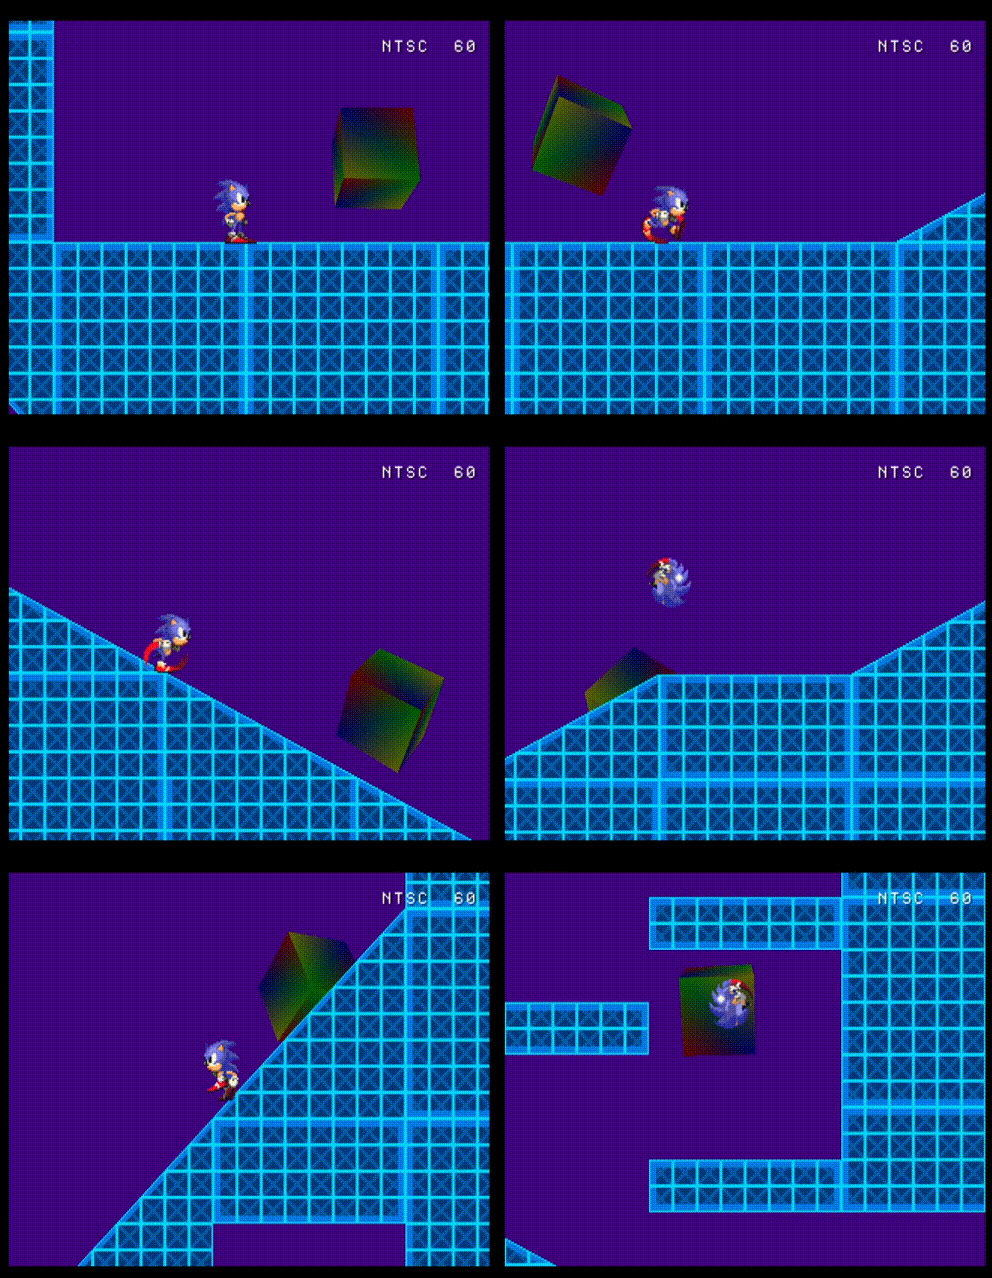
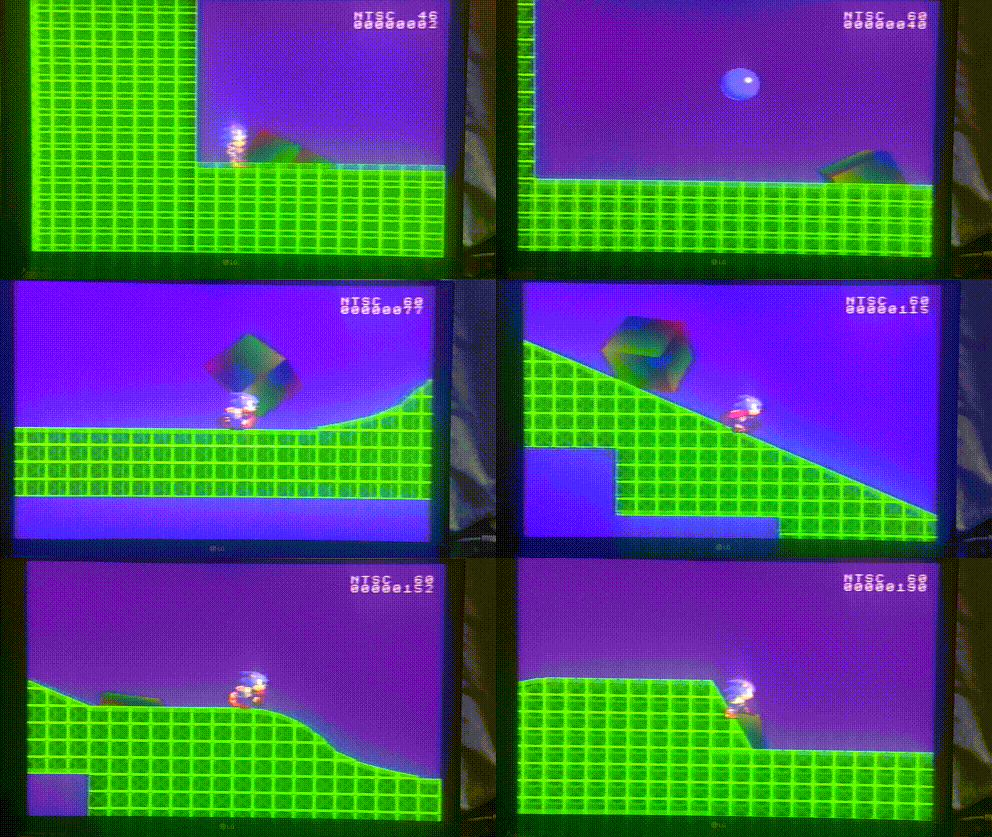
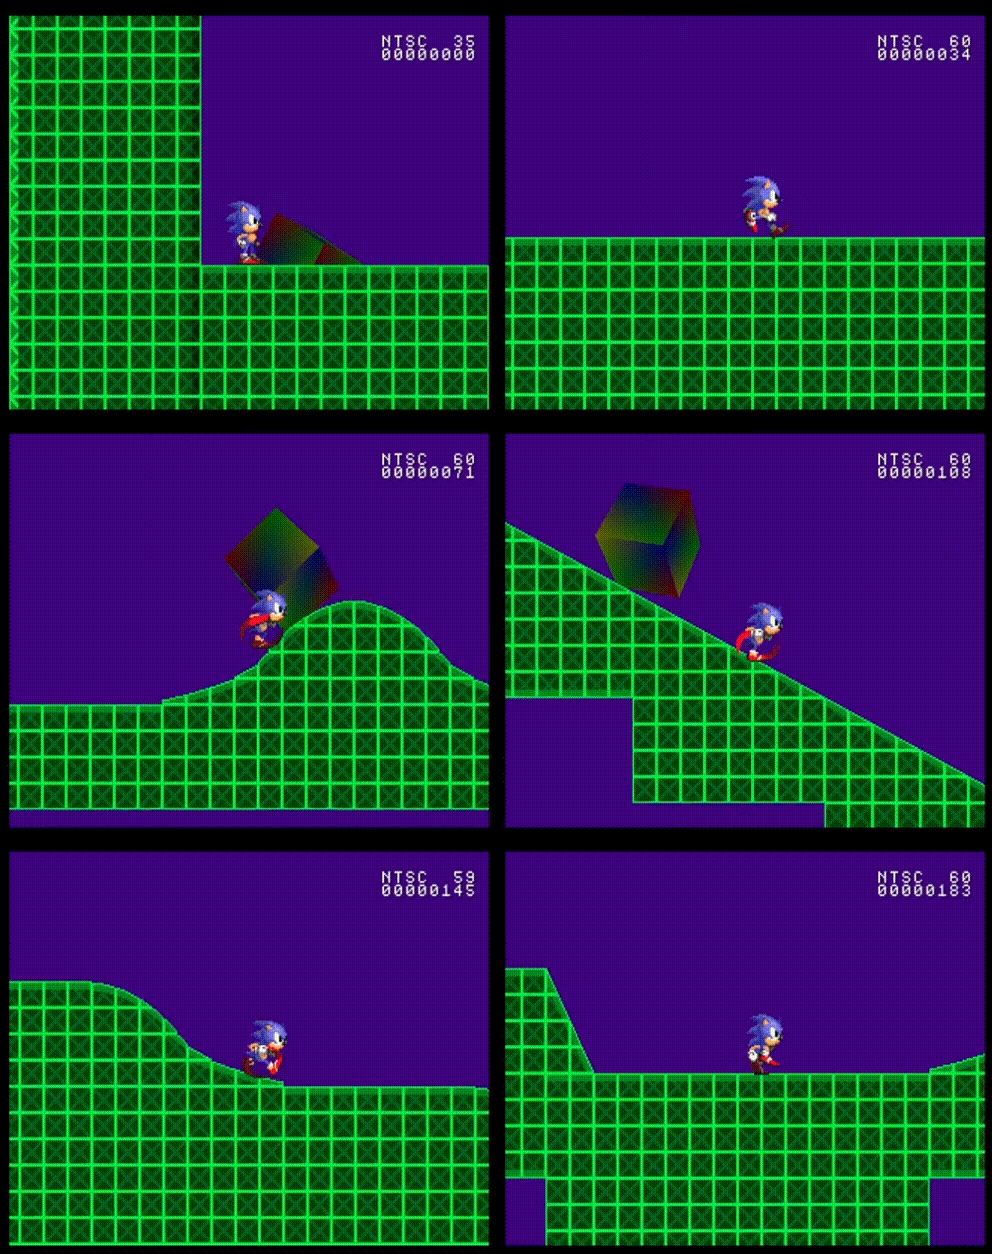
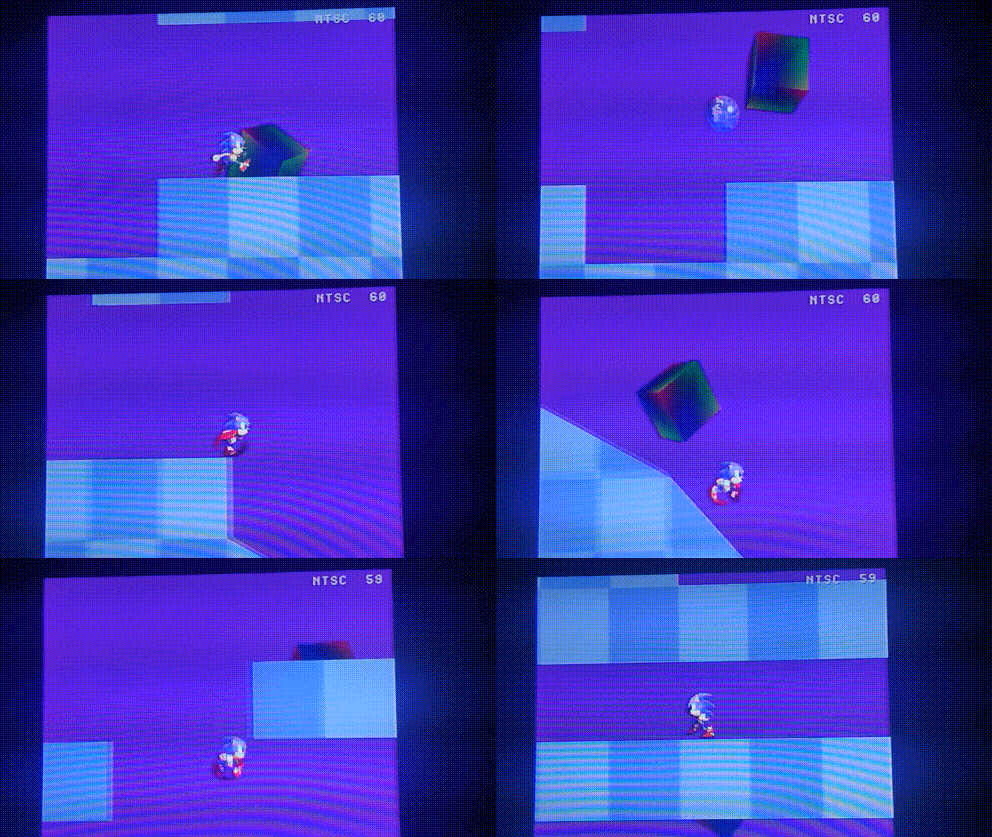
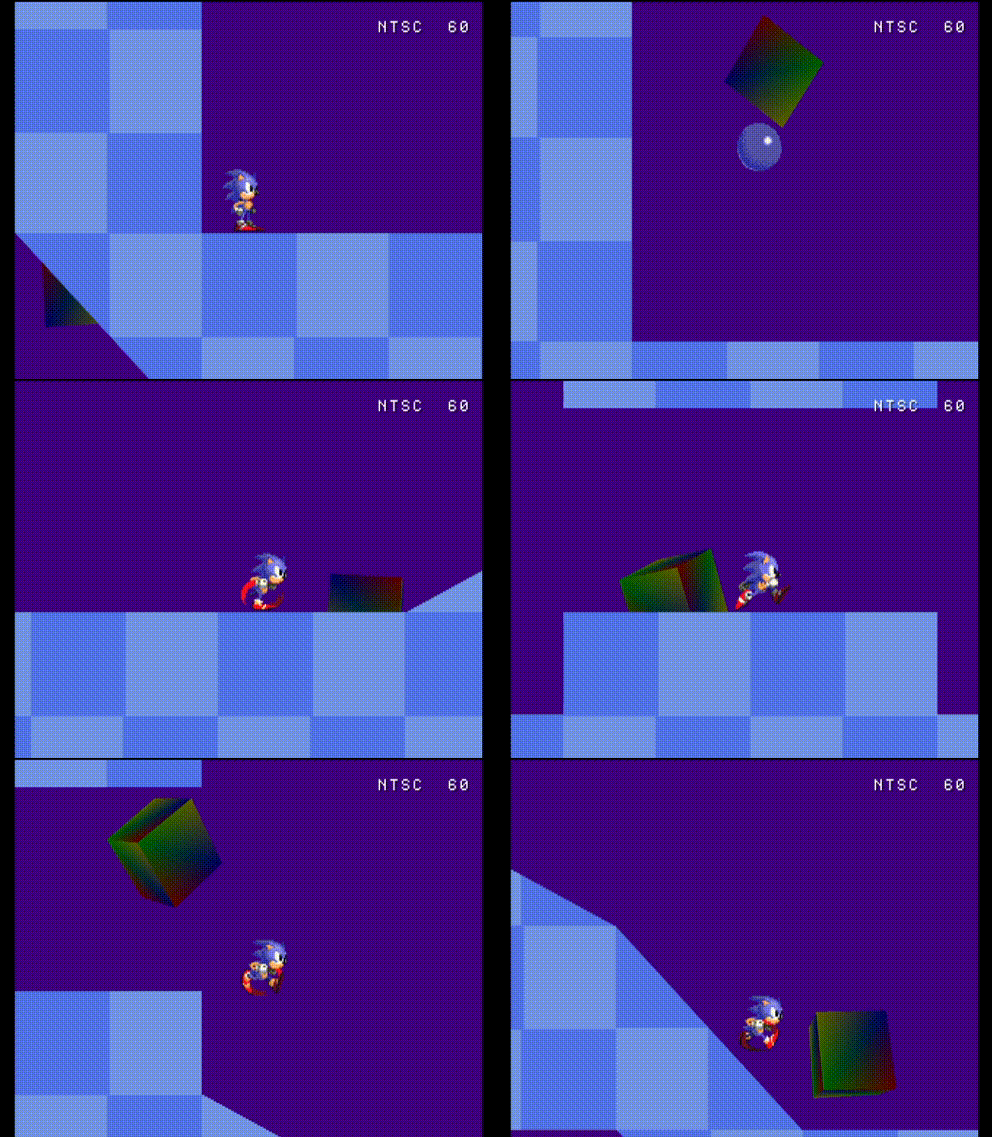
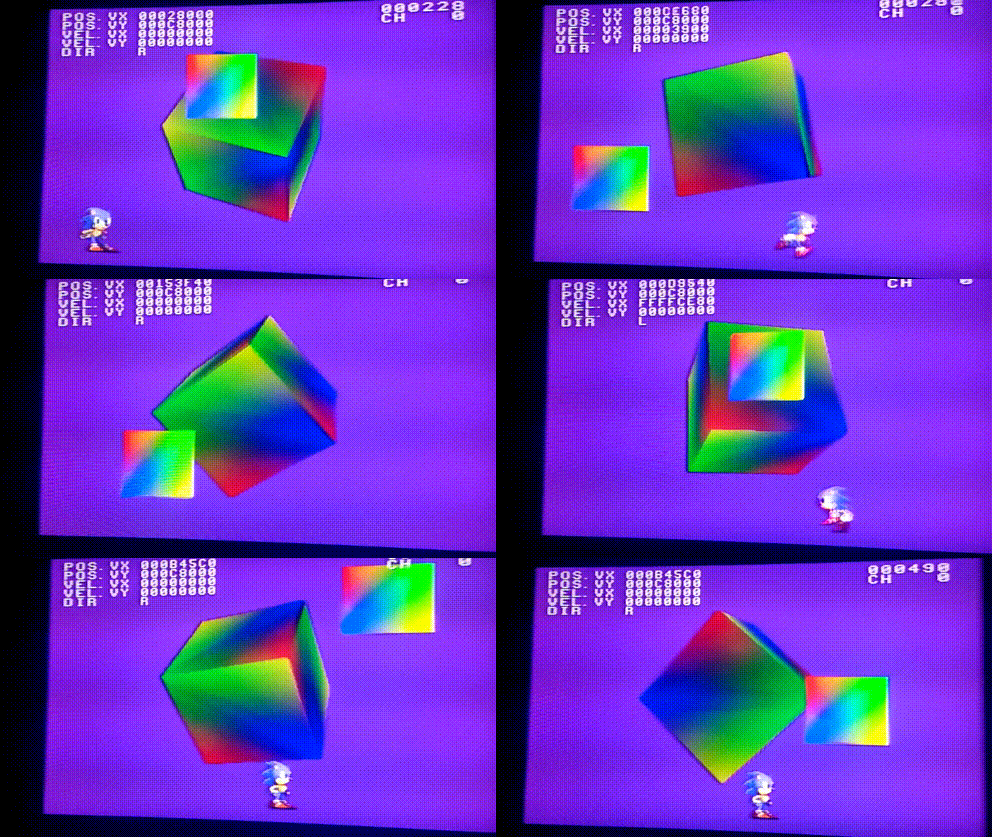
Open source Sonic fangame built for the PlayStation 1 (formerly engine-psx).
This engine is focused on building the fangame Sonic The Hedgehog XA, and therefore is not dissociated with said project.
Heavily inspired by Sonic The Hedgehog. Uses PSn00bSDK.
Game title screen running on PCSX-Redux, dated [2024-10-04].
VIEW GAME ON ITCH.IO: https://luksamuk.itch.io/sonic-the-hedgehog-xa
GET BUILDS AND BETAS ON THE RELEASES SECTION!!!!
Also visit my website:: https://luksamuk.codes/
This is a Sonic The Hedgehog fangame built for the PlayStation 1. The focus here is on experimentation: I’m studying the PlayStation hardware and capabilities while building a 2D sonic game in pure C.
This game is opensource and can be built by anyone. Also, since it uses Psn00bSDK, the source code can be freely distributed.
Some assets use different formats than common formats. This is because I needed a better way to process these files, or the PlayStation recognizes different formats.
All code is tested under emulators PCSX-Redux and DuckStation, and are also tested on real hardware (a PlayStation model SCPH-5501).
Here are some tools I’ve been using. Please notice that this project’s development has been targeted for Linux environments.
- GIMP with G’Mic plugin (to reduce image colormaps to 256 colors with no dithering);
- Aseprite (for handling sprite sheets and tilemaps), plus some useful script
files (tweak
export_tileset.luaso it only exports with arow_lenof32, since all tiles are 8x8); - Tiled, for anything relating to levels and object positioning. You may also
want to install custom exporters that are in
tools/tiled_exporter/and also enable Tiled’s Python scripting format. mkpsxiso, to build the ISO files;gcc-mipselcompiler toolchain;timedit, to import images and convert them to .TIM format;wav2vag, to convert .WAV sound effects to .VAG audio;psxavenc, to convert music to a preliminary .XA format;xainterleave, to interleave .XA files into a single, ready-for-production .XA file;cdrdao, if you intend on burning your ISO on a CD-R;CMakeandGNU Make, for build scripts;GNU MakeandPython 3.12for running extra build scripts.
Some of these tools are already available when you properly install PSn00bSDK. Just follow this guide.
First of all, generate a disk image (that will be used as filesystem) and the executable ELF file. This can be consolidated individually with the following commands:
make elf
make iso
Note that, if you’re not generating new assets, you won’t need to rebuild the
disk image (here named as the iso target, even though it generates
BIN+CUE). Just rebuild your ELF file and reload it.
Now open your Linux environment’s ~/.gdbinit file and mark the project’s own
.gdbinit as safe:
add-auto-load-safe-path /path/to/engine-psx/.gdbinit
Then, open PCSX-Redux. Go to Configuration > Emulation. Mark the option “Enable GDB Server”, and make sure that the GDB Server Port is 3333.
Still on PCSX-Redux, go to File > Open Disk Image and open engine.cue, but
don’t start running the emulation yet; the program won’t be run from the disk.
Now go to the project’s root directory and run:
gdb-multiarchThis will fire up a GDB debug session that interacts with PCSX-Redux. It will even load the ELF file with proper debug symbols.
Have fun.
Amazing Ocean Zone autodemo running on a PlayStation SCPH-5501, dated [2024-12-25].
In theory, to burn the disc, you would need a Sony license file which comes
bundled with the Psy-Q SDK (which I AM NOT using). I WILL NOT provide these
files for obvious legal reasons. But if you manage to obtain them, tweak
iso.xml to add such a license file. I cannot guarantee that the ISO will work
on real hardware if this file is omitted.
You most likely will need a PlayStation console that allows you to run homebrew software – I did not do anything on my model, but again, I bought it from someone else, and I didn’t open it up to check if it was still intact from day one.
You will also need a CD drive capable of burning CD images to physical disks, and you will also need good quality CD-R disks. Do not ignore this. If you’re a fellow brazillian, I recommend Multilaser.
Remember also that this method was tested in an SCPH-5501 model.
Use a command such as this to burn your image into the disk by using cdrdao
(do not use other software, unless you know what you’re doing):
cd build/
cdrdao write --speed 1 --driver generic-mmc-raw --swap -n --eject "engine.cue"
If you’re on Windows or you need more information on other methods, check out this awesome guide.
If you need your .ISO + .CUE to be a single file, you might want to use something to convert it to .CHD format. You can do this by using a tool called tochd:
tochd -d . -- ./build/engine.cueLicensed under the Mozilla Public License 2.0.
