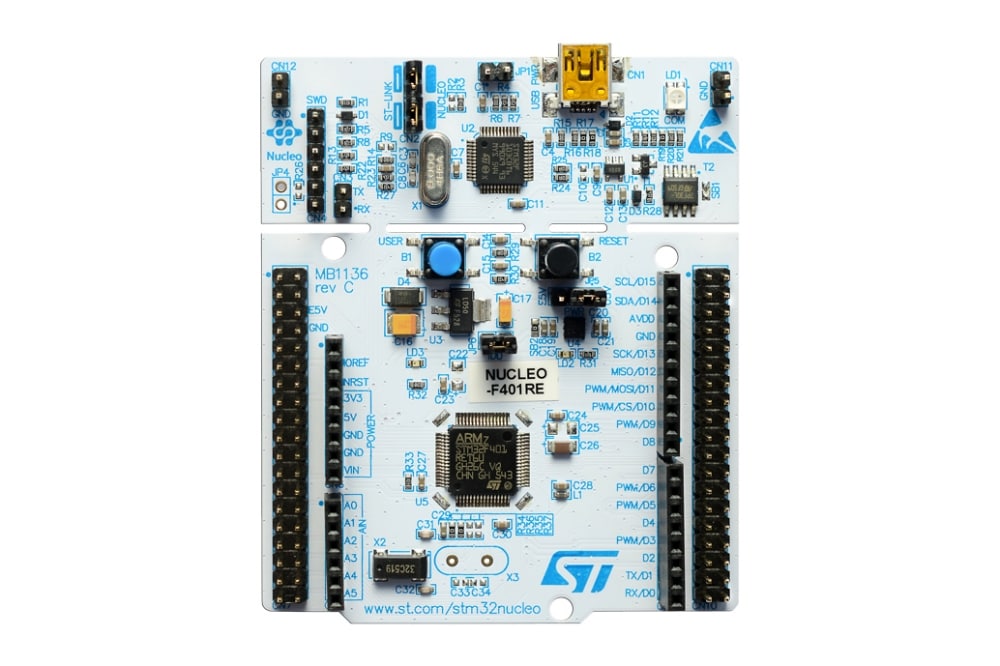
Real time operating system from scratch, using the Cortex-M4 based STM32 Nucleo board and open source development tools, for learning purposes. Although it uses STM32 microcontroller, the concepts can beapplied to create RTOS for any Cortex-M4 based boards.
- Clone the github repo.
$ git clone https://github.com/mykhani/STM32RTOS.git
$ cd STM32RTOS
- Setup the toolchain.
$ source setup_toolchain.sh
- A sample application has been created in the "app" directory in the sources. Go to sample application and run make.
$ cd STM32RTOS/app
$ make
The project is using openocd (http://openocd.org/) to flash and debug the target. The openocd server has the STLINK driver for the on-board debugger on Nucleo board. To communicate with openocd server and load/debug the firmware image, both GDB and Telnet clients can be used.
- To launch the openocd terminal, run the below command from the app directory.
# connect the target first
$ make load
# truncated output
xPack OpenOCD, x86_64 Open On-Chip Debugger 0.10.0+dev-00378-ge5be992df (2020-06-26-09:27)
Licensed under GNU GPL v2
For bug reports, read
	http://openocd.org/doc/doxygen/bugs.html
Info : The selected transport took over low-level target control. The results might differ compared to plain JTAG/SWD
srst_only separate srst_nogate srst_open_drain connect_deassert_srst

Info : Listening on port 6666 for tcl connections
Info : Listening on port 4444 for telnet connections
Info : clock speed 2000 kHz
Info : STLINK V2J37M26 (API v2) VID:PID 0483:374B
Info : Target voltage: 3.259513
Info : stm32f4x.cpu: hardware has 6 breakpoints, 4 watchpoints
Info : starting gdb server for stm32f4x.cpu on 3333
Info : Listening on port 3333 for gdb connections
- (Connect via GDB) Launch another terminal and launch the ARM gdb from the app directory.
$ arm-none-eabi-gdb
- In the GDB prompt, connect to the openocd server on port 3333.
(gdb) target remote localhost:3333
- Run the below commands to flash the generated image (image.elf).
(gdb) monitor reset init
(gdb) monitor flash write_image erase image.elf
(gdb) monitor reset
The target with run with the newly flashed image.
- (Connect via Telnet) Here are the same steps done using telnet client.
$ telnet localhost 4444
> reset init
> flash write_image erase image.elf
> reset
Instructions from https://www.openstm32.org/forumthread2948
- add “-specs=rdimon.specs -lc -lrdimon” to (Project -> Properties -> C/C++ Build -> Settings -> MCU GCC Linker -> Linker flags)
- add extern void initialise_monitor_handles(void); above main
- add initialise_monitor_handles(); at the beggening og main function
- use printf, putc, puts to output messages via semihosting
Another thing you need to add “monitor arm semihosting enable” to intitialization commands in your debug configuration
To use semi-hosting, follow the below steps.
- Open the Makefile in the app directory and edit it as follows:
export USE_SEMIHOSTING = 1
- Open board_init.c, and edit:
#define SEMIHOSTING_ENABLED 1
- clean and rebuild the app.
$ make clean; make
- Enable the semihosting via openocd client before target reset.
# In telnet client
> arm semihosting enable

# In GDB client
(gdb) monitor arm semihosting enable
- Flash the image using the above flashing instructions.
- Implement basic Priority based task scheduler.
- Add basic I/O drivers
- Implement advanced RTOS mechanisms like memory protection (MPU), semaphores, mutexes, priority inversion, message queues, task management.
- Add various middlewares e.g. FAT filesystem, LwIP etc.
- Decouple from STM32CubeIDE so that RTOS can be used as a stand-alone library that embedded applications can link against.
- Add the build system (most probably Kconfig based) to configure the RTOS once it grows and offers different configuration options.
- Add support for different STM32 boards.
1. STM32F401RE Nucleo