ChronoRoot: High-throughput phenotyping by deep learning reveals novel temporal parameters of plant root system architecture
Nicolás Gaggion¹, Federico Ariel², Vladimir Daric³, Éric Lambert³, Simon Legendre³, Thomas Roulé³, Alejandra Camoirano², Diego Milone¹, Martin Crespi³, Thomas Blein³, Enzo Ferrante¹
¹ Research Institute for Signals, Systems and Computational Intelligence (sinc(i)), FICH-UNL, CONICET, Ciudad Universitaria UNL, Santa Fe, Argentina.
² Instituto de Agrobiotecnología del Litoral (IAL), CONICET, FBCB, Universidad Nacional del Litoral, Colectora Ruta Nacional 168 km 0, Santa Fe, Argentina.
³ Institute of Plant Sciences Paris-Saclay (IPS2), CNRS, INRA, University Paris-Saclay and University of Paris Bâtiment 630, 91192 Gif sur Yvette, France.
DOI: https://doi.org/10.1093/gigascience/giab052
Video abstract:https://www.youtube.com/watch?v=3En7OyAwv_U
Module controller available on: https://github.com/ThomasBlein/ChronoRootControl
THIS VERSION IS NO LONGER MAINTAINED, FIND THE LATEST APPLICATION HERE: https://github.com/ngaggion/ChronoRootTool
Initial Docker support, for plant root segmentation only, as Docker does not provide a way to use openCV windows for RoI selection.
Run the following lines to build and run the docker:
docker build -t chronodocker .

docker run -t -i --gpus all -v /PATH_TO_DATA:/work/DATA chronodocker
The code is saved at \work\ChronoRoot.
Complete PATH_TO_DATA to have your time series visible on the docker environment, at /work/DATA
Make sure to have installed the nvidia-docker2 package, more information on https://docs.nvidia.com/datacenter/cloud-native/container-toolkit/user-guide.html.
In case of using Docker for root segmentation, for root analysis we only need the conda environment packages and opencv-python. So, the tensorflow and pydensecrf installation can be ommited.
First create the anaconda environment:
conda env create -f env.yml
Activate it with:
conda activate ChronoRoot
Then install the following packages via pip:
pip install tensorflow-gpu==1.15
pip install opencv-python
pip install git+https://github.com/lucasb-eyer/pydensecrf.git
In case of not having a GPU, use this line instead of the first one:
pip install tensorflow==1.15
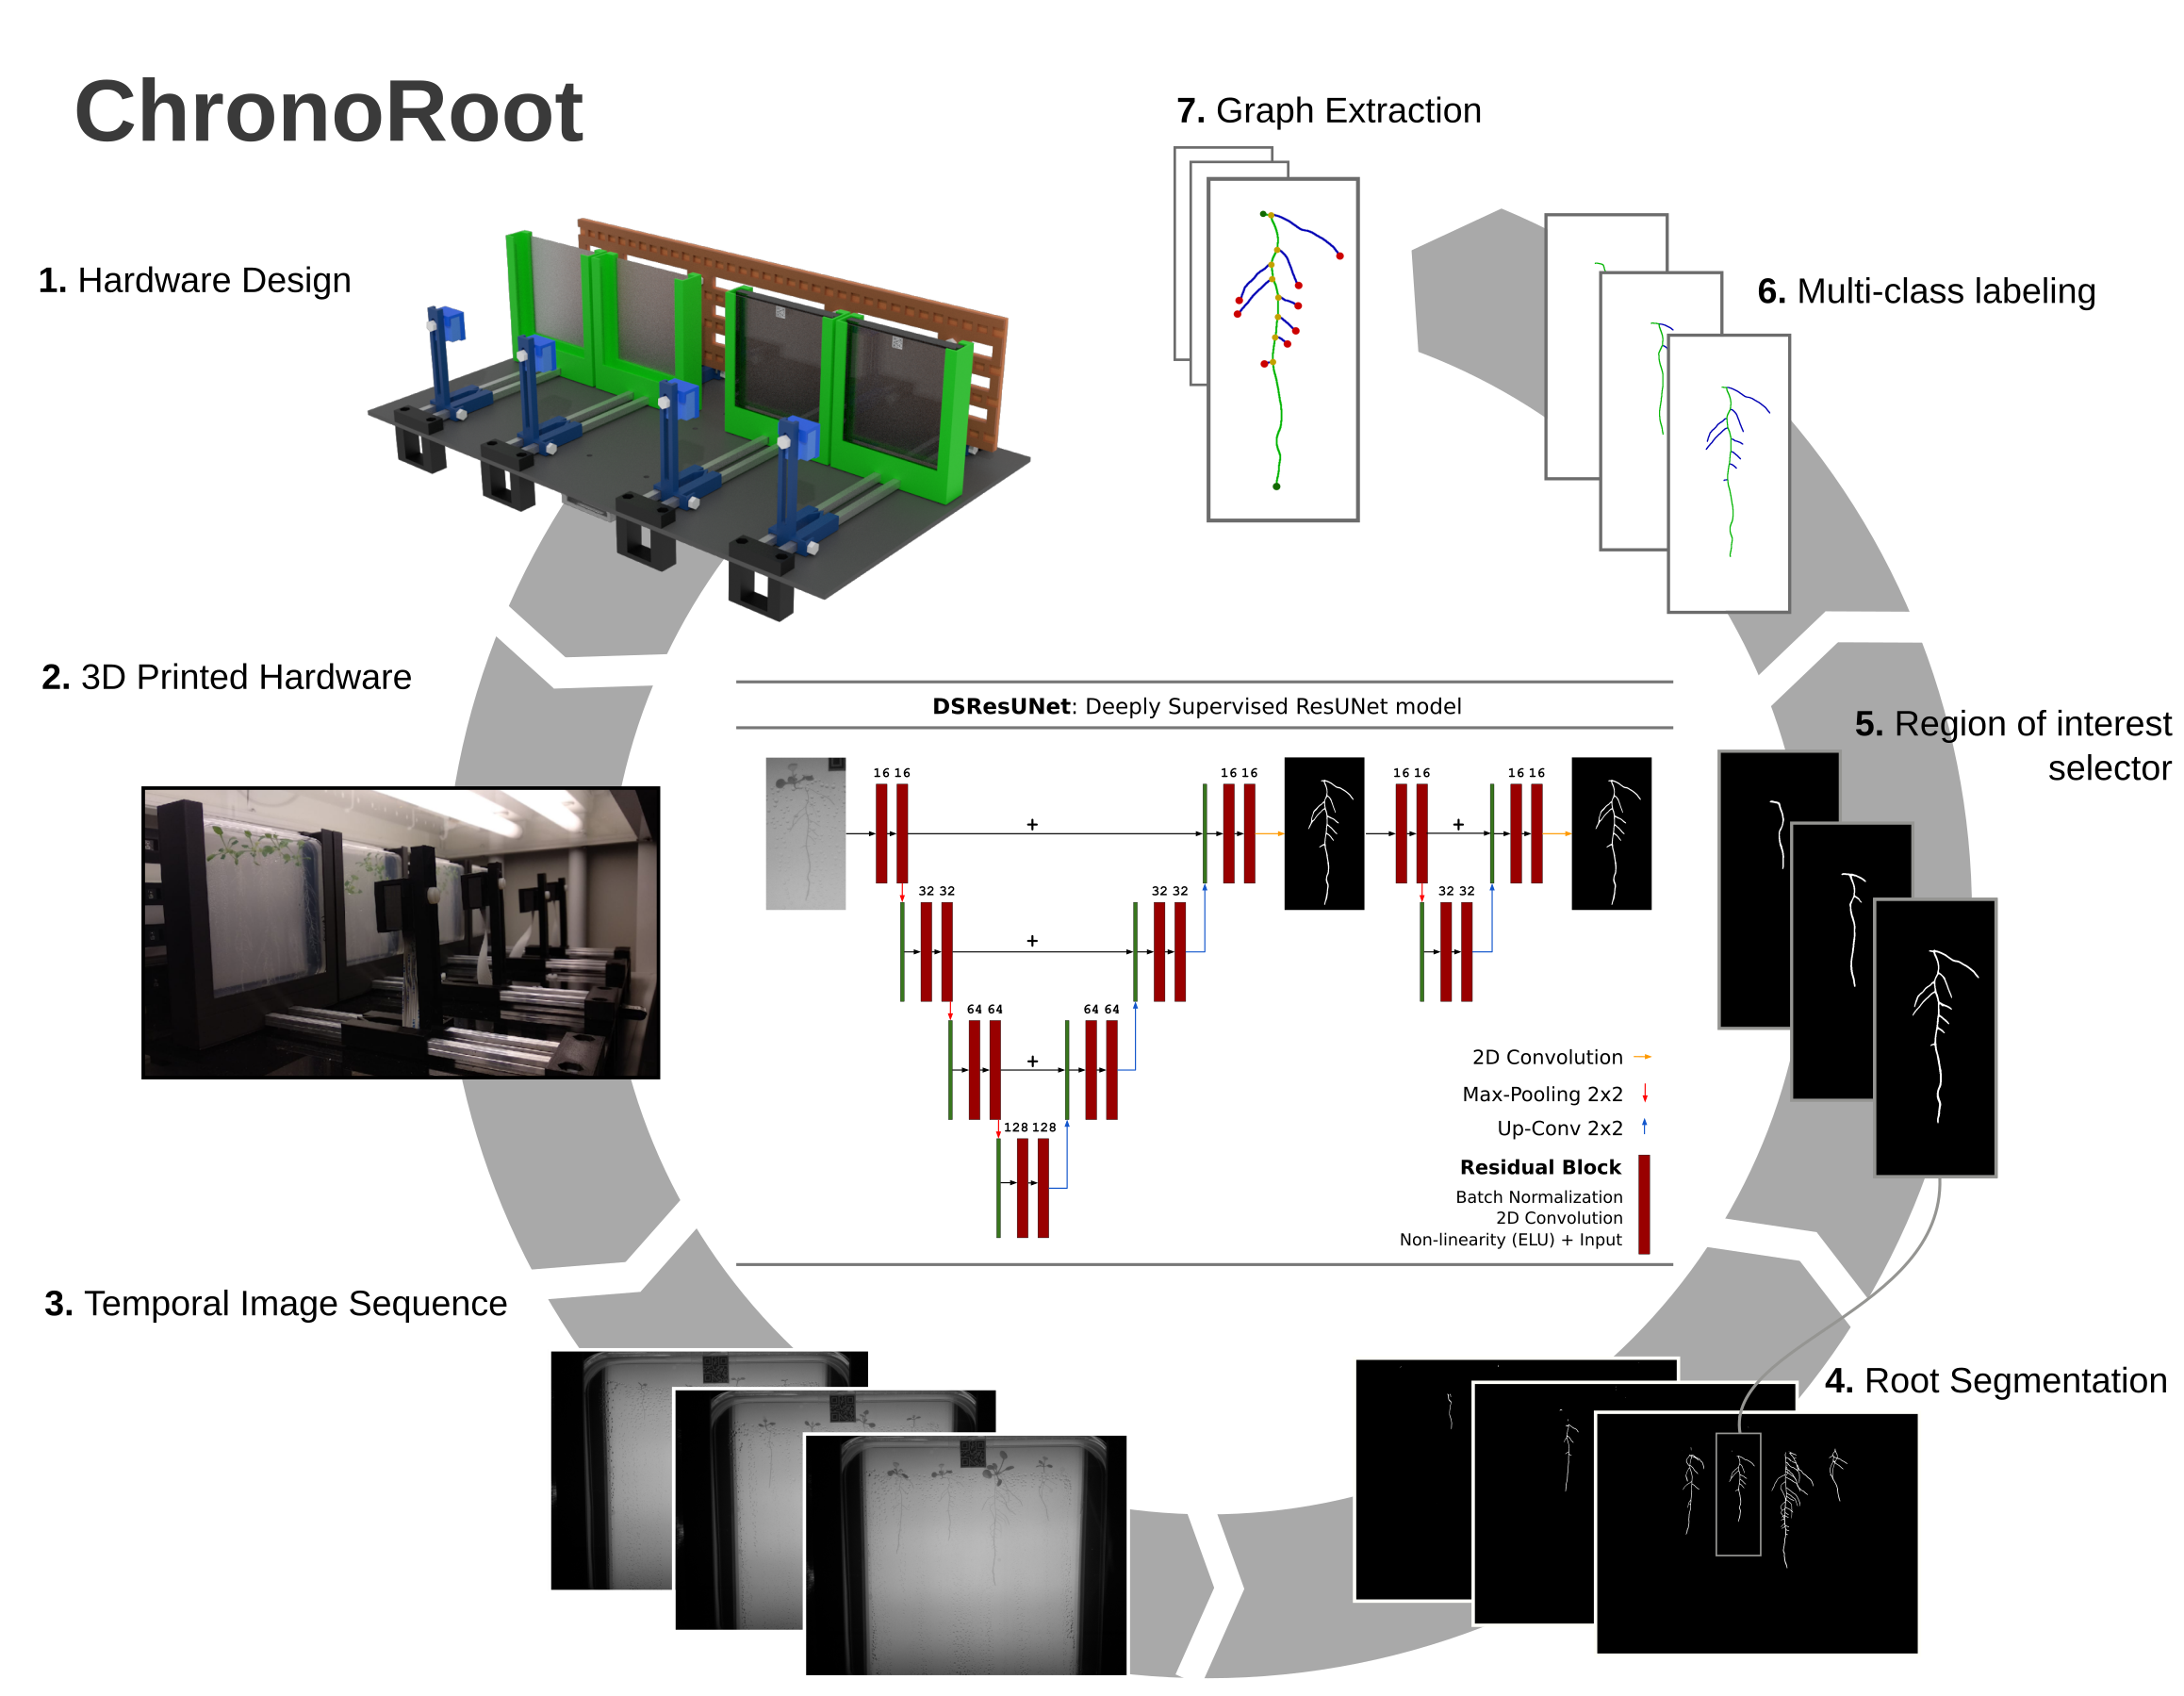
ChronoRoot is meant to be used as a combination of two separate steps:
- Plant root segmentation for each videosequence, obtaining the segmentation maps for each timestep.
- Individual plant analysis, obtaining the graph representation for each root at every timestep.
Download and extract the weights (files already included in the docker) on ChronoRoot/modelWeights from:
https://drive.google.com/file/d/1OSqvRXKay-0bsmQqtlmYnu_sp6-_I-eC
Or download by wget and extract using the following lines:
wget --load-cookies /tmp/cookies.txt "https://docs.google.com/uc?export=download&confirm=$(wget --quiet --save-cookies /tmp/cookies.txt --keep-session-cookies --no-check-certificate 'https://drive.google.com/uc?export=download&id=1OSqvRXKay-0bsmQqtlmYnu_sp6-_I-eC' -O- | sed -rn 's/.*confirm=([0-9A-Za-z_]+).*/\1\n/p')&id=1OSqvRXKay-0bsmQqtlmYnu_sp6-_I-eC" -O modelWeights.zip && rm -rf /tmp/cookies.txt

unzip modelWeights.zip
For fast segmentation with the Deeply Supervised Residual U-Net use
python segmentFast.py imagePath --output_dir optionalSegPath --use_crf boolean --model ResUNetDS
For segmentation using the model ensemble use
python segmentEnsemble.py imagePath --output_dir optionalSegPath --use_crf boolean
Load the experiment data on config.conf:
# ========== Paths ==========

## The path where the video-sequence is.
Path = "/media/ngaggion/Datasets/rpi6/1"

## The path where the output segmentation was saved.
## For example, using the ensemble of models:
SegPath = os.path.join(Path, 'SegEnsemble')

## The path where we will be saving each plant analysis.
Project = "/media/ngaggion/Experiment1"

# ========== Analysis ==========

# Setting up the end of the experiment
# Set to a number to limitate the maximum number of frames.
# 0 = OFF, ChronoRoot will run until no images are left
# For example 1344 (4 frames * 24 hours * 14 days)

Limit = 1344

# ========== RSML METADATA ==========

fileKey = "Long day condition" # Identifier for the RSML file
sequenceLabel = "rpi6" # Identifier for the sequence
Plant = "Arabidopsis thaliana" # Plant under study
Then run:
python chronoRoot.py
